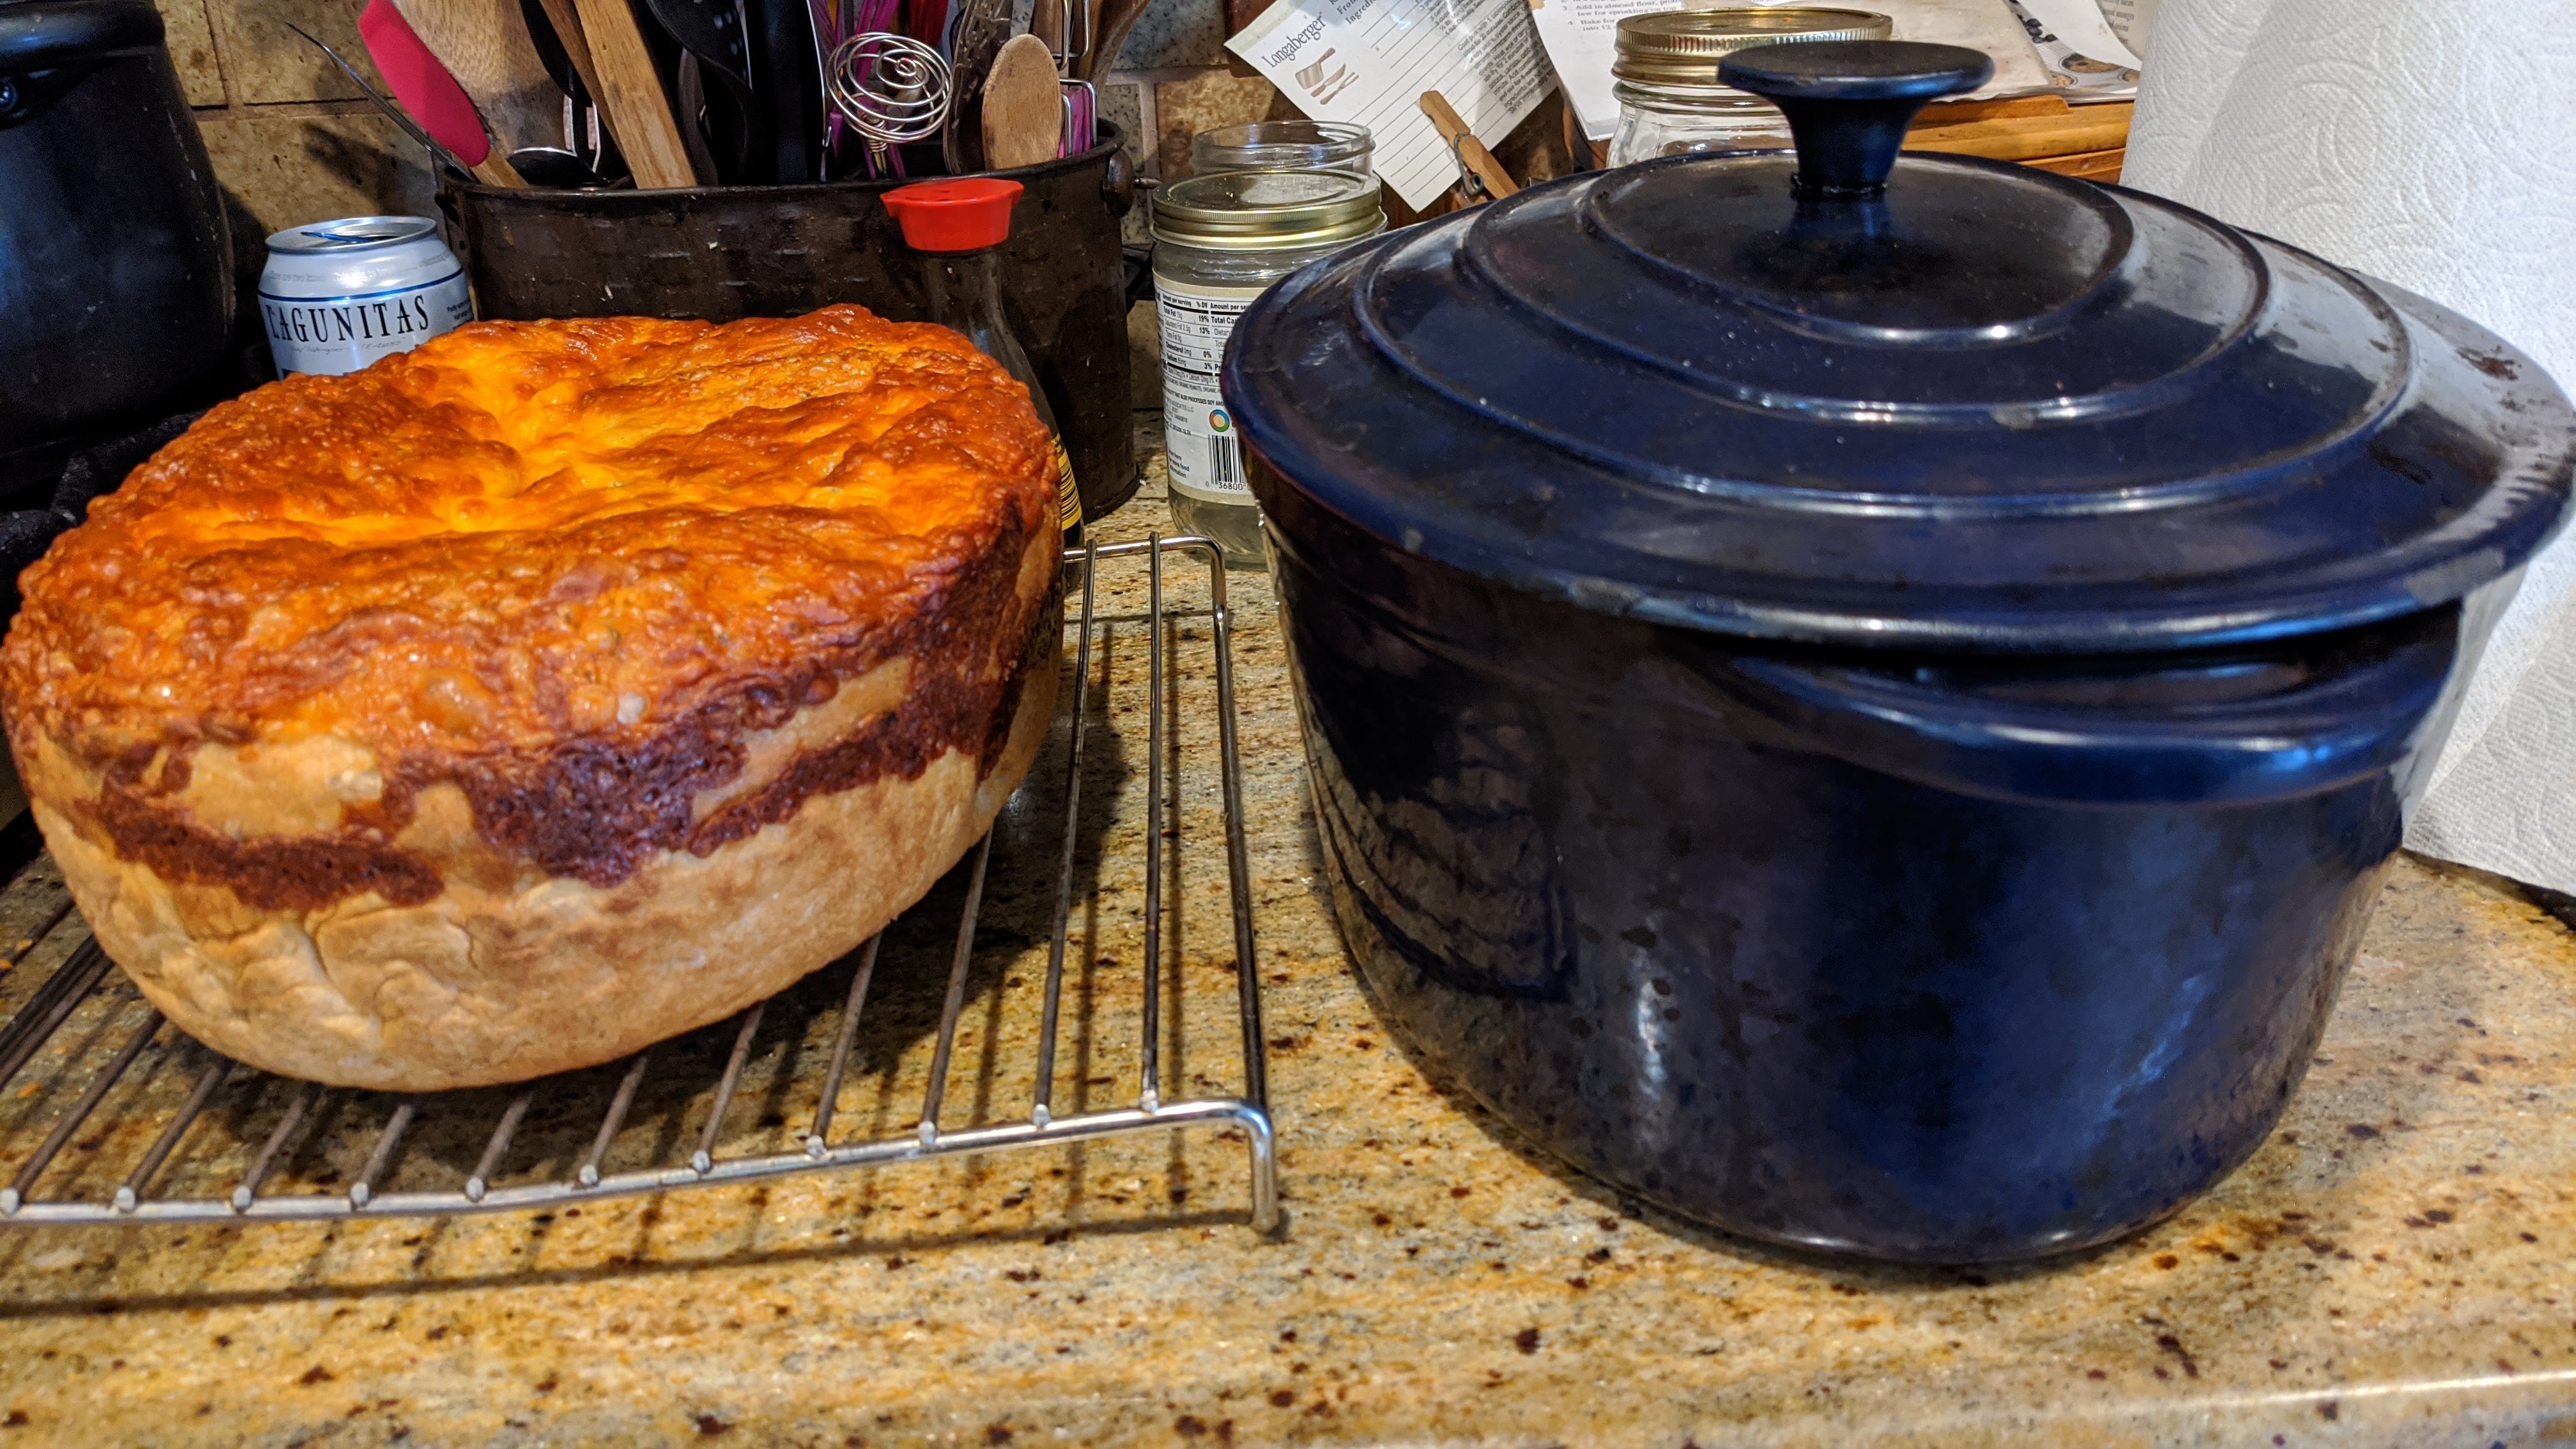
I’ve been baking bread for over 40 years, but I haven’t really taken it seriously until this past year. My only goal up to that point was to create something edible. Take, for instance, the loaf pictured above. It was absolutely delicious. But I remembered thinking it didn’t look right. It completely conformed to the shape of my Dutch oven. It was supposed to be a batard! But it exploded in my pot probably due to it being under-fermented.
My wife, ever supportive of my new passion, told me that it didn’t matter as long as the bread tasted good. But I showed her pictures from Ken Forkish’s “Flour Water Salt Yeast” and said that I wanted to make bread that looked like the bread in the pictures and further explaining that as an artist (I’m a part-time professional musician), aesthetics are important to me.
After that conversation, I put my foot down and decided to not only make bread that tasted good, but it had to look good as well.
But since then, I’ve evolved my sense of aesthetics. Now, I feel as if a successful bake is one in which the bread appeals to all five senses.
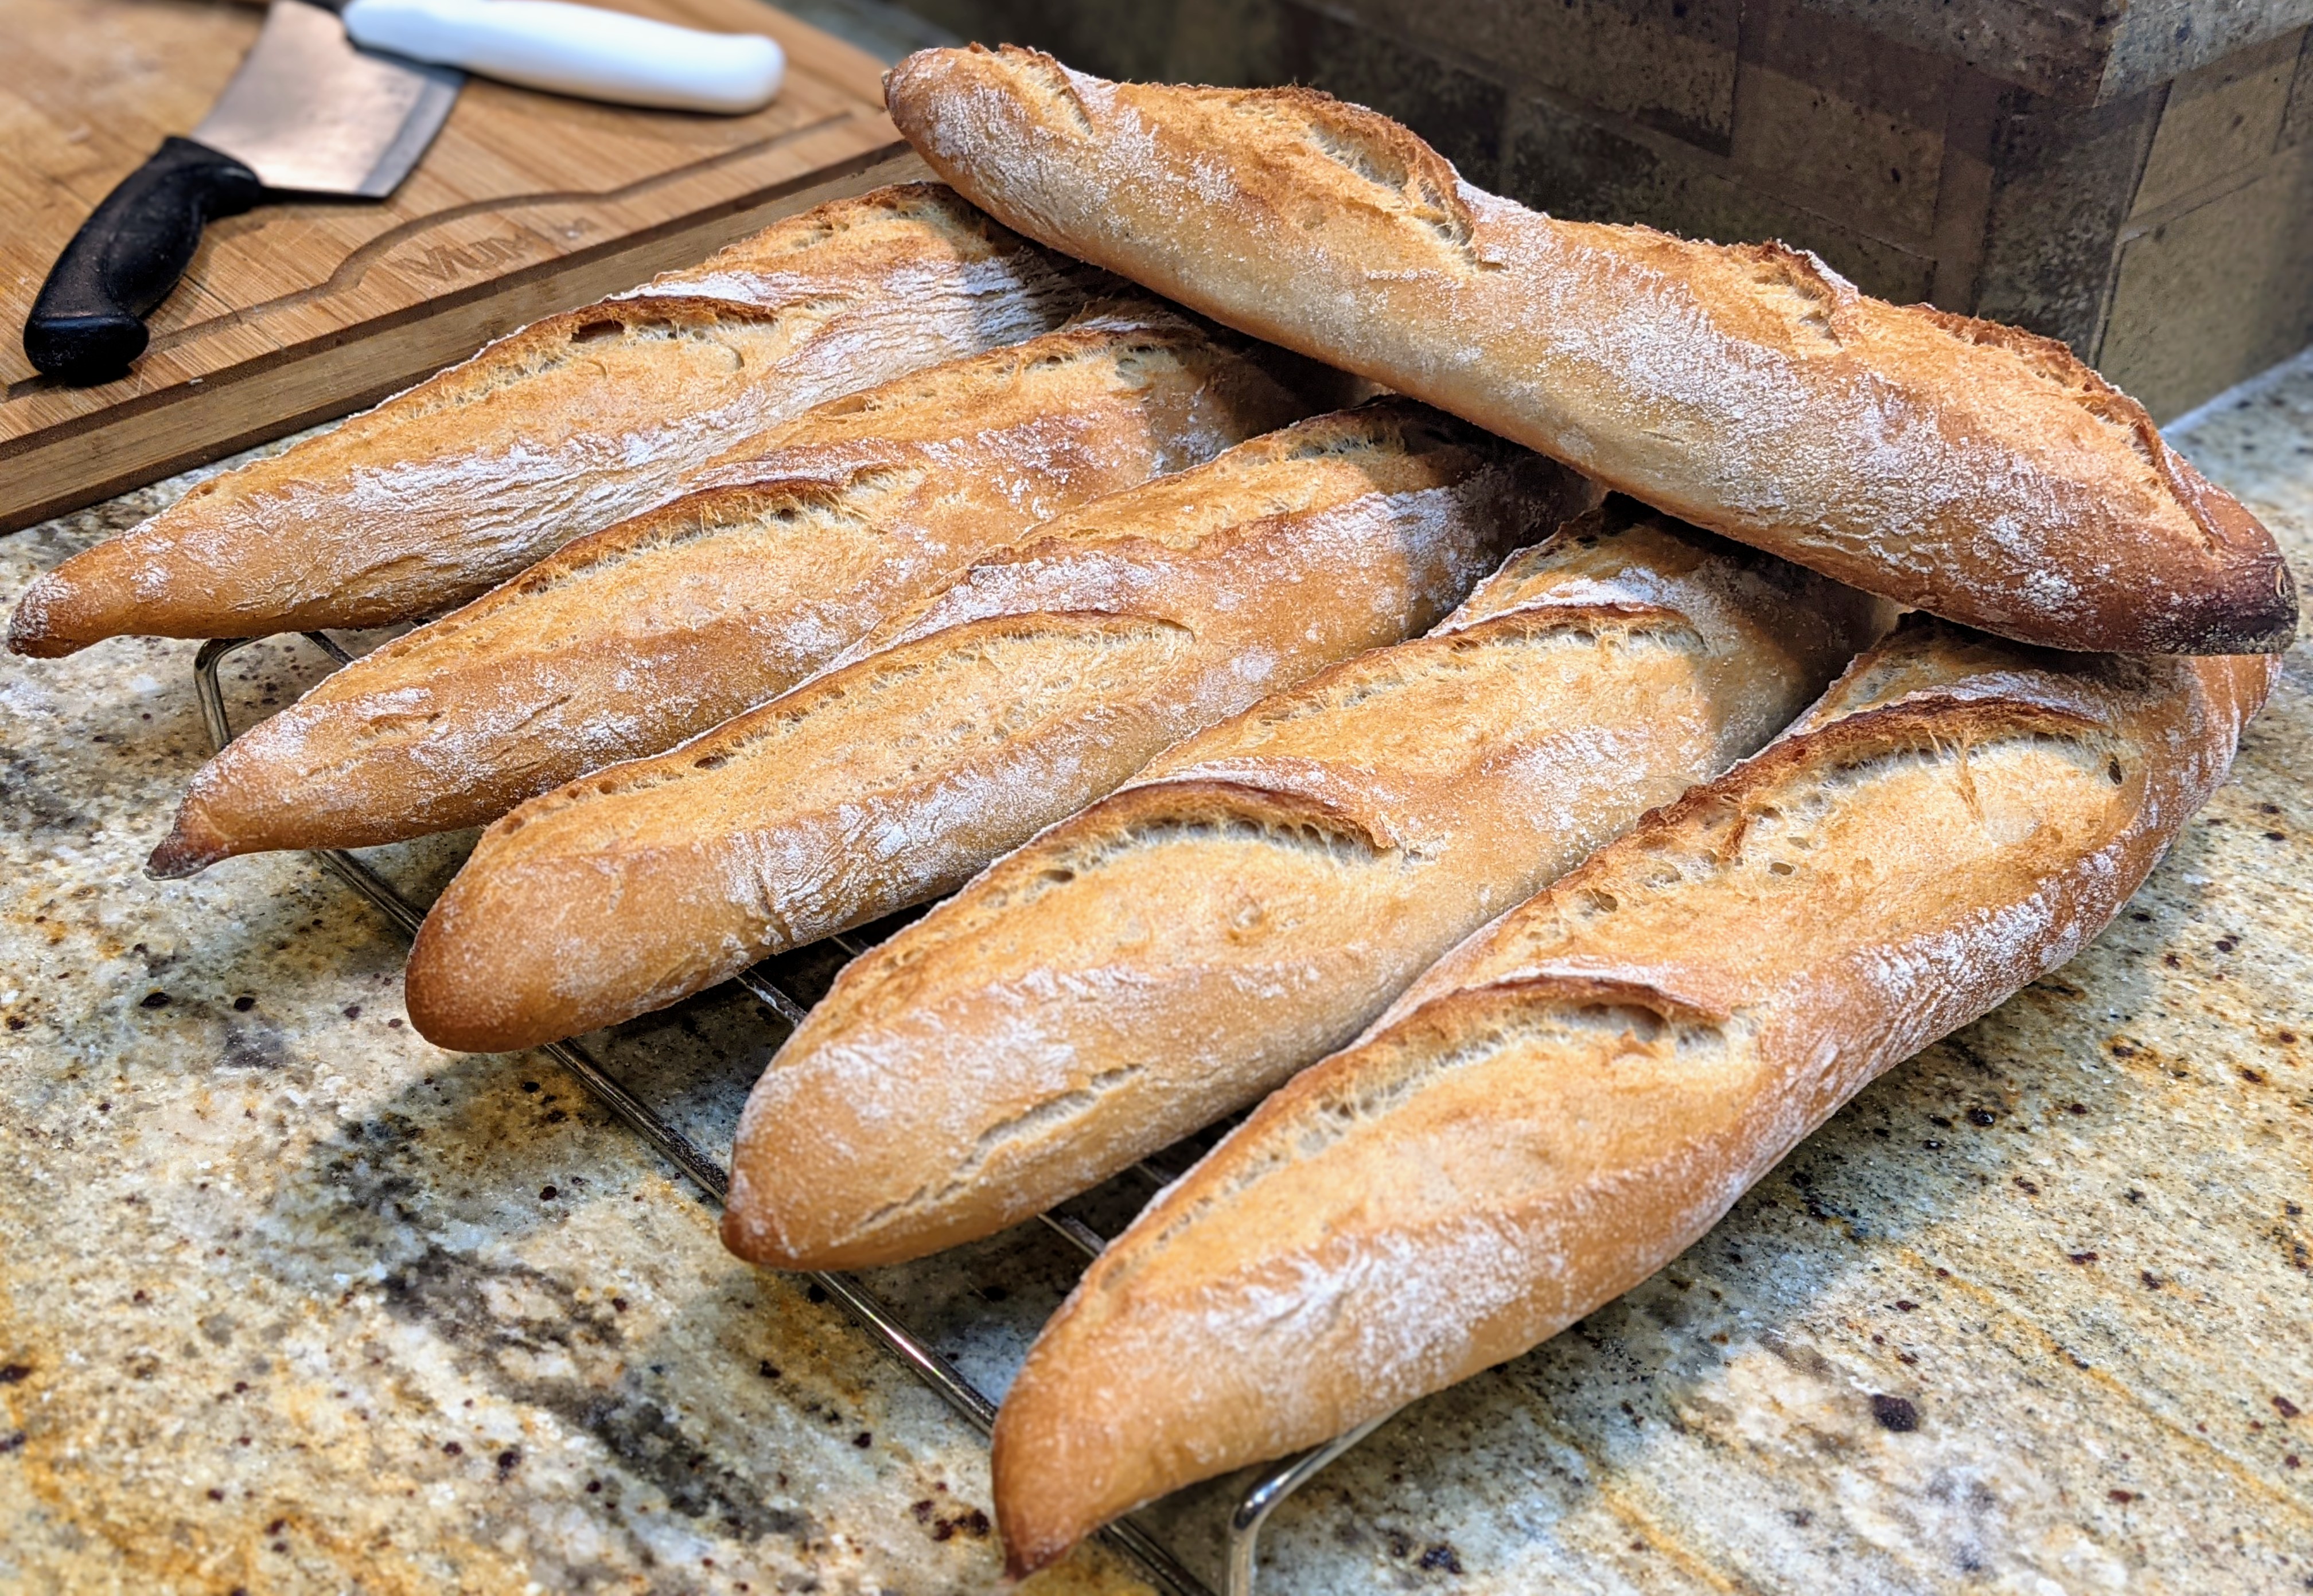
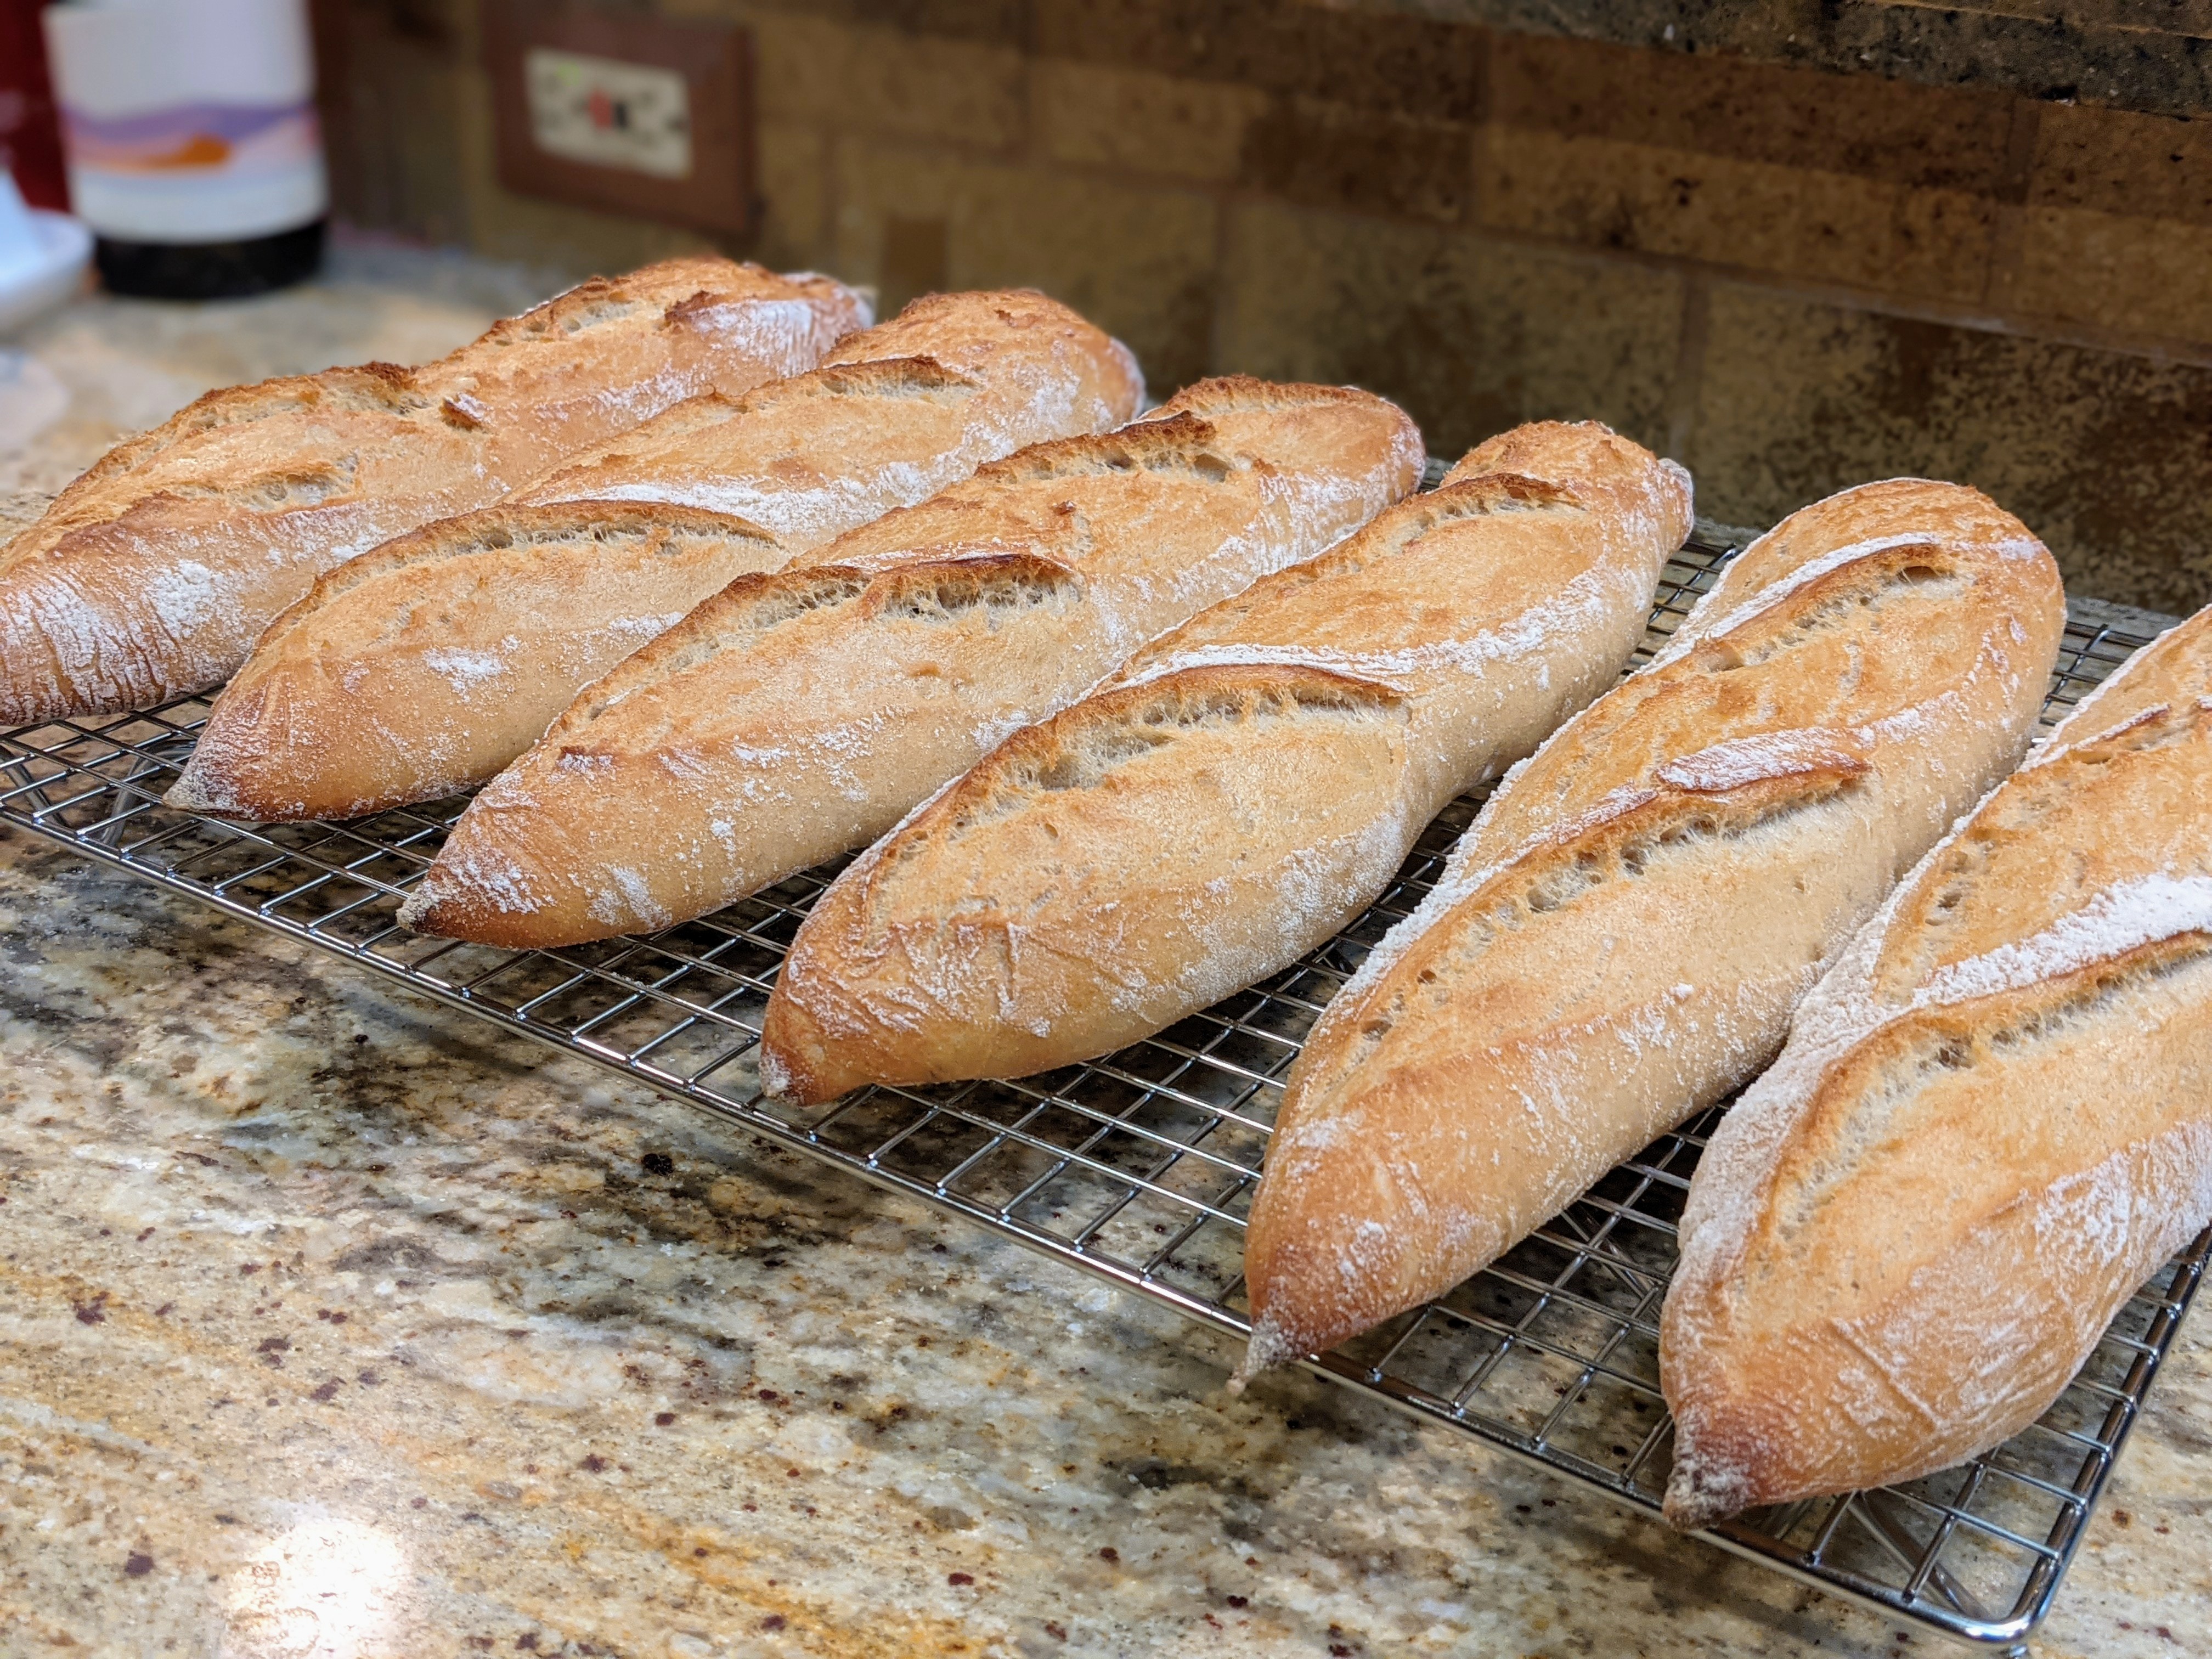
Sight – I’ve broken down the visual sense into two categories: 1) Similarity to the archetype of the loaf I’m creating and; 2) General visual appeal, or how appetizing the loaf looks. For the first item for example, do the baguettes I made look like what I expect baguettes to look like. The second one is easy. Does it look good?
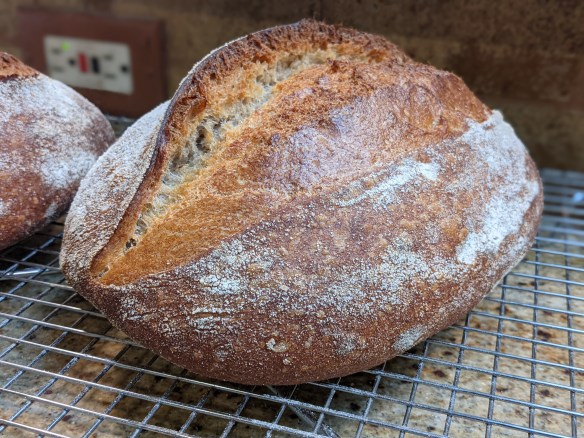
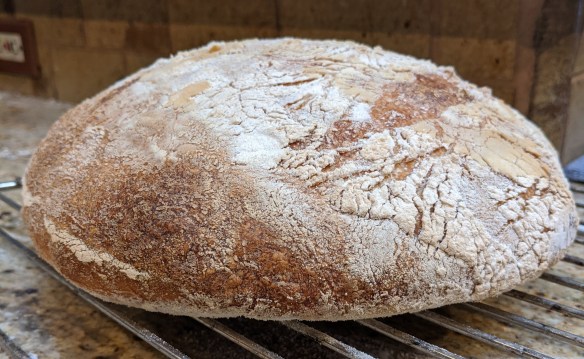
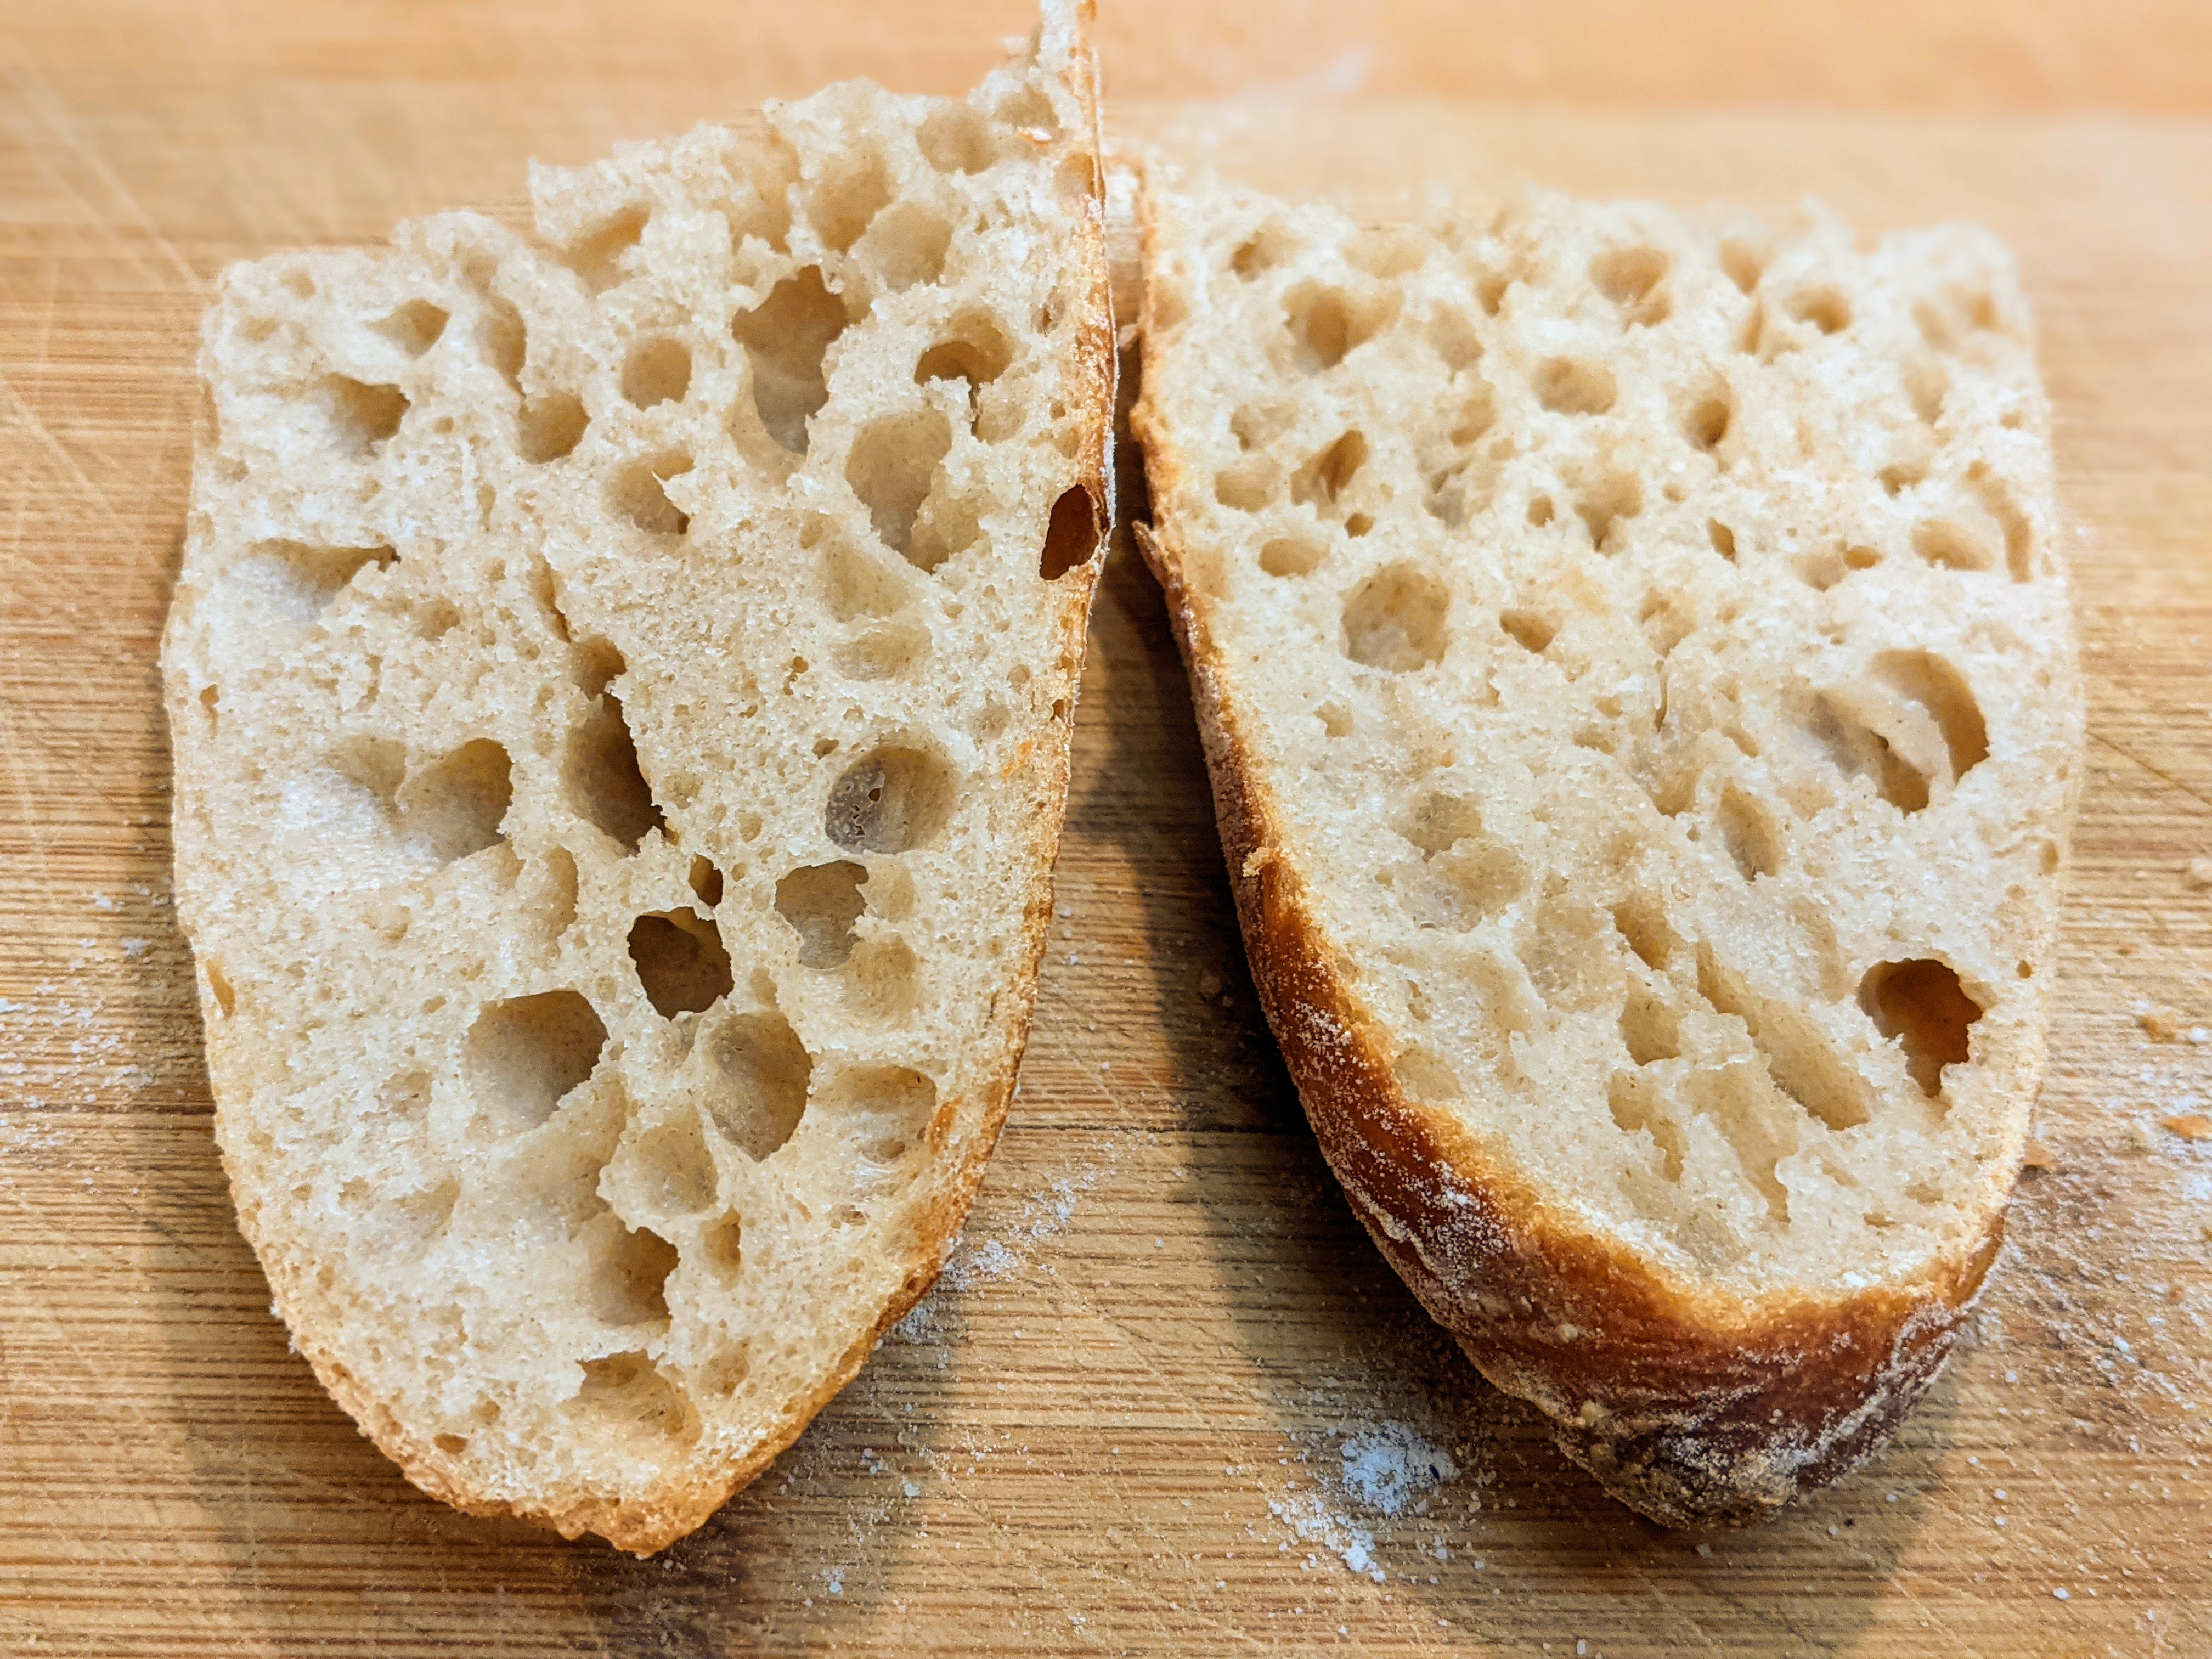
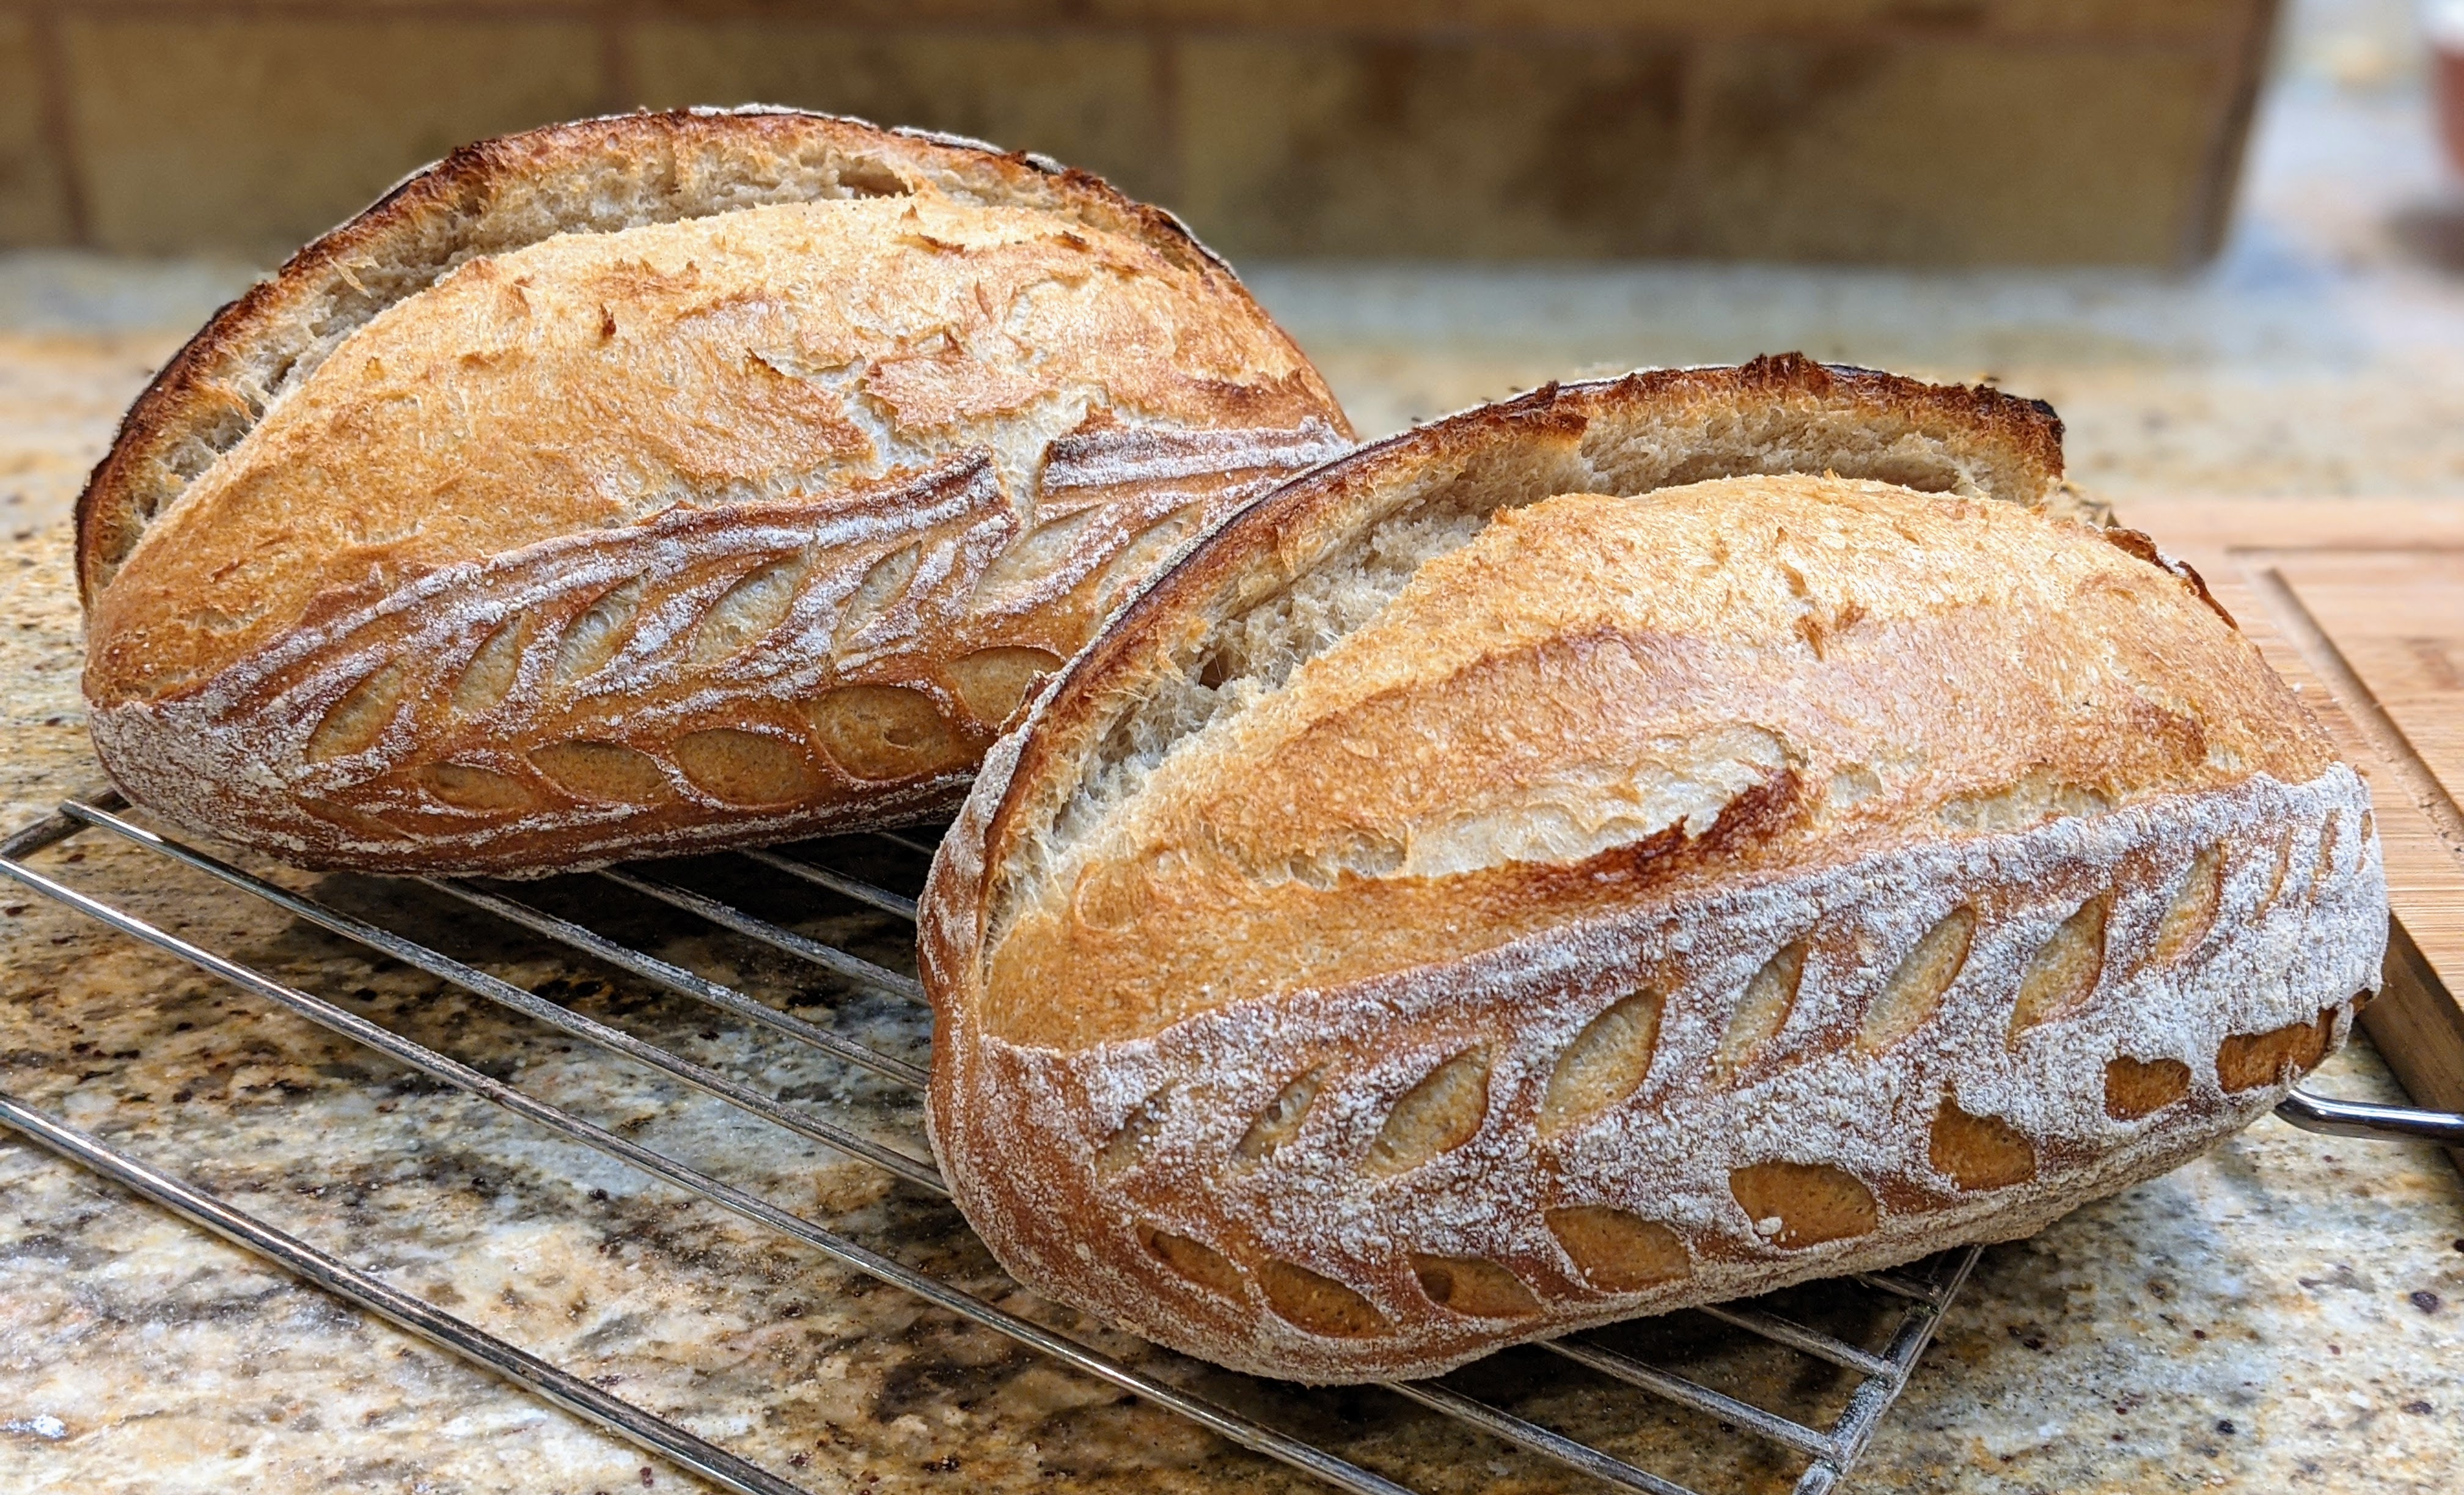
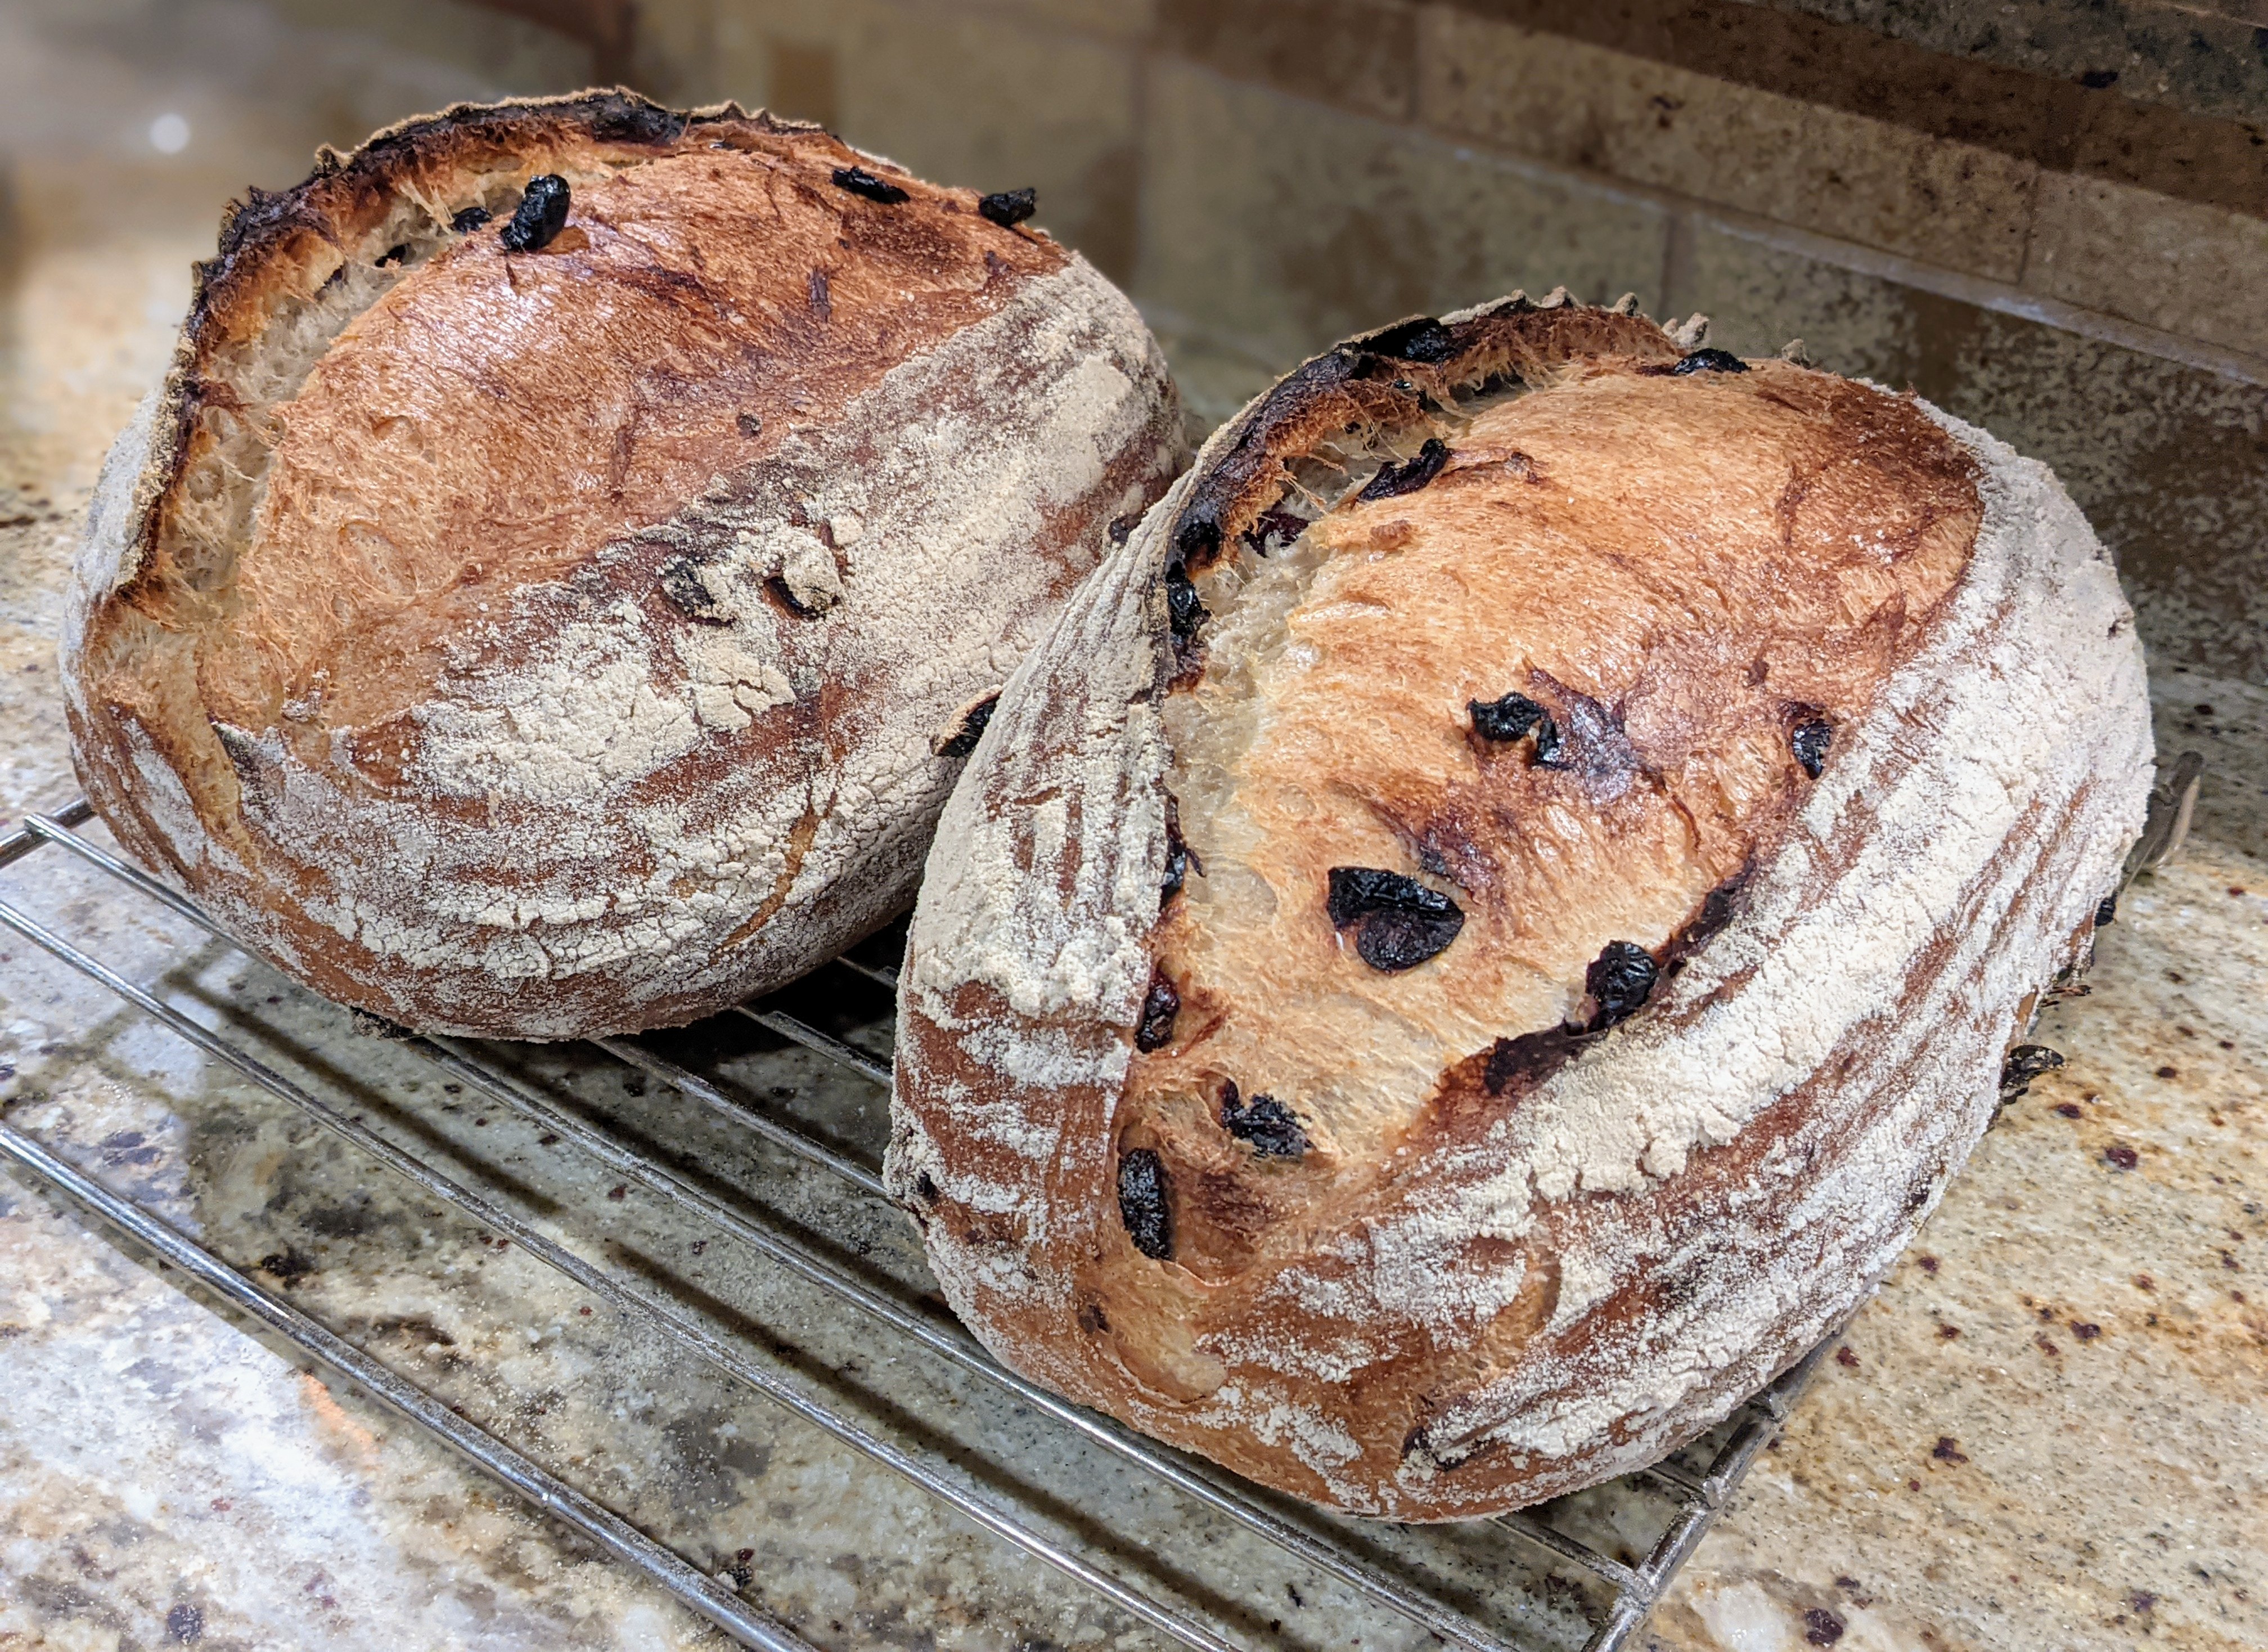
For example, look at the loaves above. Both are sourdough batards. If I placed the two side-by-side for consumption, I’m willing to bet that the loaf on the left would be cut into first for the simple reason that it just looks better than the loaf on the right that has collapsed (it was over-proofed).
Visual appeal is important to me at this stage in the game. A “hug” should look like a hug. A ciabatta should look like ciabatta and have a beautiful, open crumb.
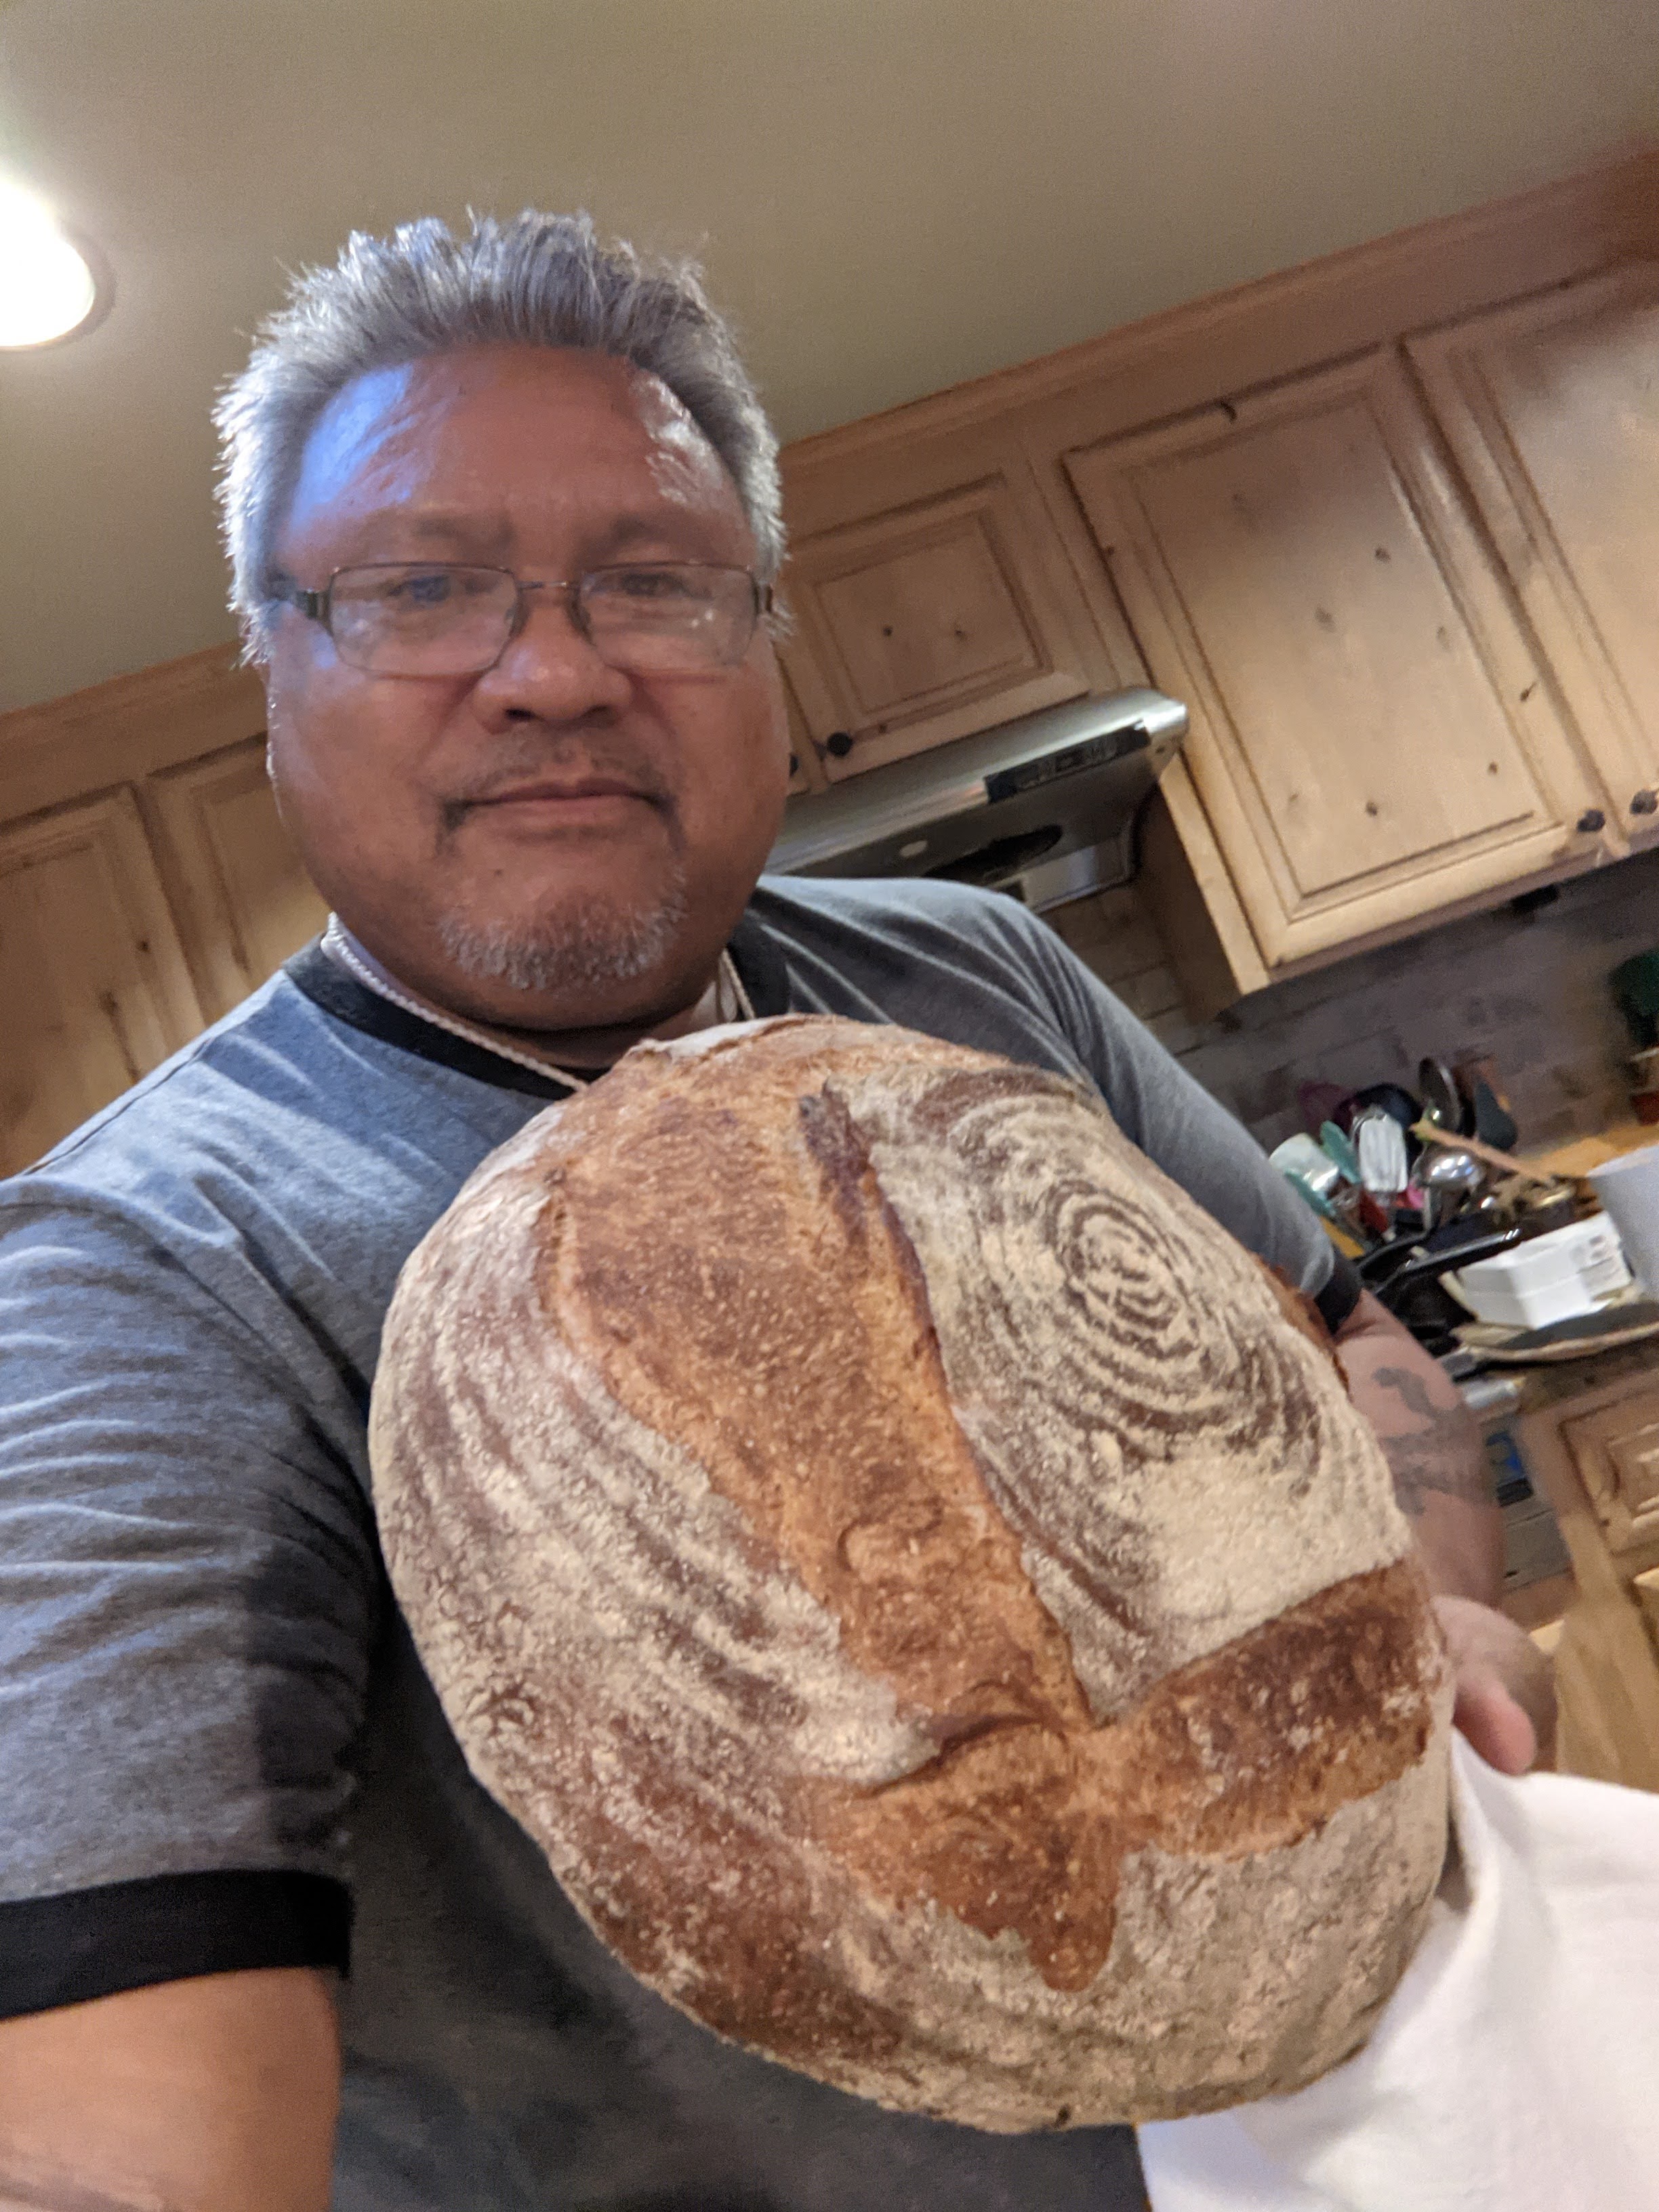

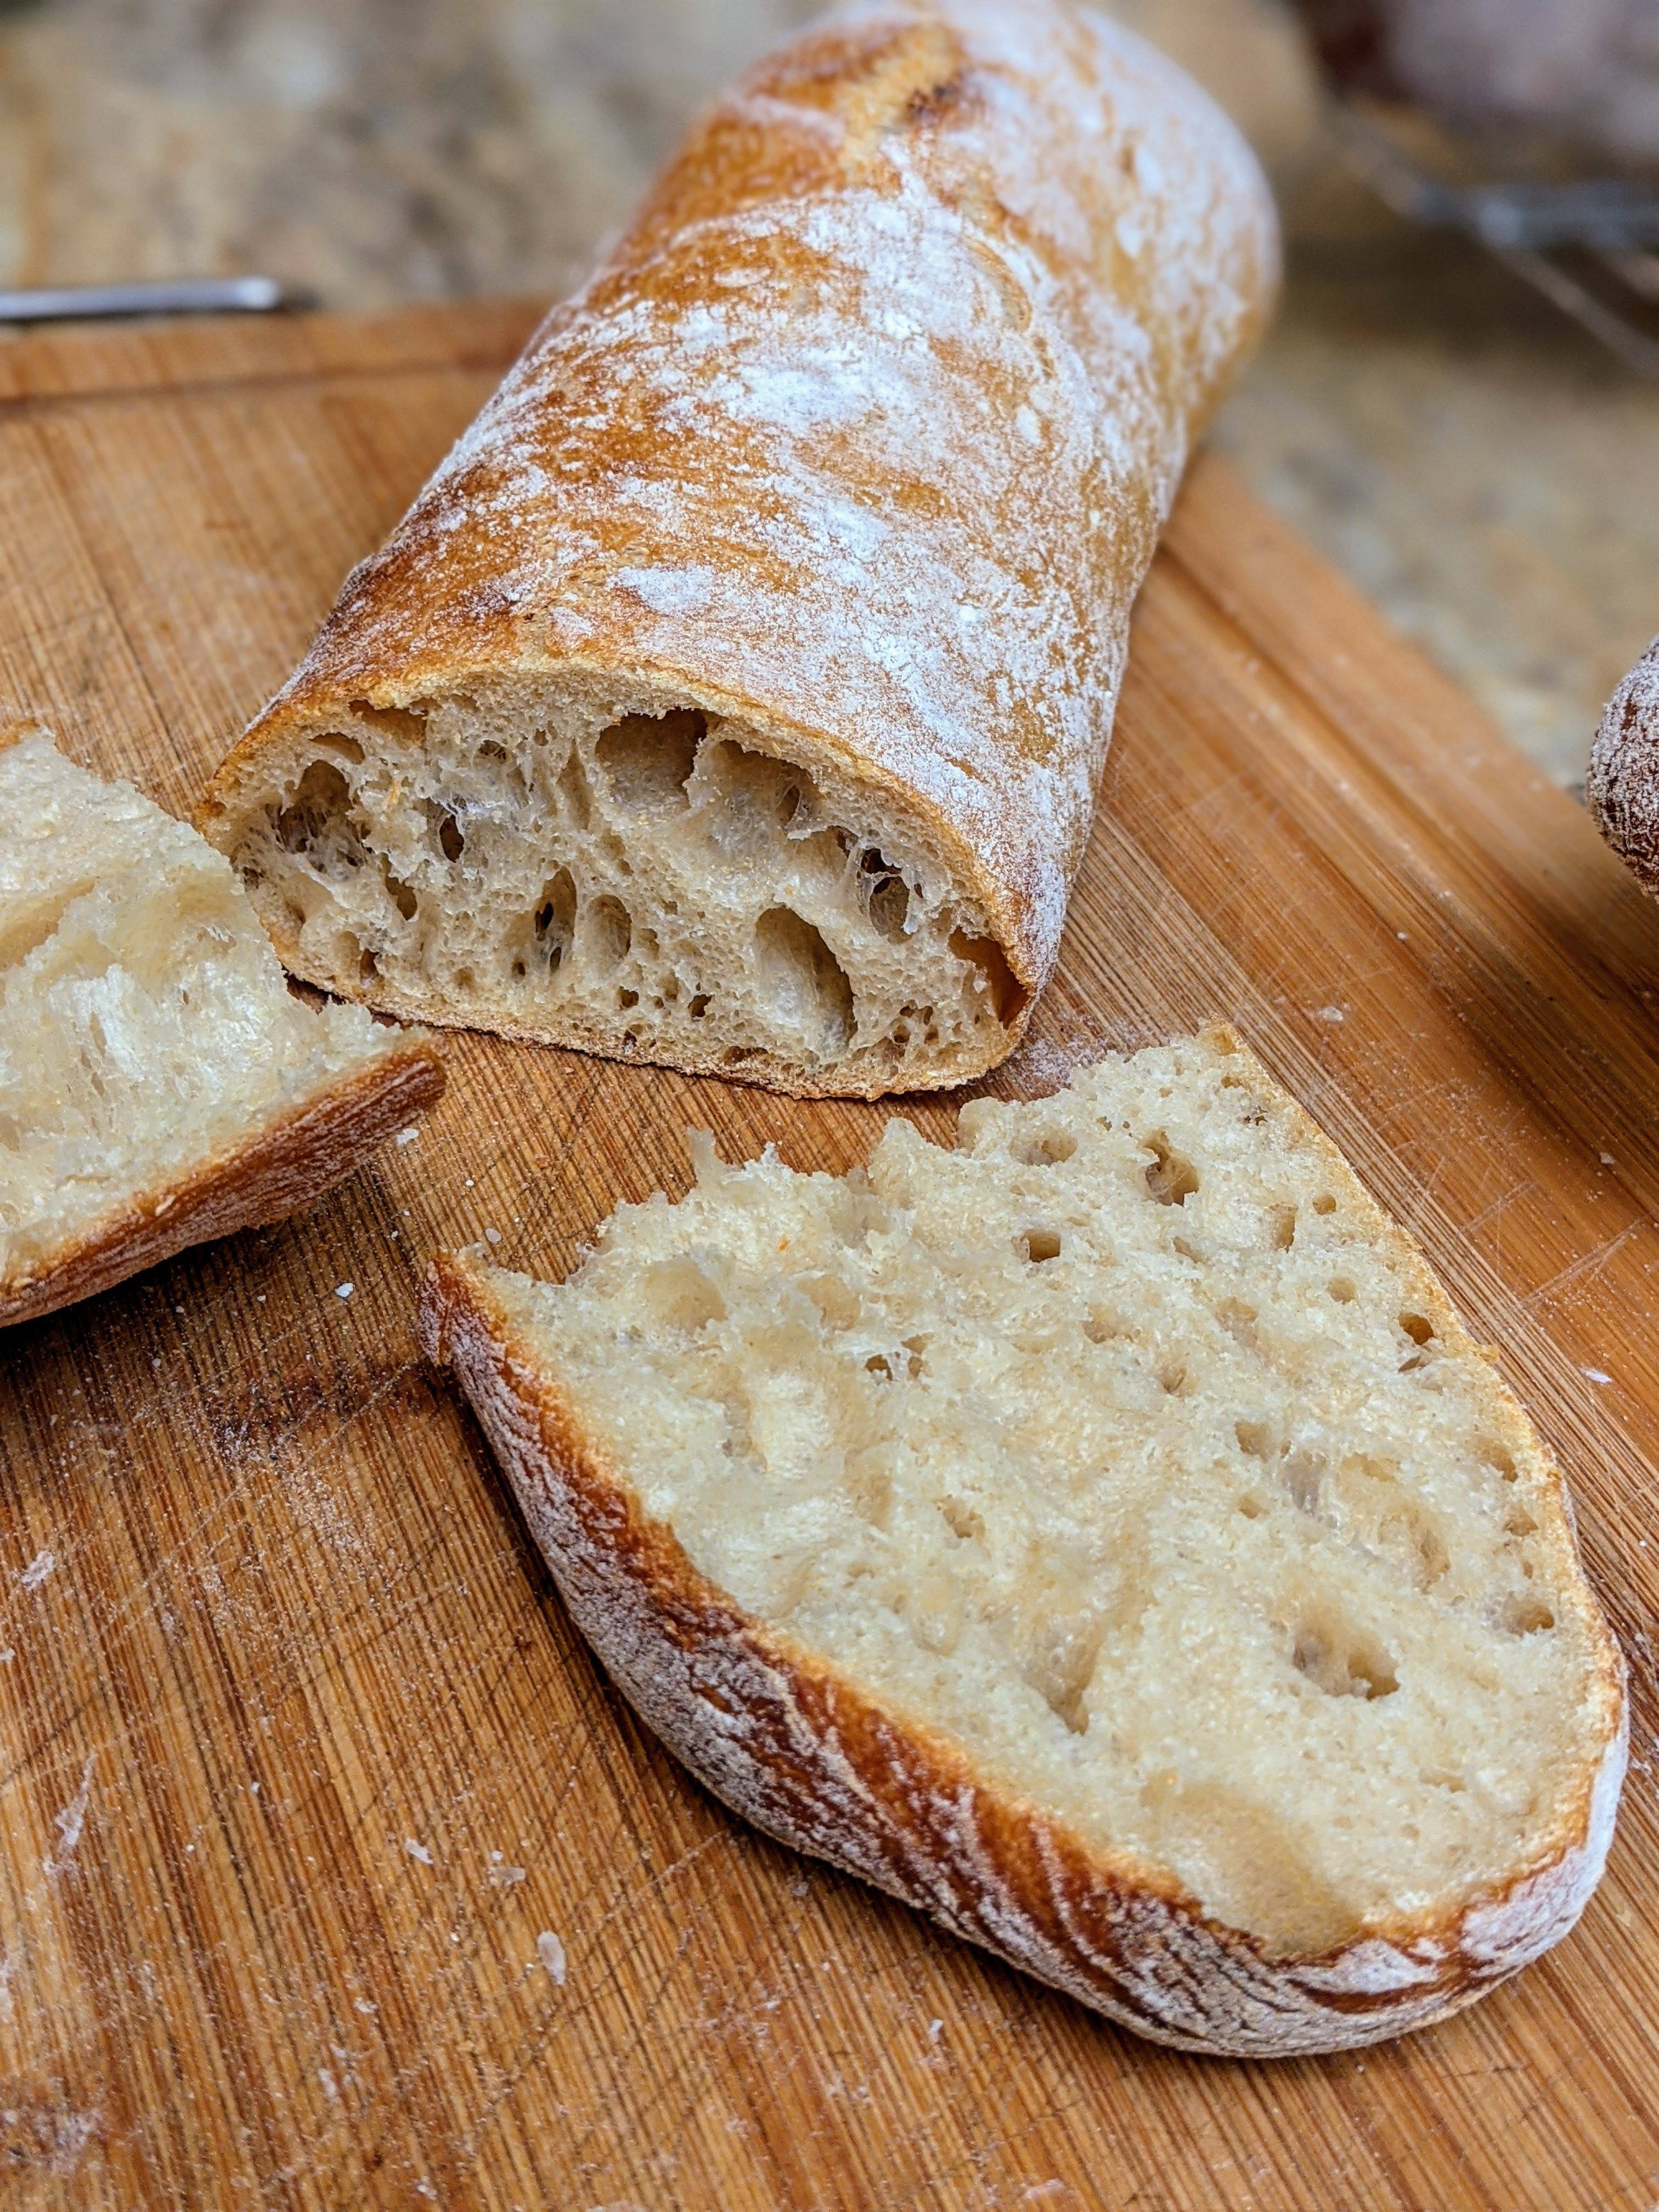
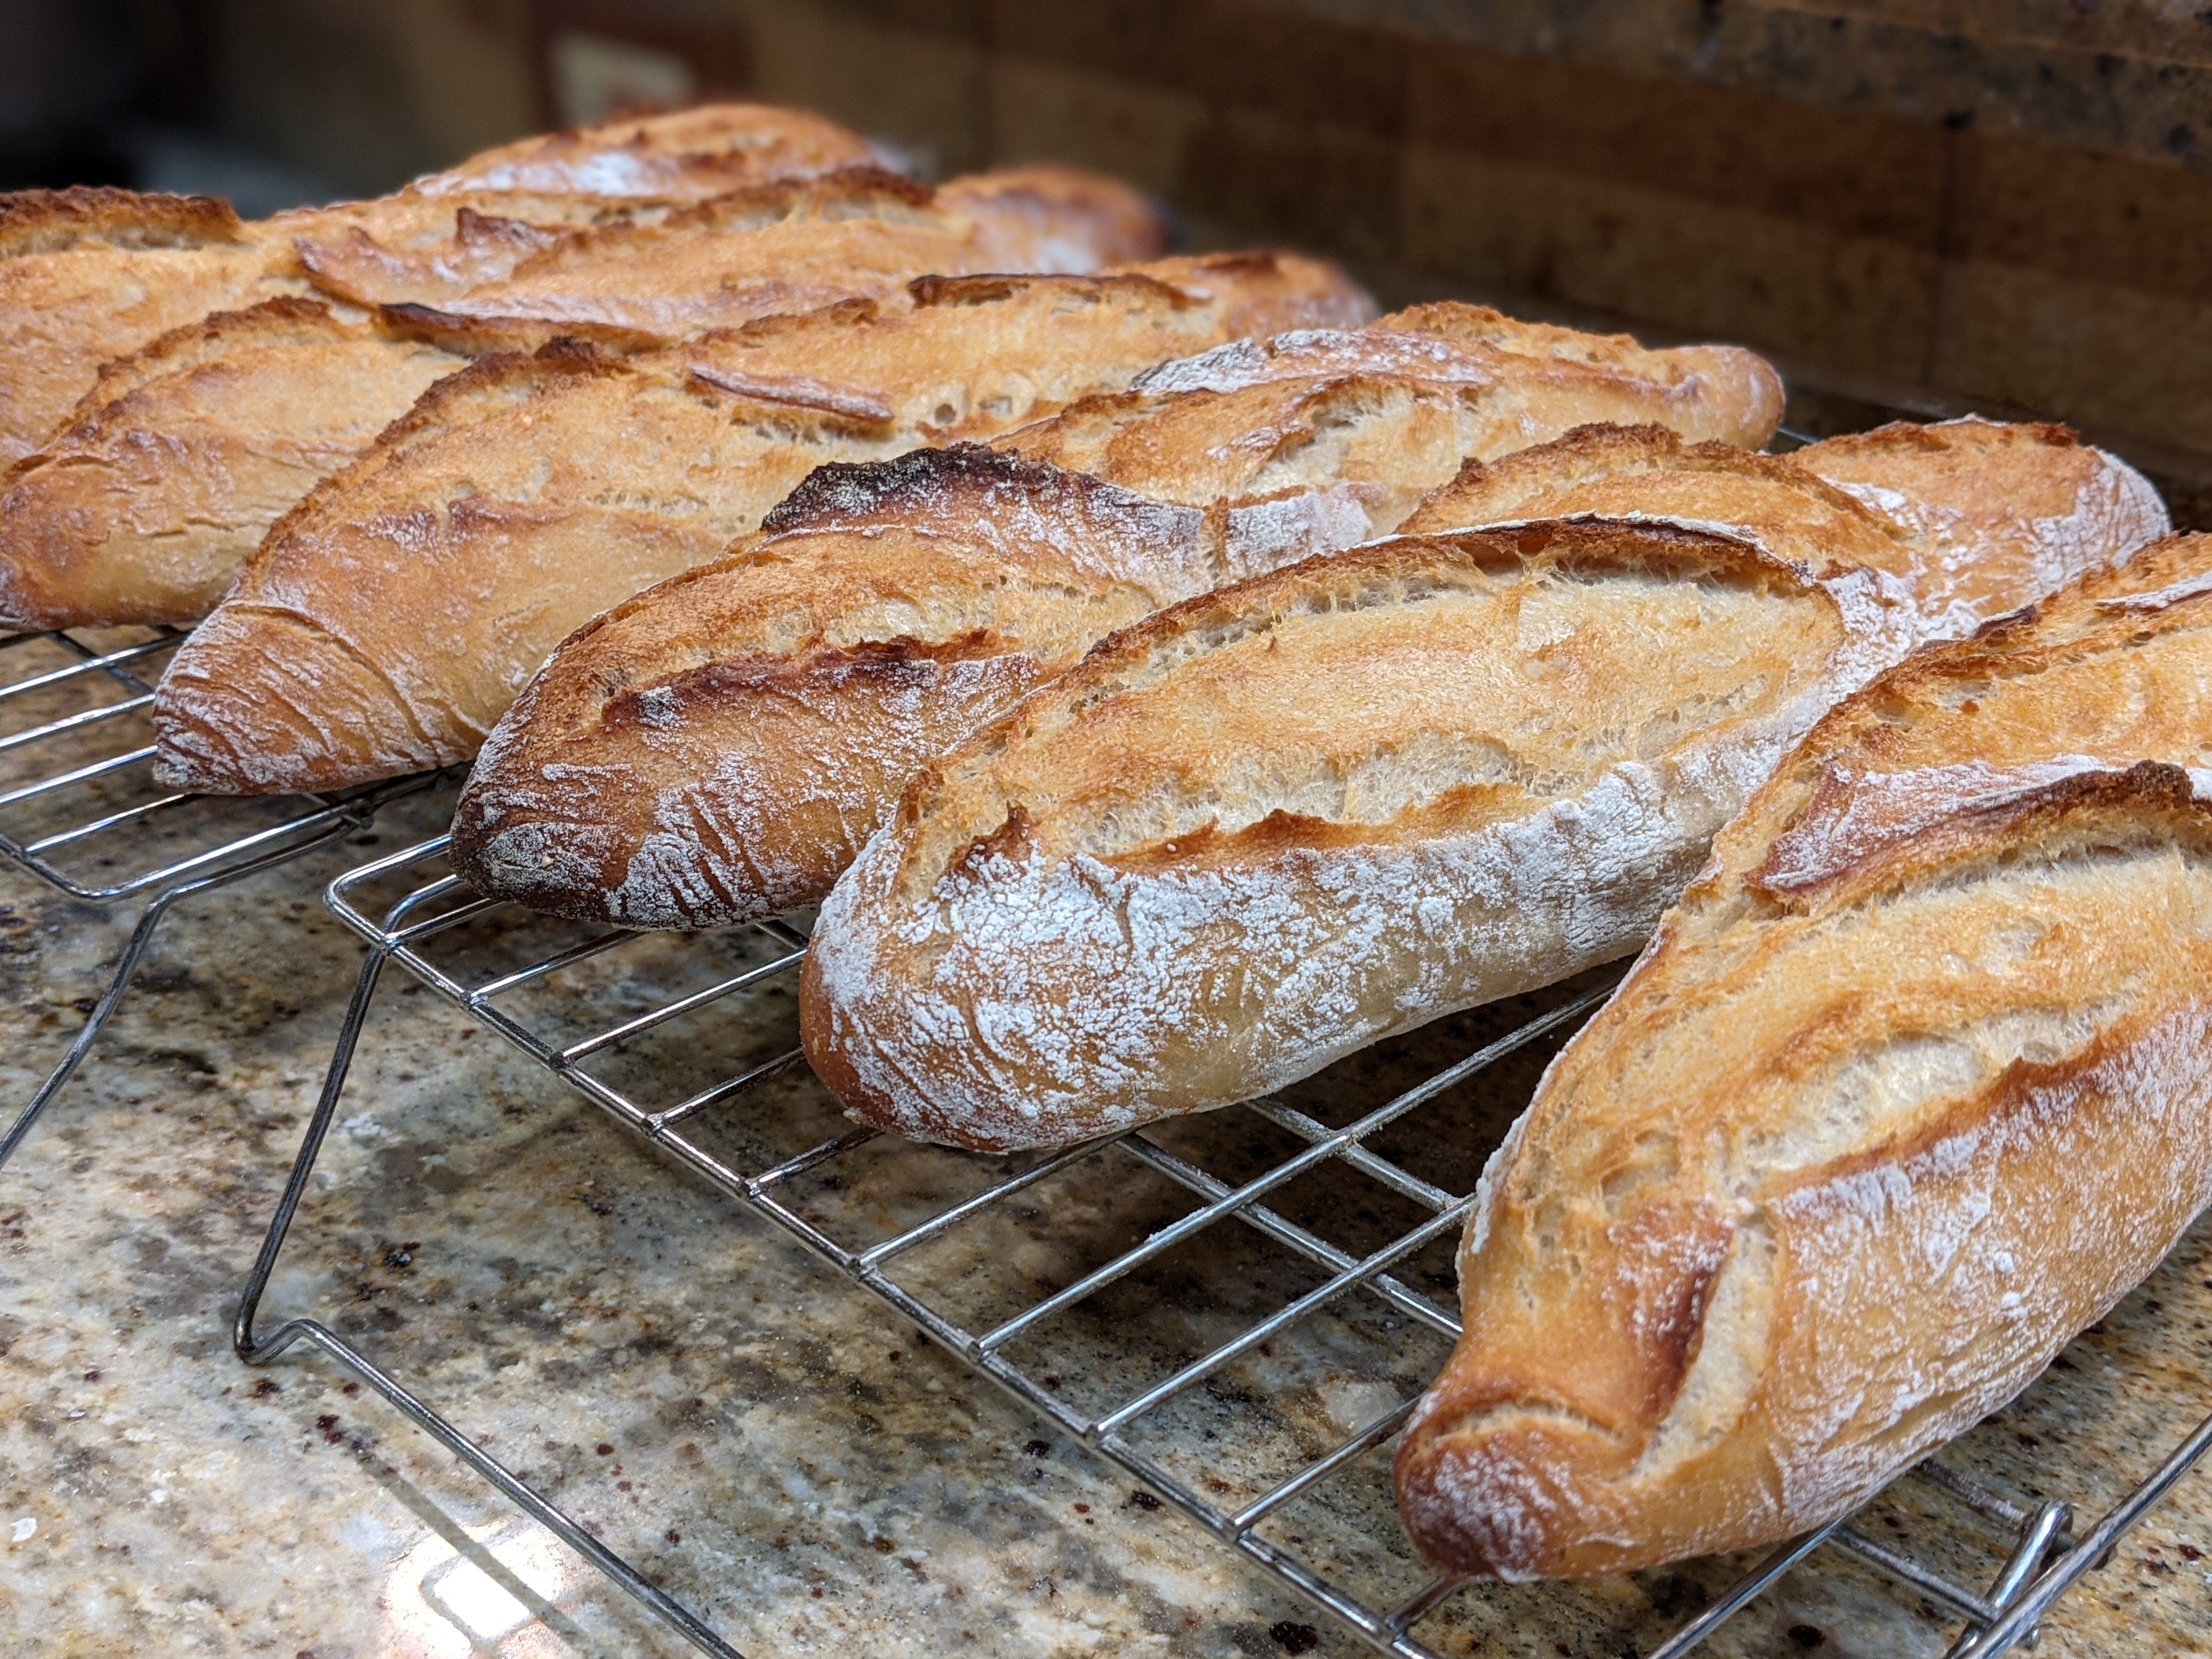
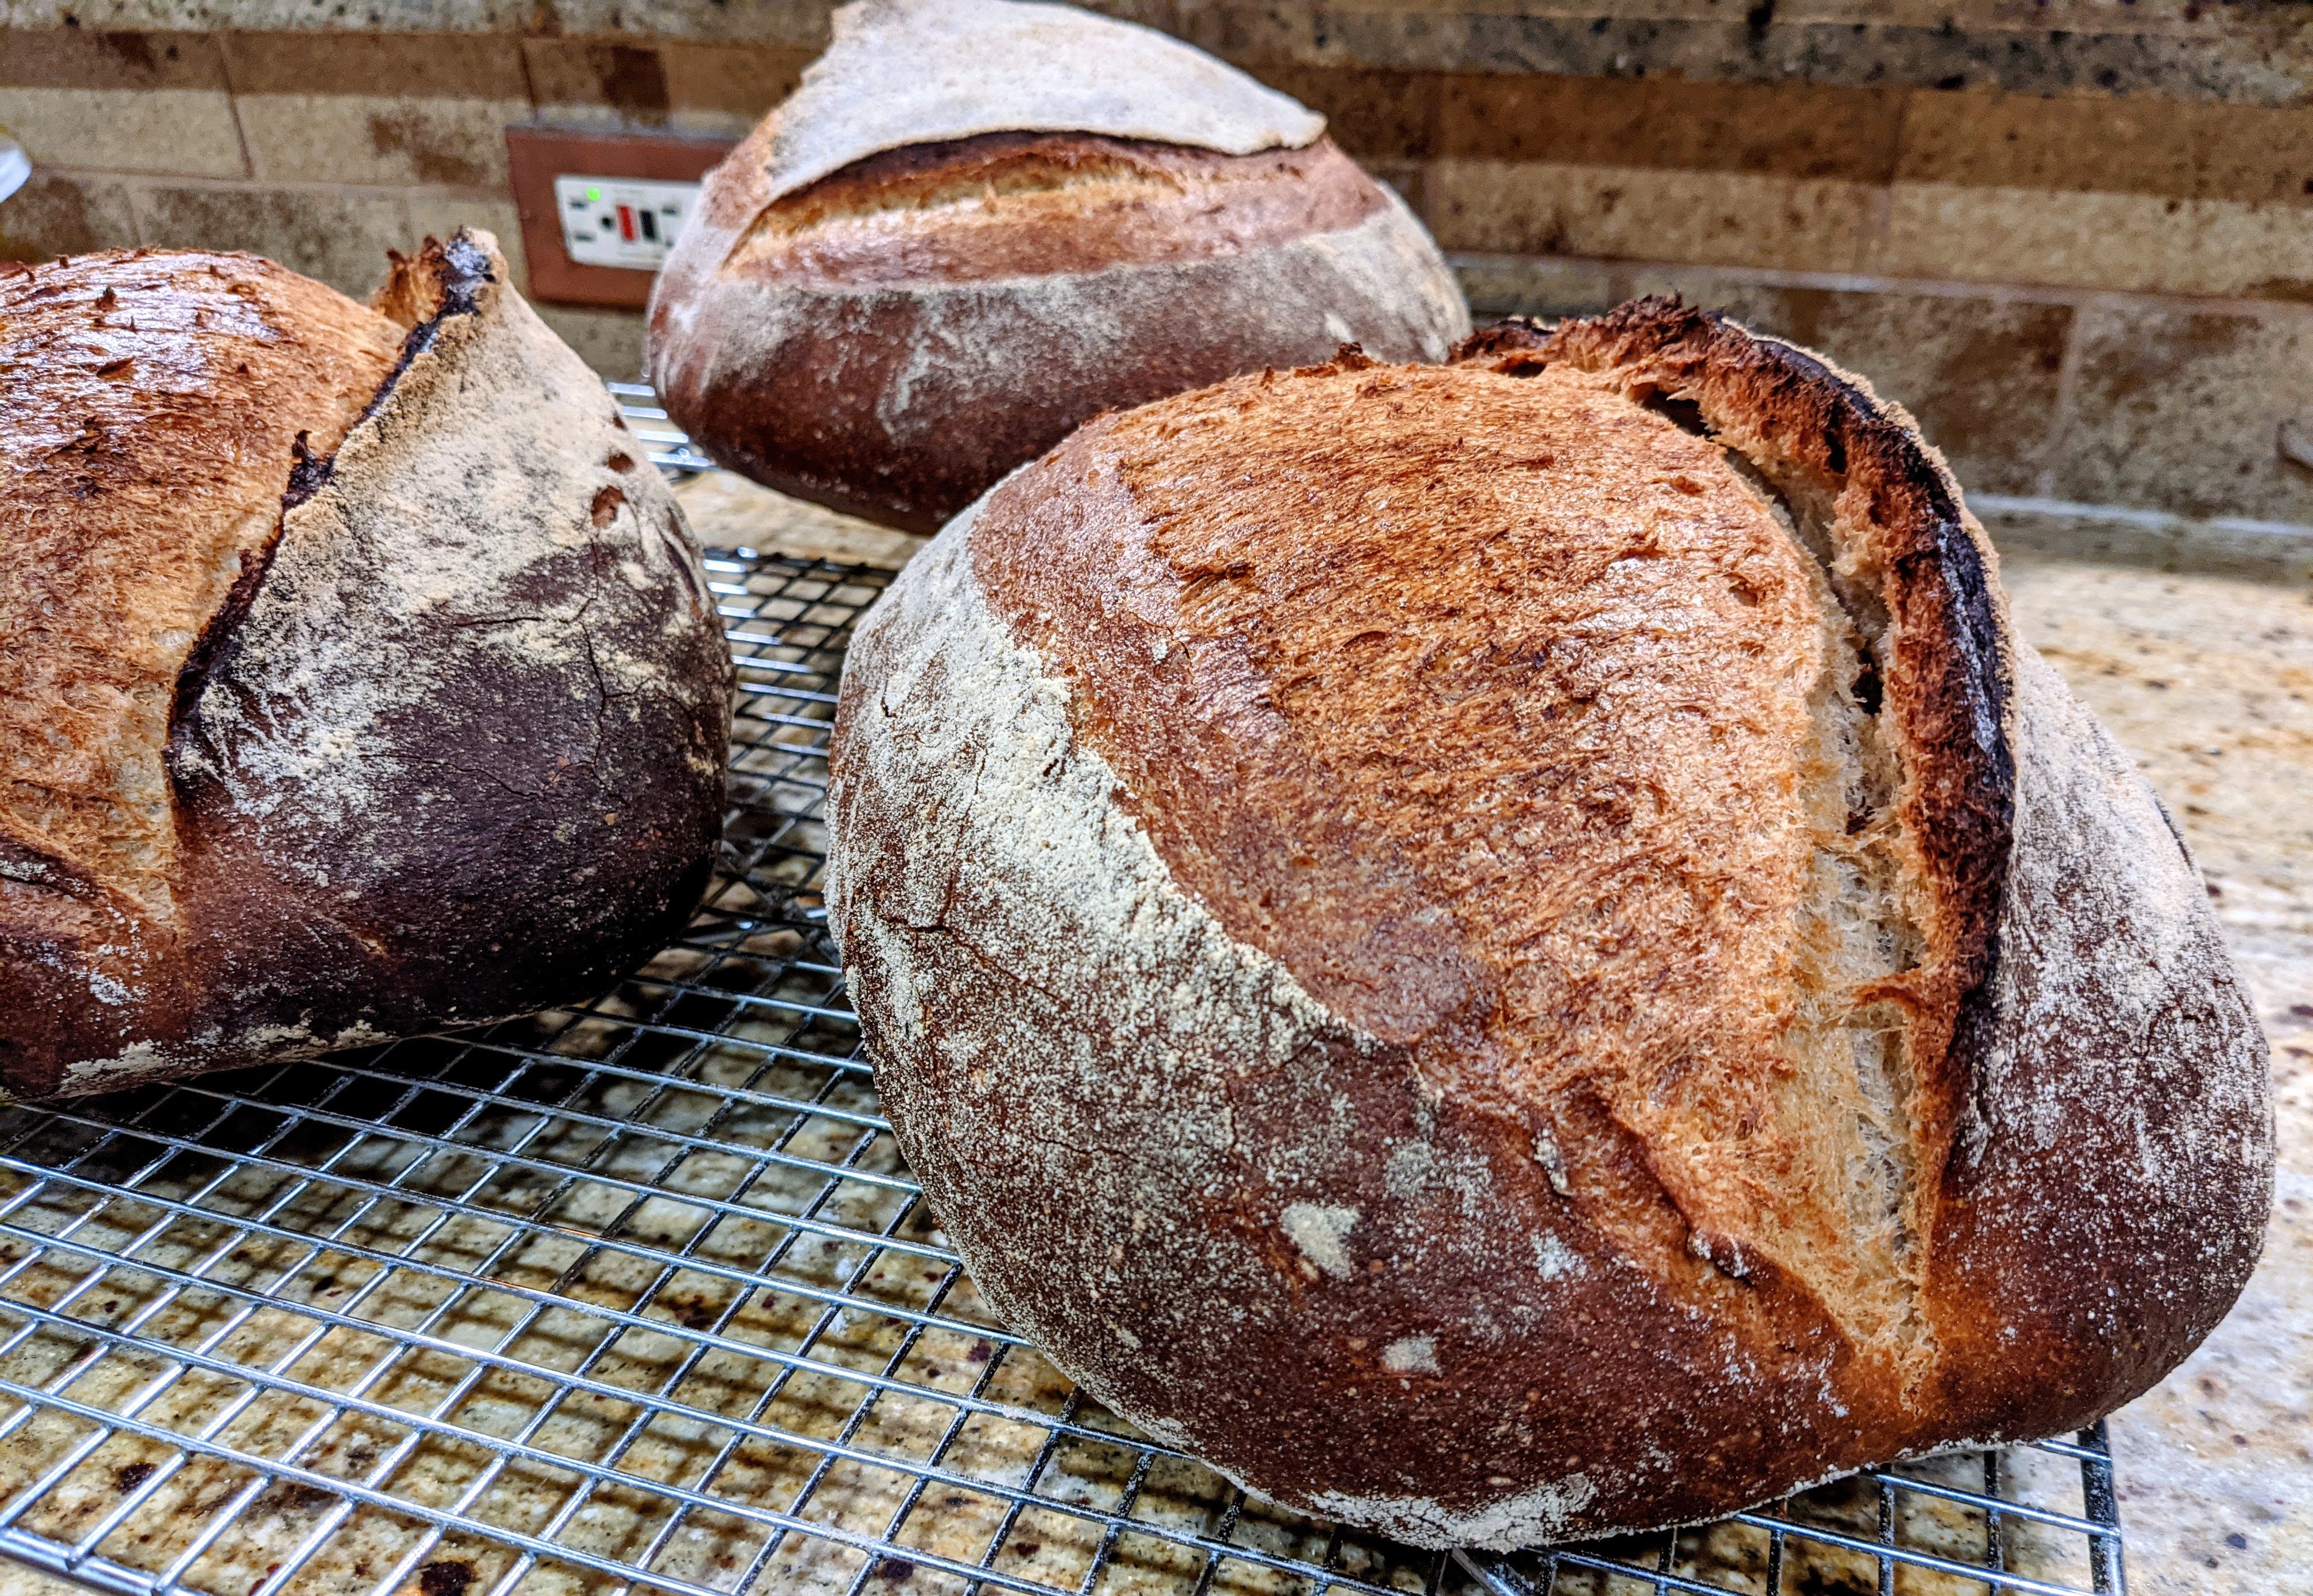
Touch – What does the loaf feel like? Again, does the loaf feel like it should? For hearth bread, even for large loaves, when I pick one up, I want them to feel lighter than what my eyes tell me. Take the batard on the left above. That loaf weighed over two pounds. It was a big loaf. But when I picked it up, it felt light and airy. The crumb reflected that:

Not only that, the texture of the crumb was spongy and soft – and I was even using a predominance of whole wheat and high-extraction flour!
Aroma – Pretty much any homemade bread smells great coming out of the oven. But I found so much complexity in aroma by using a blend of different flour. To me, there’s nothing like the aroma of whole grains when they’ve been subjected to high temperature.
Taste – Though they’re not listed in any particular order, I purposely didn’t list taste first because it’s kind of a given. And frankly, similarly to wine, taste goes along with aroma. As with aroma, what I strive for with my bread is a complexity in flavors. And since there’s technically on three ingredients in naturally leavened bread, achieving complexity is a system of trade-offs.
For instance, because I use a healthy percentage of whole wheat and high-extraction flour (typically 10% whole wheat, 50% high-extraction) in my flour blend, my loaves generally don’t have a super-open crumb. I also tend to bake my loaves more aggressively to ensure good caramelization of the sugars on the crust (though I do my best not to take things out to black).
Sound – This one isn’t as apparent as the others. But when I pick up a loaf and give it a light squeeze, I want to hear the bread sing as the crust gently crackles beneath my fingers. I also listen to my loaves as they cool and expect an occasional crackle as the loaf contracts and the crust cracks. It’s a sign that the crust is crispy, but also has some give in it.
There’s really nothing like that sound!