Recipe: Sourdough Ciabattas

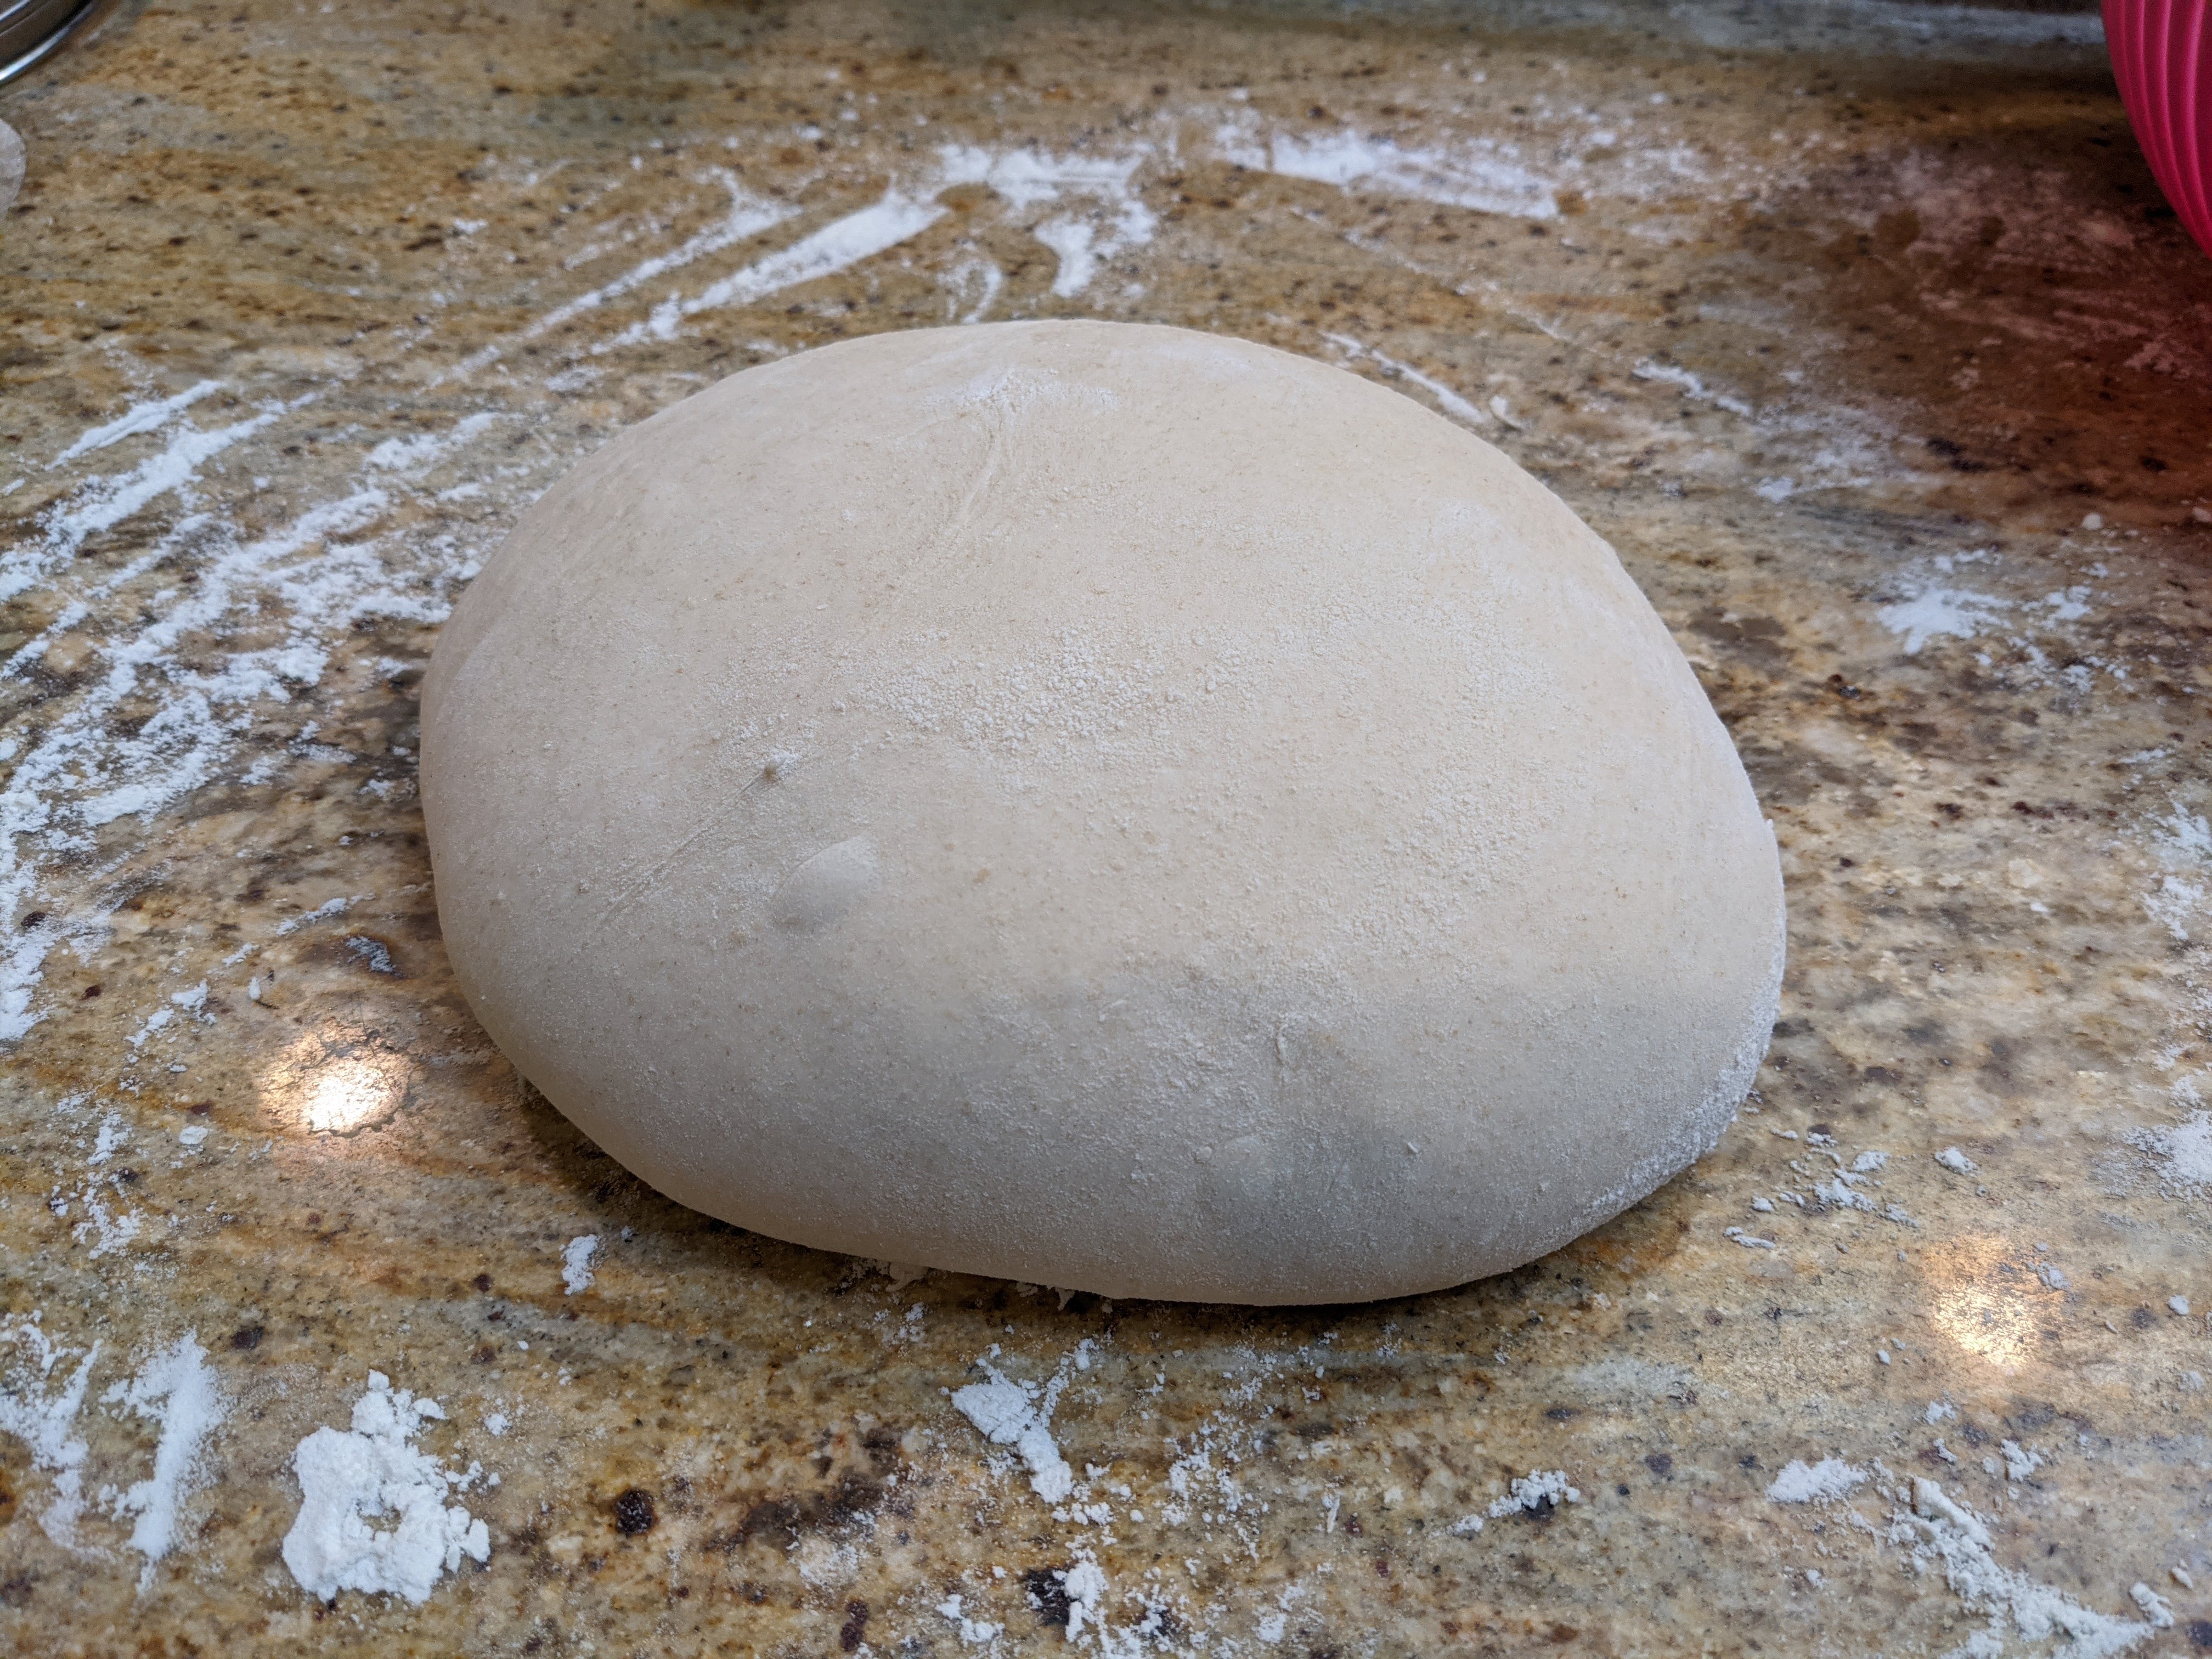
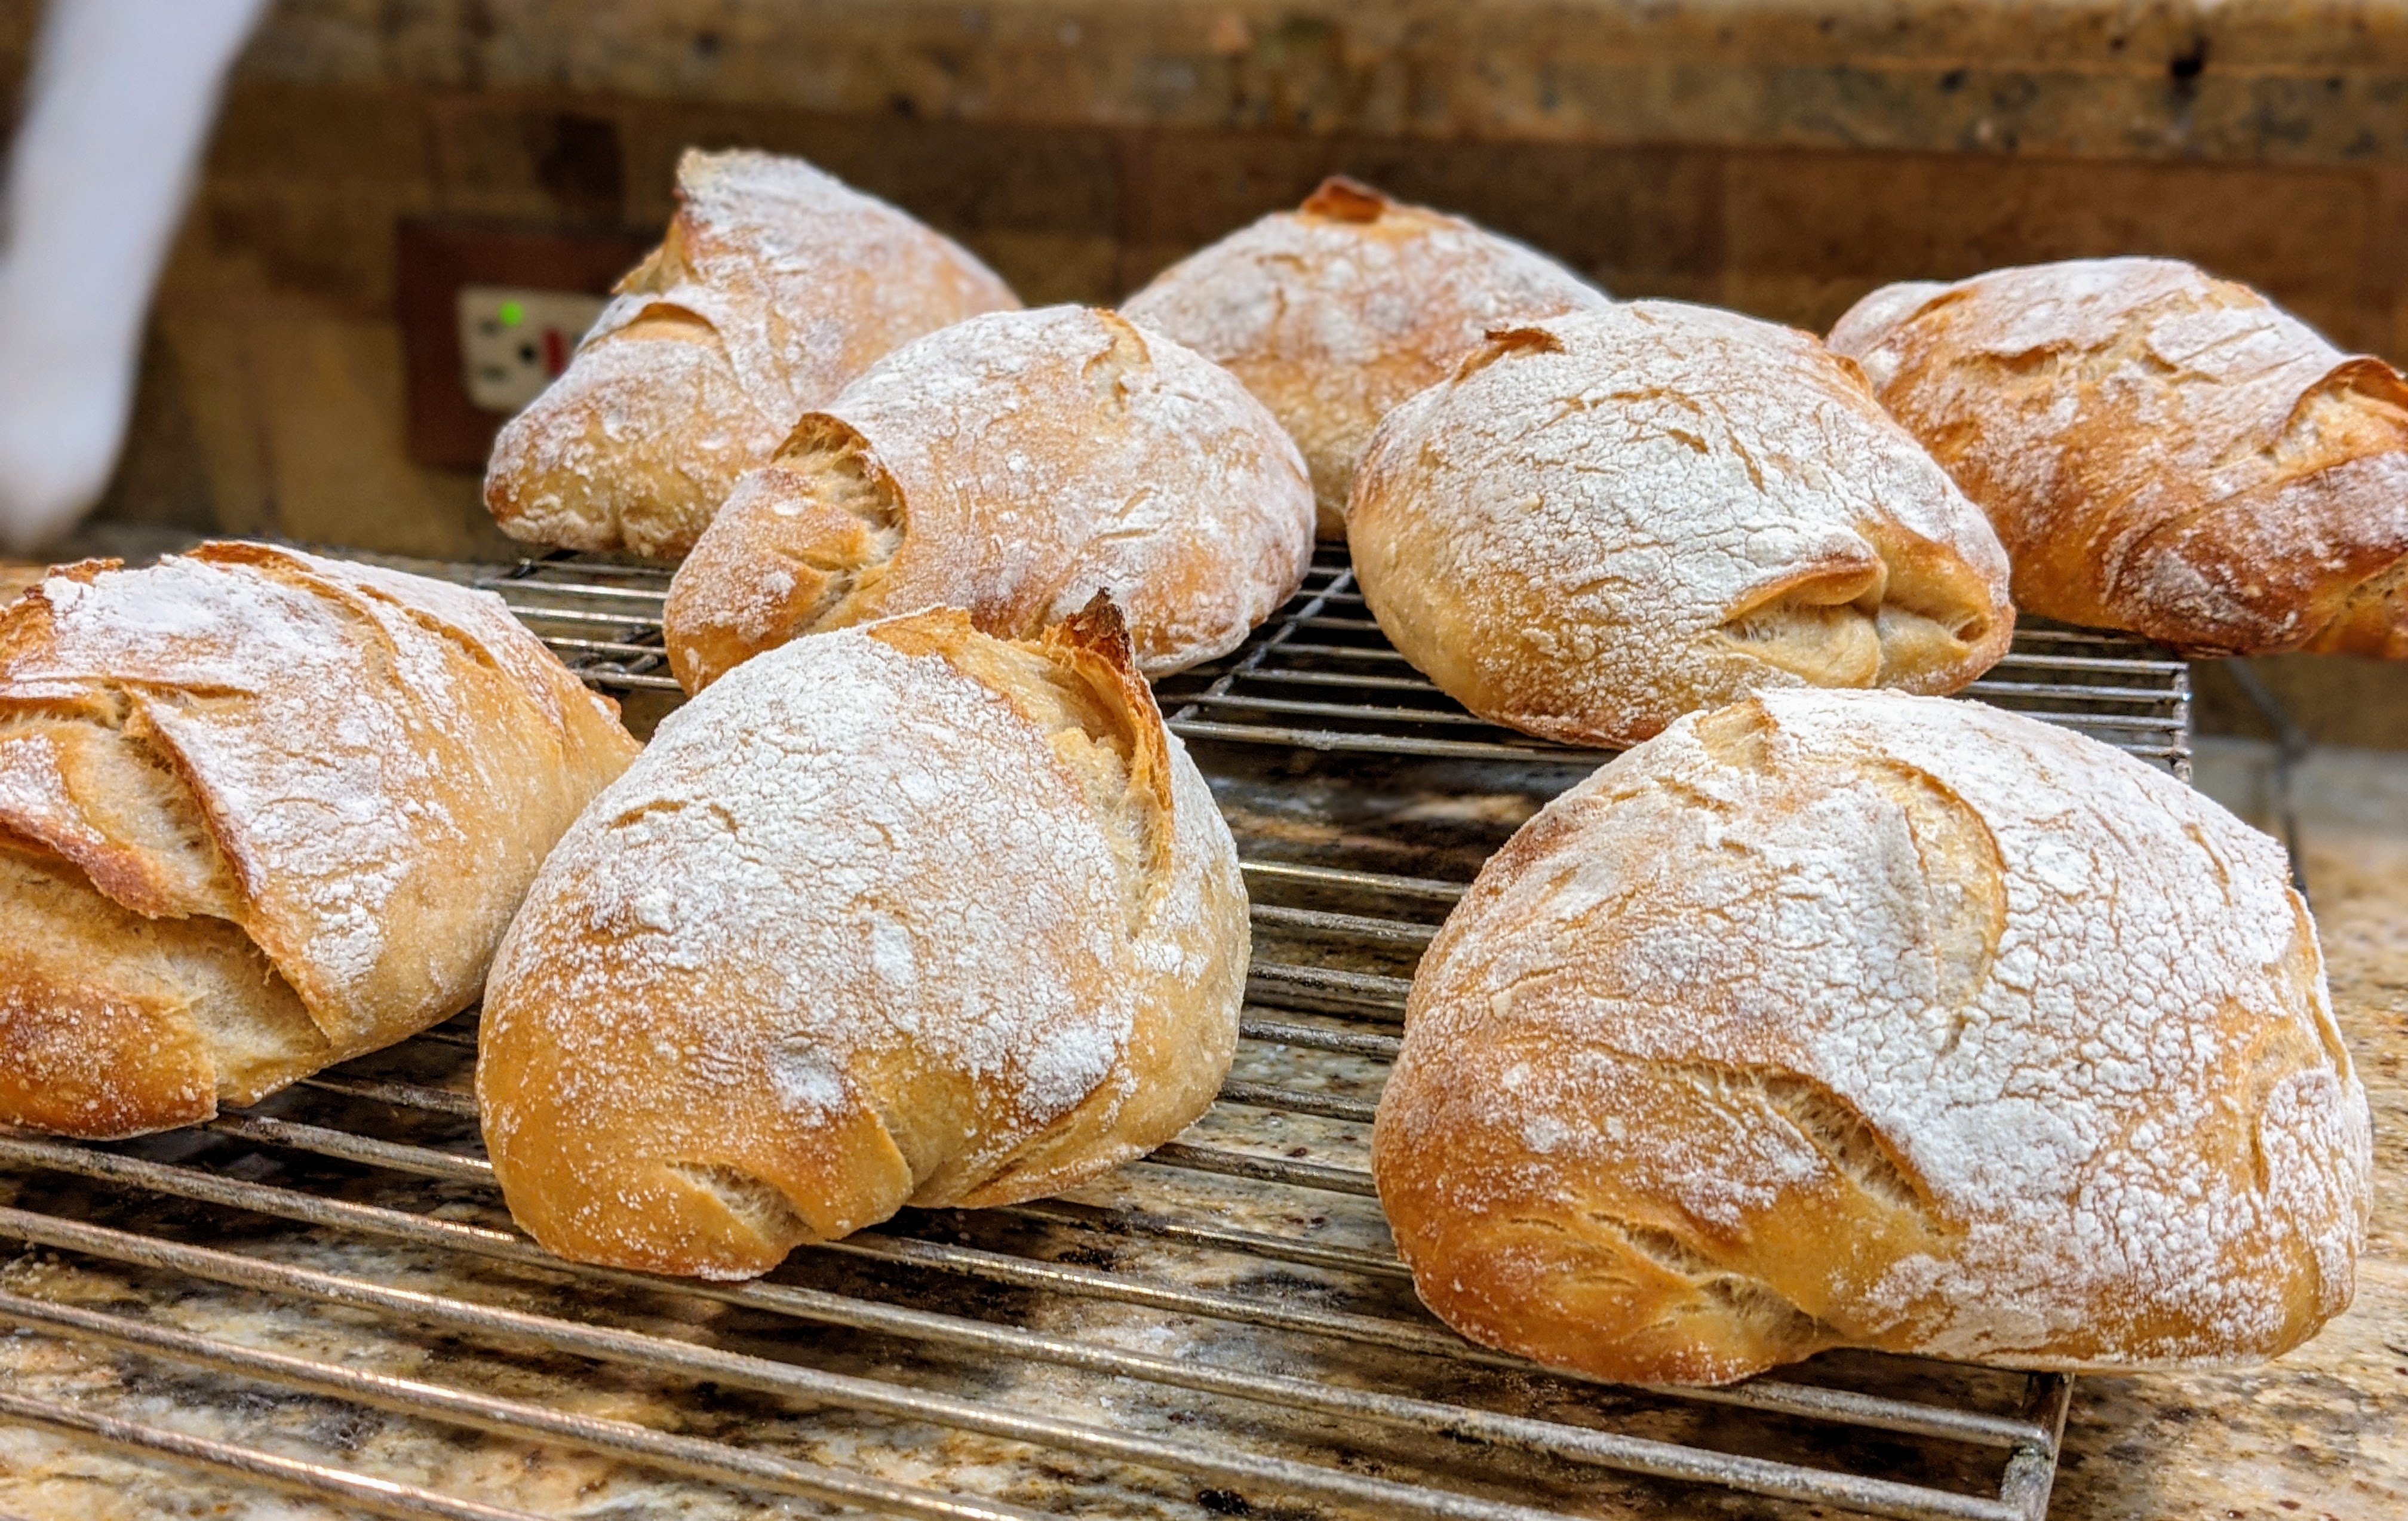
Besides baguettes, ciabattas are my other favorite loaves to make. Once I learned Master Chef Markus Farbinger’s recipe, I was hooked! Ciabattas are SO easy to make. Whether you use the standard recipe that I linked to above, or use a sourdough starter, it can be a same-day bake! Though if you go the sourdough route, I suggest doing an overnight bulk ferment, which I’ll explain below.

With this particular recipe, I’m going for a much lighter crumb and am using bread and AP flour. I know that I have eschewed using white flours, but the enzymes in the sourdough starter help break down the flour to make it more digestible, so while the flour may not be as nutritious as whole wheat and high-extraction flour, we’ll still get plenty of nutrition from the bread. That said, let’s get started!

Ingredients

Levain

Starter200 grams
Unbleached Flour150 grams
Water (90°-95° F)150 grams
For flour, I use a high-extraction flour from Azure Standard called Ultra Unifine Bread Flour.

Final Dough

Levain500 grams
Unbleached Bread Flour250 grams
Unbleached AP Flour500 grams
Water*550-600 grams
Salt20 grams
Instant Yeast** (optional)2 grams
*With water, you have to gauge it. 550 grams will get you to 80% hydration. But depending on your flour, if the dough is a little stiff, you’ll want to add more water. The initially mixed dough sh9uld be the consistency of a stiff batter.

**Using a bit of instant yeast is purely optional, but I’ve found that it is very helpful on cold days. I wouldn’t use it on hot days where I can rely on the ambient temperature of my kitchen to keep the microbes super-active.

Instead of using separate containers for the levain and the final dough, I just use a 6-quart Cambro tub. When my levain’s ready, I just add all the ingredients to the tub. It’s much more convenient. I’m going to provide some times as guides during the process. By no means are they hard and fast, especially with varying kitchen temps where the bulk and final fermentations can be shorter or longer depending on the ambient temperature of your kitchen.

Make the Levain

  1. Feed your starter so you can produce 200 grams of starter. When the starter’s ready, transfer 200 grams to a large mixing bowl or a large plastic tub. Note that the starter doesn’t have to be active and at its peak. My daily grape starter is maintained at 400 grams total, so I just use 200 grams from my mother culture, then feed her. Works like a charm!
  2. (4:00 pm) To the 200 grams of starter, add 150 grams of unbleached flour (here’s where I use my high-extraction flour, but you can use any unbleached flour that you want) and 150 grams of water. Mix thoroughly until smooth.
  3. (4:15 pm) Place the levain container in a warm place to ferment. It has been cold as of late, so I put my levain container in my oven with the door cracked to get a little heat from the oven light.
  4. (8:30 pm) If you have a fairly active starter, your levain should be actively bubbling by now. If it’s not, I suggest waiting until it’s really active.

Mix the Final Dough

  1. (8:40 pm) There’s no autolyse with a ciabatta, so just add all the final dough ingredients to the levain and mix thoroughly until you’ve incorporated all the dry ingredients and create a shaggy mass (about 5 minutes). Note: If you’re going to do a same-day bake, I suggest turning on your oven to 250° C or ~485° F now.
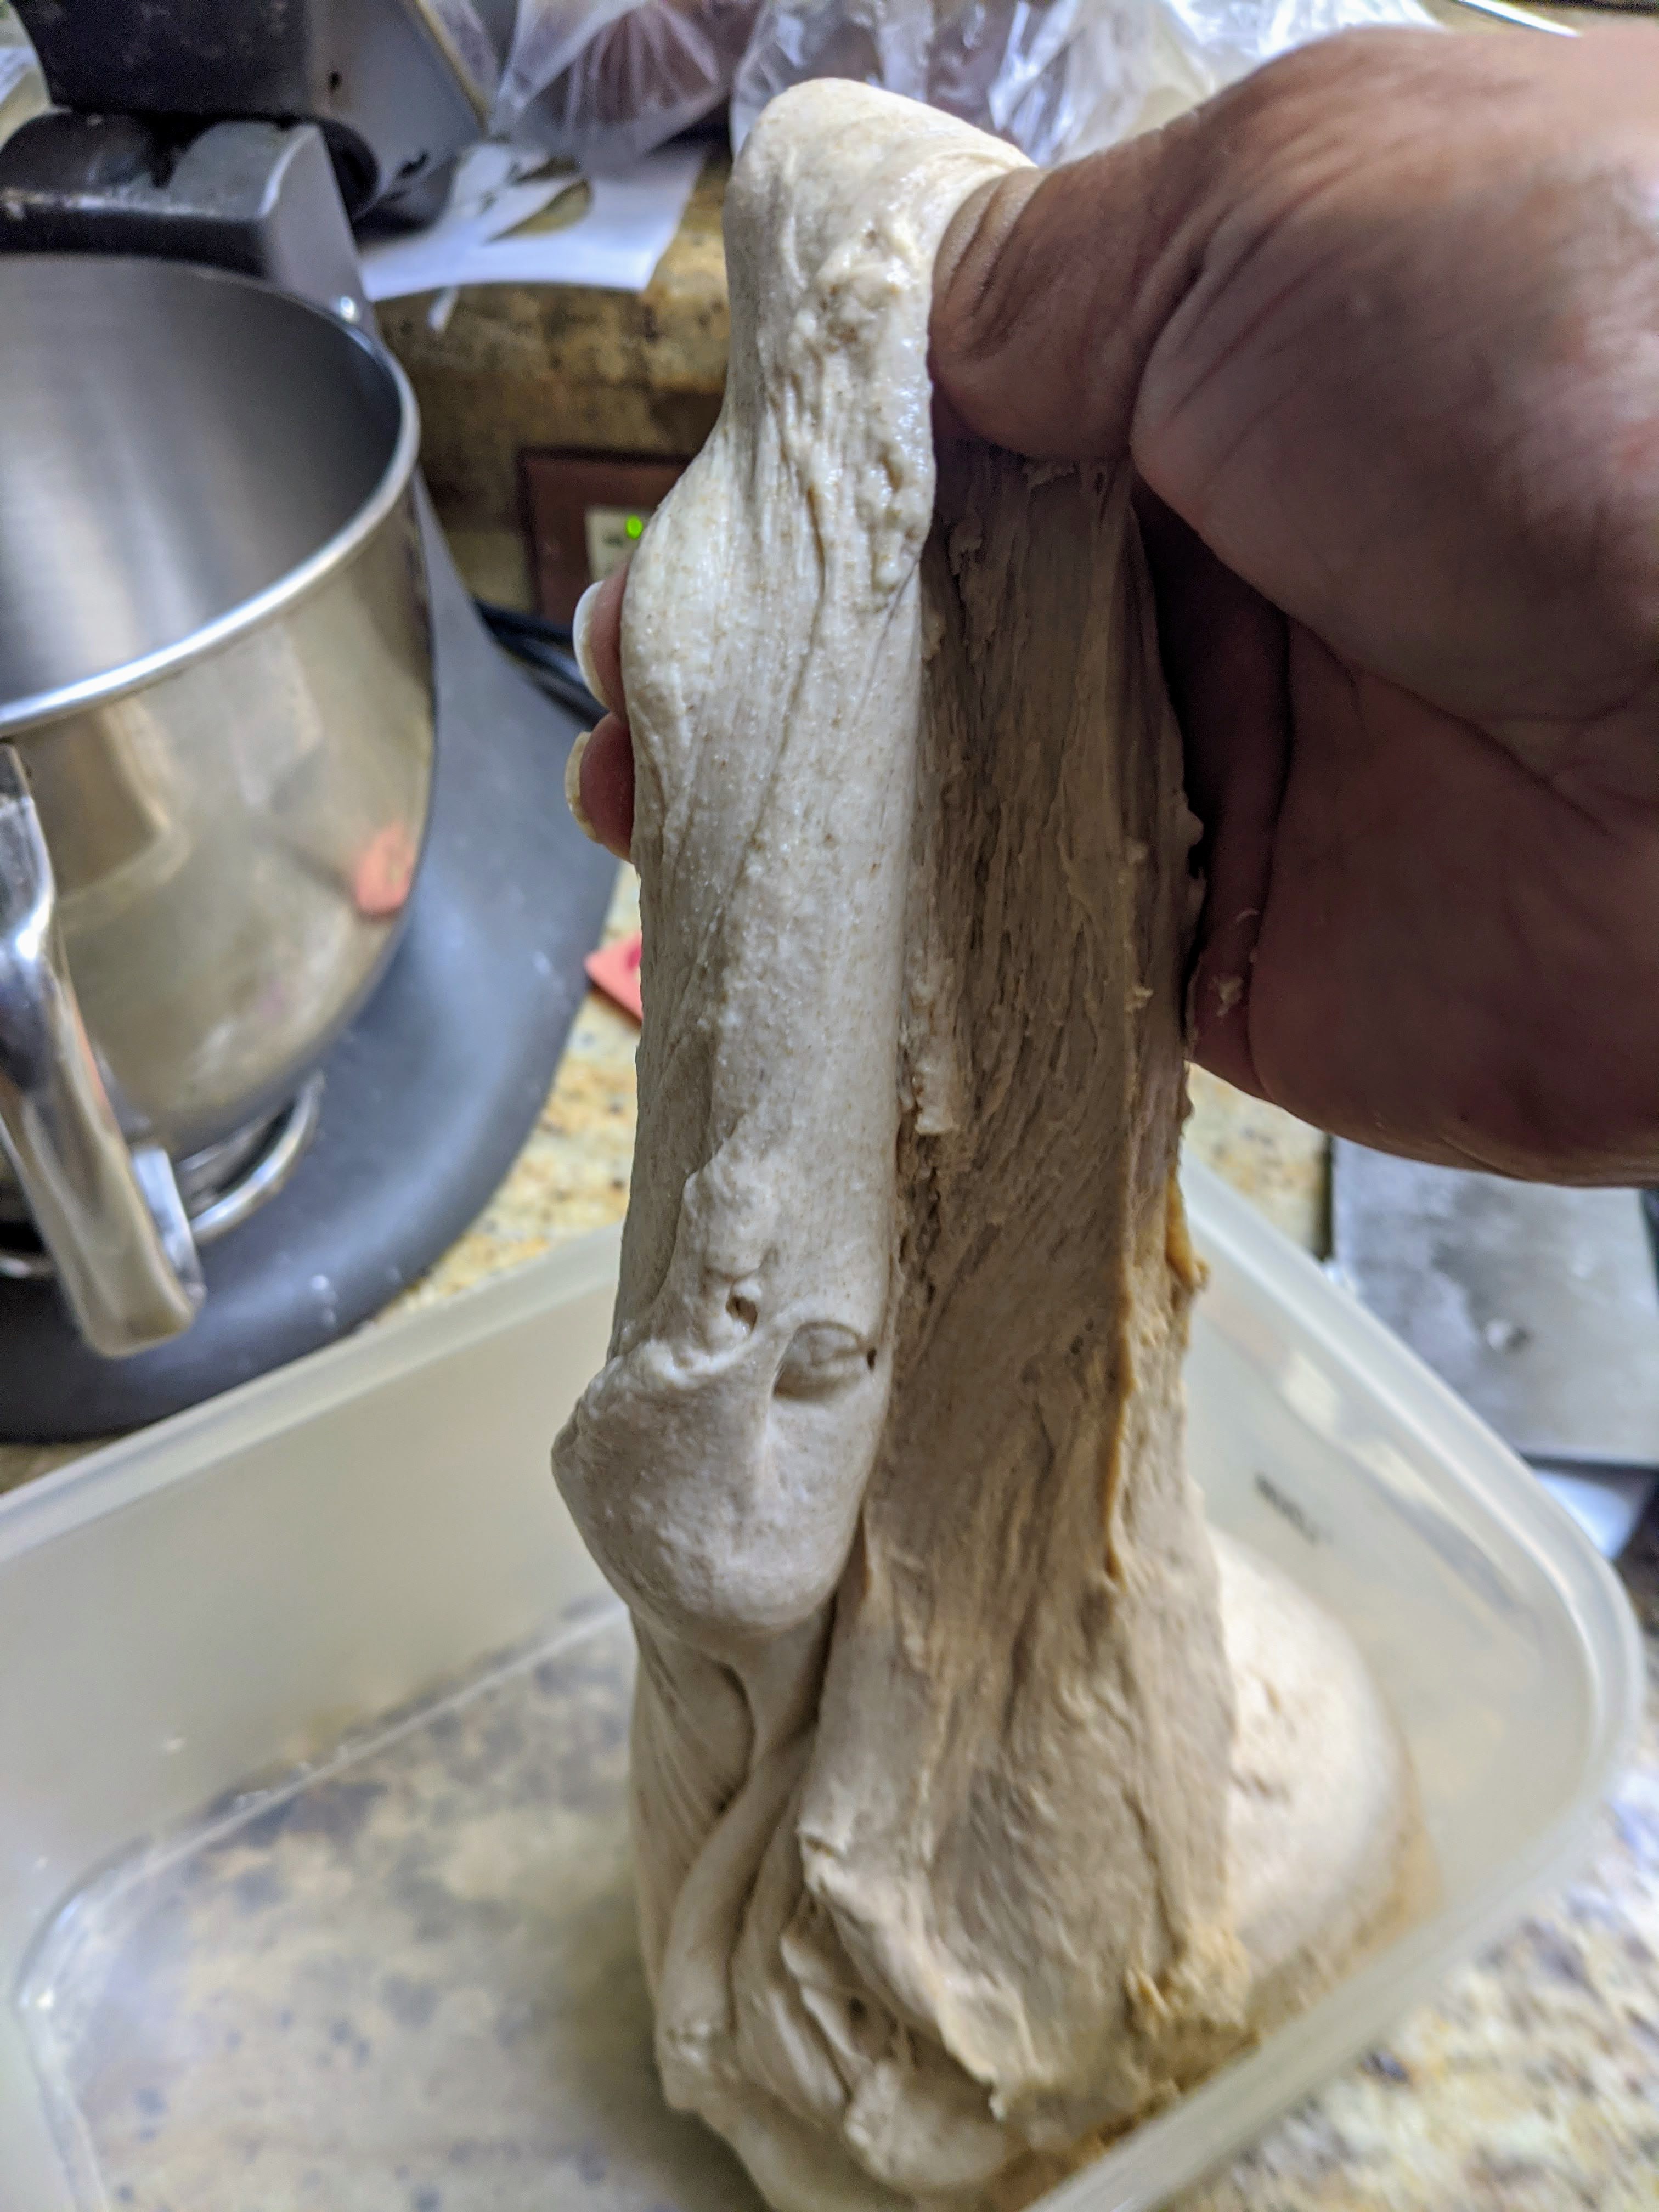
    1. It’s a bit messy, but I prefer to mix the dough by hand, alternating squeezing the dough through my open fingers, then using a stretch and fold motion to turn the dough. I’ll do this until I feel comfortable that the salt and yeast have been totally incorporated.
  2. Clean off your mixing hand and let the shaggy mass rest for 20 minutes.
  3. (9:05 pm) Using a wet hand, do a series of stretch and folds until you feel the tension in the dough building. When it kind of fights you, then let the dough rest for another 20 minutes.
  4. (9:25 pm) Dump the dough onto your well-floured work surface – it should be really well-floured – making sure you clean and scrape all the excess dough left in the container, then wipe the container with a paper towel.. Using quick motions, pull the dough into a rough rectangle, then do letter folds, front to back, and side to side at least three rounds. Make sure that when you fold, you also pull flap, then fold over. Once you feel that the dough strength has been built up (it will fight you a bit), roll the dough onto its seams, then using your bench scraper, form the dough into a ball.
  5. (9:30 pm) Spray the container with a light coat of olive oil (I use one of those PAM olive oil spritzers) then gently pick up the dough ball (you can form it up a bit more to make it easier), then drop it into the container.
  6. So here we have two alternatives:
    1. Let the dough rest for 5-10 minutes, then put the container in your fridge for an overnight bulk ferment.
    2. Let the dough rest for 20 minutes, and you’ll be ready for shaping.

Dividing and “Shaping”

Again, depending on how you do the bulk ferment there are two routes to take. The steps are similar, but different enough to warrant discussing them in separate sections.

Same-Day Bake

  1. After 20 minutes, again liberally sprinkle flour on your work surface, then slide the dough ball out of the mixing bowl.
  2. Using quick motions, gently tug the ball into a rough rectangle, then divide the dough into equal pieces. If I’m making loaves, I cut the rectangle in half.
  3. Technically, you’re not supposed shape the ciabatta dough. You pull it into a basic form. But I like to make my loaves into little rectangular pillows, so I gently letter fold the divided dough pieces, being extremely careful not to degas them.
  4. Once you’ve formed the loaves, gathering them from the long ends and cupping under the dough, transfer them to a well-floured couche, seam side up.
  5. Sprinkle the loaves with a bit of flour, then cover them and let proof for 10 minutes.
  6. After 10 minutes, check the loaves for springiness using the finger dent test. You want to have some spring. If there’s a bit too much; that is, the dough immediately springs back, let it rest another 10 minutes.

Overnight Ferment

If you did the overnight ferment, check your dough in your fridge. It should have at least doubled in size. If it hasn’t, you’ll have to wait. My retarder is set to 39° F and it takes 10-12 hours for my dough to double. So if you’re dough’s ready, turn on your oven now and set it to 250° C or about 485° F. Do not proceed until your oven is up to temp, then divide. If you’re using a baking stone, wait at least an hour before proceeding.

  1. Gently slide the fully fermented dough out of the bowl or container on a very well-floured surface. It should easily slide out since you oiled it down.
  2. As above, gently tug the ball into a rough rectangle then divide the dough into equal-sized pieces. Personally, the anal-retentive part of me, can’t resist scaling the pieces so they’re all roughly the same weight.
  3. (optional) As I mentioned above, you don’t have to shape the loaves, but I always do a simple letter fold, then place the loaves on seam side up on a well-floured couche.
  4. Sprinkle the loaves with flour, cover them, then let them rest for 20 minutes.
  5. At this point, I transfer the loaves, seam side down to my transfer board, covered with parchment paper. If you’re not going to use a baking stone, you can use a parchment-covered metal baking sheet.
  6. Sprinkle the tops with flour, cover them, then let the loaves rest for 20 minutes.

Bake

  1. Bake the loaves for 20 minutes (250° C/485 F) with steam (I now use a broiler pan on the bottom rack of my oven and pour a cup of scalding water into it).
  2. Remove your steaming tray after 20 min. Turn down the oven to 200° C/400° F) and continue baking for another 15 minutes, though check for doneness at 10 minutes.
  3. If you want a real crunchy crust, turn the oven off, then leave the loaves in the oven with a slightly cracked door for 10-15 minutes to cure the crusts.

As with my other recipes, I realize that I’ve been a bit long-winded. But I want to make sure I cover as much nuance as possible.
Yeah, Yeah, Yeah… Fails Make Us Better… BS… Coffee Helps Avoid Them!

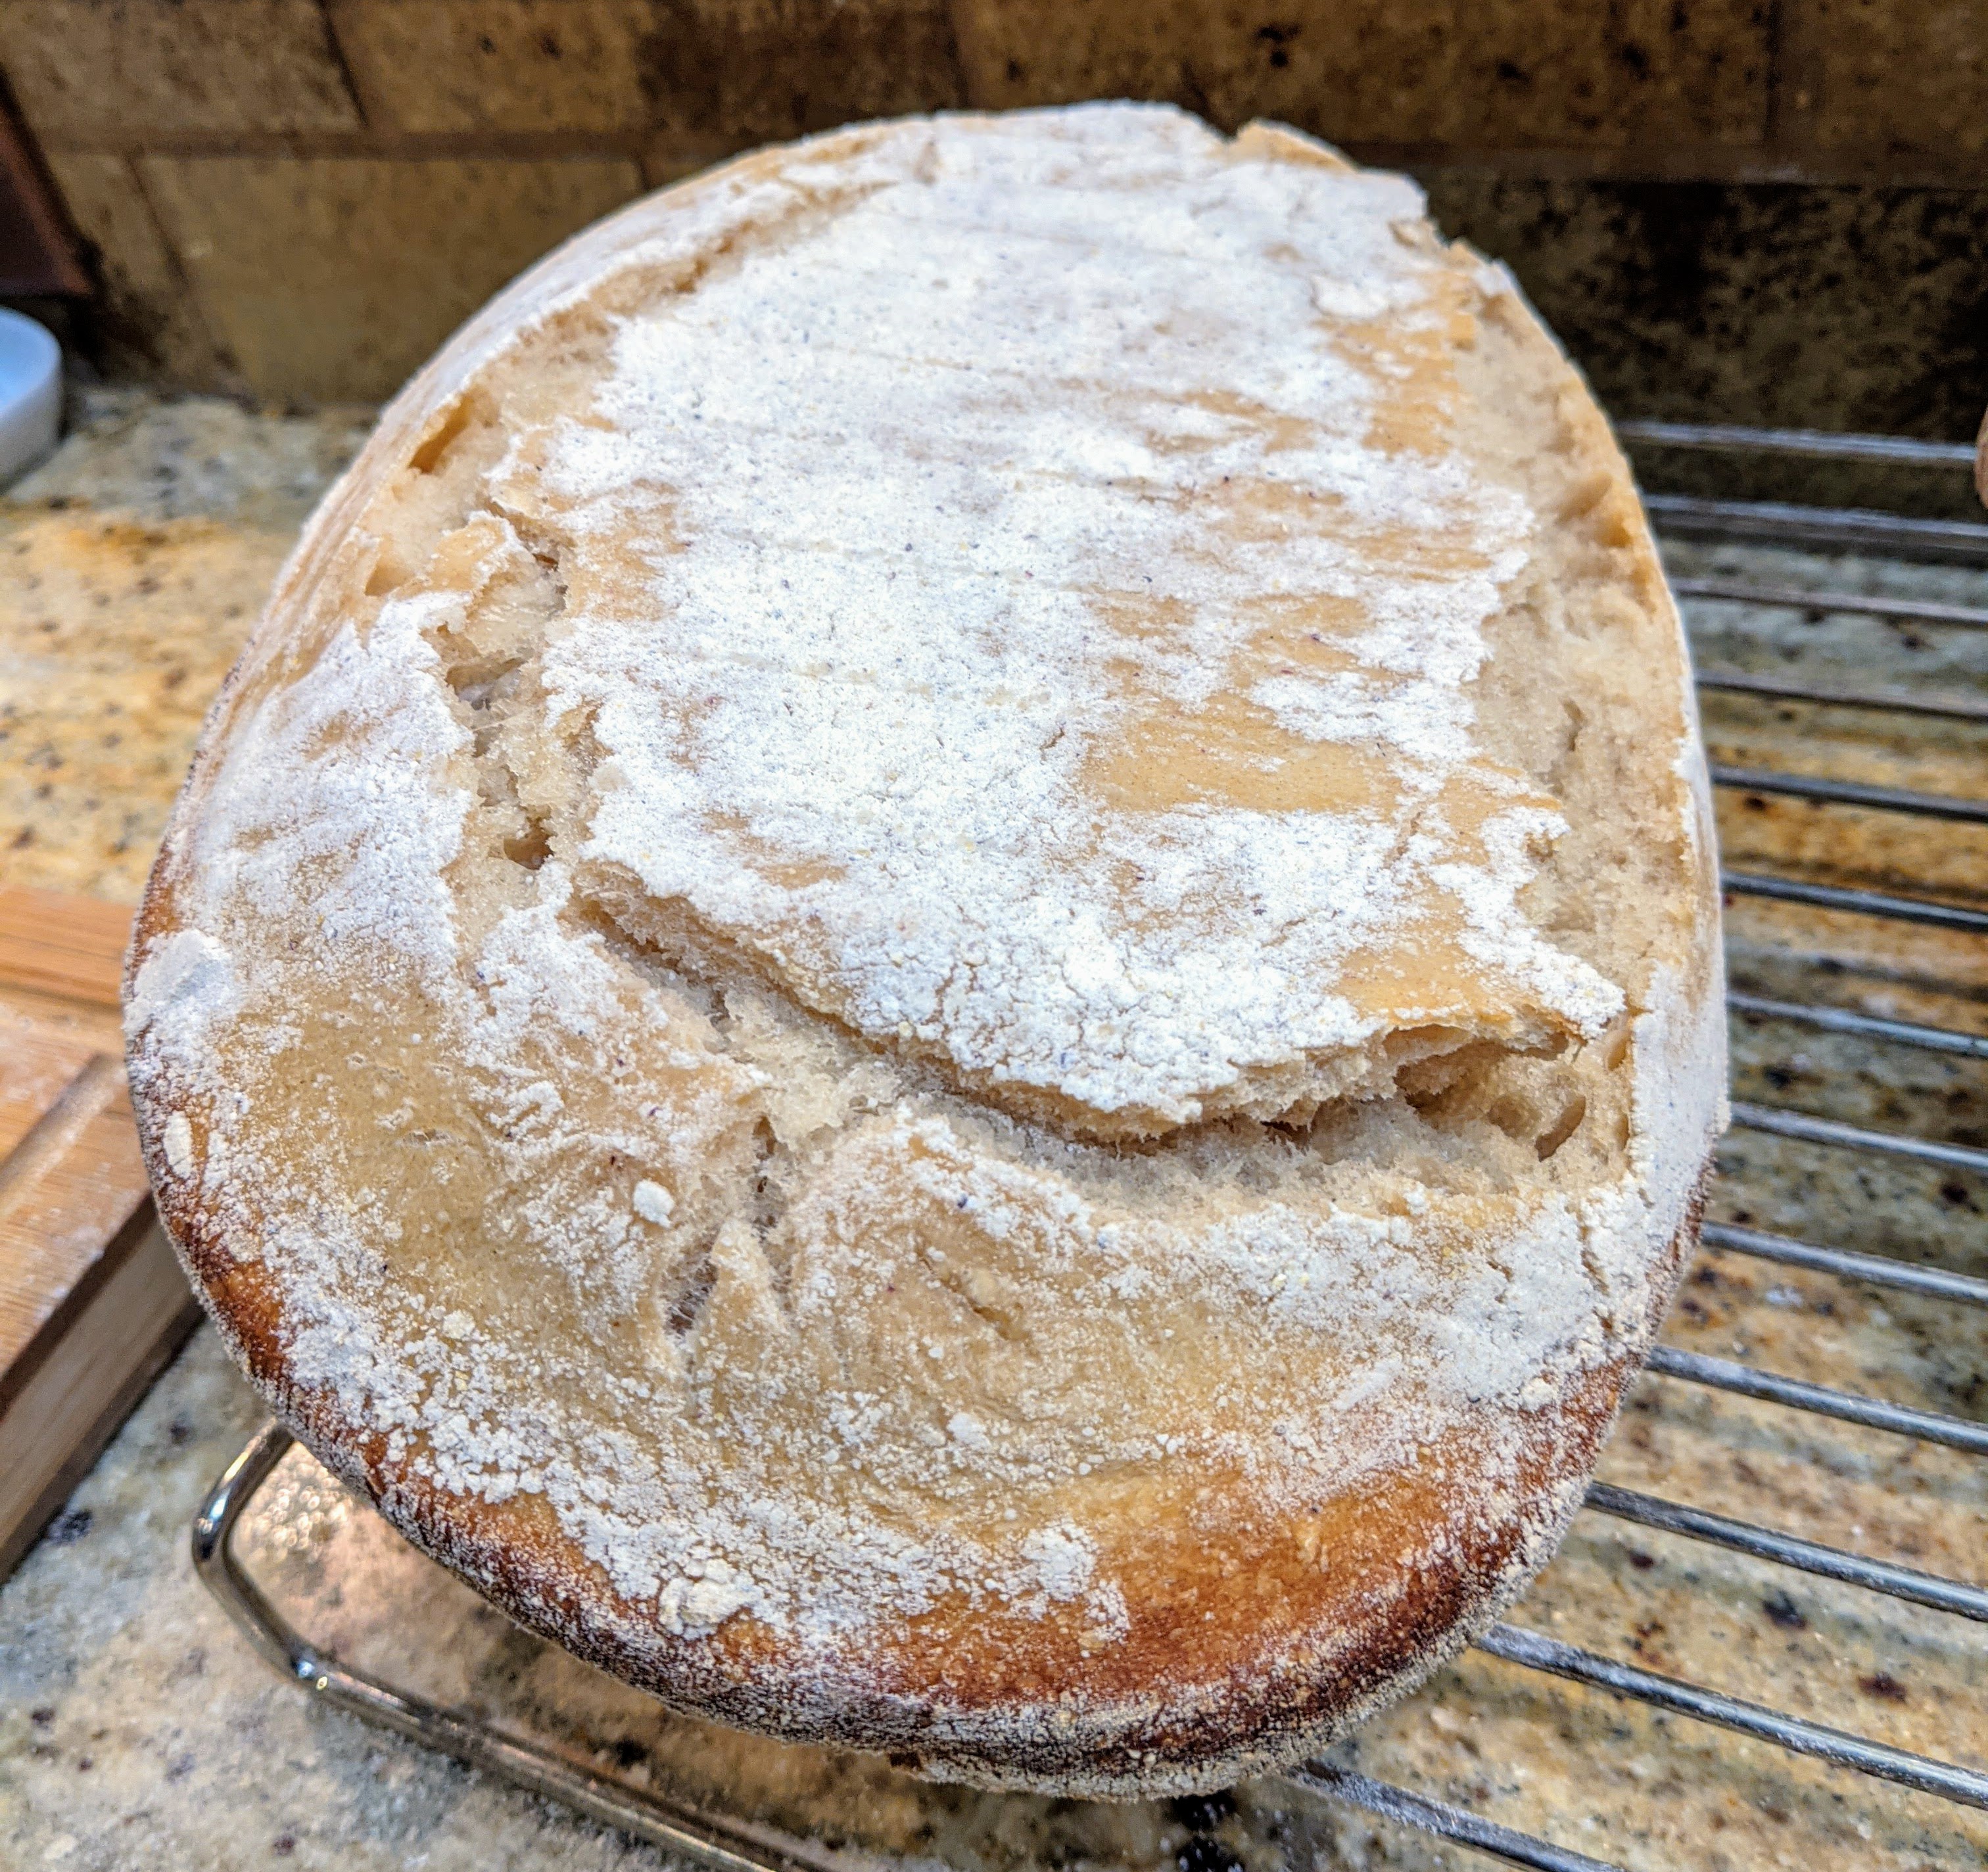
It is said the only way to learn is to fail. Bullshit. Especially if you know what you did. So this morning, I was all set to bake a batard I had sitting in my fridge since last night for a cold ferment. I got out of bed, performed my morning ablutions, then went into the kitchen to preheat my oven.

Coffee was ready, so I poured myself a cup, then set about to make myself some breakfast. After preparing my simple meal of a toasted sourdough sandwich with some charcuterie meats and cheese, I sat down in front of the TV to watch the talking heads have their post-election discussions.

My oven signaled that it had come up to temp, and without a second thought – and mind you, I hadn’t finished my first cup of coffee at that point – I got up, went to my dough retarder fridge in the garage, pulled the loaf, stuck it on my board, scored it, then popped it into the oven. Then I got some hot water and poured it into the broiler pan I use for steaming.

About ten minutes into the bake, and coincidentally having finished my first cup of coffee, it dawned on me that I probably didn’t give my baking stone enough time to come to temp. So I got my ass up off the couch and checked the loaf.

Expletives immediately issued from my mouth seemingly of their own volition as my eyes beheld the fly saucer shape in front of me. It was like looking at the silhouette of the Jupiter 2 from Lost in Space but in bread form! My potty-mouth soon turned to laughter as I mentally kicked myself for this rookie maneuver.

Is there a lesson in any of this? Obviously, I need to be more mindful. That’s a given. But to be honest, I doubt I would’ve made this mistake had I been a bit more alert.

Coffee helps…

Cure Your Bread!

I’ve actually been meaning to write about this for a while but keep on forgetting because it was just part of my process. But a few months ago, I got a little frustrated with my loaves’ crusts. They looked great, but they just weren’t very crusty; that is, they were softer and more pliant than I wanted. So I did a little research on various techniques and discovered a neat trick that I use for all my loaves now, and that is what can be called, curing my loaves when they’re done.

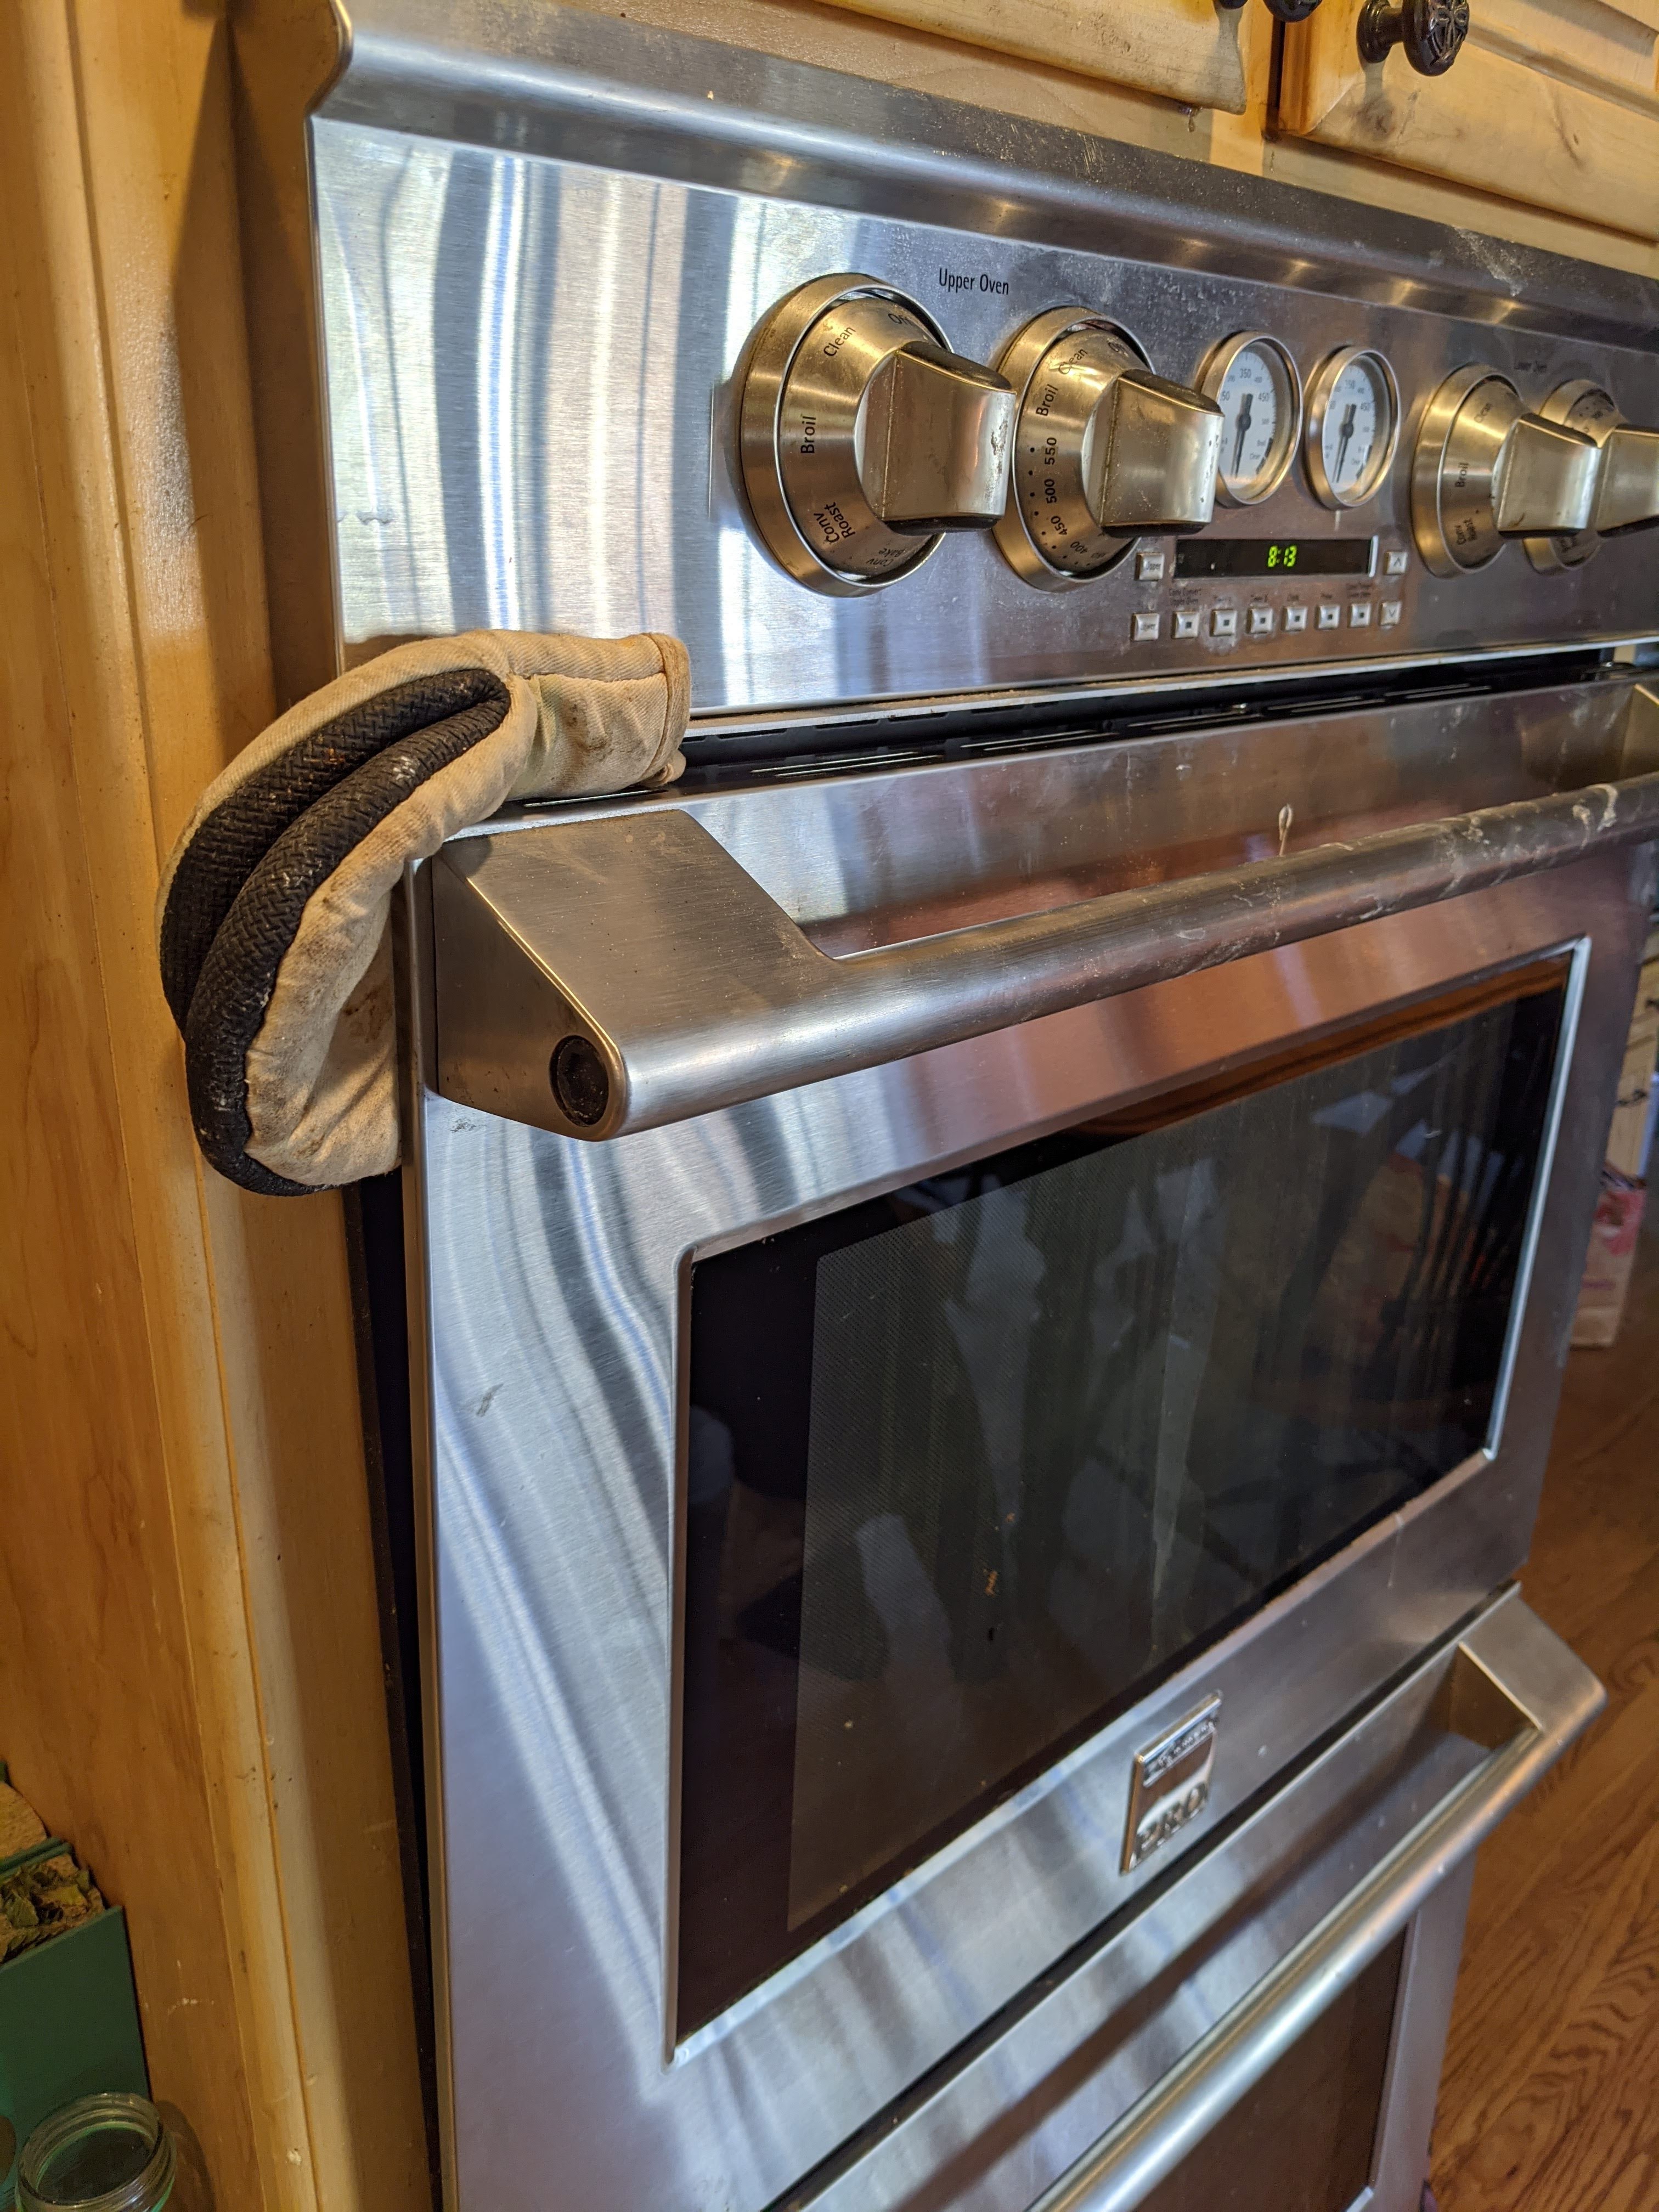
I use an oven mitt to crack the door.

All that entails is simply shutting off the oven when the timer goes off, then cracking the oven door and letting the loaves sit in the oven for about 20 minutes. The oven is still quite warm but no longer cooking, per se, but it’s hot enough to dry out the crust which, in turn, makes it crunchier.

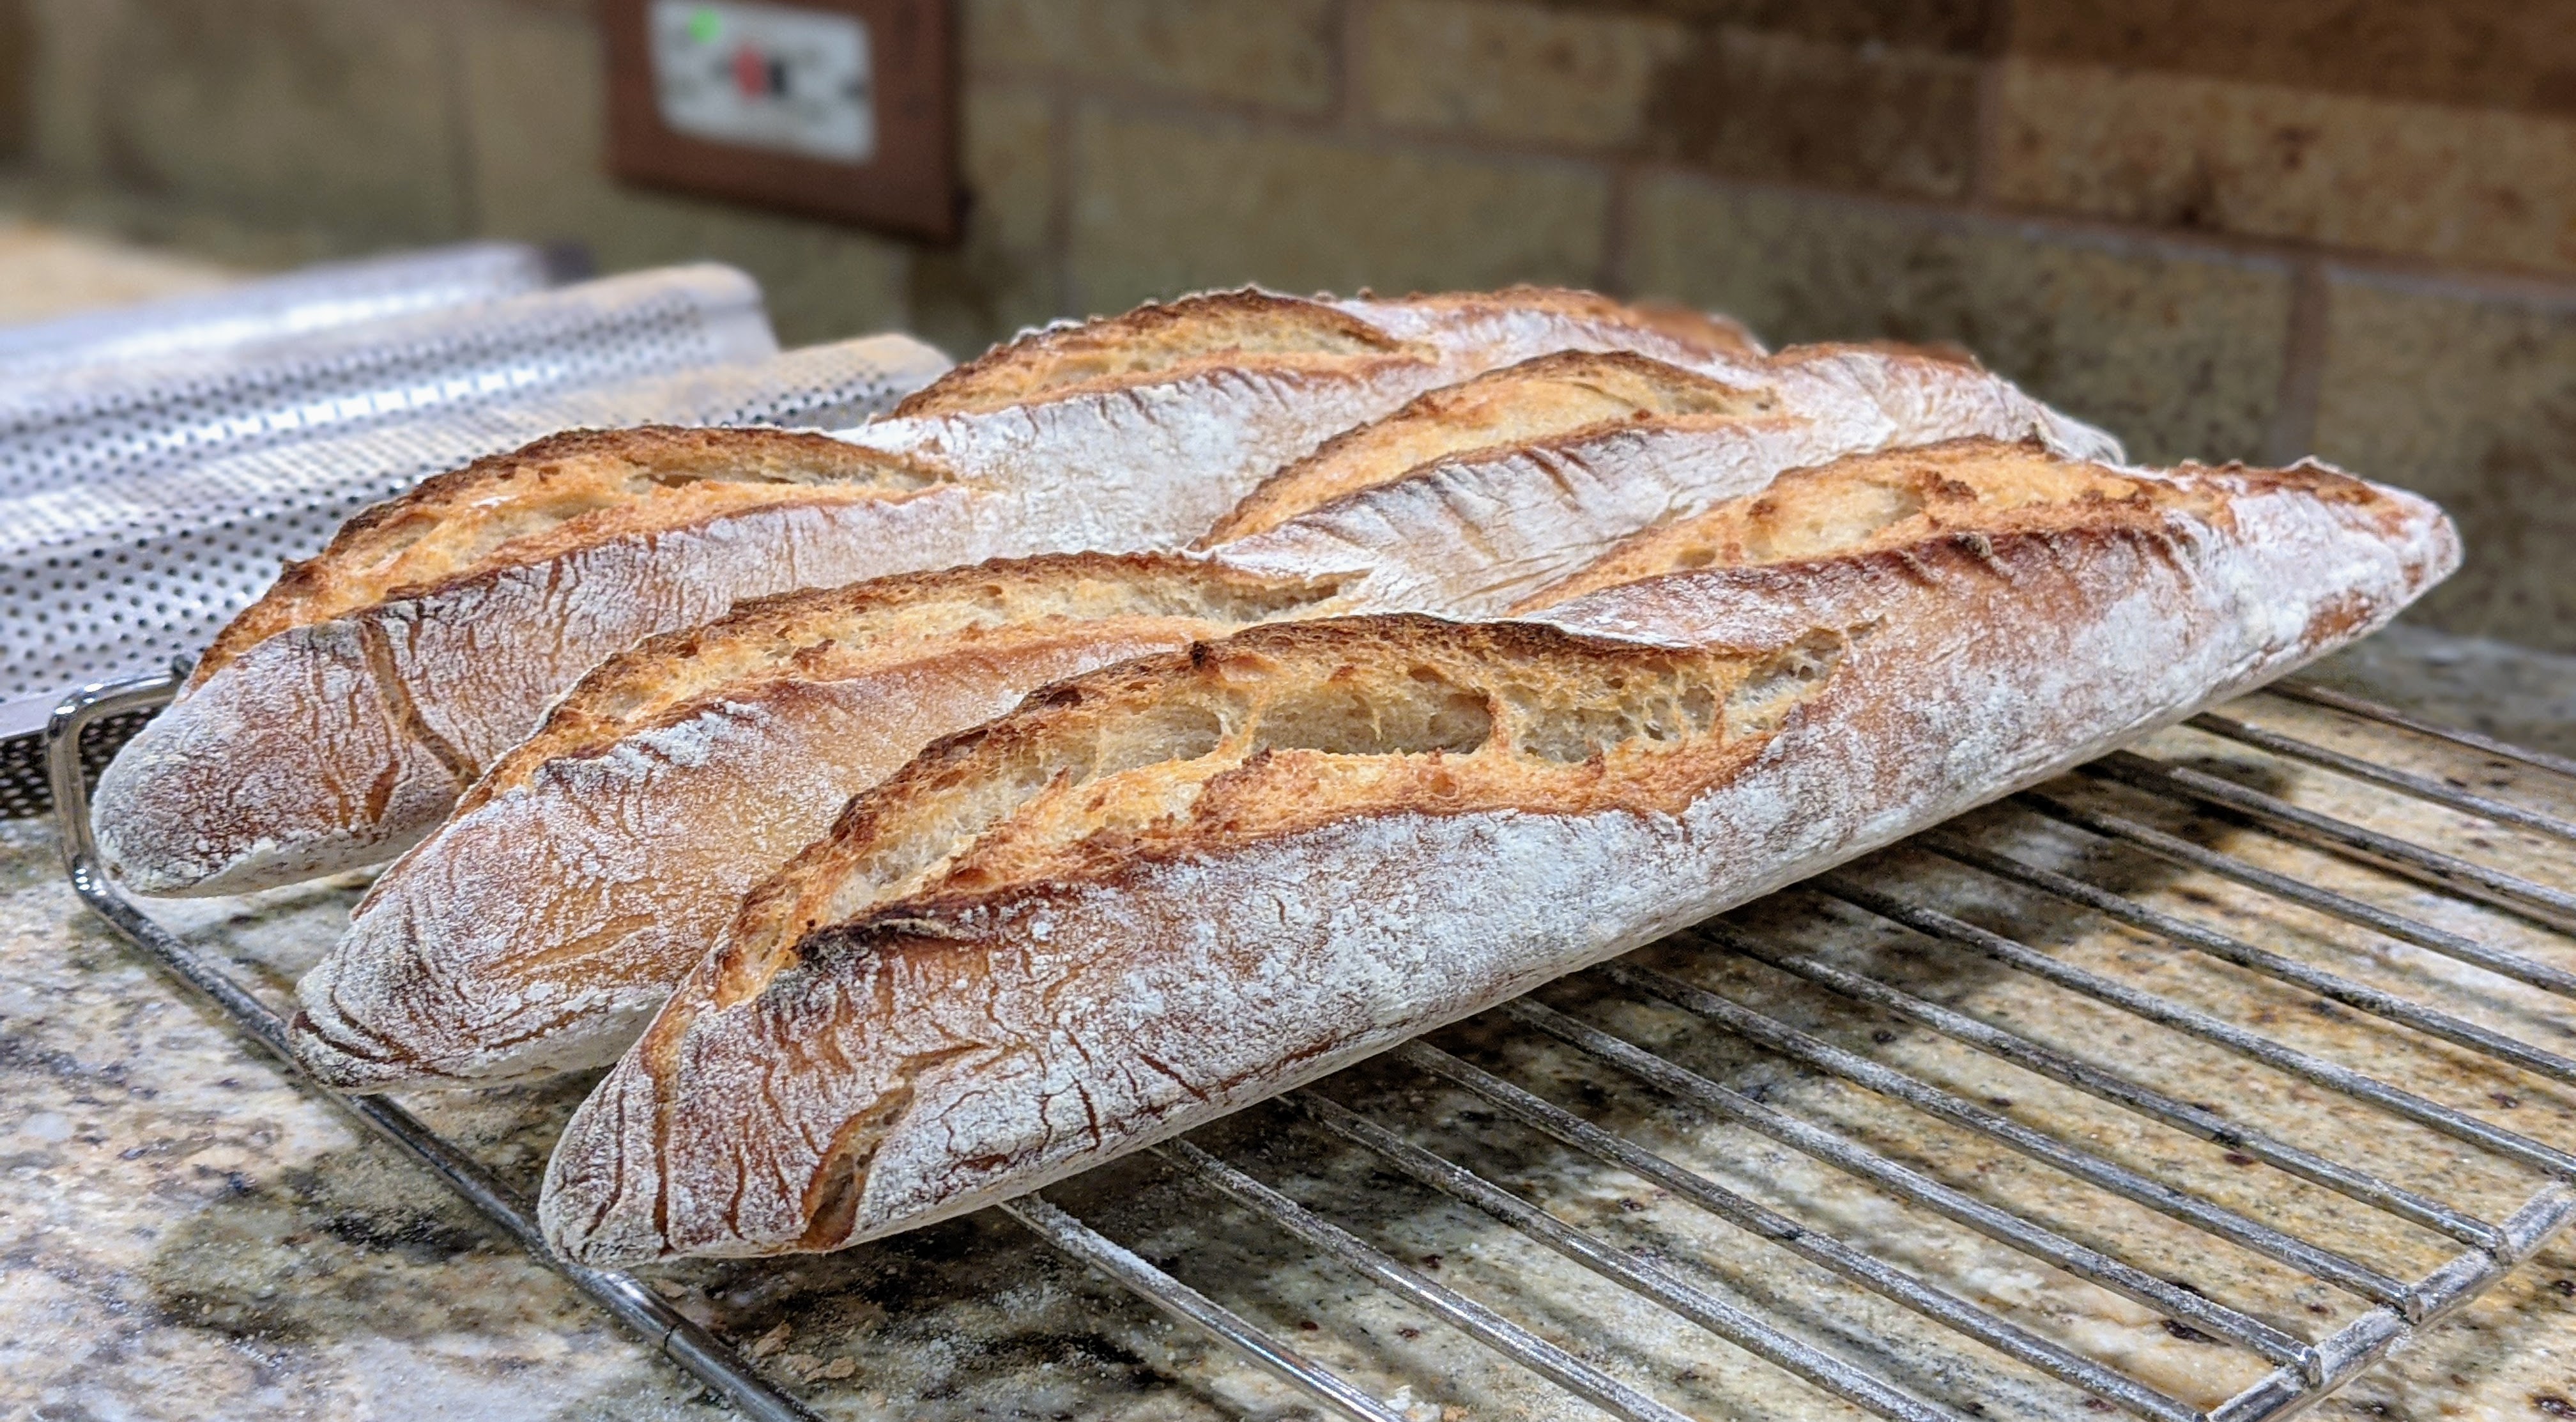
Once I started doing this – especially with my baguettes – my crusts have been nice and crunchy! Check this out!

Those crusts are gorgeous and absolutely crunchy!

Experimentation Sometimes Sucks!

These past several bakes I’ve been experimenting with different AP flours as I use a three-flour blend of whole wheat, high-extraction, and AP flour depending on the types of bread that I’m baking. I’m pretty much set in the whole wheat and high-extraction flour area, but I’ve been trying out different AP flours for one simple reason: cost savings. Flour expenditures add up and I need to be as economical as I can considering how fast I go through it.

Now you might be thinking, Just get some King Arthur AP flour. But here’s the rub: It’s almost $7.00 per 5-lb. bag! I go through 10 pounds of AP flour a week. No doubt, it’s a high-quality flour, but the cost adds up. Bob’s Red Mill AP flour is great as well and it’s only $5.00 per 5-lb. bag. BUT, Gold Medal and grocery store “house” brands (let’s call them generic flours) are less than $4.00 per 5-lb bag, making them excellent alternatives, at least cost-wise.

On the surface, the cost-savings is great, but from a practical standpoint, there is a cost, and that is that the generic flours are very low in protein. Whereas Bob’s Red Mill and King Arthur AP flours are just below 12% in protein, generic flours are around 10%. That might not seem like much of a difference. But it’s huge.

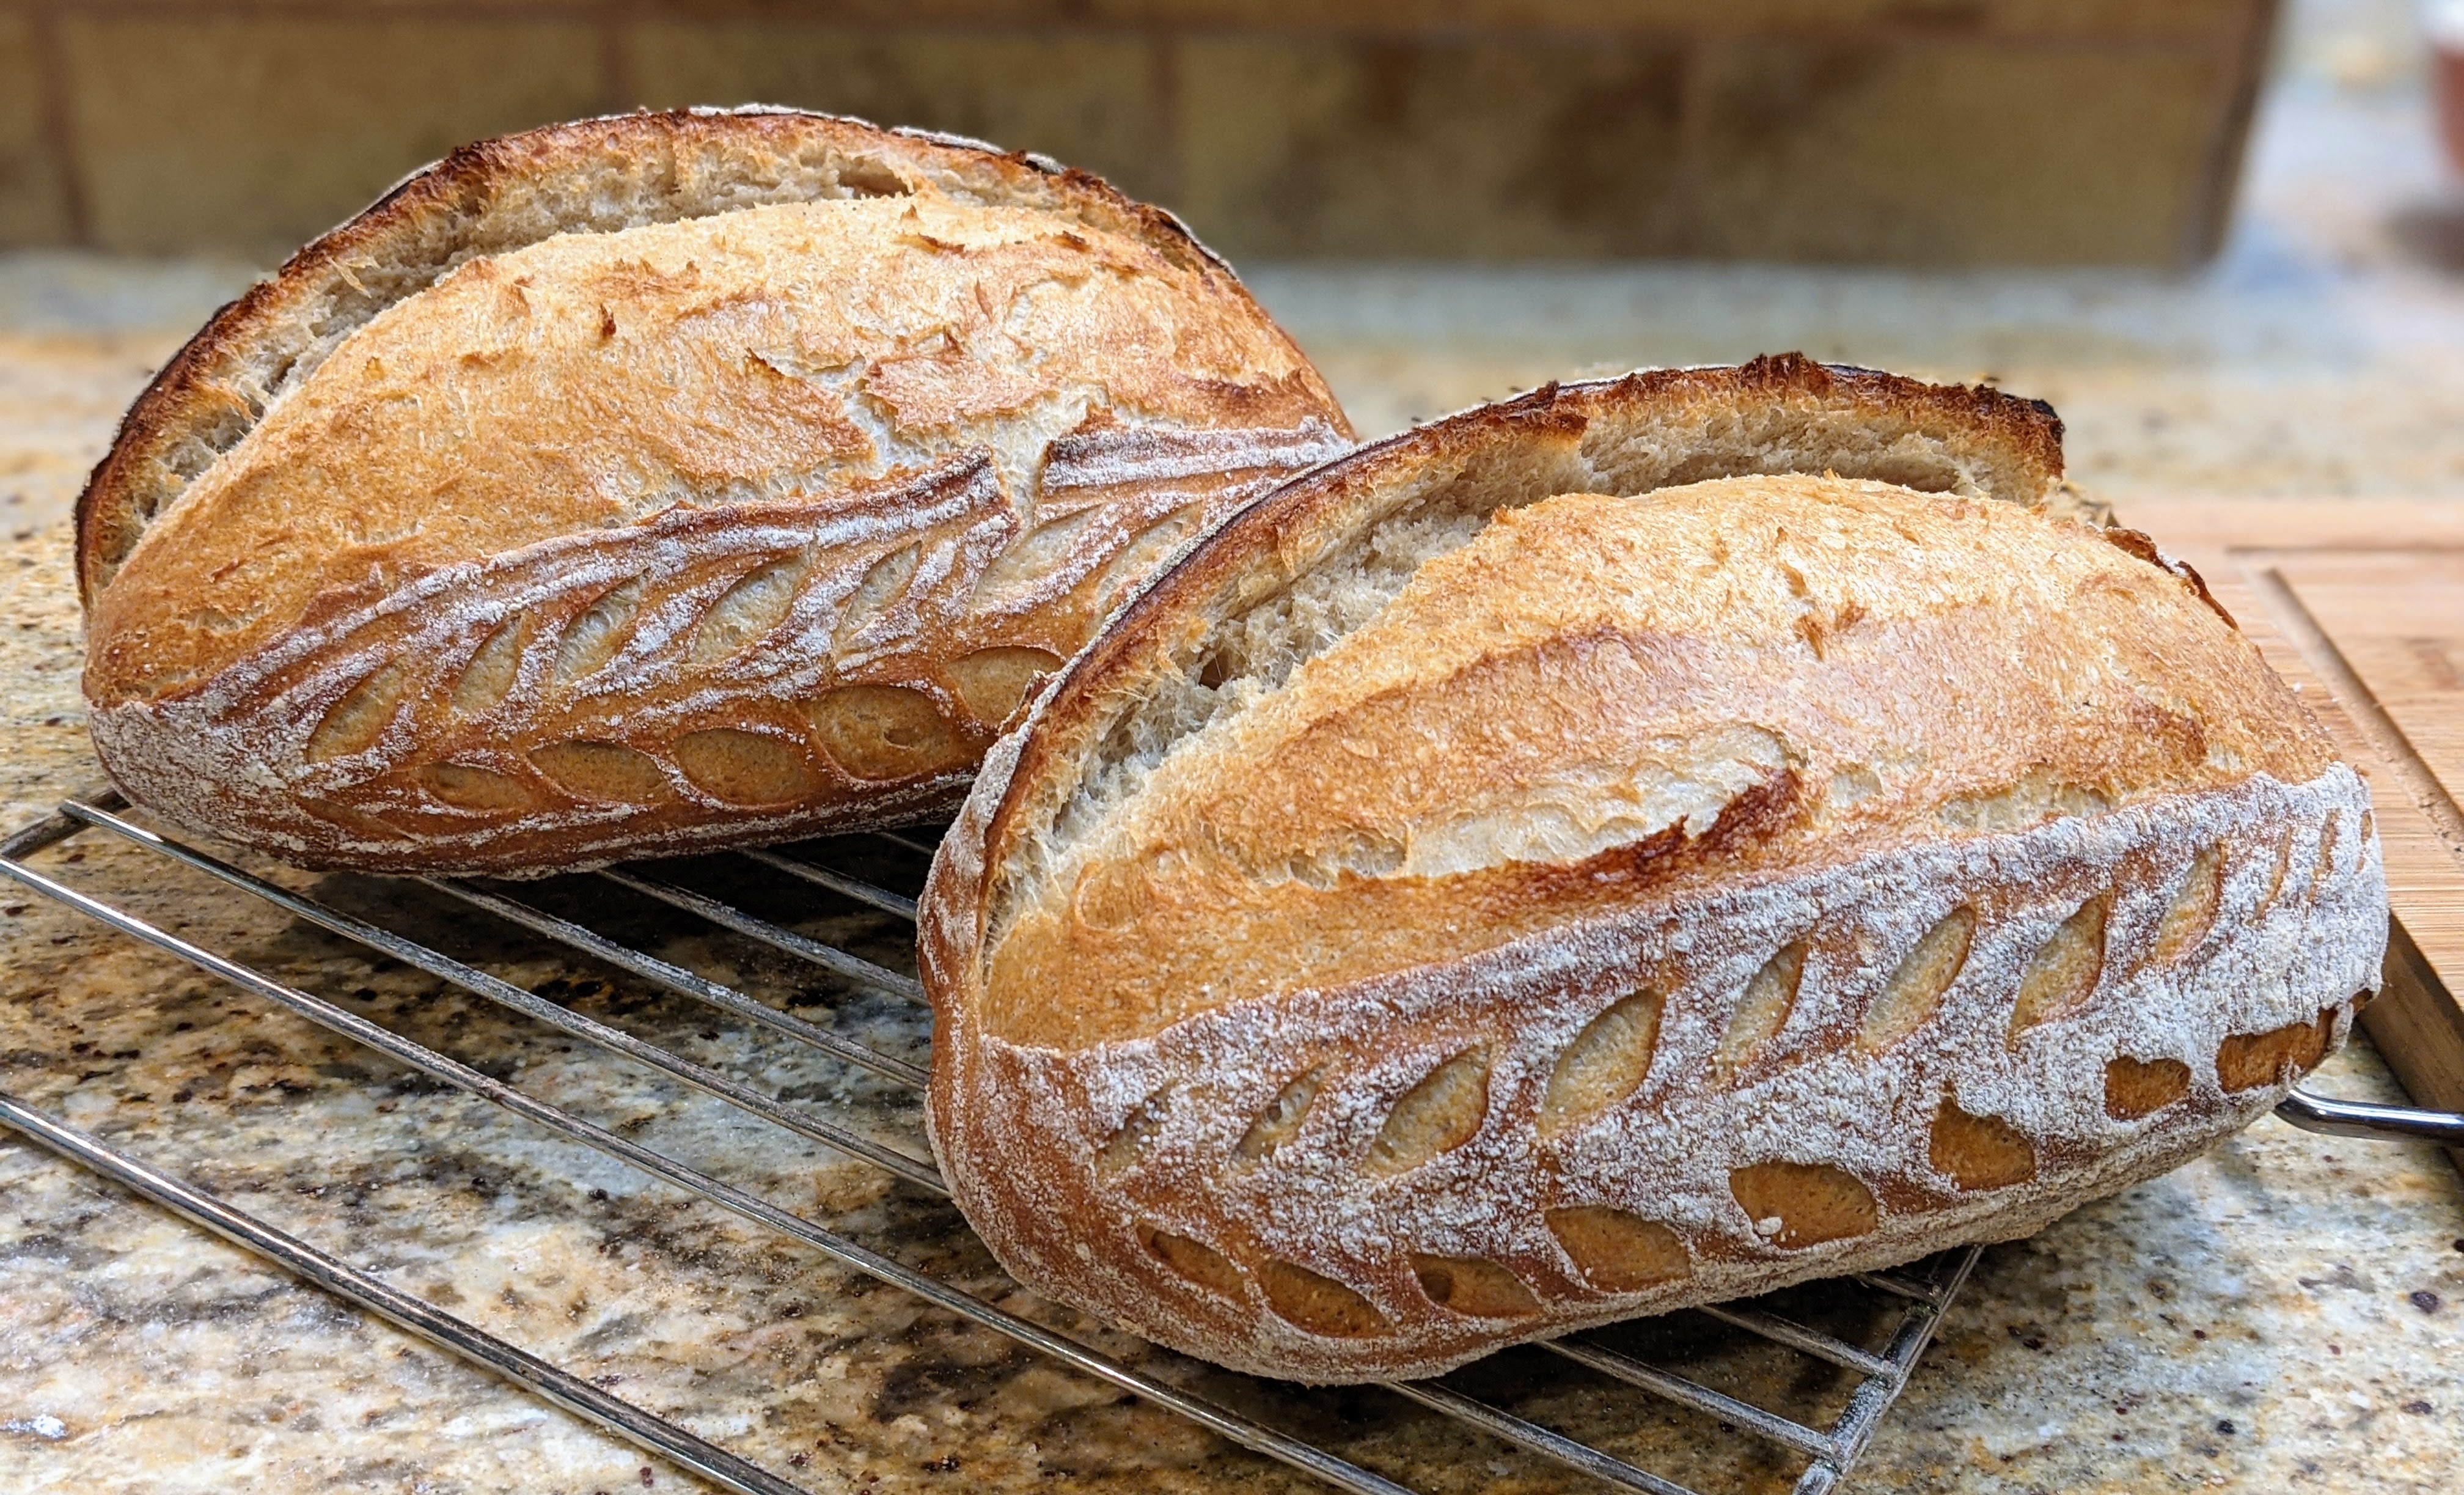
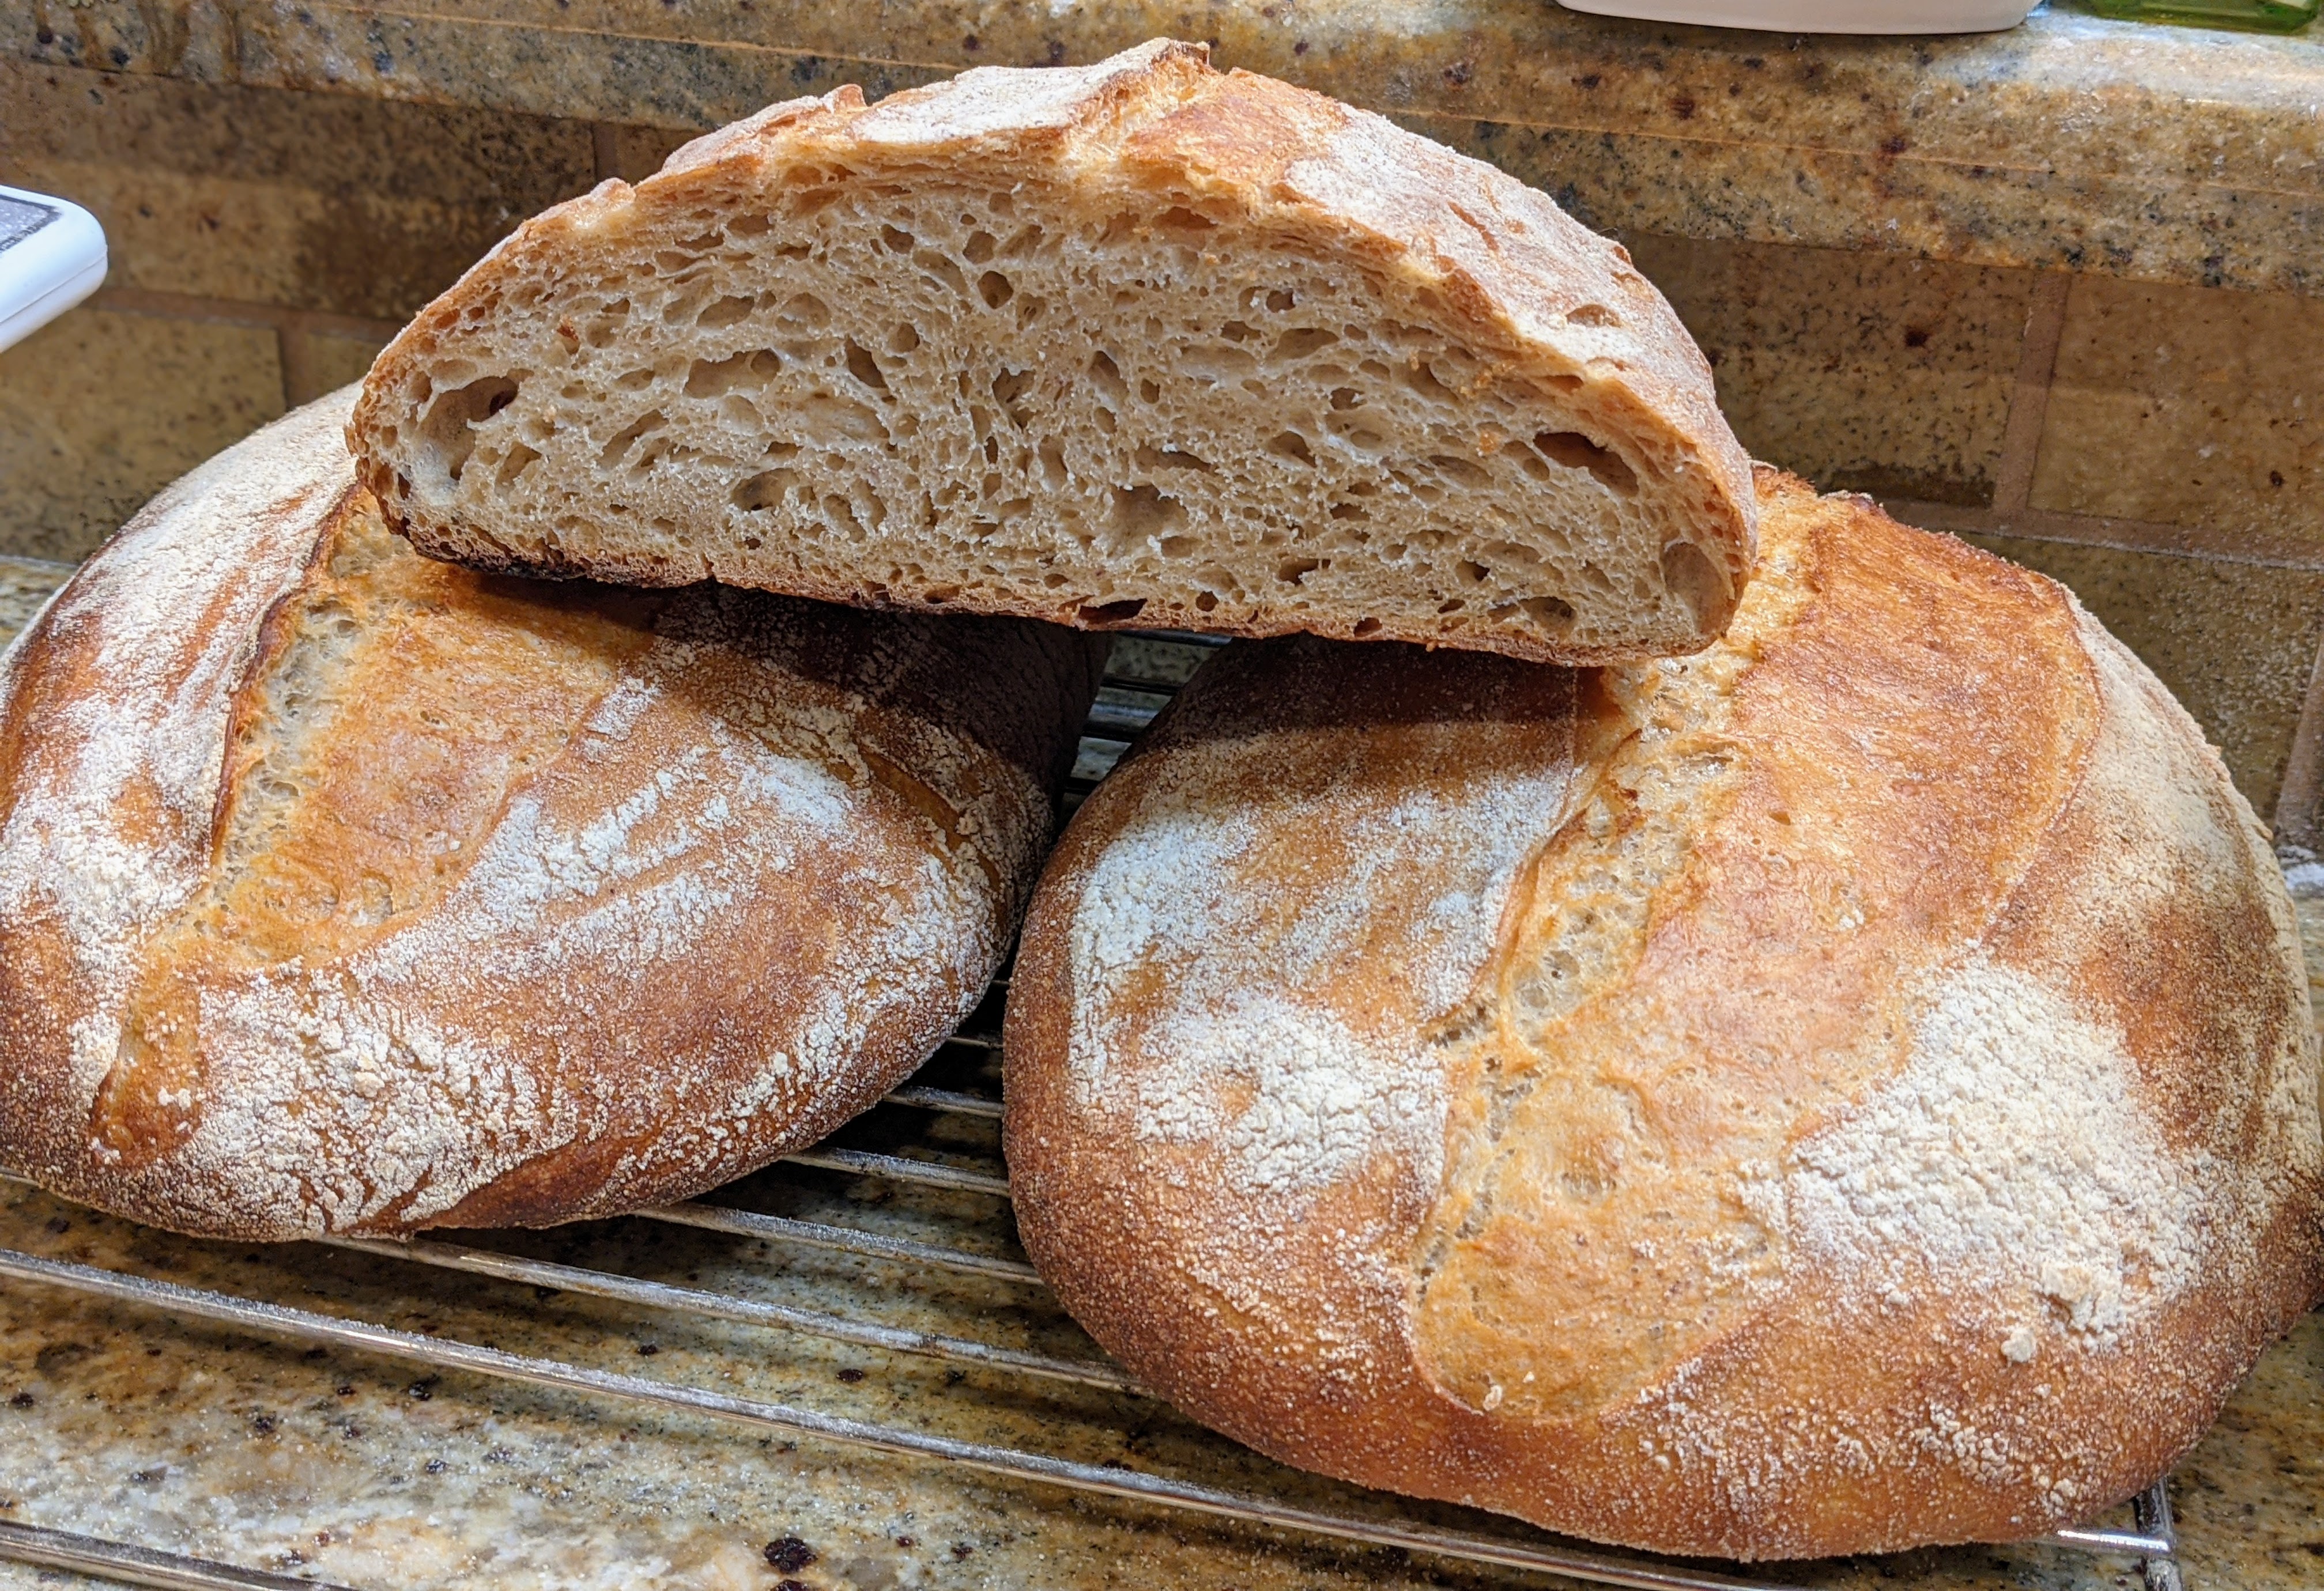
The picture I included at the top of this post is of high-hydration sourdough loaves that I baked over the last couple of days (~85% hydration). They were all made with half Gold Medal Unbleached AP flour, 20% whole wheat flour, and 30% high-extraction flour. The crumb in each of the loaves is nice, but the oven spring was horrible! And developing the gluten in these loaves was incredibly difficult.

Granted, the high-hydration dough doesn’t want to hold up once shaped. But with proper gluten formation, it will not lose its shape readily, and with the whole wheat and high-extraction flour, I thought I’d have plenty of protein to give me some structure. But with these loaves, no matter how much I worked the dough, I just couldn’t get them to hold together. I even did an overnight cold ferment to help set the dough, but even that didn’t work.

As a result, the loaves are a little flat. Without a doubt, they’re delicious. But I can’t say that I’m not disappointed with the end result. I’m actually extremely disappointed. It takes a long time to make bread, so it sucks when things don’t turn out as expected. Technically they were all supposed to be batards, but they ended up being more like ciabattas. I swear that I spent lots of time with the loaves, developing an outer skin, but to no avail.

Now, one way of approaching this is to add some vital wheat gluten. I actually did that with the uncut set of loaves in the picture. Maybe I didn’t spend enough time developing the gluten, but all those loaves went through six sets of stretches and folds over the course of three hours. But for the life of me, I couldn’t get the dough to “fight” me in any of the sets. I’d feel a bit of tension, but not really appreciable tension. Even my regular ciabatta dough develops great tension!

So it kind of boils down to this: Generic, grocery store AP flour is great for things like cakes and cookies. But for bread, there’s a base threshold. I just can’t go below it. Luckily though, my favorite mill, Azure Standard, carries an AP flour that I can’t wait to get delivered. It’s unbleached, unbromated, and organic. I ordered 20 lbs. and I can’t wait until it arrives!

In closing, despite my disappointment, the bread didn’t go to waste. We made sandwiches from the cut loaf, and I gave the other loaves away. Like I said, they were delicious, so I didn’t have any worries in the taste department. But when you’re after an aesthetic, you expect the aesthetic, and falling short can be frustrating to say the least.

I’m Making Nancy Silverton’s Grape Starter!

I’ve resisted making a sourdough starter for a long time. It wasn’t that I was completely averse to it. It was just that I didn’t want to divert my focus from the other steps in bread production. To me, a levain is just a leavening agent, a tool. But it’s a tool that needs time to develop; honestly, time that I just didn’t want to spend, having developed and maintained a culture in the past.

But I got to the point where I’ve gained enough confidence in my process, so I started to create starters (yes, plural). I have one that I feed every day that focuses on the yeast that I use for baguettes and ciabatta. And I have one in the fridge that I use to really bring out the sour notes in my bread, and just this past weekend, I started creating a grape starter, inspired by acclaimed chef and restauranteur, Nancy Silverton.

I’ve been intrigued by this sourdough starter ever since I read about it in some random blog post. To be honest, I had known about Nancy Silverton for a long time, but I had no idea she had made her starter from grapes! When I read that, I started doing research and vowed that once I had the time, I’d make this starter. Well that time came a few days ago.

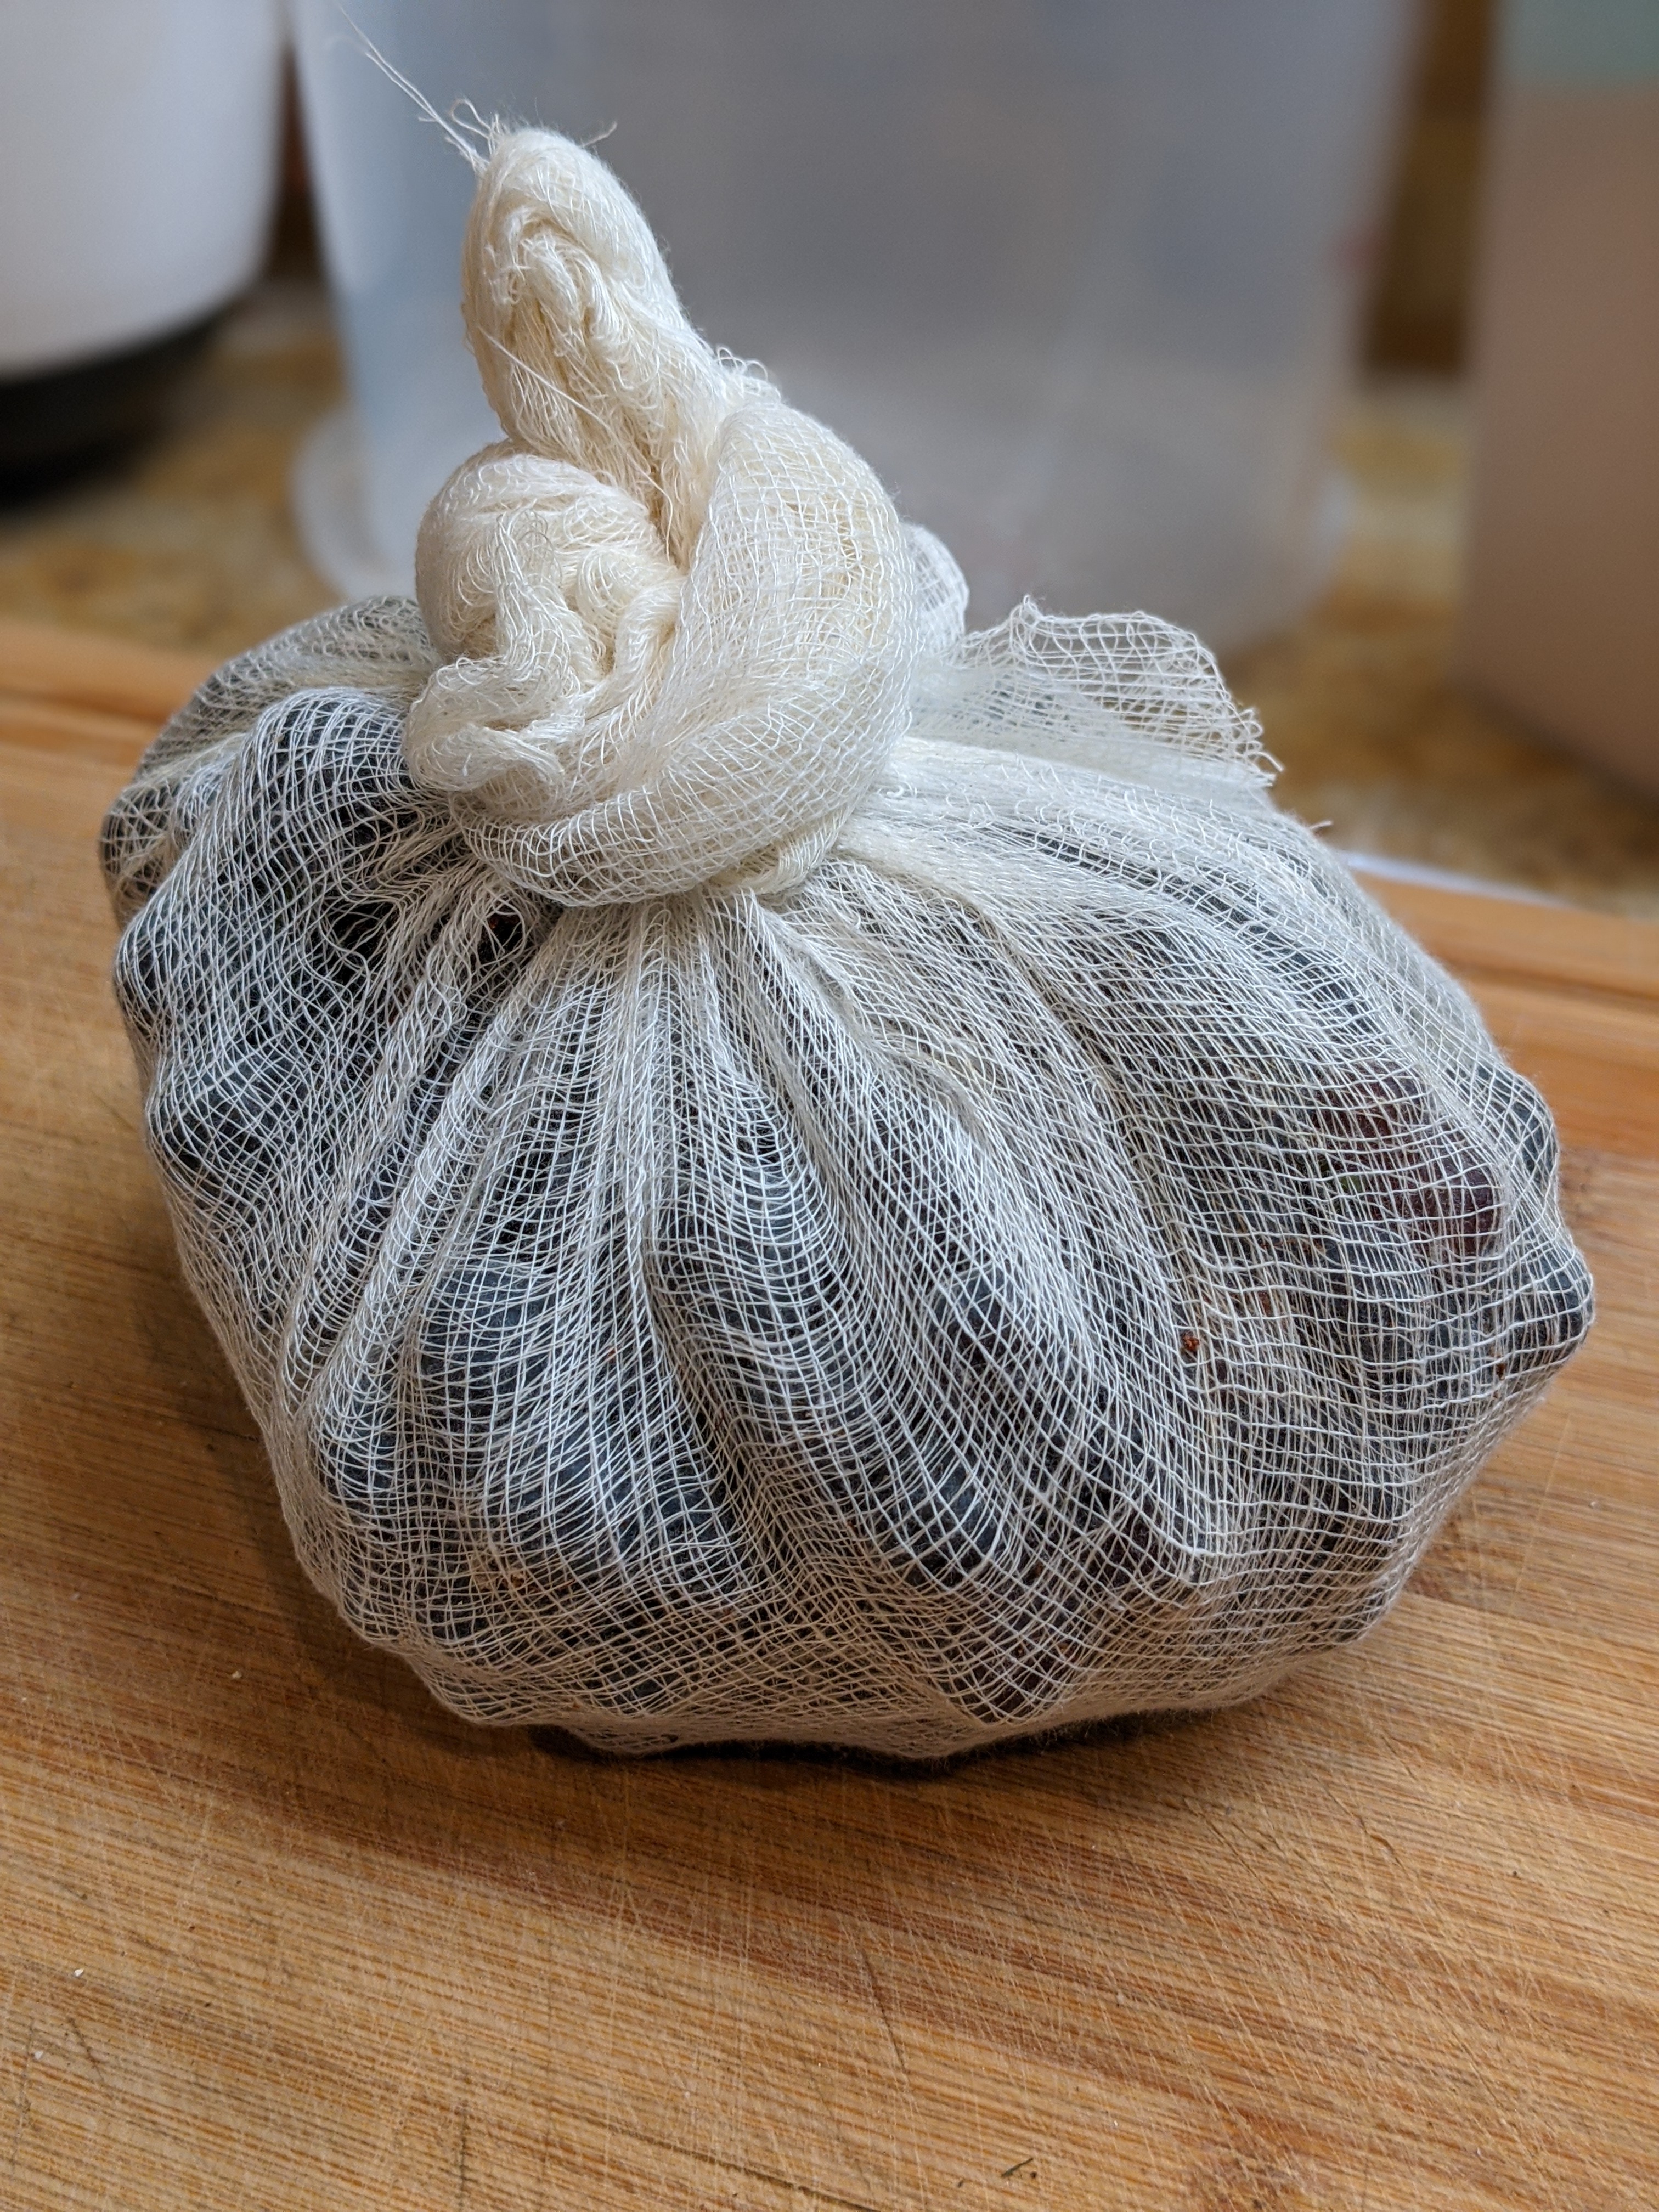
Nancy’s recipe calls for unwashed organic grapes. This is important because they’re covered with natural yeast. That said, even washed, organic grapes will still have microbes on them, but if you look at fresh-off-the-vine grapes, they’re covered with a dusting of natural yeast.

Luckily for me, my best friend works at Eden Rift Vineyards in Hollister, CA. So I took a day trip down to Hollister this past Saturday and after drinking some VERY GOOD wine, he clipped a cluster of grenache grapes from one of the vines. Talk about fresh! If you look at the picture of the cluster above, you’ll see the dusting of yeast all over the grapes.

For recipe guidance, I referenced two different articles from Food.com and The Quest for Sourdough. If you reference the Food.com article, the “real” instructions are actually in the first comment in the comments section. I used the “The Quest…” article as simply a reference for the weights as I didn’t have the same weights listed in the Food.com article.

So now I’m on Day 3. What I’ve noticed with this particular starter is that the fermentation bubbles are actually much smaller than with my other starters. I forgot to take a picture of the starter before I mixed it, but I was amazed at the difference between how those wild yeasts act vs. the wild yeasts from my regular starters (which I suspect has a lot of commercial s. cervisiae).

The smell is fruity of course and quite alcoholic. With that grape juice, wine is also being made – those fine bubbles that I mentioned above are reminiscent of champagne bubbles – very cool. Taste-wise, the sourness is actually much milder than I expected, though I imagine it’ll get more intense once the two-week process to grow this starter is complete.

I’m SO looking forward to using this starter!

I’m Not Going to Name My Damn Starter…

…or my peel, or my freakin’ fermentation container for that matter. If you want to do that, go ahead. It’s all good. And no, I wouldn’t dream of ridiculing anyone who does this. I’m just not that sentimental when it comes to baking and cooking.

Shit! If I was going to name anything, I should probably name my cast iron skillet that I’ve been seasoning for almost 30 years. But a starter? I’m not so sure.

However, when I was feeding the starter in the picture the other day, I harkened back to Anthony Bourdain’s book, “Kitchen Confidential,” where in one segment, his bread guy called him and said, “Feed the bitch! Feed the bitch!” referring to his starter. When my wife walked into the kitchen while I was in the middle of remembering this passage, she asked me, “Watcha doin’?” I laughed and replied, “I’m feeding the bitch!” That got a weird look and I didn’t explain myself…

So maybe I’ll be a copycat and call it The Bitch… Nah… I’m just not attached enough to it to personify it. It’s just another tool. To me, it’s a consumable, like seasonings. Granted, I have to build up and maintain a starter, but even still, it’s something I consume in the process of baking.

That said, though I may not name my starter cultures, I do intend to classify them based on what I want out of them. Yes, I’m going to build up a few different starters. This particular starter is probably going to be my “daily” starter that I use for everyday baking. It has some classic banana esters that are pretty damn cool-smelling! I’m also going to be building up a couple of different grape starters based on Nancy Silverton’s grape starter recipe that will mostly be held in cold storage. I’m getting the grapes from the Eden Rift vineyard in the Cienega Valley in Hollister, CA tomorrow. I’m really looking forward to getting those starters built up!

But no, I ain’t gonna name them!

Sometimes Things Just Work Out…

Today was baguette day, and it’s usually my favorite day because I love making baguettes. But it was also a bit of a weird day. I didn’t feel quite on it today, and I was not at all happy with my baguette dough. I felt it was way too wet and the bulk fermentation went way too fast which in turn made me cut my pre-shape and final proofing short – like to 10 minutes each!

Then on top of that, I was really struggling with shaping! The dough being wet, I felt it was fighting me and by the time I finished shaping my second loaf, I said out loud, “Dammit! I can do better than this!” I’m normally really good with shaping, but today, I felt as if I had two clubbed hands!

Then finally, when I transferred the loaves to my loading board, even though they seemed puffed up on the couche, they immediately collapsed on the board! At that point, I just shook my head, scored the loaves, then popped them into the oven, accepting my fate that I’d be baking baguettes that were going to be DOA. But when I went to remove my steam container and parchment paper, they had sprung up in the oven! Talk about an F me moment!

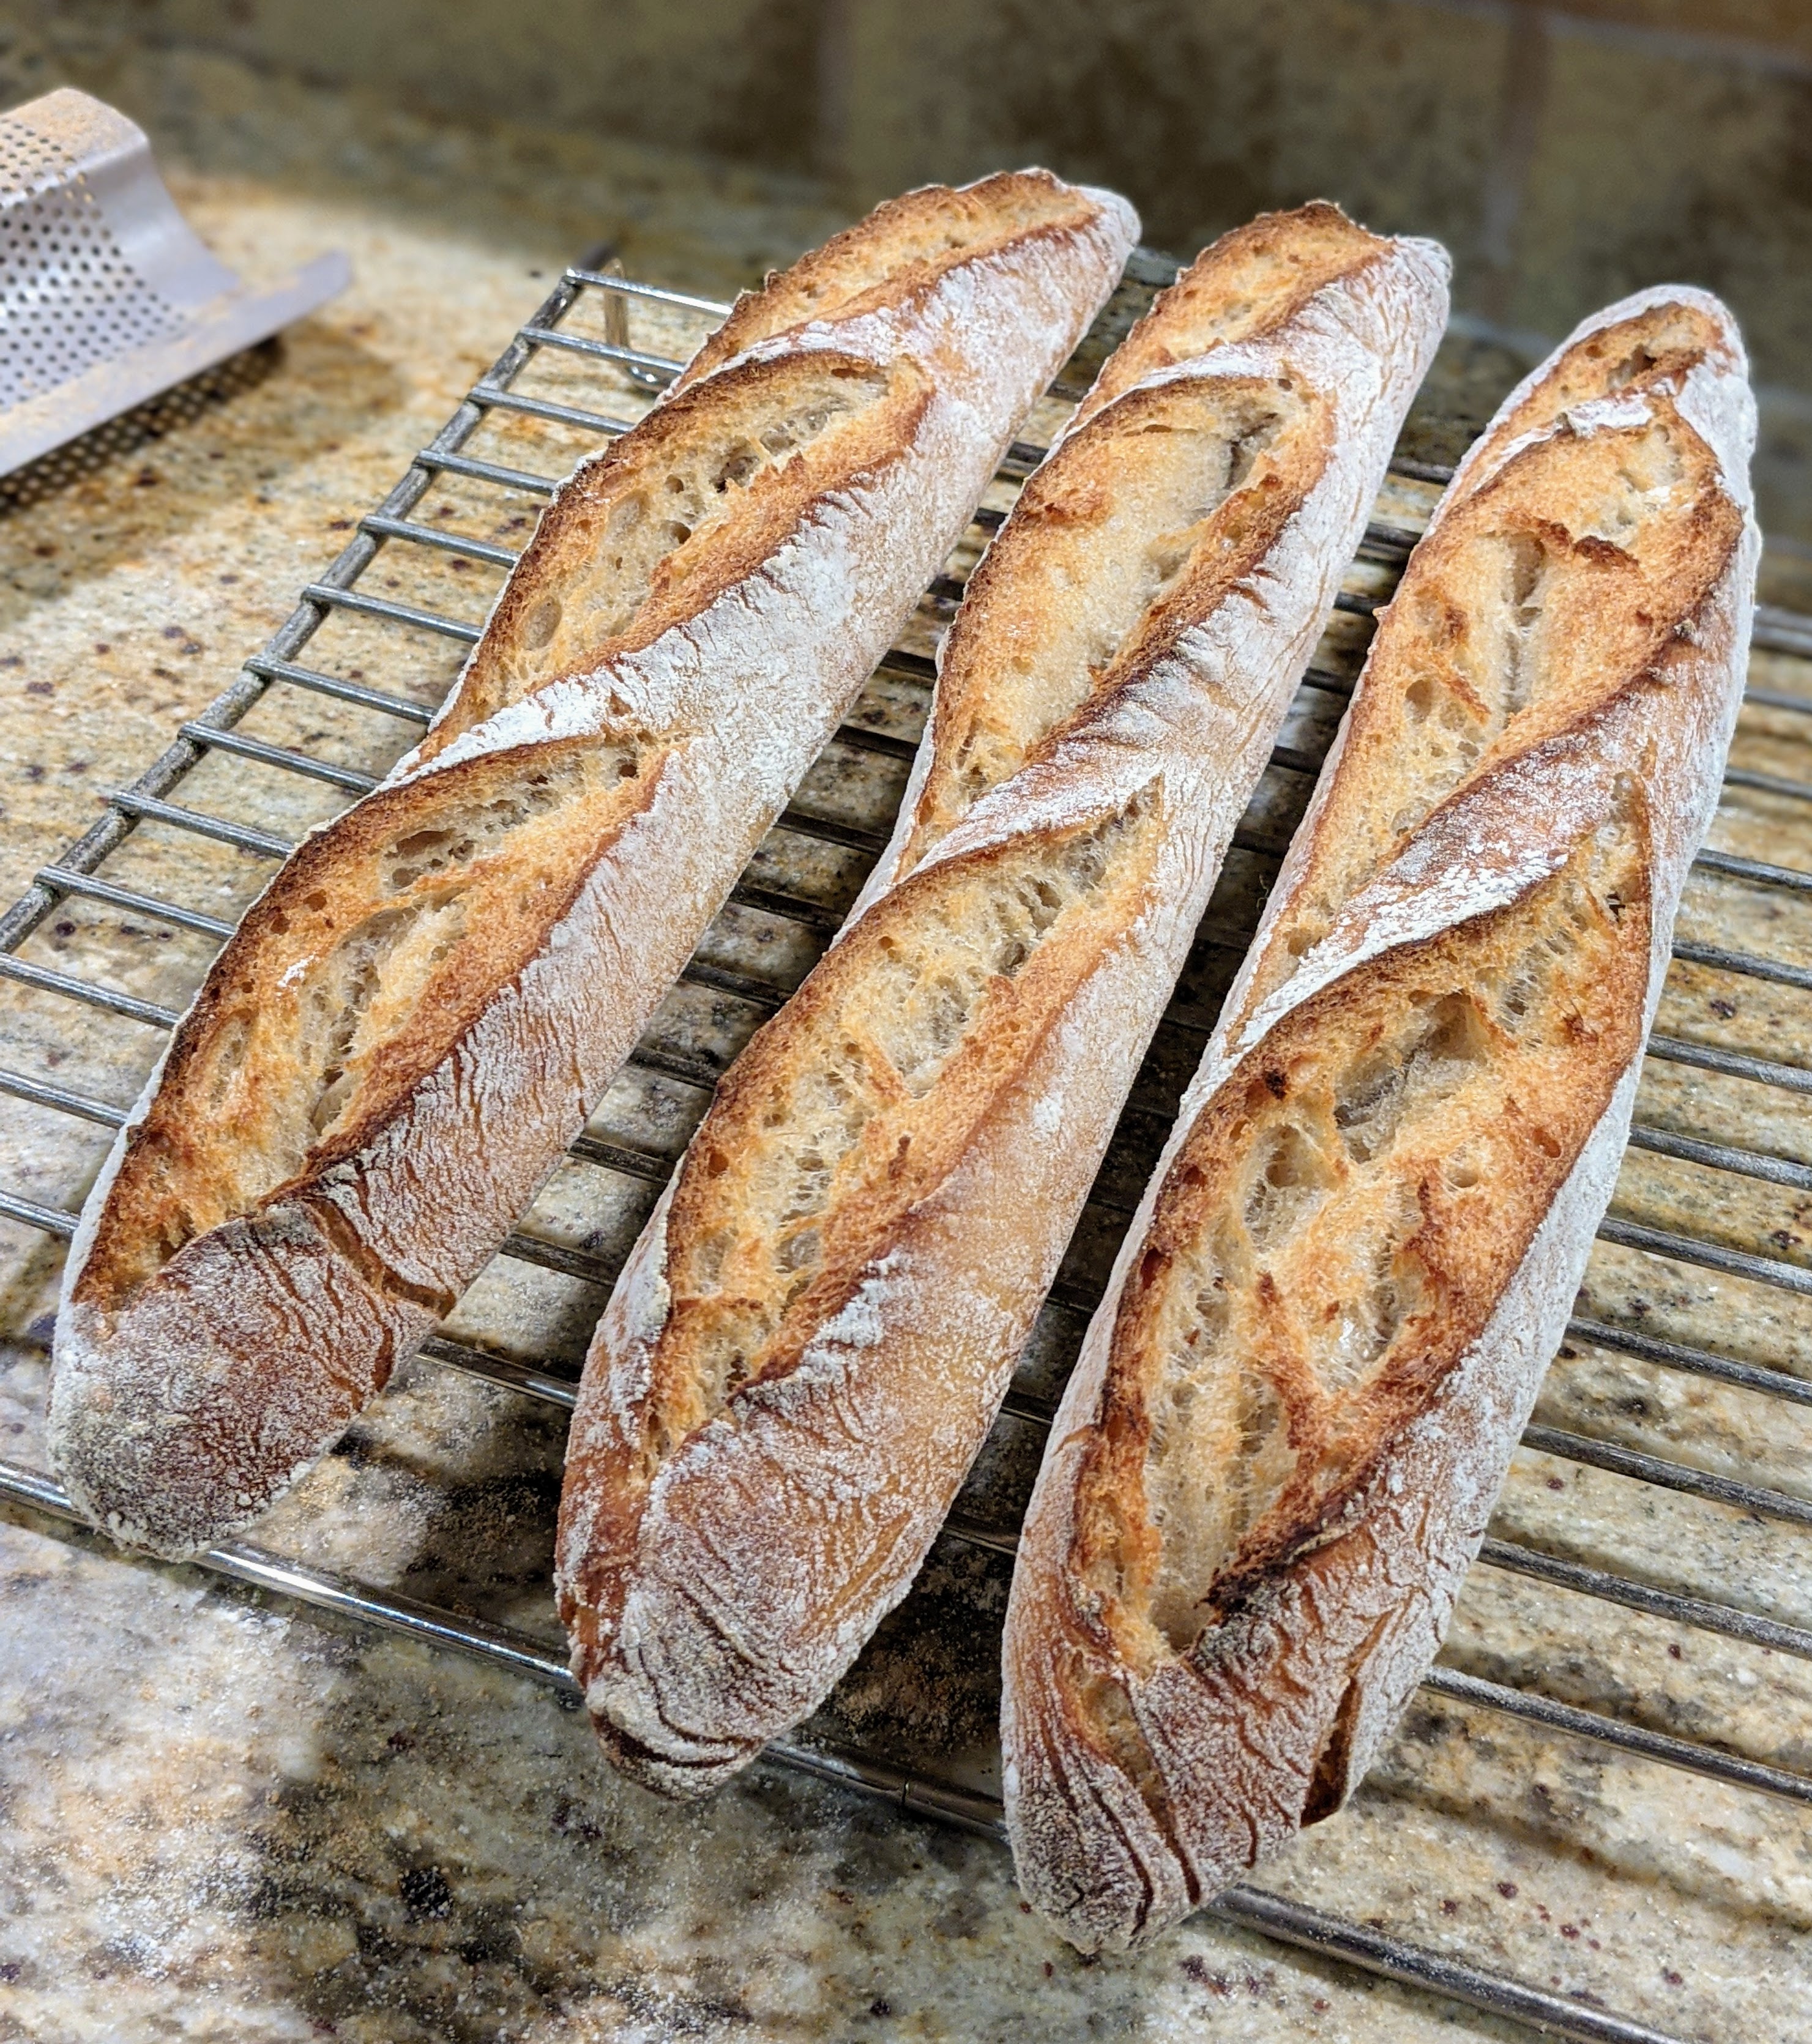
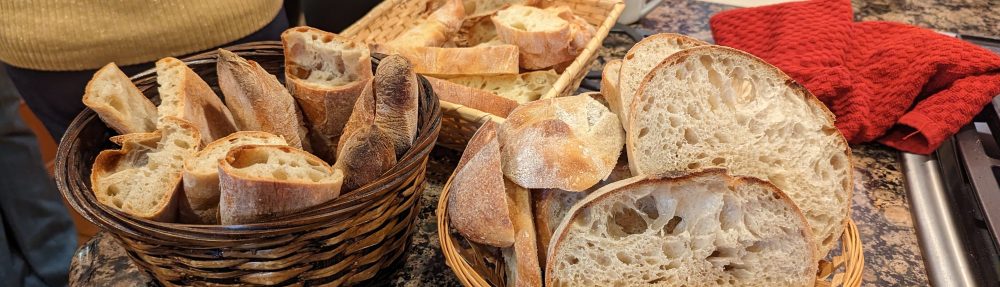
As you can see from the pictures above, the loaves turned out great! They have nice oven spring and a reasonably open crumb. It’s certainly not my best work, but it’s far from being the total fail that I thought it was going to be. ‘Scuse my language, but Fuckin’-A!

So as the title of this article says, things sometimes just work out. I think what saved my loaves was the fact that I cut off the final proofing. I normally do a 15 minute intermediate (after pre-shape) and a 30 minute final proof. But as I mentioned above, I cut them off to about 10 minutes each. I’ve done baguettes enough where I’ve developed a bit of an instinct as to when to move on to the next step based on what I’m seeing and feeling. And this was definitely one of those cases where I followed my instinct and went off script completely.

So yeah, things sometimes do work out, but the lesson for me here is to trust what I’m seeing and feeling and not be overly canonical and parochial about the process. Sometimes, you have no choice but to go completely off script!

I Use a Stand Mixer. So There!

When I’m mixing my ingredients, I use my handy-dandy KitchenAid Artisan mixer. I love that contraption! It has made my life so easy. I’m sorry, but I don’t have any romantic notions about mixing dough by hand. I did it when I first started on this artisan bread obsession, but then when I started baking daily, I abandoned doing that in favor of having a more automated way of bringing my ingredients together.

Like many, I’ve read books and watched videos where the bakers extoll hand-mixing, elevating the process to one of honor. It’s like there’s a certain romanticism attached to the whole artisan bread making process and making bread the old fashioned way where every step is done completely by hand. I bake bread at least six days a week and I’m doing it while I’m working at home. I don’t have time to do everything by hand for goodness’ sake! I’ve got meetings to attend and actual work to do. So the more efficient I can be the better.

But I laugh when professional bakers say to mix by hand because you know they’ve got an 80-quart Hobart (or maybe even a few of them) mixing up their dough! I realize their intent is pure and that they’re trying to reinforce that we learn and know what it’s like to feel the dough develop. But for me, once I learned what to look and feel for, I went straight to the mixer so I could “git ‘er done!”

That said, I think that it’s important to mix by hand when you first start out. That way you know what the dough feels like at every stage of mixing. And to this day, even though I use a mixer, I frequently stop it to feel my dough. I don’t just set it and forget it. I monitor the state of my dough carefully and get it to the point where I can throw it into its fermentation container, or dump it out onto my board to knead. Yes, I hand-knead my lower-hydration dough. I have to because it strains my mixer too much.

But one thing that my mixer does that I can’t do without a lot of effort – and time – is evenly and efficiently distribute the ingredients. Okay, yes, I can achieve that with time. But I have to admit that mixing ingredients is probably my least favorite baking activity. So I’d rather have a machine do it for me, then I’ll take over and do the rest.

I do have to admit that I feel just a little guilty about using a stand mixer at times. But then I remember how much I don’t enjoy mixing by hand, and that guilt disappears – quickly.

Happy Baking!

Consistency Is Important

Call me anal retentive but to me, especially with baking, if I’m going to do the same thing a number of times, I need to be consistent with how I execute; otherwise, I’ll get different results from instance to instance. Over the months I’ve developed my process and I do specific steps in specific ways. And it has been important to learn to do this because now, not only can I be confident that I’ll get consistent results, those steps have become second-nature and I just do them automatically.

Even with something as simple as washing my fermentation tub… As soon as I’ve dumped my dough out onto my board following bulk fermentation, I immediately rinse out my tub with hot water. The reason for this is that it is a total pain in the ass to clean off dried dough from anything. It’s like cement! Plus, once I rinse it out and put it away, it’ll be ready for my next round of baking.

And of course, the obvious candidate for consistency is shaping. I now do five different kinds of loaves on a fairly regular basis – though I probably do three of those much more frequently – and I’ve learned different shaping techniques for each that I do over and over again. And it has been comforting know that I can produce repeatable results.

But with respect to my batards, even though I’ve shaped them all the same way, for months I’ve been using two different bannetons which has meant that even though they come out looking nice, you know they’ve come from different proofing baskets. Well… I know because I see them side-by-side. And I have to admit that that difference has bugged the shit out of me!

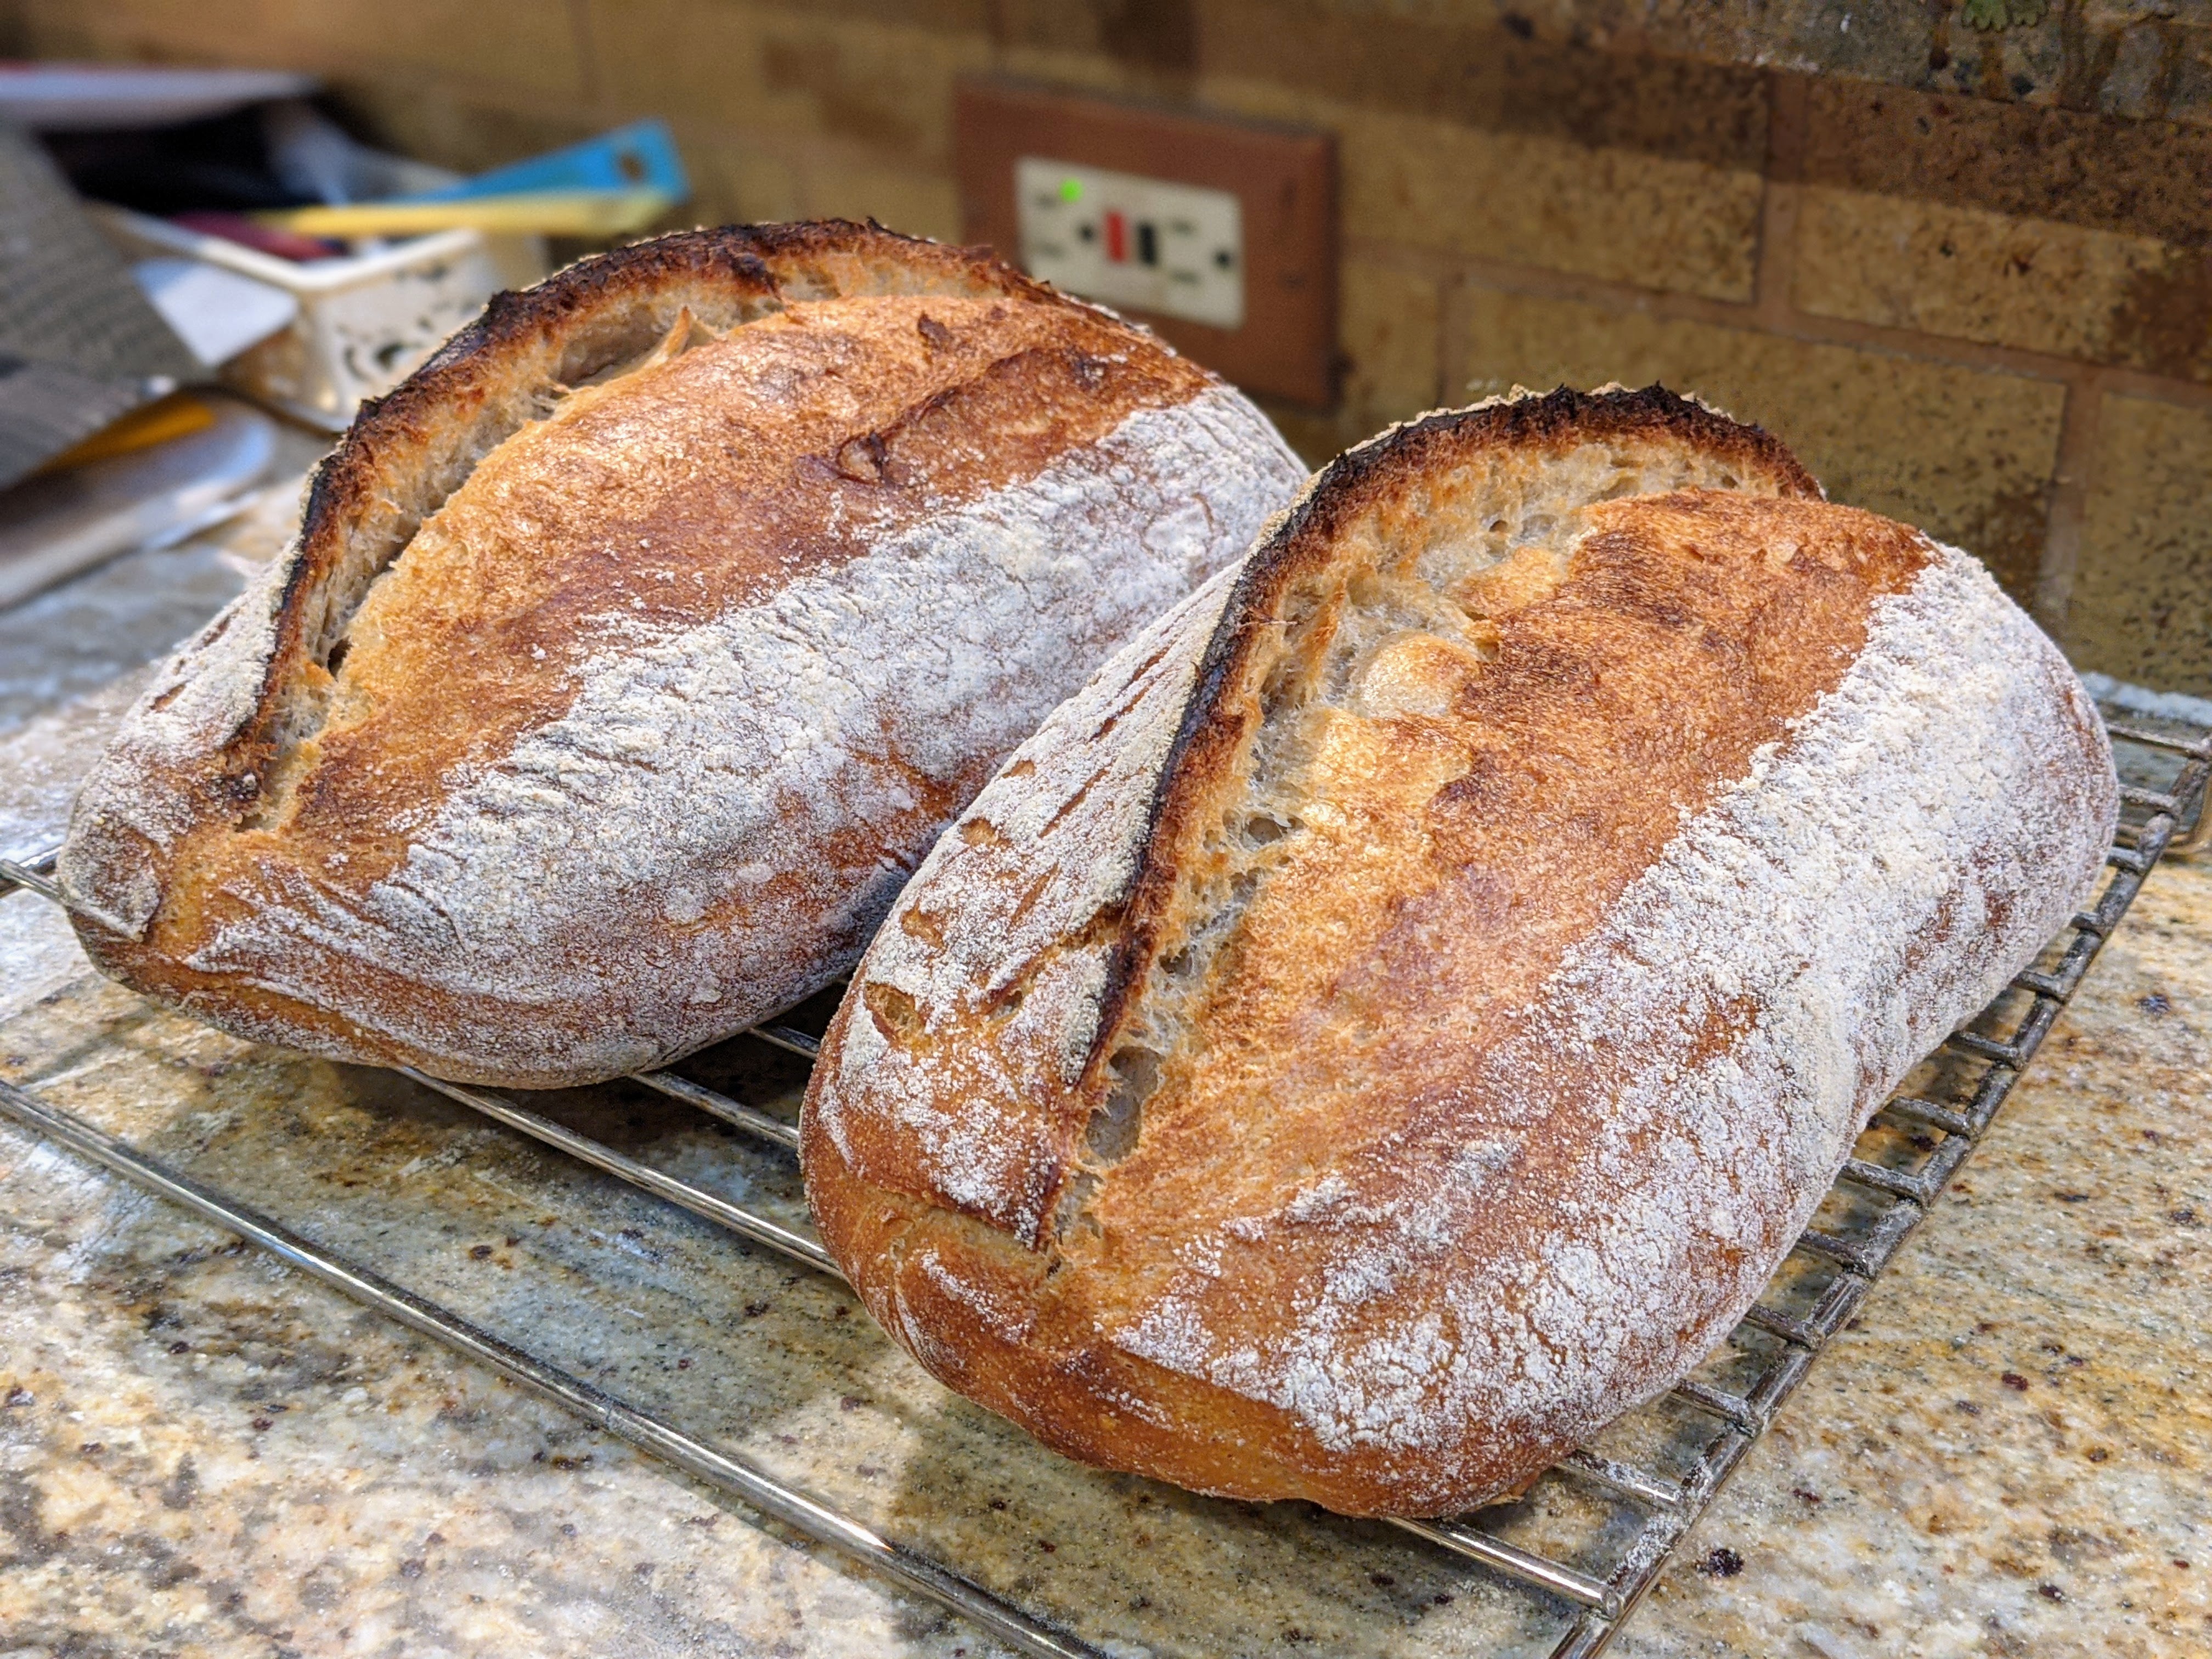
It finally came to a head last week and I vowed that I wouldn’t make another set of batards until I had a matching pair of bannetons. So last week, I ordered a match to my favorite banneton and yesterday, I made a couple of sourdough batards that are shown above. No, they’re not exactly alike but they are consistently shaped in the right way to me.

The ears came up pretty much the same, the width of the loaves was generally the same, and they both sprung up the same. When I was using two different bannetons, one loaf would always be wider than the other because that other banneton had a wider base. Like I said, that bugged the shit out of me!

But now I’m a happy man. I feel that with respect to batards at least, I’m complete. Consistency is a good thing!

Ciabatta Using Levain Discard

I hate to waste anything, especially levain discard. I’m in the middle of creating a new starter so of course I have a daily or twice-daily discard, and rather than just toss it – and I can’t give it away because everyone I know who bakes has gotten a starter – I use it. Yesterday I made baguettes from the discard and today I’m making ciabatta buns.

This is a super-straight-forward recipe that doesn’t require a feeding like you would with a levain. And the great thing with making ciabatta, it’s a same-day bread! No overnight bulk or final fermentation! The challenge, as with any ciabatta, is that it’s a wet dough, so it’s sticky. But as long as you develop the gluten structure in the process, then it’s not too hard to work with.

Note: To help the discard microbes, I use a small amount of instant yeast ~ just 2 grams. No, it’s not cheating. I do this because discard can sometimes be a little unpredictable, and that little bit of yeast helps boost the fermentation activity just enough to keep the process on schedule. That said, the yeast amount is also highly dependent on the temperature of my kitchen that varies wildly. When I made this the other, my kitchen temp was 84° F, and I used just half a gram of yeast! Even with that small amount, the fermentation went a bit crazy and I had to shorten my bulk fermentation to just 10 minutes!

Ingredients

FlourWaterSaltYeastDiscard
Whole Wheat Flour 100 g
Bread Flour 300 g
AP Flour 600 g
800 ml20 g2 g100 g

The Process

  1. Combine the flours and mix thoroughly.
  2. Weigh out 100 grams of discard from your container, then place that directly into the flour.
  3. Add all the water to the flour/discard mix and combine everything until you fully incorporate all the ingredients, and you form a shaggy dough.
  4. Rest for 30 minutes.
  5. Sprinkle the yeast and salt evenly over the surface of the dough then mix thoroughly until smooth. I do all the mixing with a stand mixer. It’s just more efficient.
  6. Preheat your oven to 480° F or 250° C.
  7. From this point on, you can follow the process from step 9 in Chef Markus Farbinger’s Ciabatta Recipe.

Regarding “shaping,” as I mentioned in the process I linked to, I letter fold my divided pieces to shape them into pillows. And especially if I’m making sandwich ciabatta where I want the mini loaves to come together during baking, shaping them ensures that each piece has its own structure. Also, if I’m making sandwich ciabatta, I use parchment paper on my transfer board, and I place the mini loaves about 1/2″ (roughly a 1 cm) apart so they’ll spread out and come together during baking.