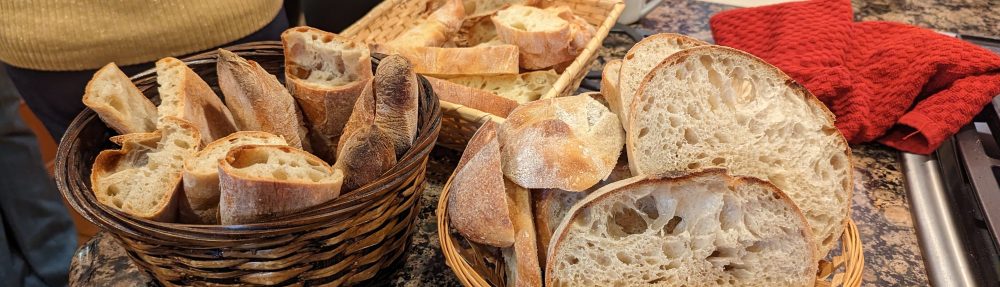

This bread’s name translates to “bread of Como of the past.” This is now known as pane francese in Italy or French bread, though this “French bread” is quite different in taste and texture from the actual French loaf which has a thinner crust and lighter crumb. But irrespective of all that, this is an ancient bread that is magnificent in both texture and taste and very easy to make.
I adapted this recipe from what I consider to be the definitive book on Italian Bread called “The Italian Baker” by the late Carol Fields. This is a GREAT book. Ms. Fields traveled throughout Italy to learn these recipes directly from local bakers in the regions she visited, so these are authentic.
As with most Italian loaves, this bread is started with a biga the day before, which is much like a poolish, using flour, water and a tiny amount of yeast, only stiffer. A poolish is 100% hydration where a biga can be anywhere from 60%-80% hydration. This recipe’s biga is 80% hydration. Let’s get started!
Overall Formula
| Flour | 100.00% |
| Water | 75.00% |
| Salt | 1.60% |
| Yeast | 0.30% |
Day 1 – Make the Biga
| Unbleached AP Flour* | 100g |
| Water (75° – 80° F) | 80g |
| Yeast | 0.4g |
I’m going to come clean and admit that I actually used my sourdough starter to make an 80% hydration levain. The Italians call this type of biga “Biga Naturale.” My levain was 100% whole wheat, so I didn’t use the whole wheat flour that’s listed in the final dough below.
Mix all the ingredients and let ferment for 12-16 hours at room temperature. As with any preferment, you want to make sure it’s nice and bubbly.
Day 2 – Final Dough
| Biga | 180g |
| Unbleached AP Flour | 435g |
| Whole Wheat Flour | 65g |
| Water (80°-85° F) | 360g |
| Salt | 10g* |
| Yeast | 2g** |
**If the weather is cold, adding a little yeast will help the process along.
The Process
According to Carol Fields, Italians predominantly use a mixer to mix up their dough. But you can mix by hand if you choose or if you don’t have a mixer. The process is pretty much the same.
- Set aside about 50 grams of the water and dissolve the salt in it.
- In a large mixing bowl, break up and dissolve the biga with the rest of the water, then add the flour in batches. If you use the yeast, add it to the water before the flour.
- Once you form a shaggy mass (and there are no dry ingredients), let it rest for 20 minutes to help hydrate the flour. This is kind of a hybrid autolyse.
- Add the saltwater to the mass, then thoroughly mix until you start forming a smooth dough that feels elastic. This is where a mixer really comes in handy.
- Dump the dough onto a board and knead for 8 minutes or until you feel the dough has built some strength.
You don’t have to knead if you don’t want to. I instead mix until everything’s incorporated, transfer the dough to a container, then do two sets of folds in the first hour or so. This will create plenty of dough strength. This is more like baguettes. - Transfer the dough to a lightly oiled container, then cover with plastic wrap and let it rise until almost doubled. The dough should have plenty of bubbles and should be blistering on top with a nice dome. 1 1/2 to 2 hours or until dough has expanded 50%-75% of its original size.
- Pour the dough onto a lightly floured board and divide it in half.
- Shape each half into a nice, taut ball (like you would a boule), sealing the seams, then set it aside seam side down.
- Sprinkle a little flour over each ball, then cover with a cloth for 20-30 minutes to bench rest. The dough should be relaxed.
- Preheat your oven to 485° F.
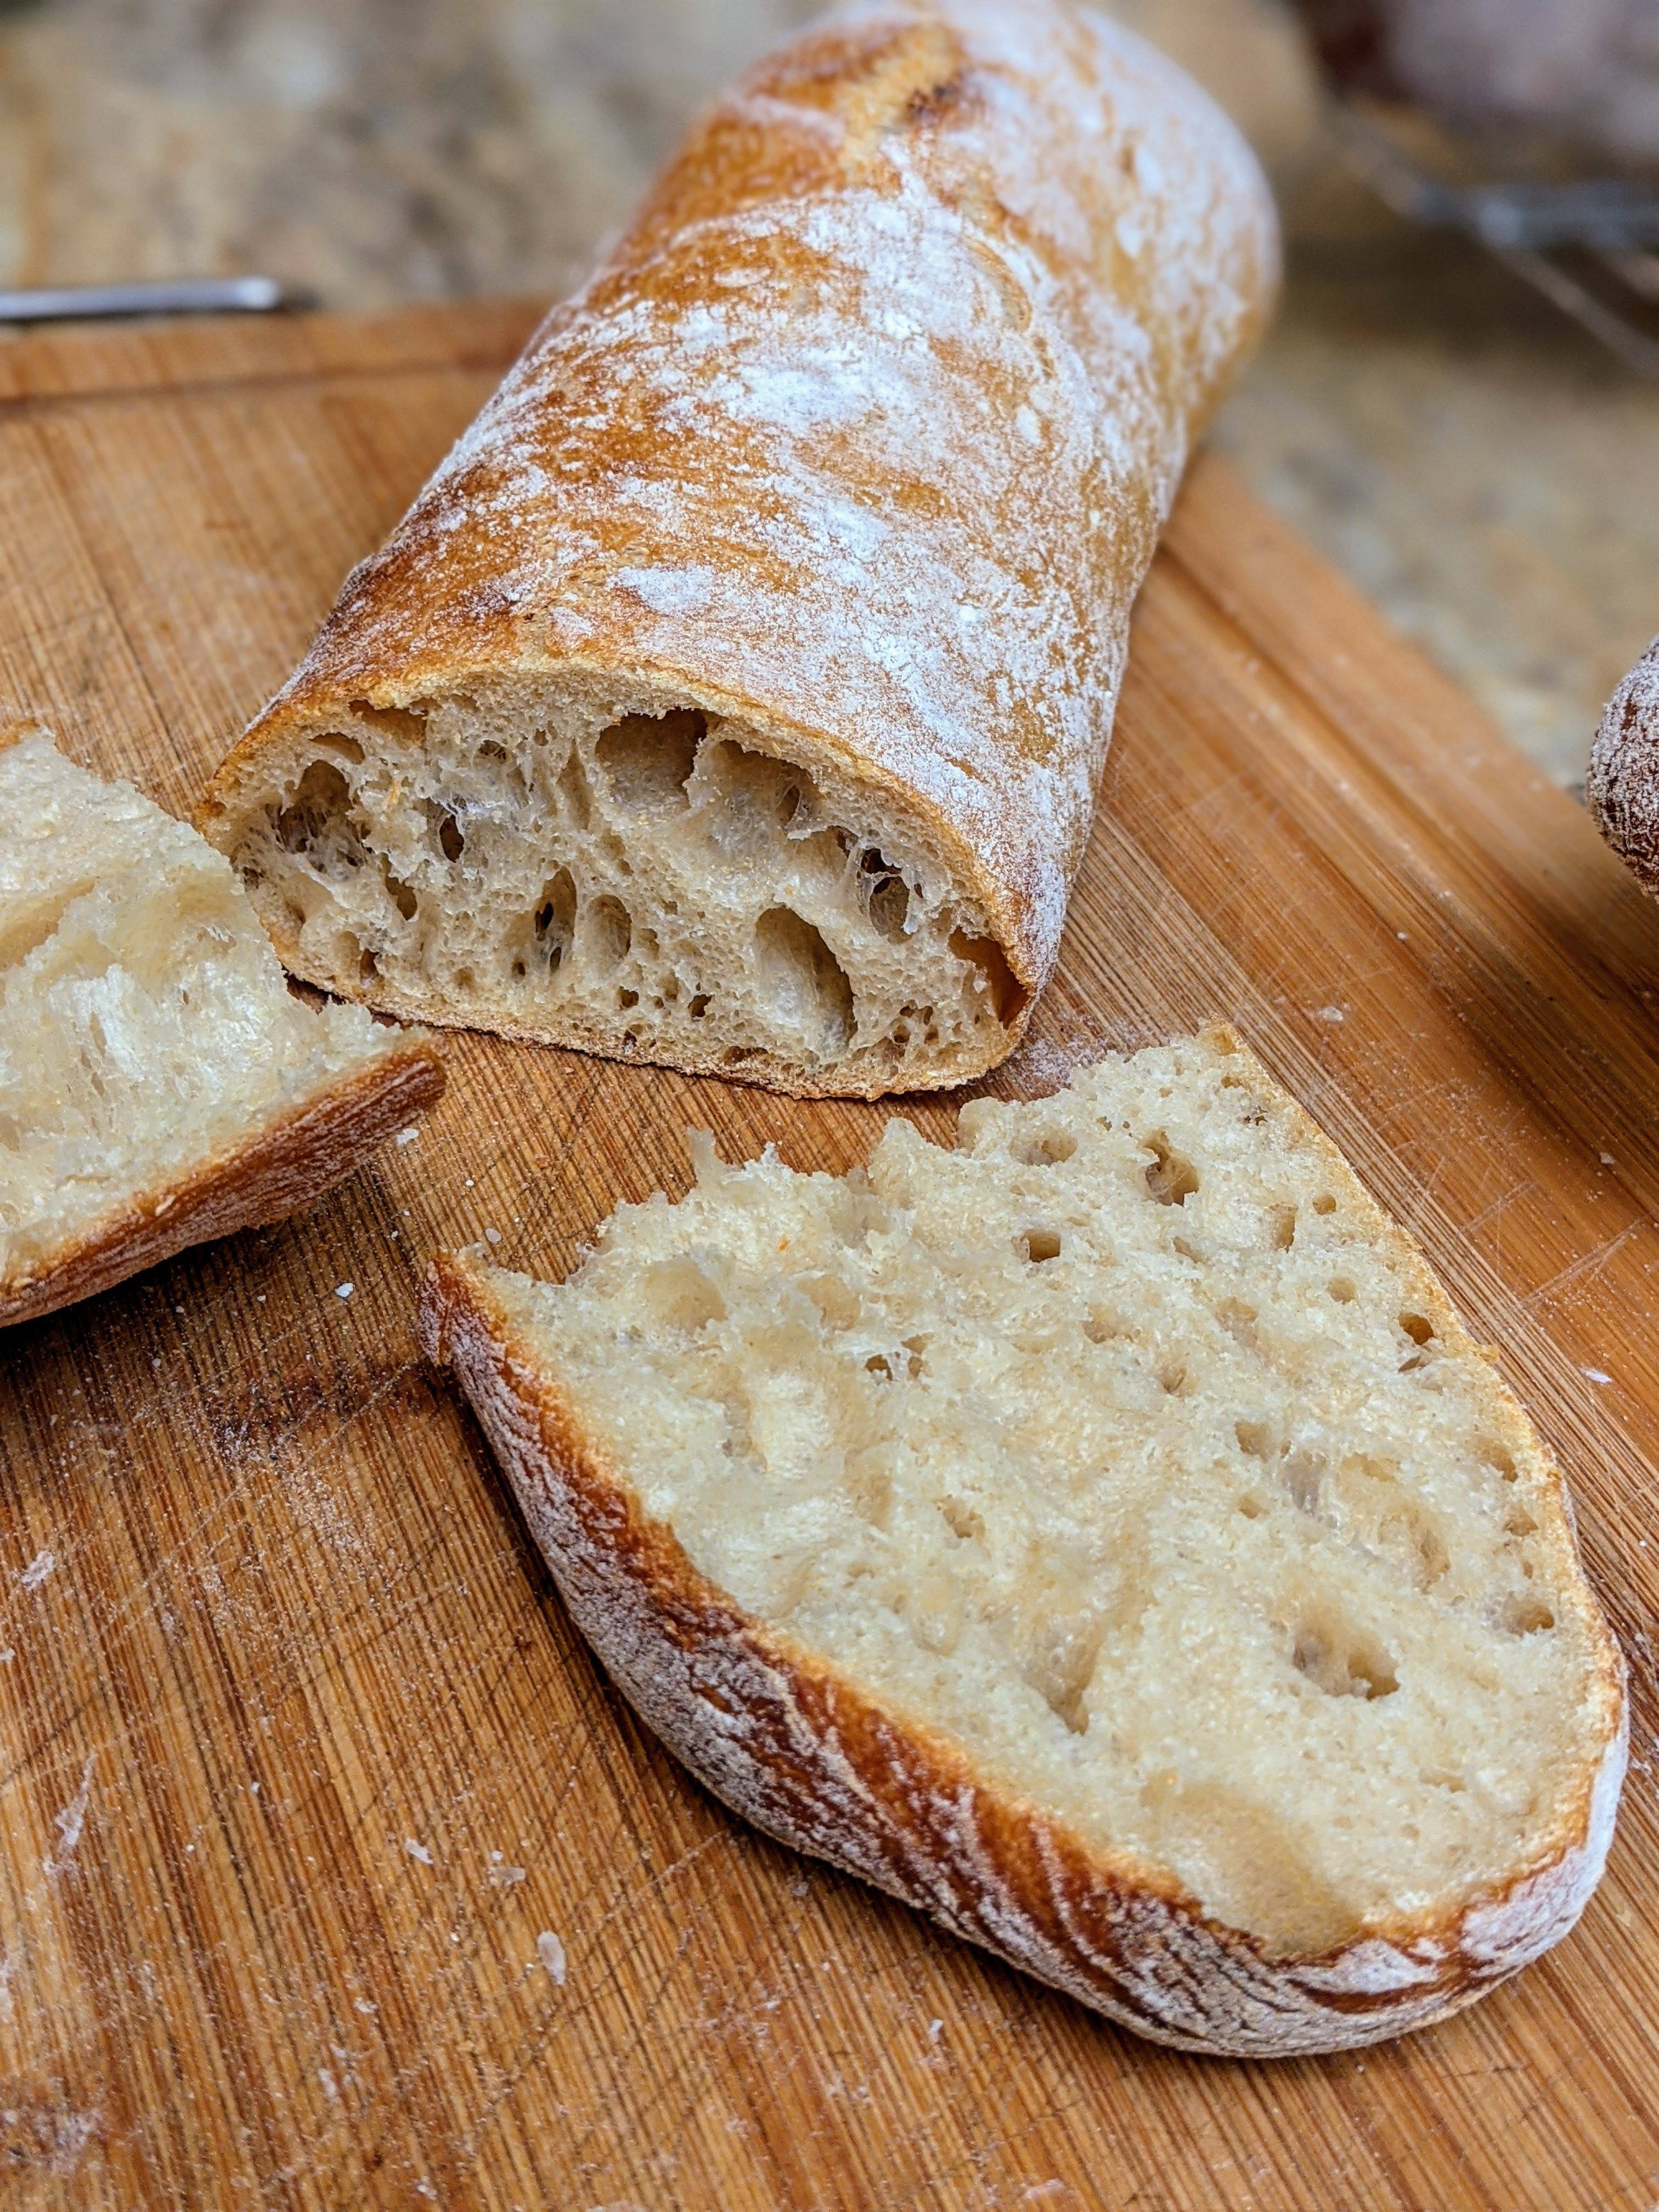
- After the balls have rested, shape into cylinders about a forearm’s length. I use a baguette shaping method to create some internal structure and to ensure the cylinder is even, though I don’t make pointy ends. The cylinders will be much thicker than baguettes, but they’ll have a structure you can feel.
- Lay each cylinder seam side down (or up if you prefer) onto a transfer board lined with parchment paper, or if you don’t have a baking stone, a parchment-lined baking sheet. The cylinders will spread and flatten a bit and that’s okay!
- With floured hands, dimple the cylinders all over to prevent over-springing. Don’t worry, they’ll puff up.
- Cover with a well-floured cloth or couche and let rise for 1 to 2 hours. You should see bubbling and blistering. Carol Fields says to wait until they’re doubled in size. But based on my experience with baguettes, what you want to look for is a puffiness to the loaves and a little resilience when you poke them. You don’t want to take final fermentation out too far, lest you lose oven spring.
- Bake with steam for 15 minutes (I use a broiler pan on the bottom rack and pour a cup of scalding water in it).
- After 15 minutes, remove your steaming tray/container and the parchment paper, turn the oven down to 425° F, then bake for another 12-15 minutes until the loaves are golden brown.
- Cool on racks for 30 minutes. They taste GREAT while they’re still a little warm!
I originally got “The Italian Baker” because I wanted to get a recipe for Pane Pugliese from a credible source. I made the Pane Pugliese from the book, and it turned out okay, but as I pored over the book, I saw this simple, straightforward recipe and knew I had to make it.
I think the romance of this recipe being ancient really got to me. In fact, my whole bread-making obsession has stemmed from the romanticism of making bread from recipes that are hundreds, maybe even thousands of years old. Granted, the flour of today is so much more refined than the flour of yesteryear, but to replicate bread from ages-old recipes and traditions… That’s just so FREAKIN’ cool to me!
This is what keeps me exploring. I don’t know if this will turn into anything other than a hobby, but I do know one thing: I love continuing tradition!
