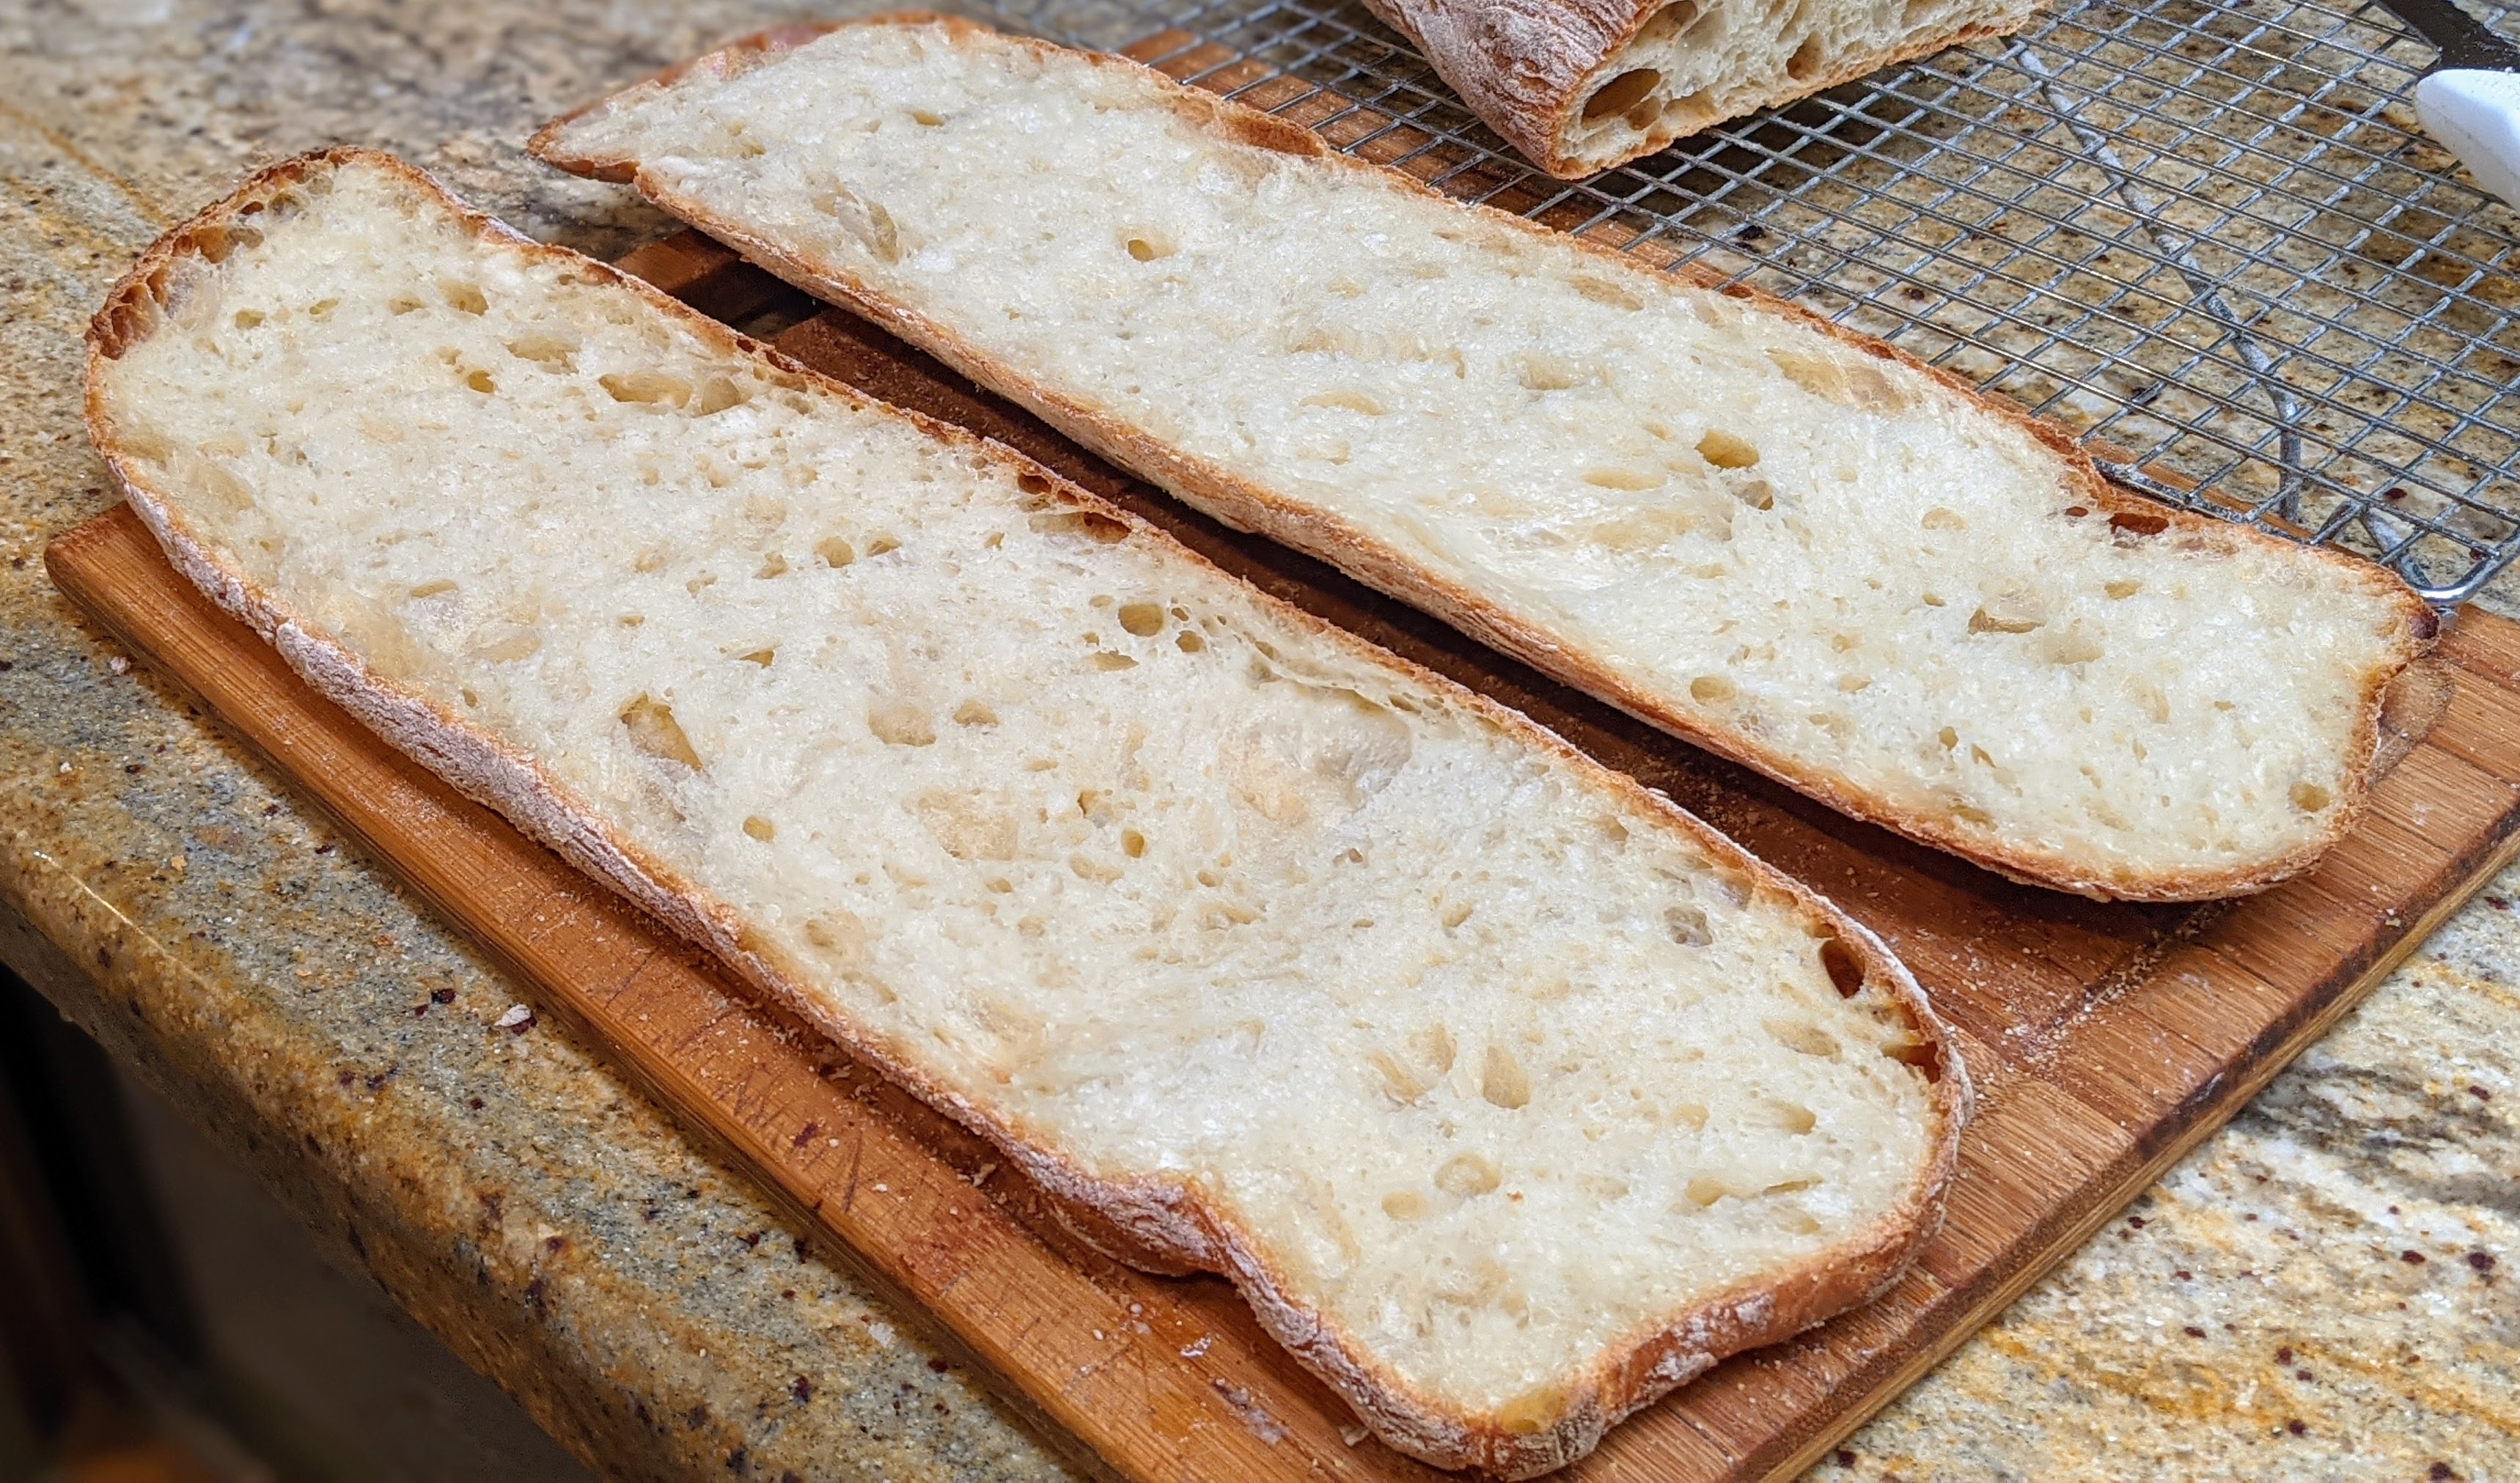

As much as I love baking with KamutTM, my normal supplier has been out of it for some months now. But what they have had in stock is dark rye flour. So for the past few months I’ve been experimenting with it and trying to find a good ratio. Like KamutTM, rye flour doesn’t form gluten. They’re both high in protein, but their proteins are more gelatinous in the presence of water as opposed to forming chains. Needless to say, they don’t add to the structure of the dough.
While you certainly could do a 100% rye or KamutTM loaf, you’d have to keep the hydration pretty low or bake your bread in a pan. As for myself, while I’ve made bread using 100% rye or KamutTM, I have to admit I’m not a fan. But I love what they contribute to the bread when used in a flour blend.
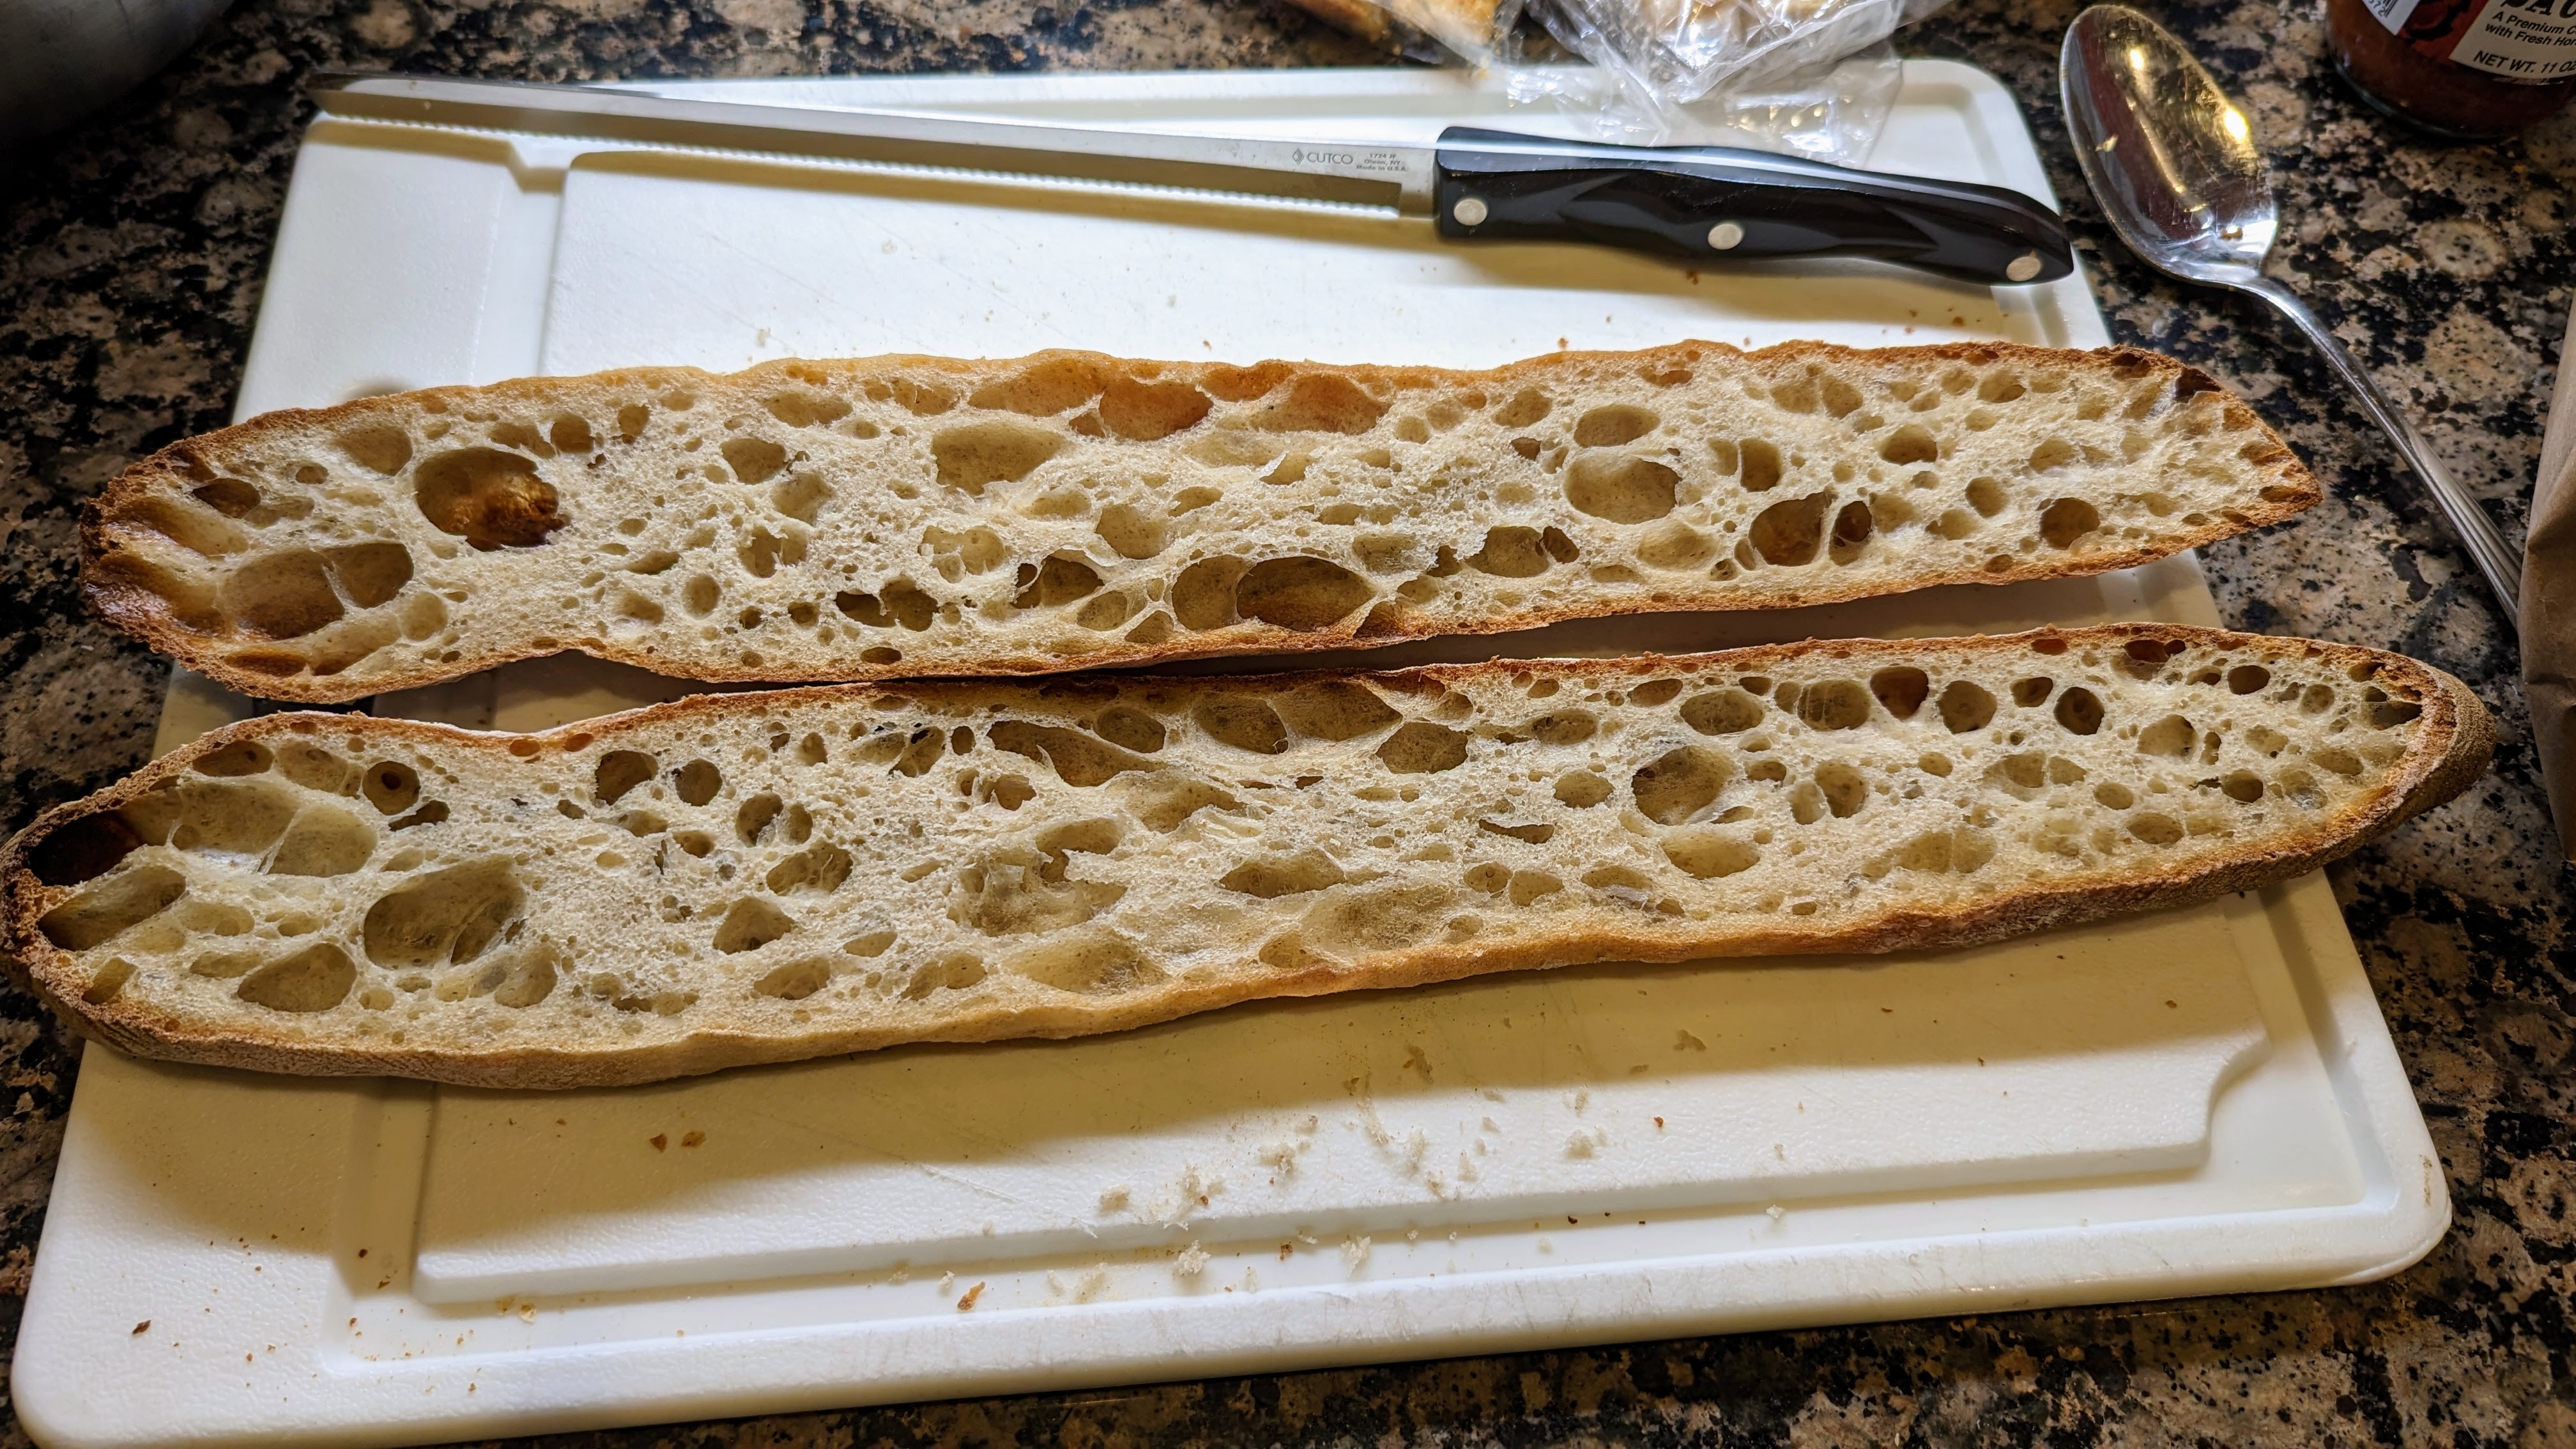
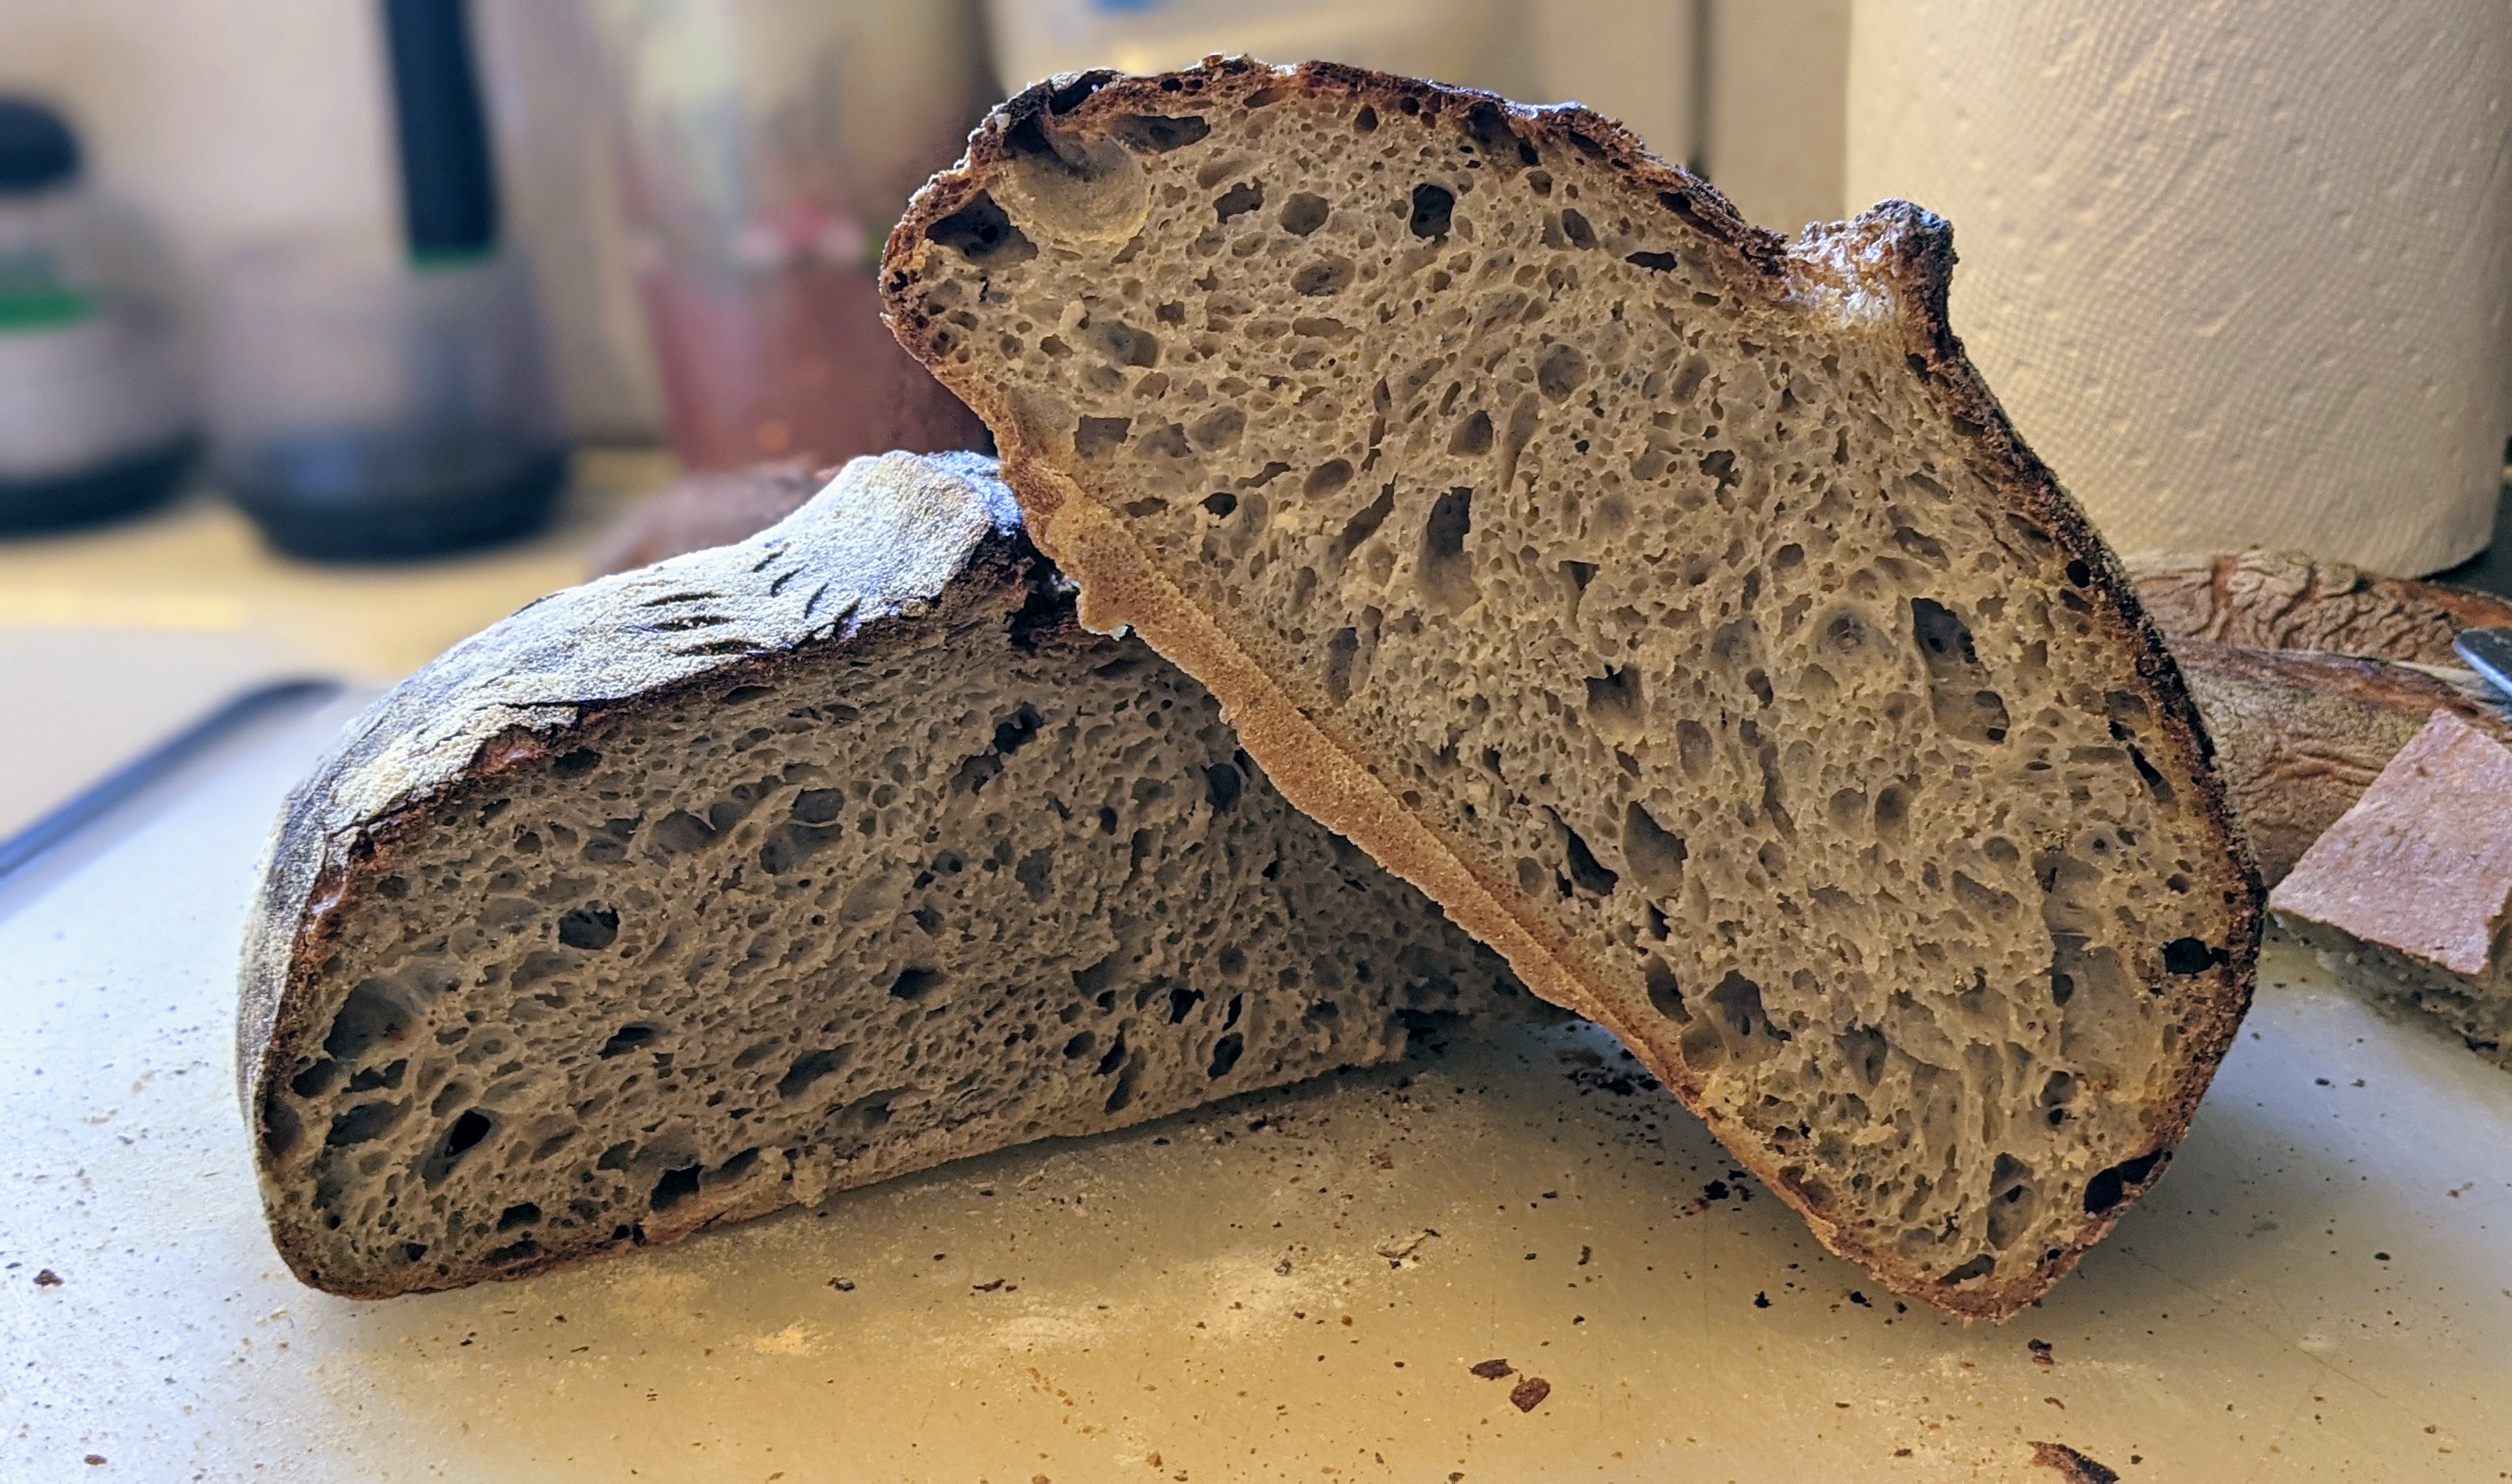
For this recipe, the final blend is a 75% bread flour / 25% rye flour blend. 15% of the flour comes from the rye-based starter. The other 10% blended with the bread flour for the final dough.
Here’s the recipe:
Overall Formula
| Flour | 100.00% |
| Water | 76.00% |
| Salt | 1.50% |
| Total % | 177.50% |
Flour Blend
| Rye Flour from Preferment | 15.00% |
| Bread Flour | 75.00% |
| Rye Flour | 10.00% |
| Total % | 100.00% |
Final Dough
| Bread Flour | 854g |
| Rye Flour | 114g |
| Warm Water | 694g |
| Salt | 17g |
| Levain | 341g |
| Total Yield | 2020g 2 X 1000g loaves |
| Total Flour | 1138g |
| Total Water | 865g |
| Optimal Dough Temp | 78°-82°F / 25° -27°C |
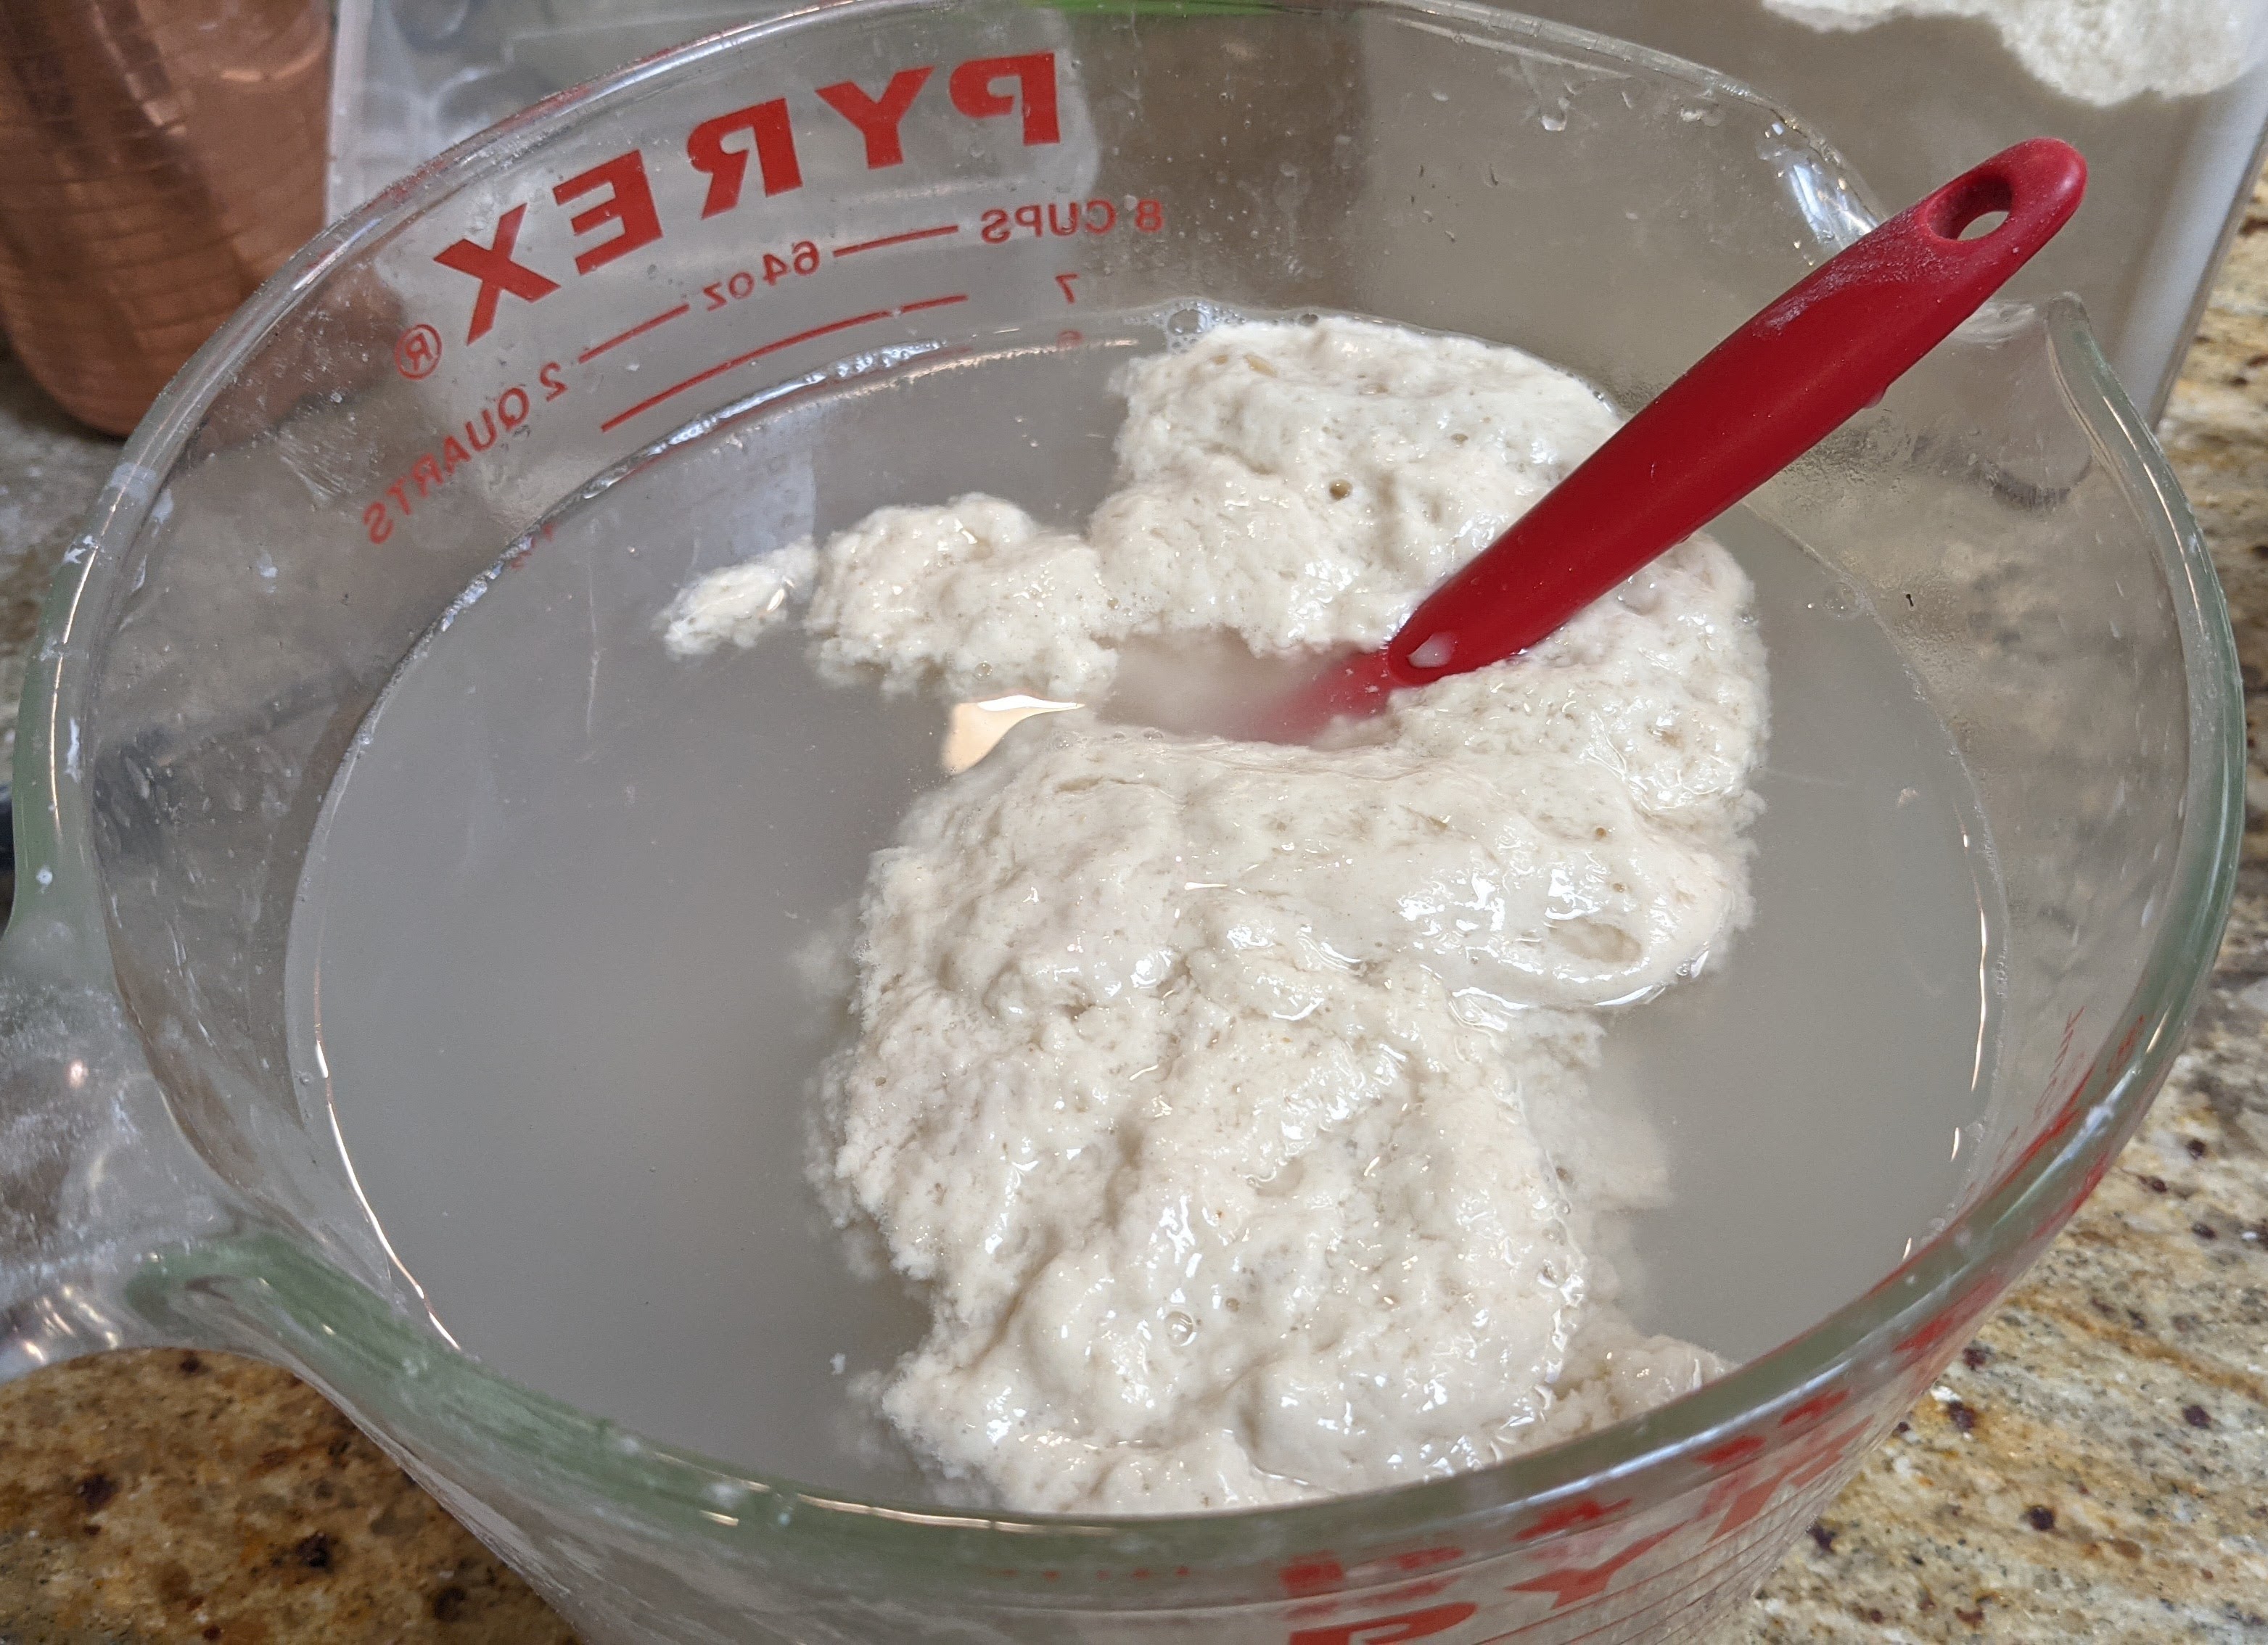
Prepare the Levain. Make a levain that will yield about 350g or a bit more from a mature starter and equal parts of rye flour and water. The mother culture I use for this is 100% rye flour, but if yours isn’t, don’t sweat it. Once the levain passes the float test, it’s ready.
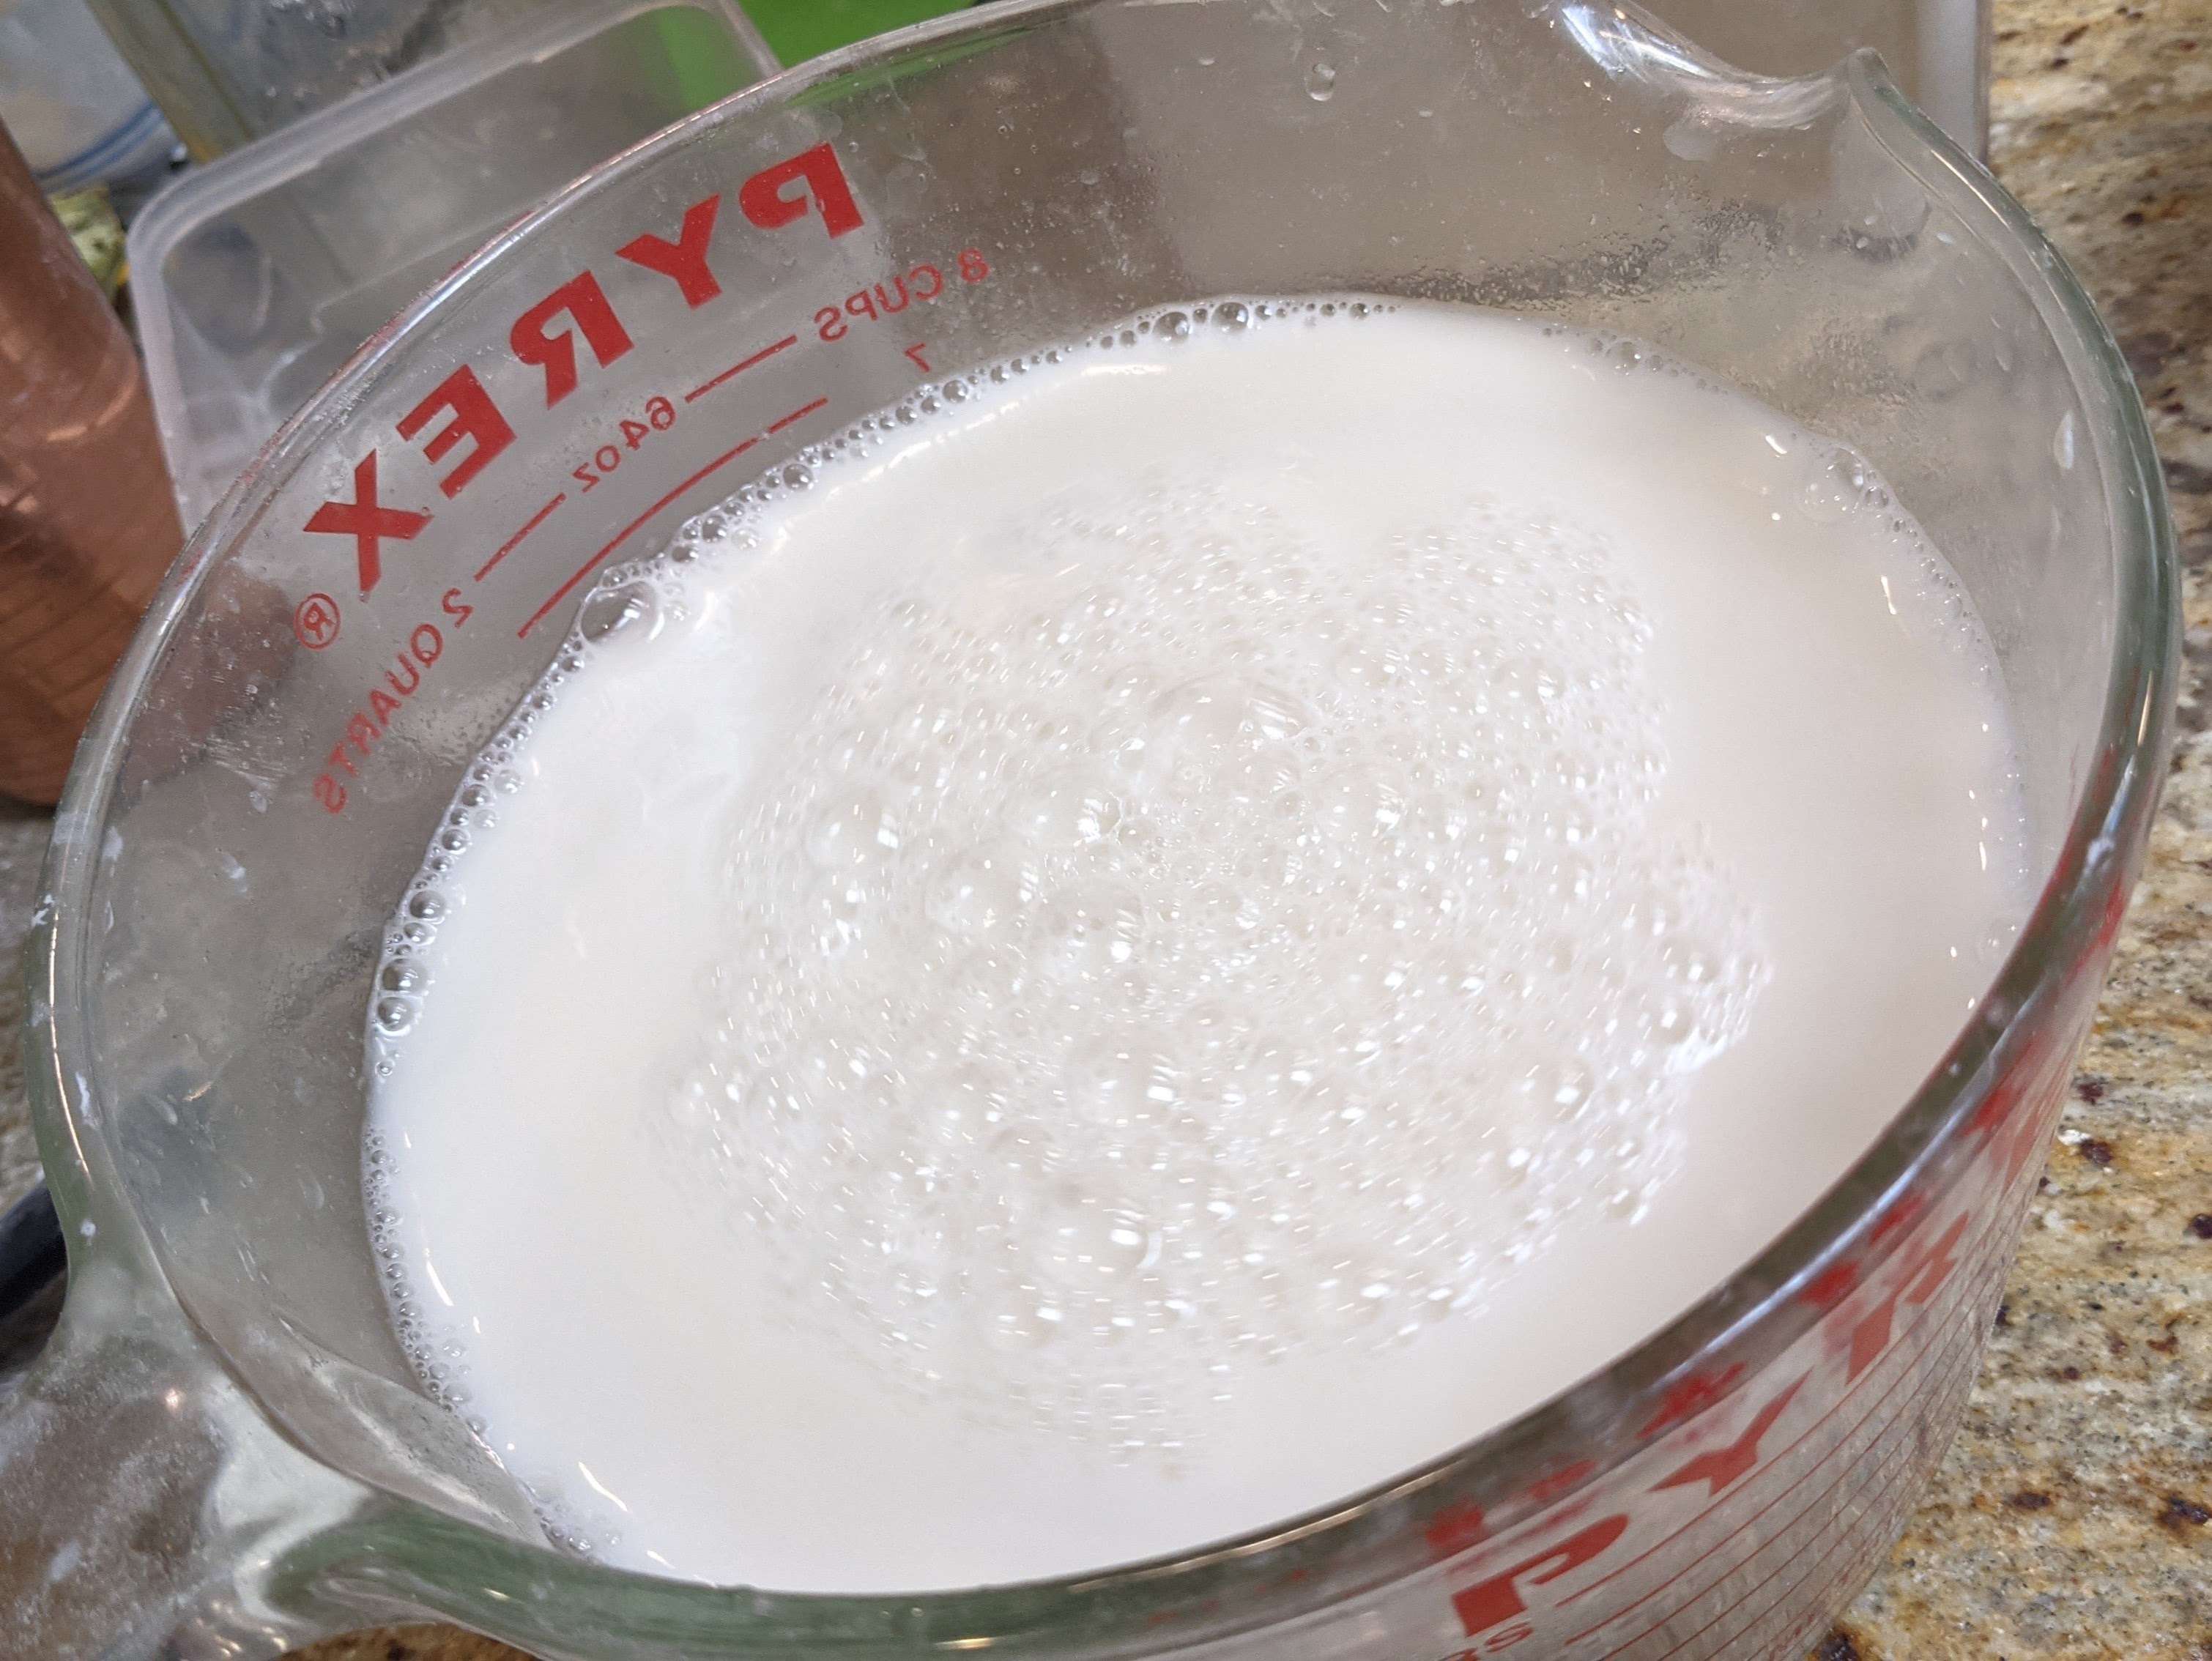
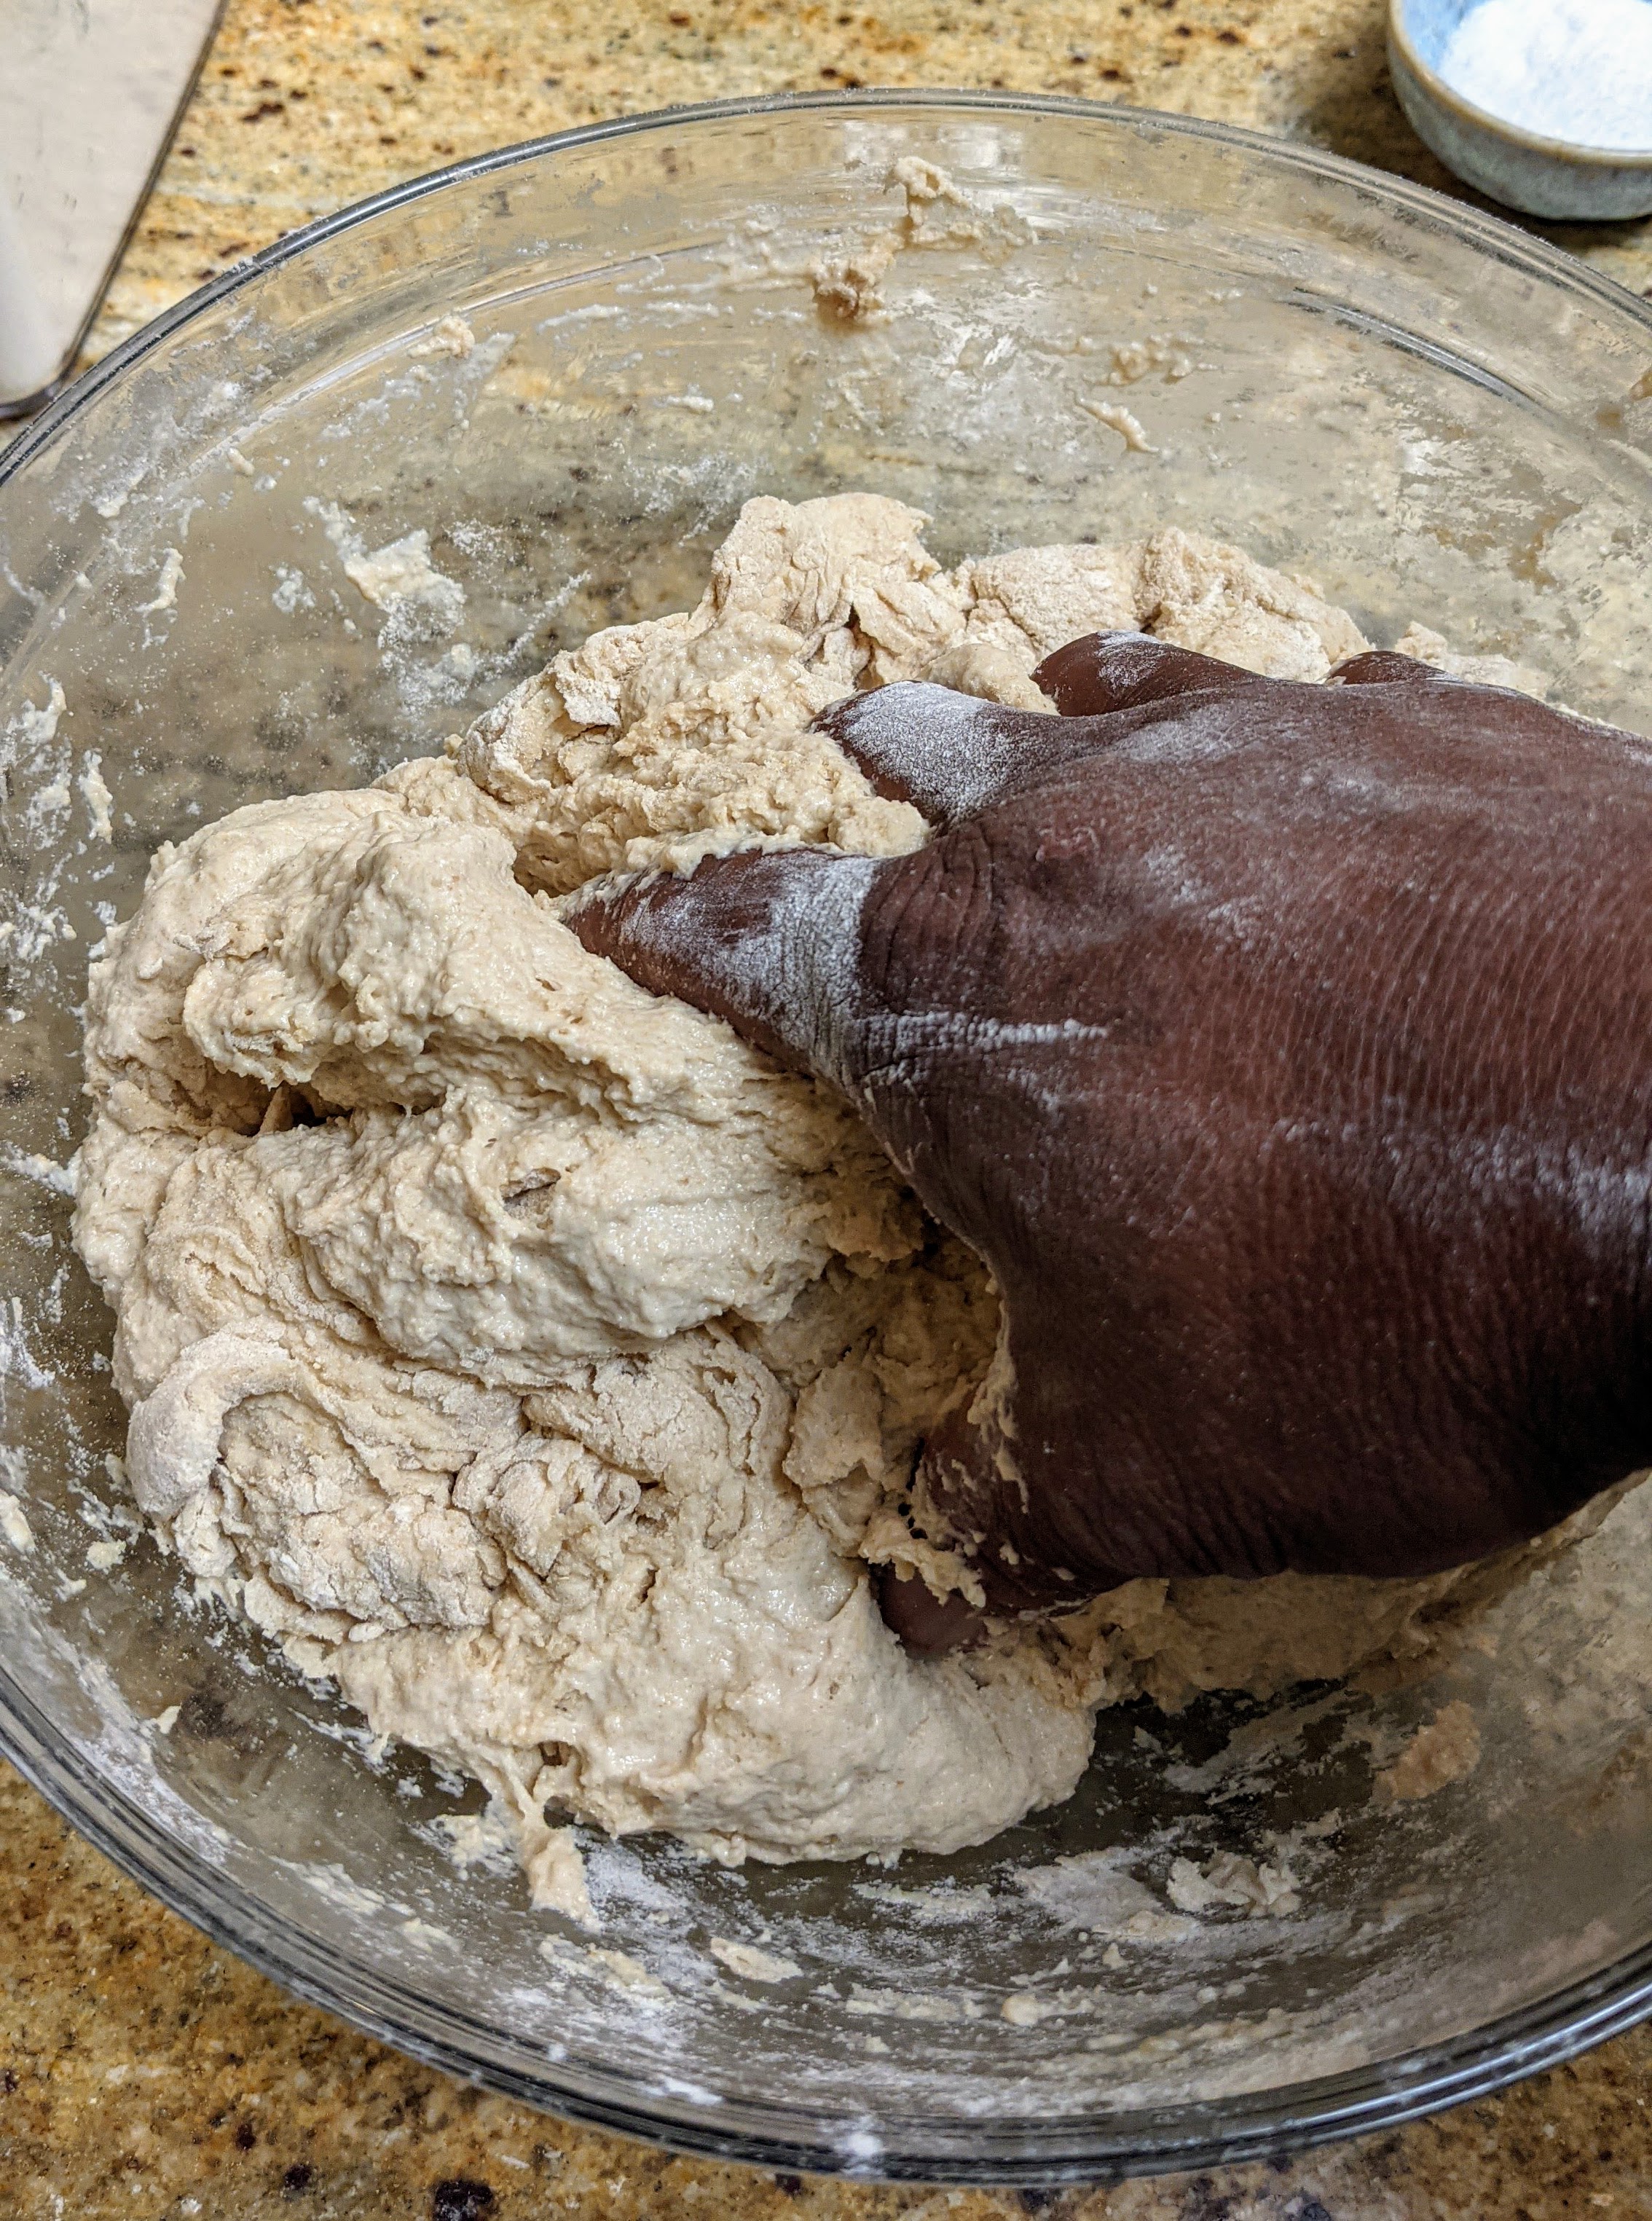
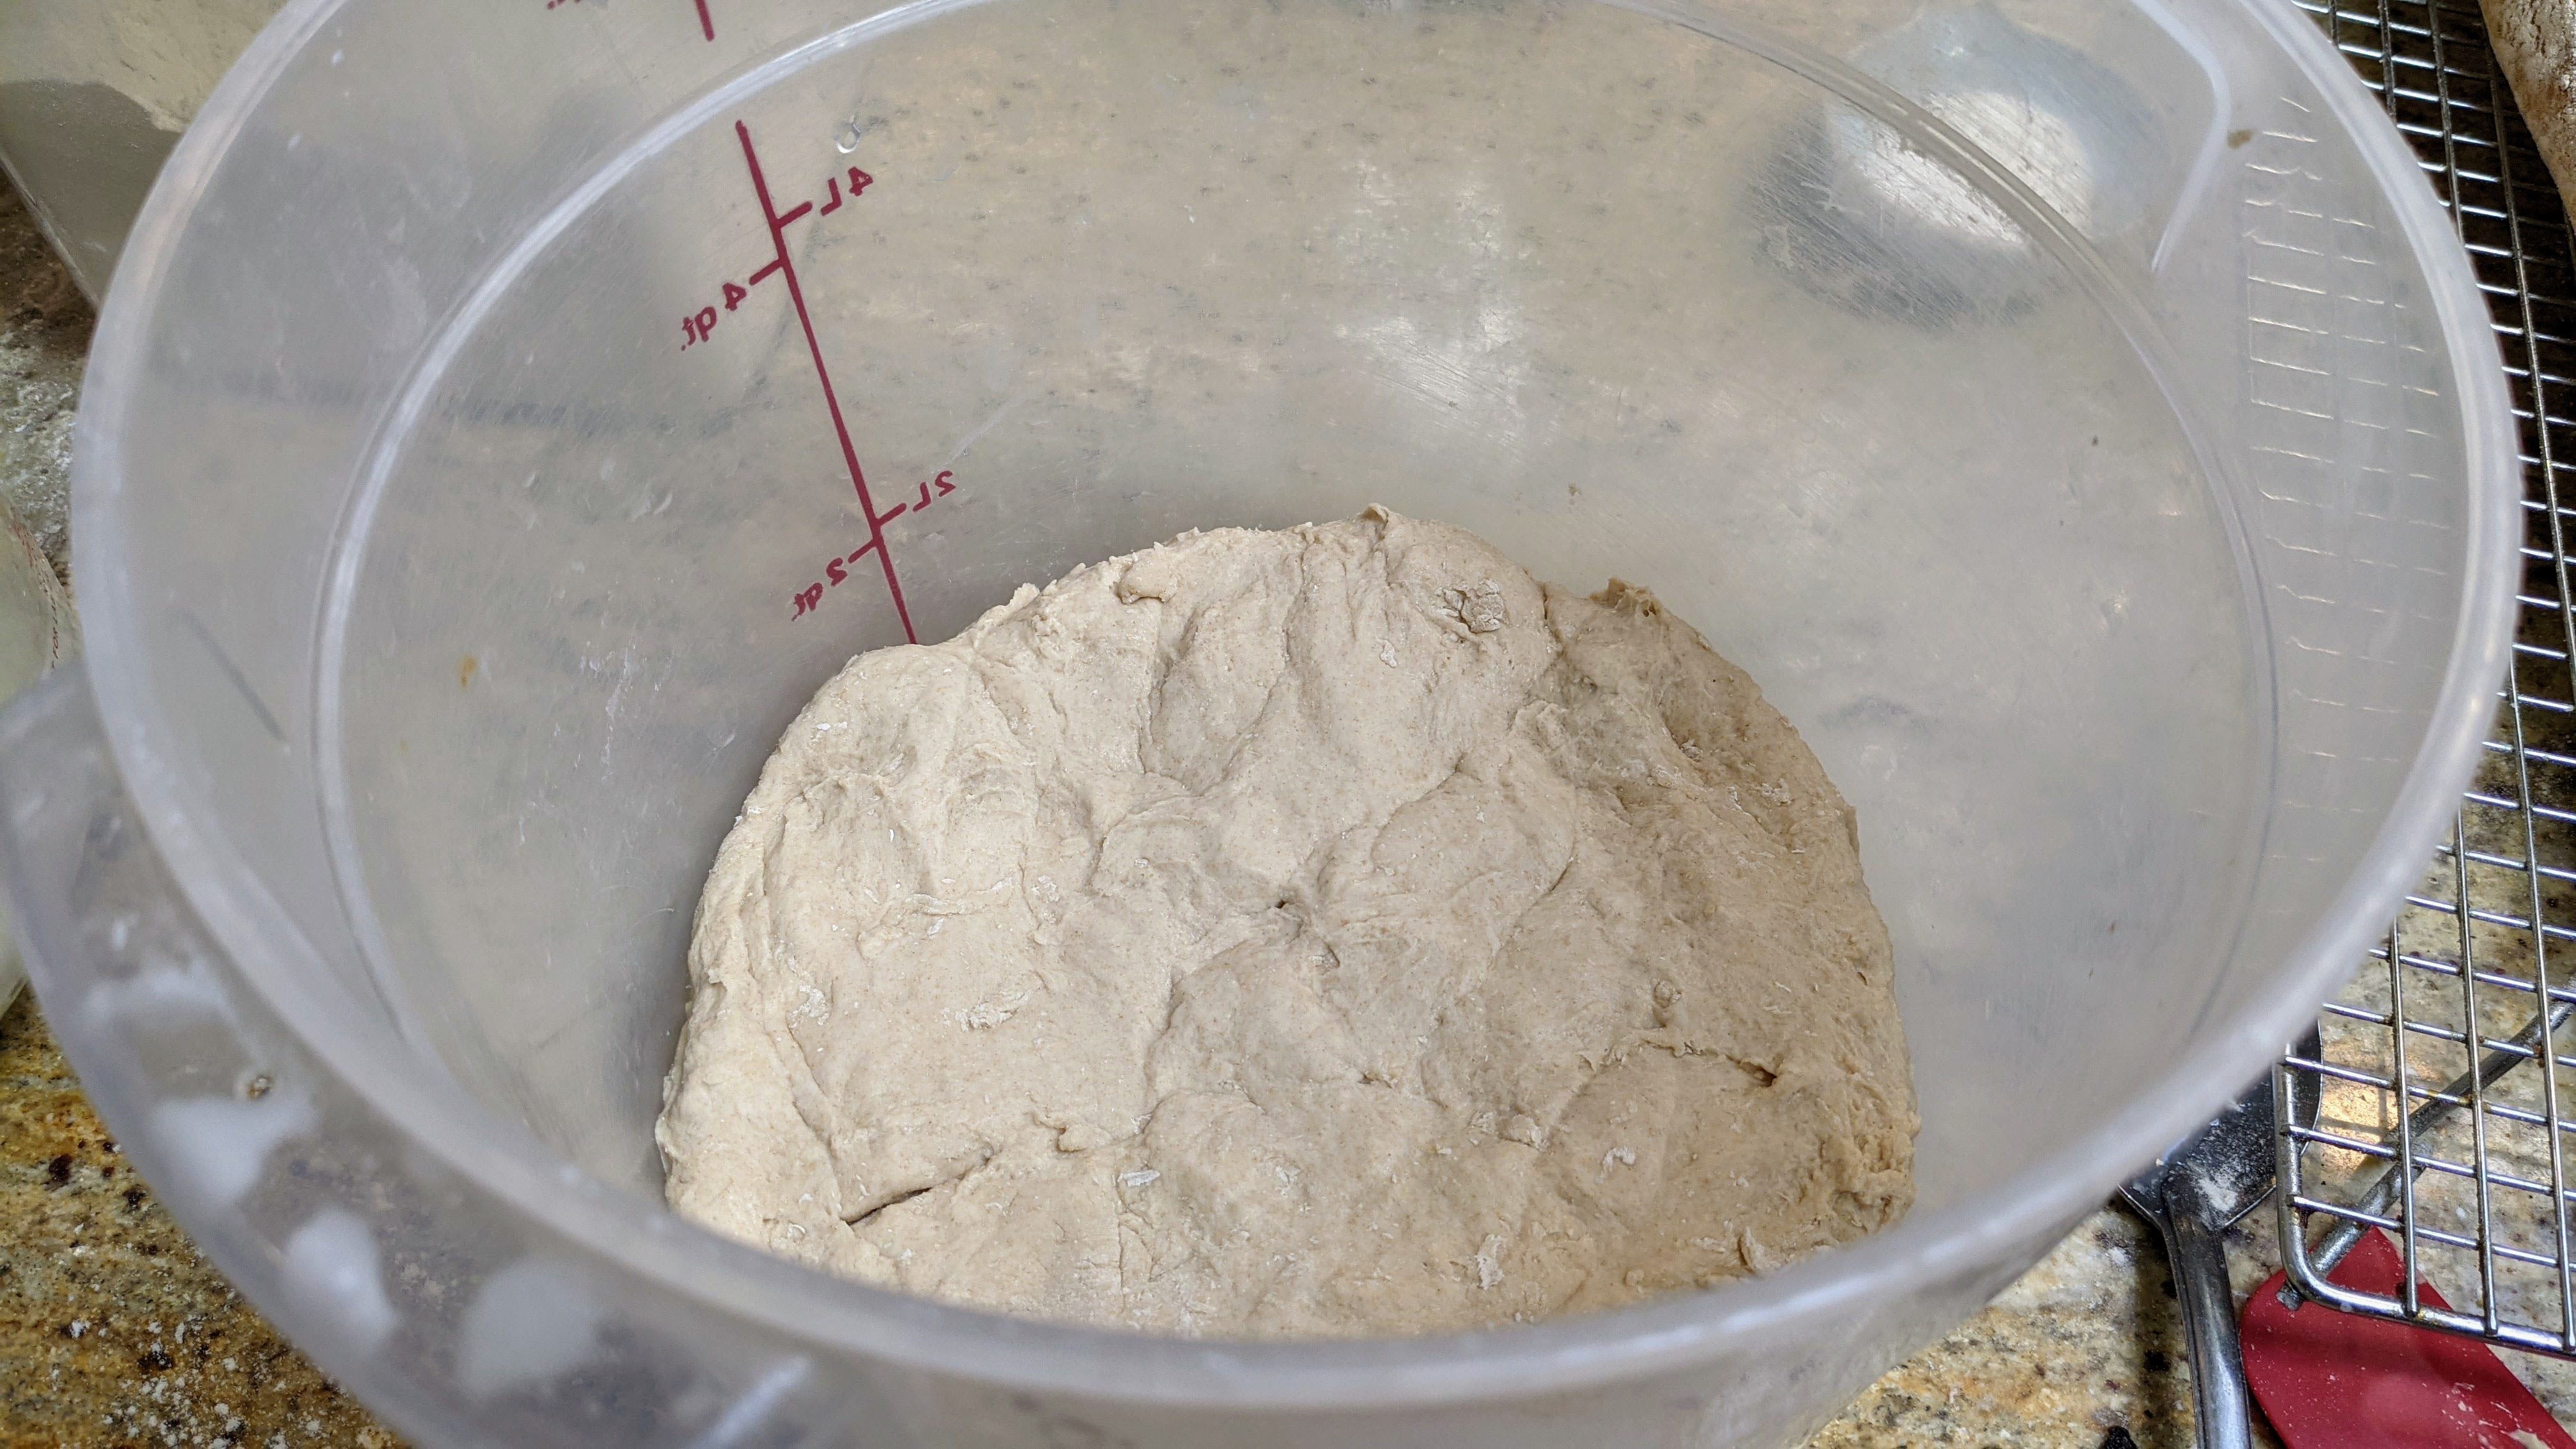
Initial Mix. In a separate bowl, mix the levain with all the water and make sure to break up the levain. The water should be very warm to increase the yeast activity. Blend the bread and rye flour together well, then add the liquid to it. You can mix by hand, but I use a mixer on the lowest setting. Mix until you achieve a shaggy mass and there are no dry ingredients. You don’t want much gluten development at this point. Cover and let the dough rest in a warm place for 30 minutes to ensure the flour is well-hydrated.
Final Mix. Sprinkle the salt over the top of the dough, then fold it into the dough. I do this with a wet hand, scrunching the dough together, then folding it. I do this until I can’t feel salt granules. This also serves as a bit of a stretch and fold session.
Bulk Fermentation. I’m not going to give a time for this as it varies wildly. But the telltale you’ll look for is 75-100% volume expansion – almost double. With the amount and type of starter I use (it’s from an ancient Italian culture that I got from Sourdoughs International), my bulk fermentation is about 2 1/4 hours! It’s fast. Make sure your dough temp is within the optimal range I listed above!
Folding. Fold once after the first hour of bulk fermentation. I realize this seems counterintuitive, especially if you’ve followed the dogma of 6 folds over a 3-hour period. But we’re baking with rye flour and even though it represents only 25% of the total flour, it’s still delicate. So don’t want to keep punching it down. When you fold, make sure you’re getting a really good stretch from the dough and fold it until the mass no longer wants to be folded and the whole mass comes up when you stretch. When you’re done, turn the mass onto the folds and LET IT SIT!
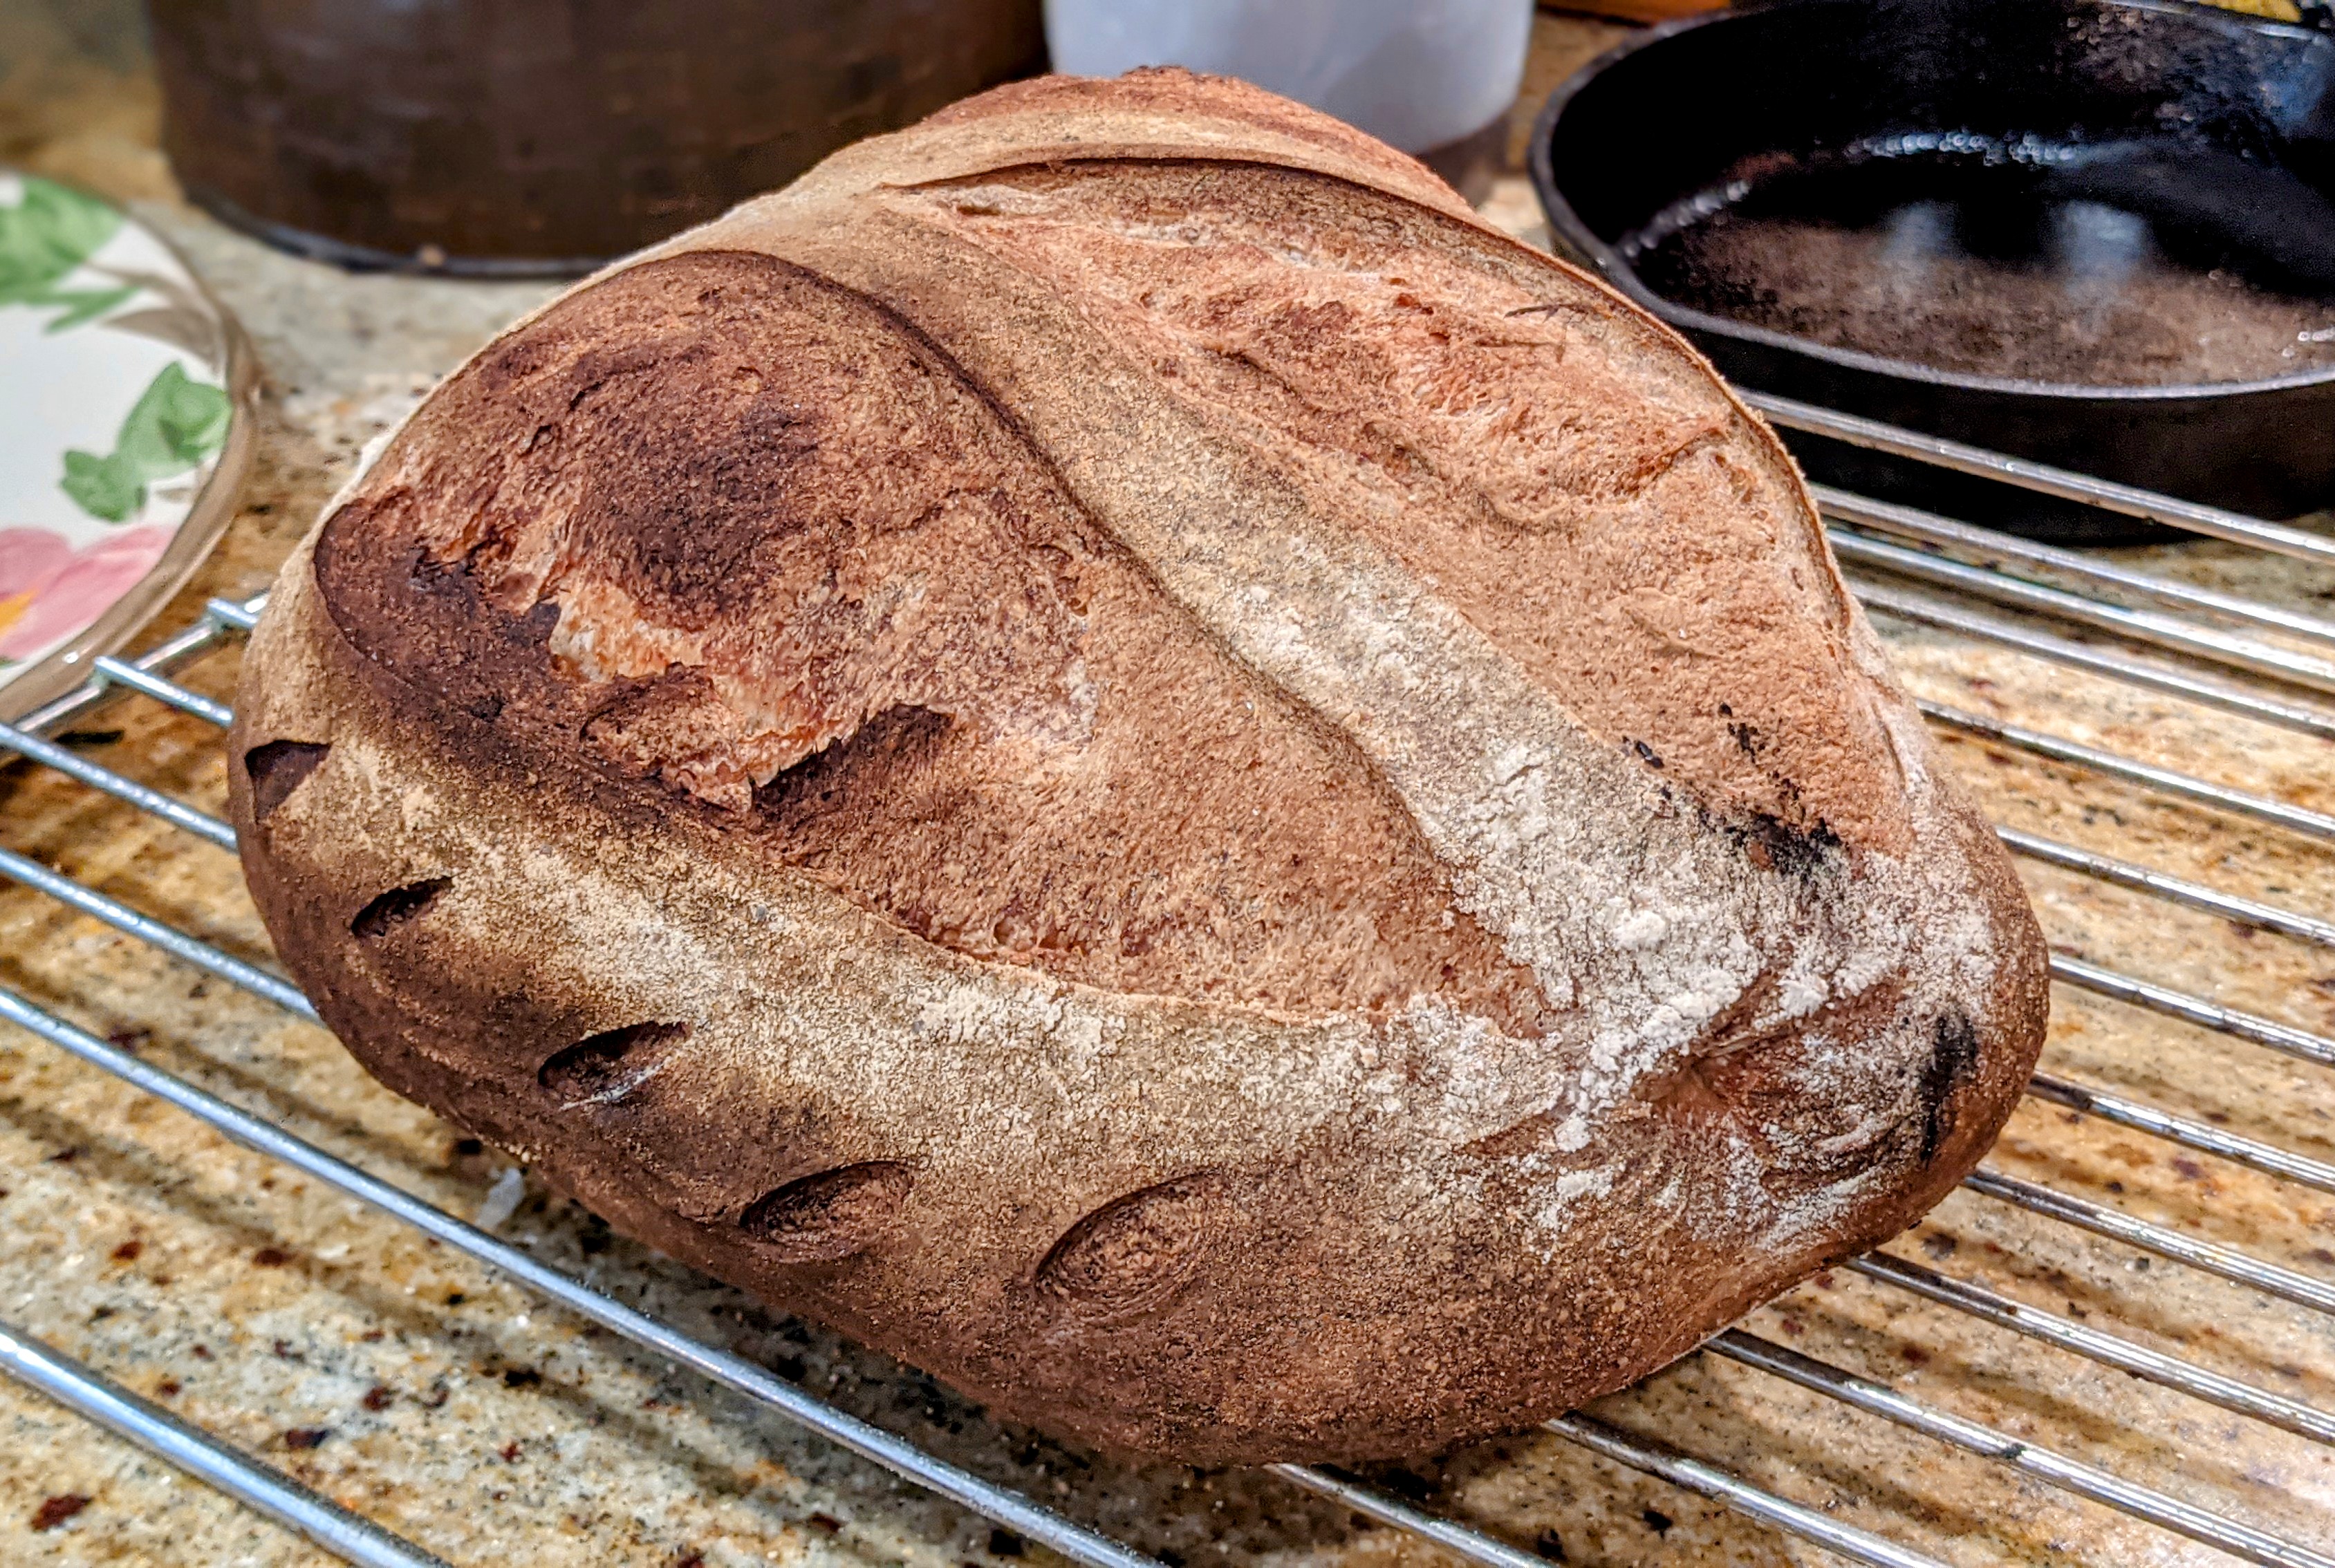
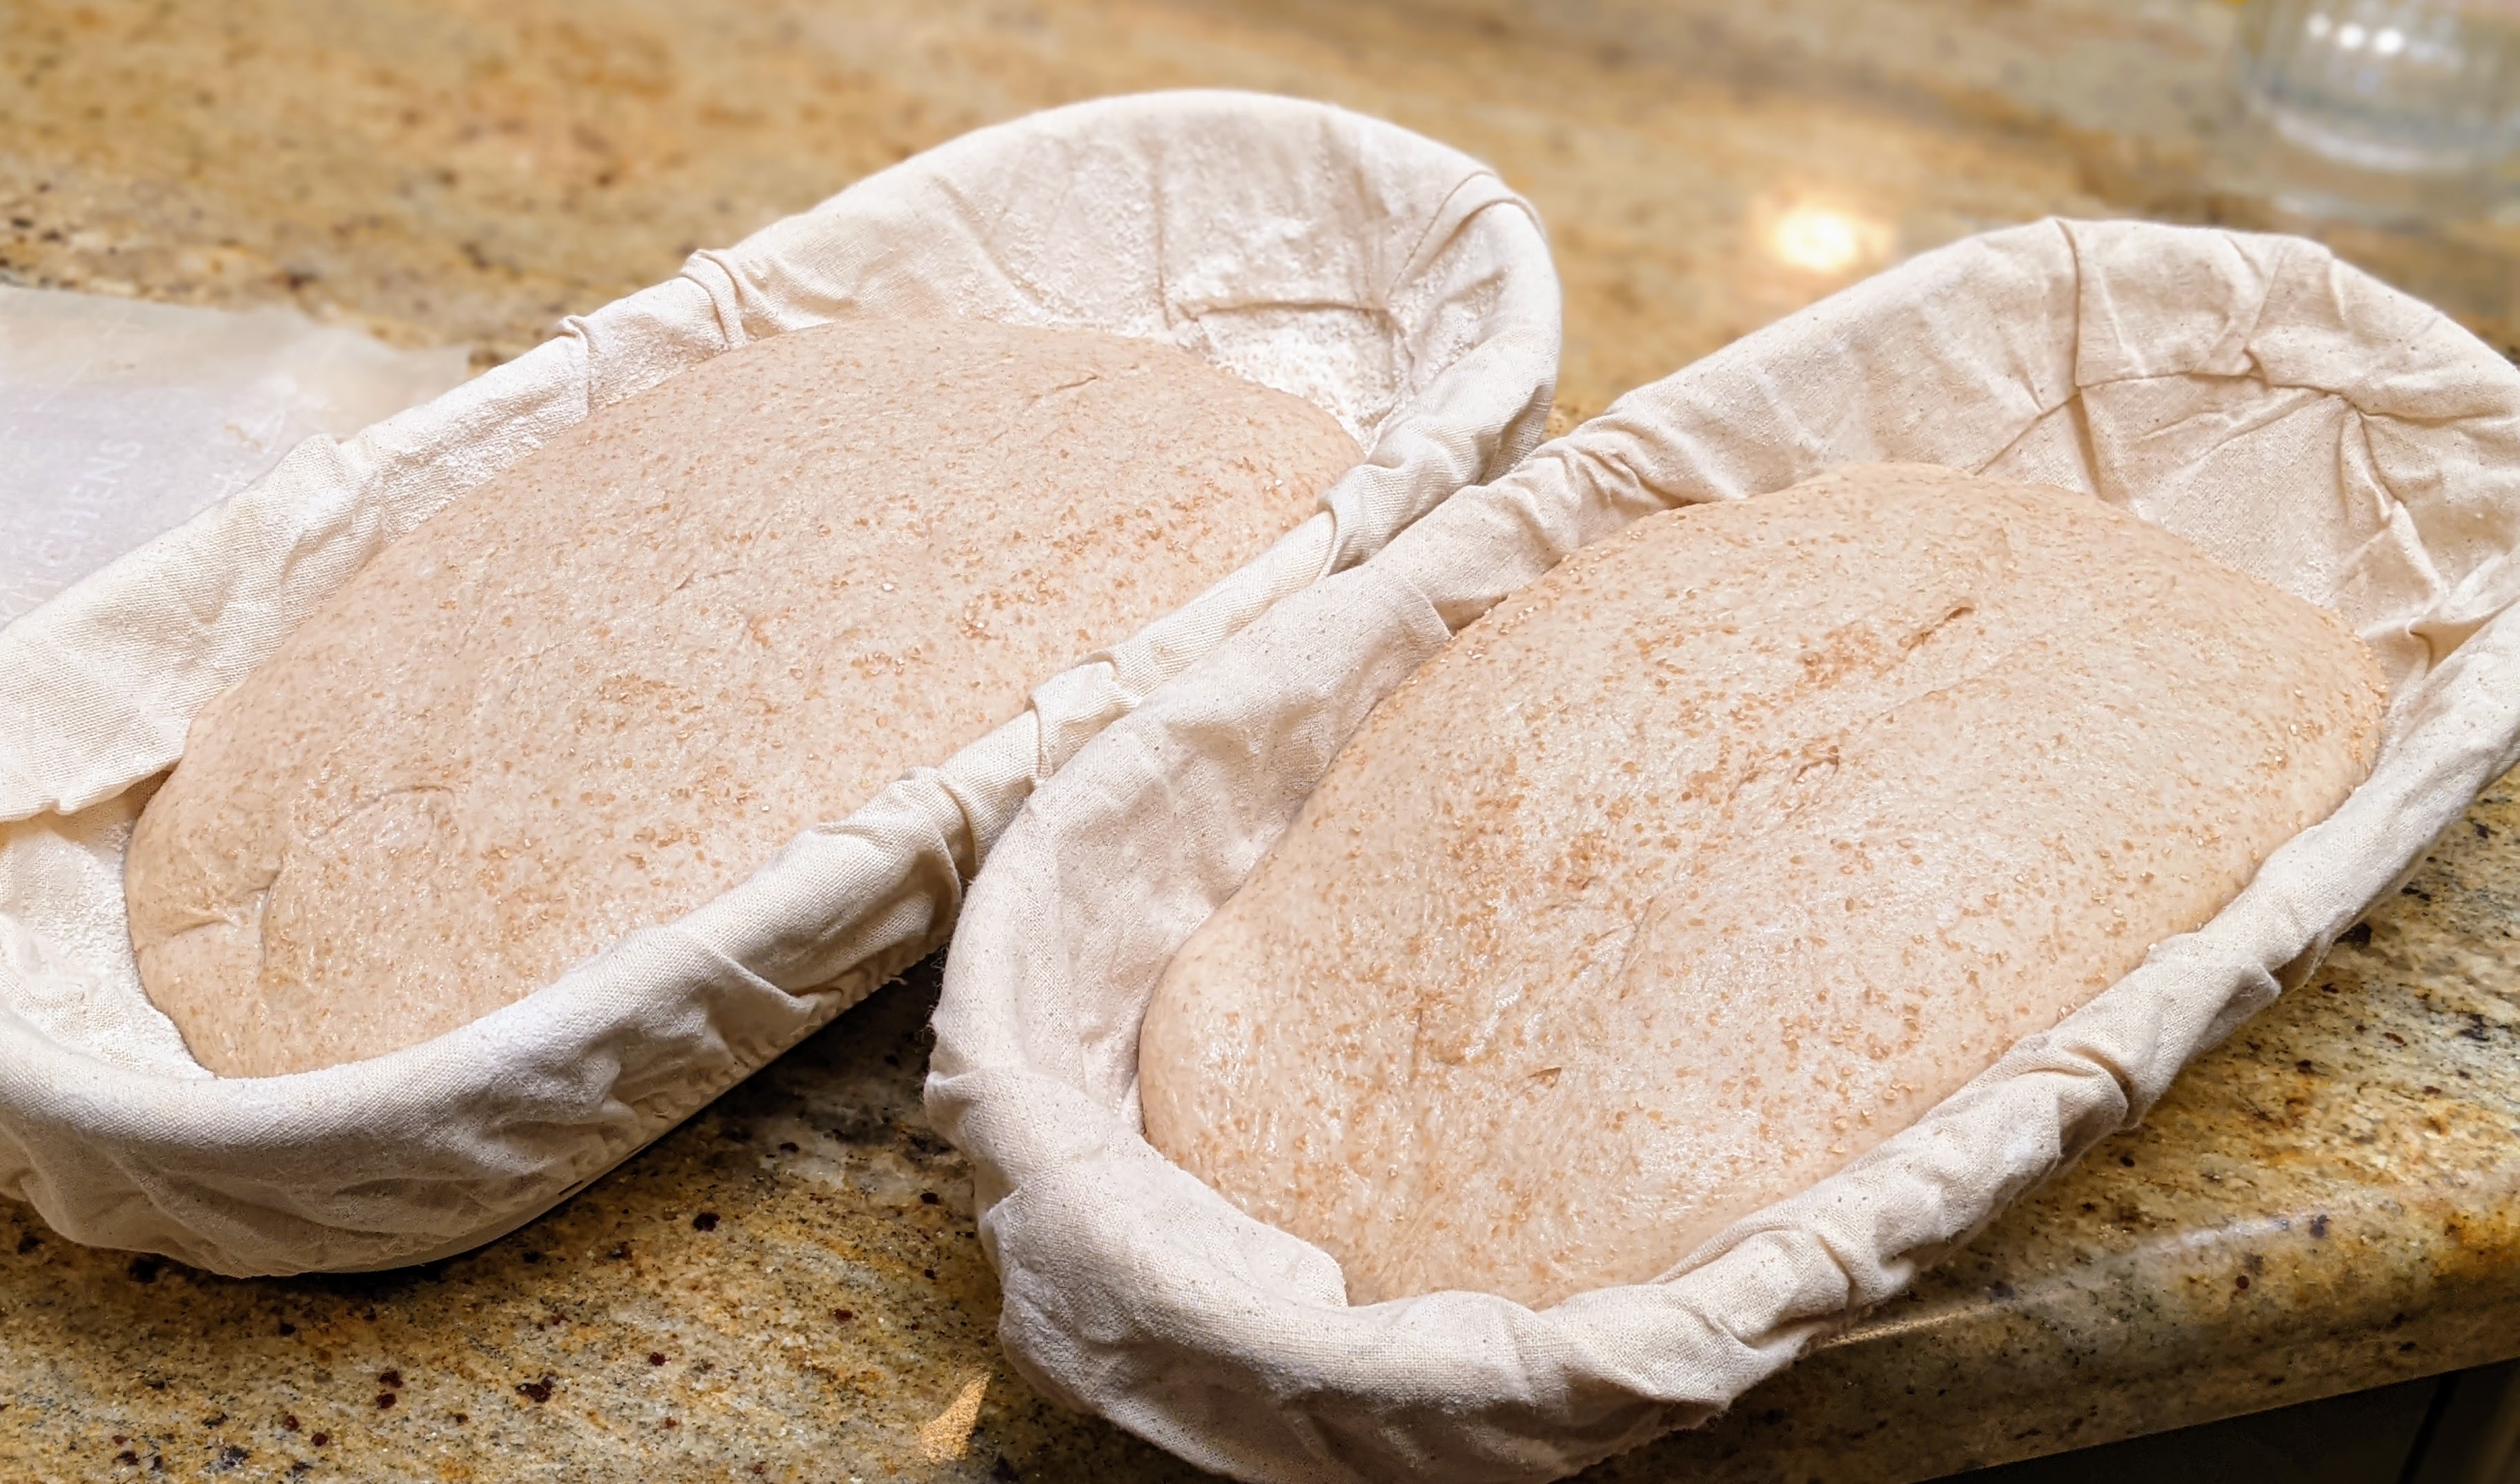
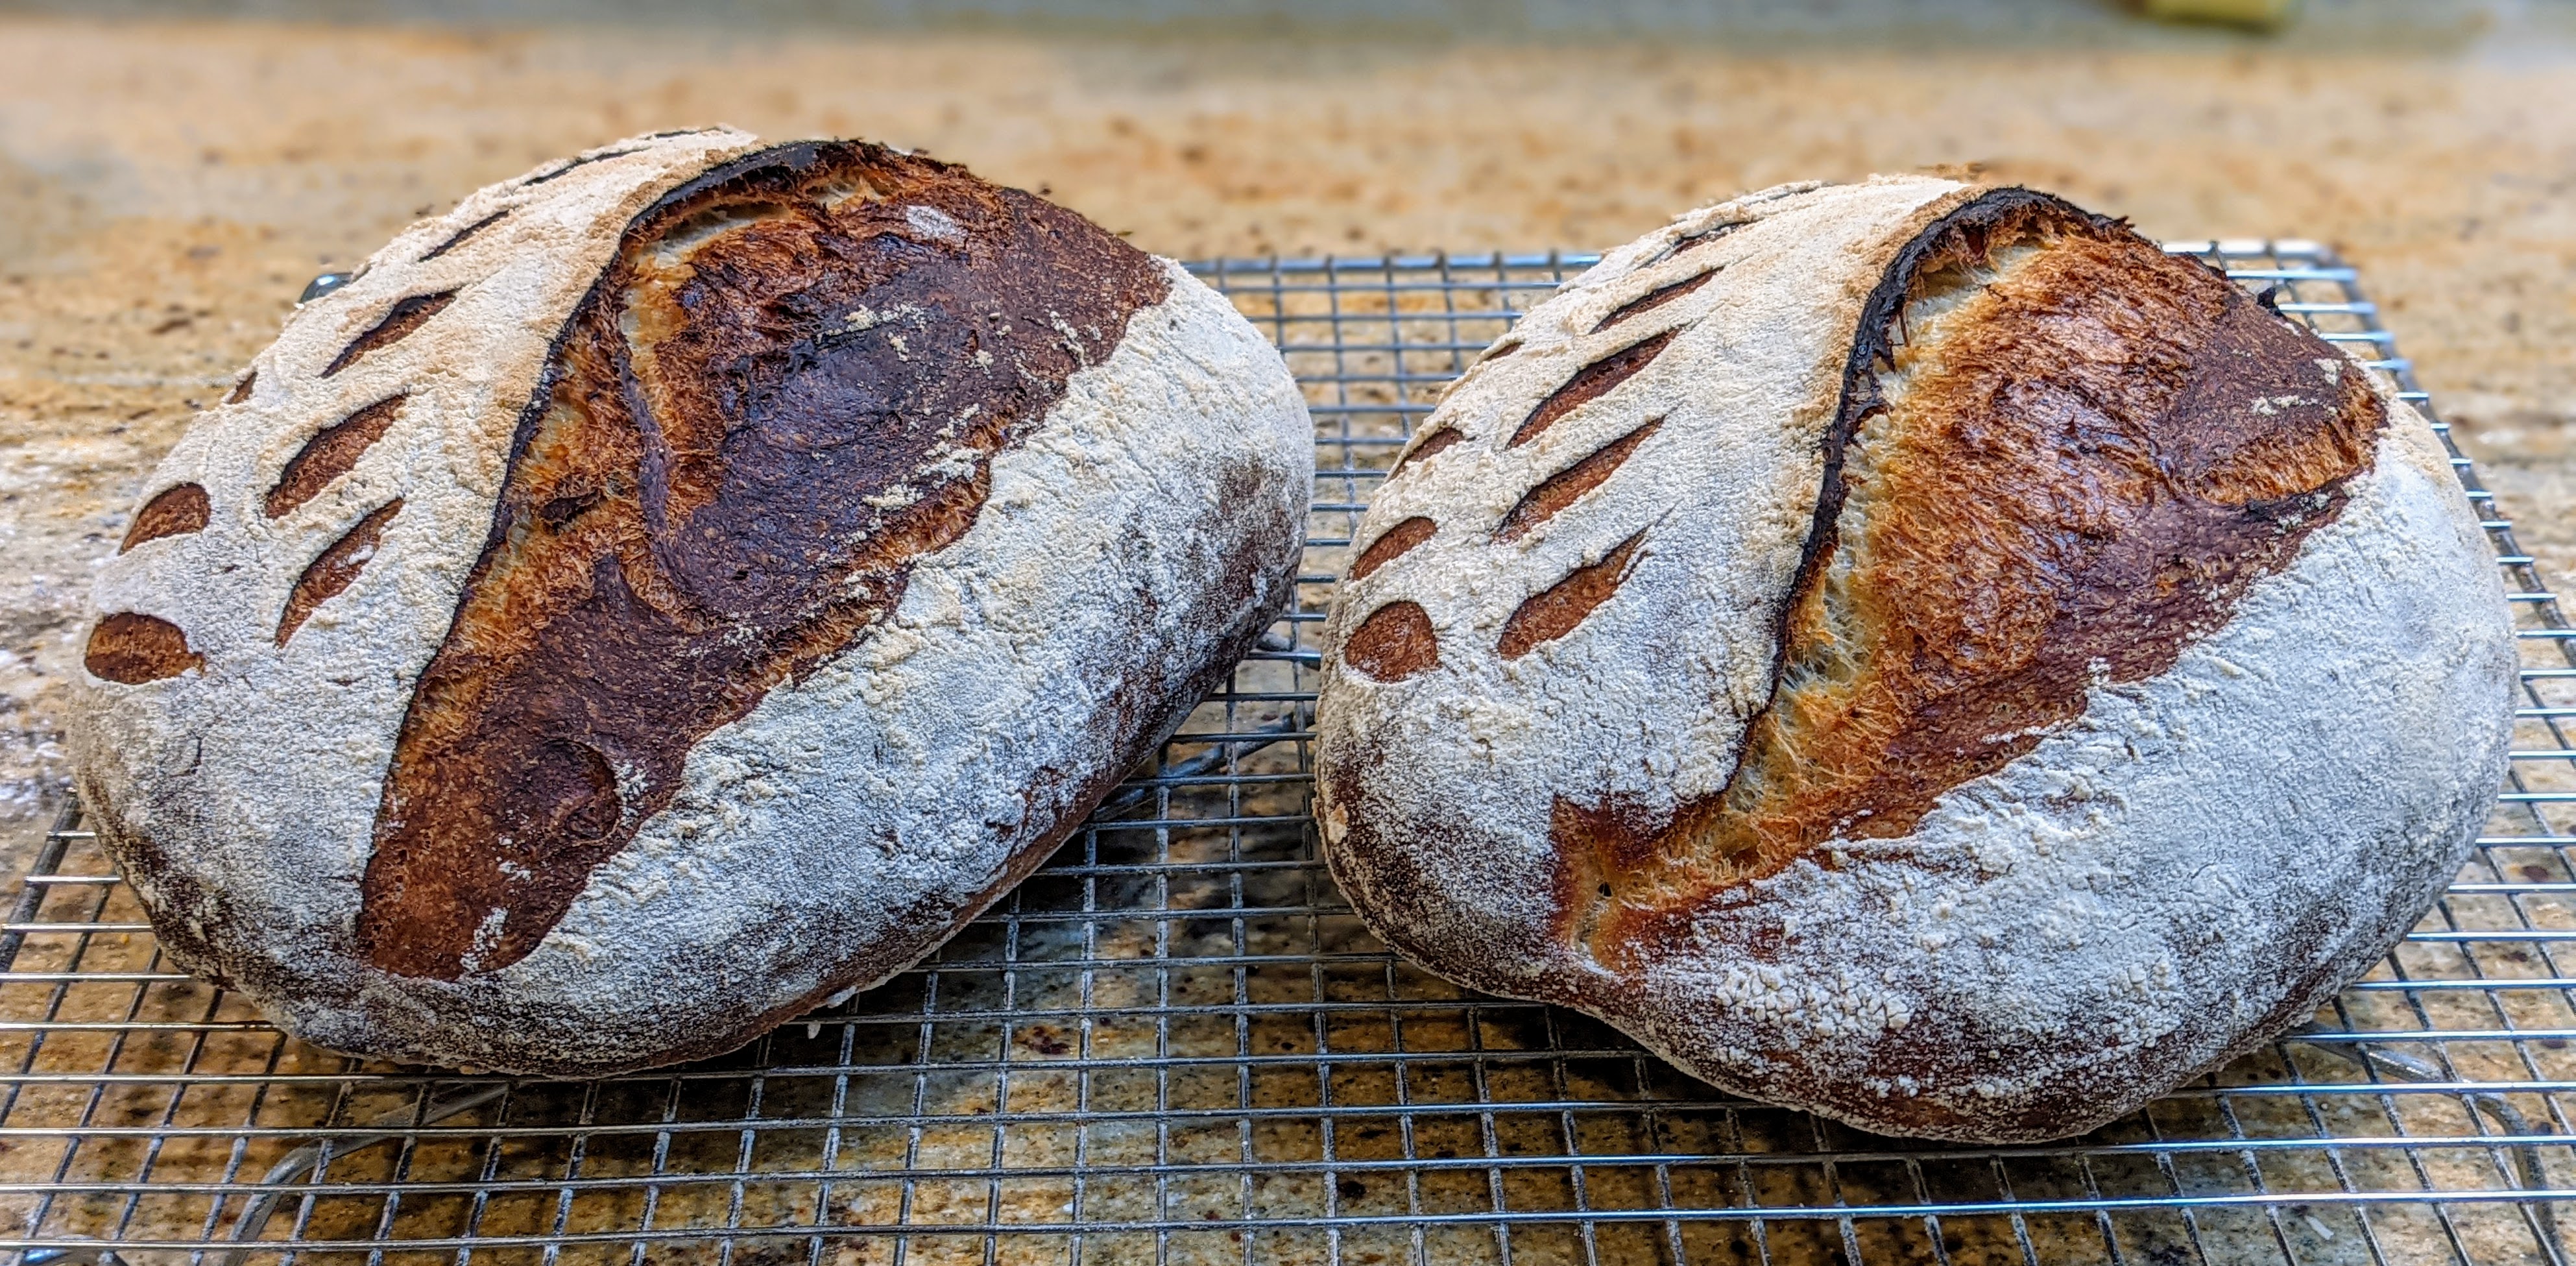
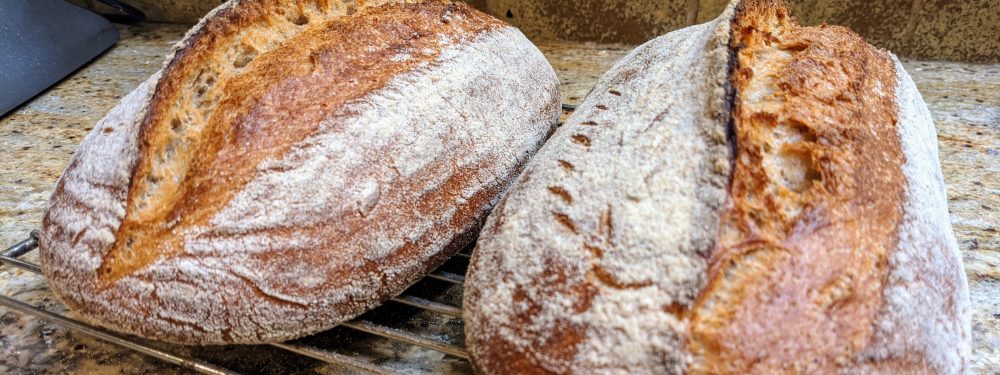
Divide and Shape. Gently transfer the dough to an unfloured work surface. Divide it into two equal piece weighing a kilo each. Shape into rounds and bench rest for 15-20 minutes, or until the dough has relaxed. Finally, shape them into rounds or ovals, then place them in bannetons.
Final Fermentation. Pop your bannetons into your fridge and let the dough ferment for 12 – 18 hours. I went up to 24 hours with my previous batch as an experiment, and though flavorful, there wasn’t much energy left in the yeast for oven spring.
Bake. Bake at 460°F/240°C for 15 minutes with steam. After this, remove your steaming container, then turn your oven down to 425°F/220°C and bake for 25 minutes. You can go longer if you want a darker crust.