

Last week, my daughter called me from Portland, OR, and asked if I could make her favorite bread: Garlic-Rosemary-Parmesan sourdough that she could take back home with her after her upcoming visit home. As if I need a reason to bake… So of course, I told her that I would.
But this time, I wanted to do something a little different. When I’ve made this bread in the past, I’ve fortified the natural yeast with some commercial yeast. But this time I wanted to only use a starter and develop the dough using the Tartine method that employs a relatively small amount of a young, active levain and ferments at a fairly warm temperature: 80°-82°F.
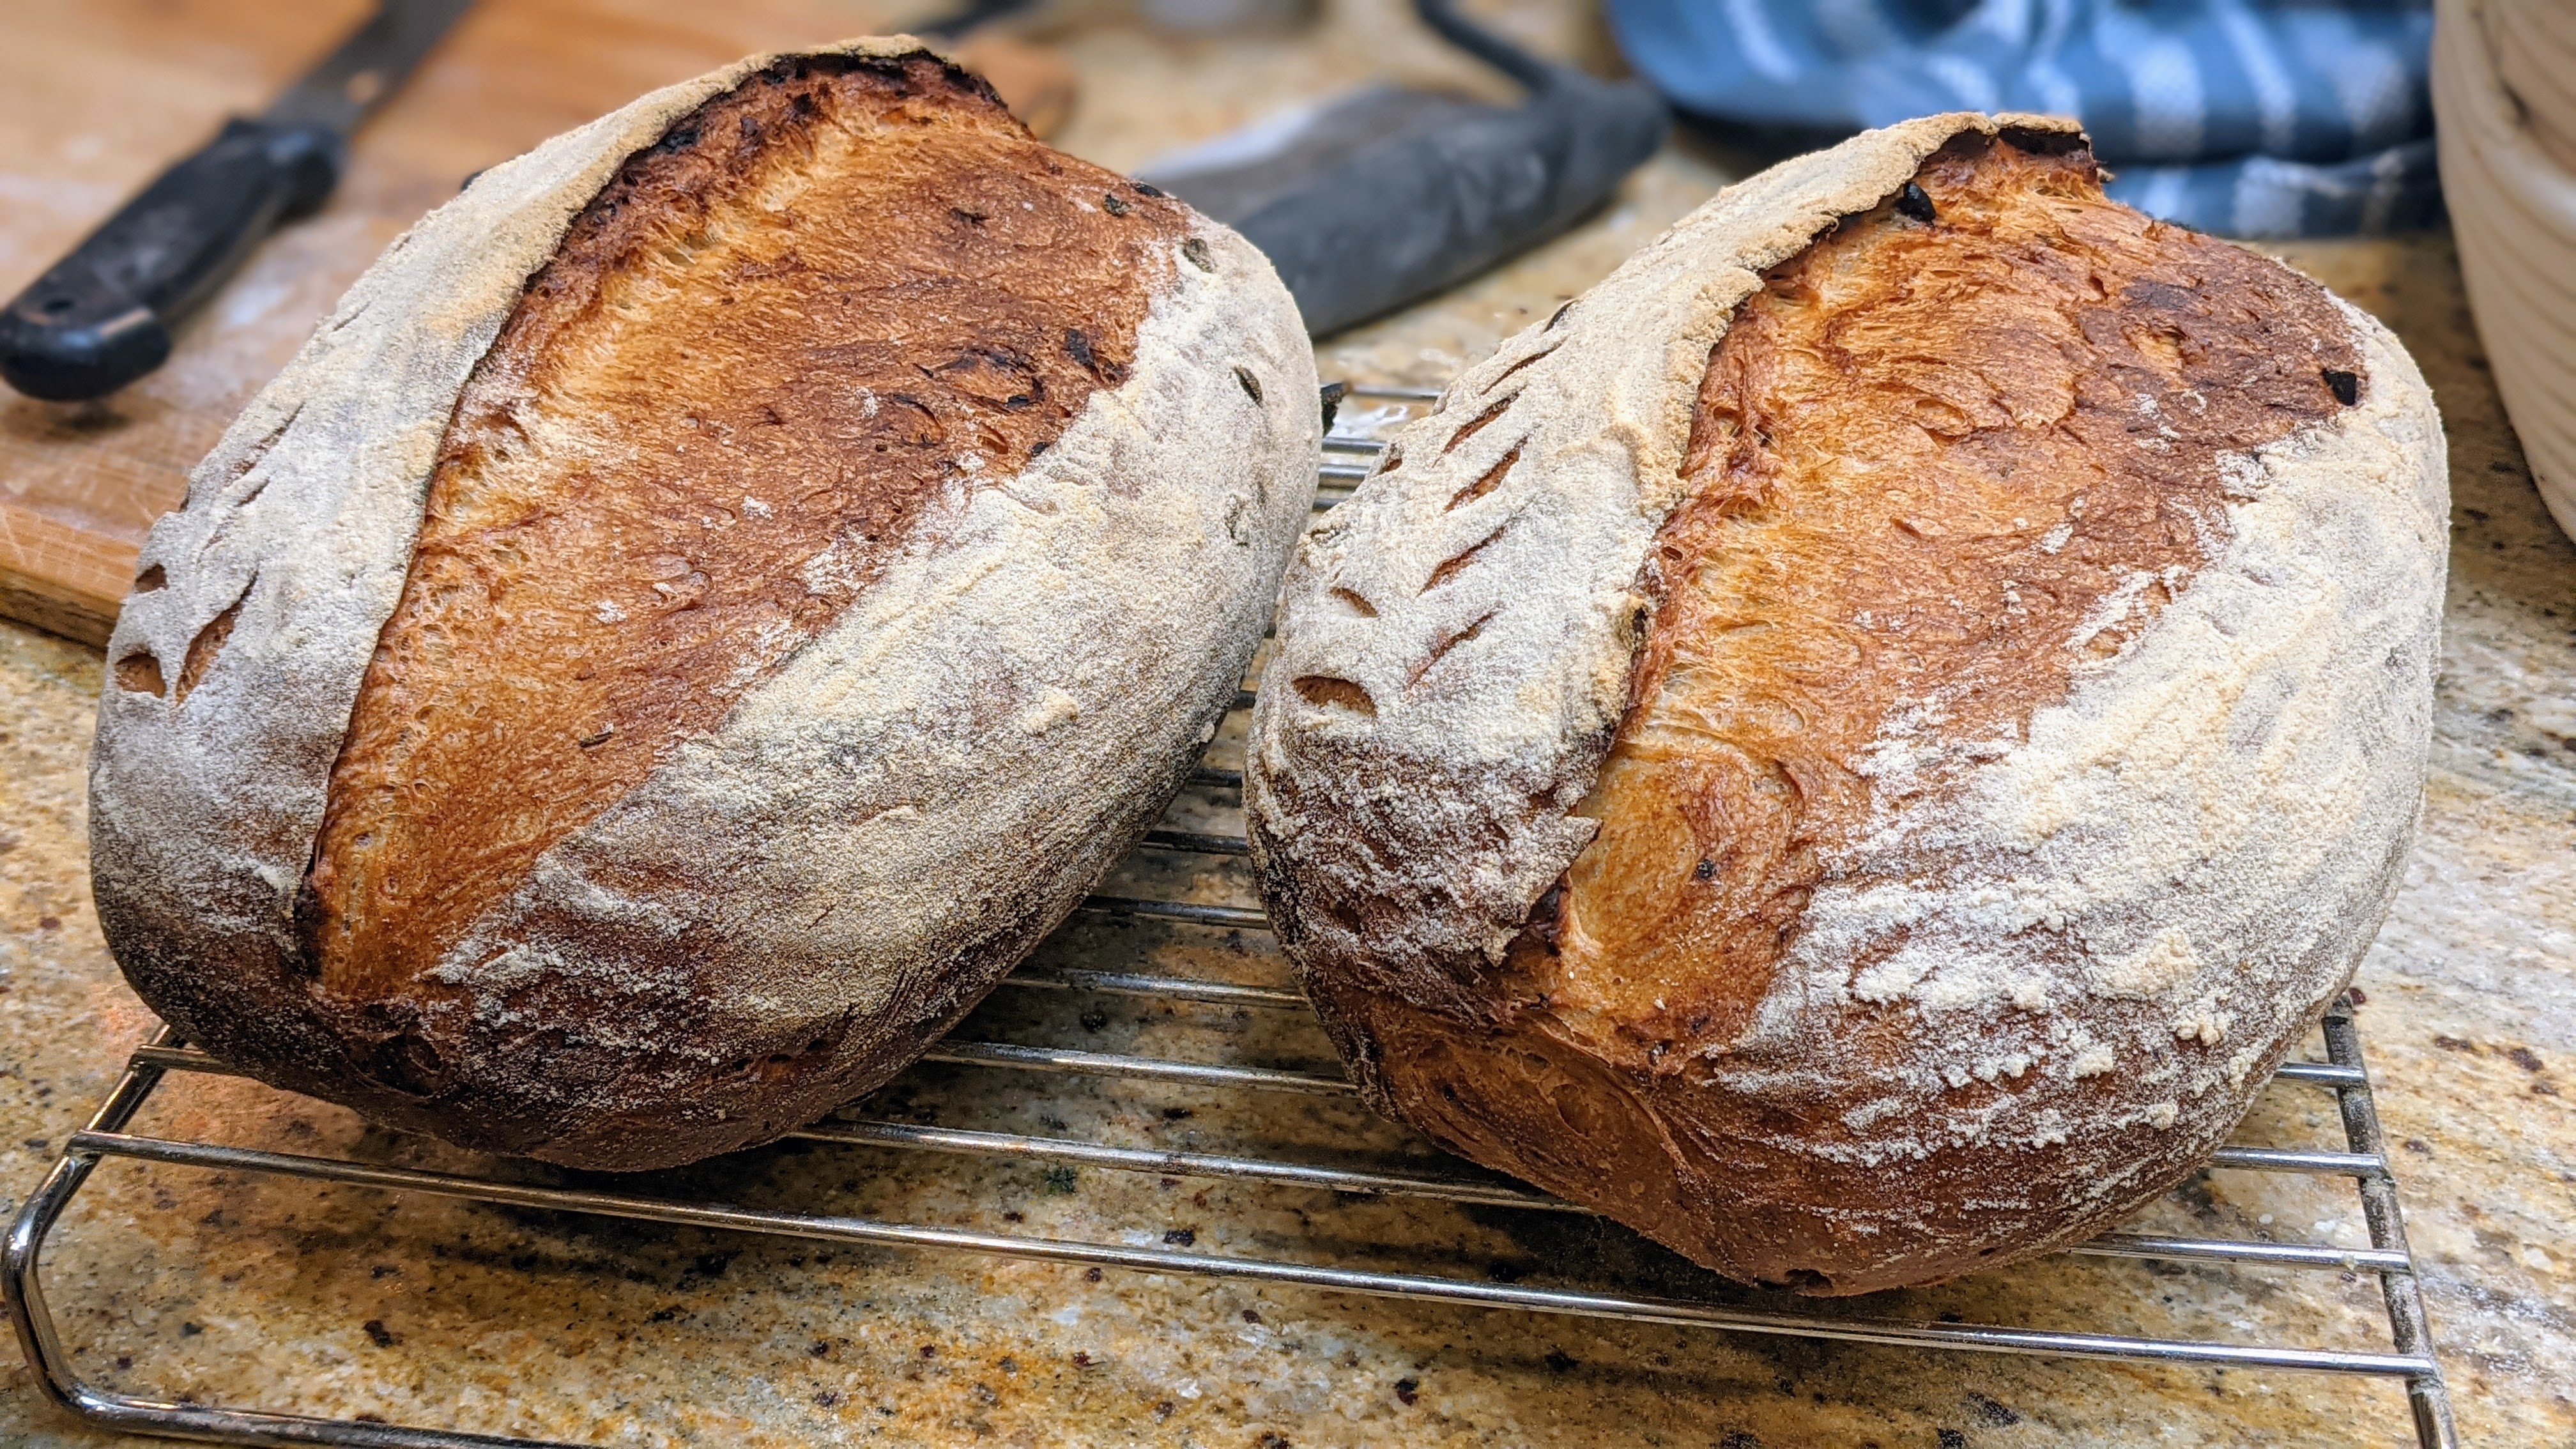
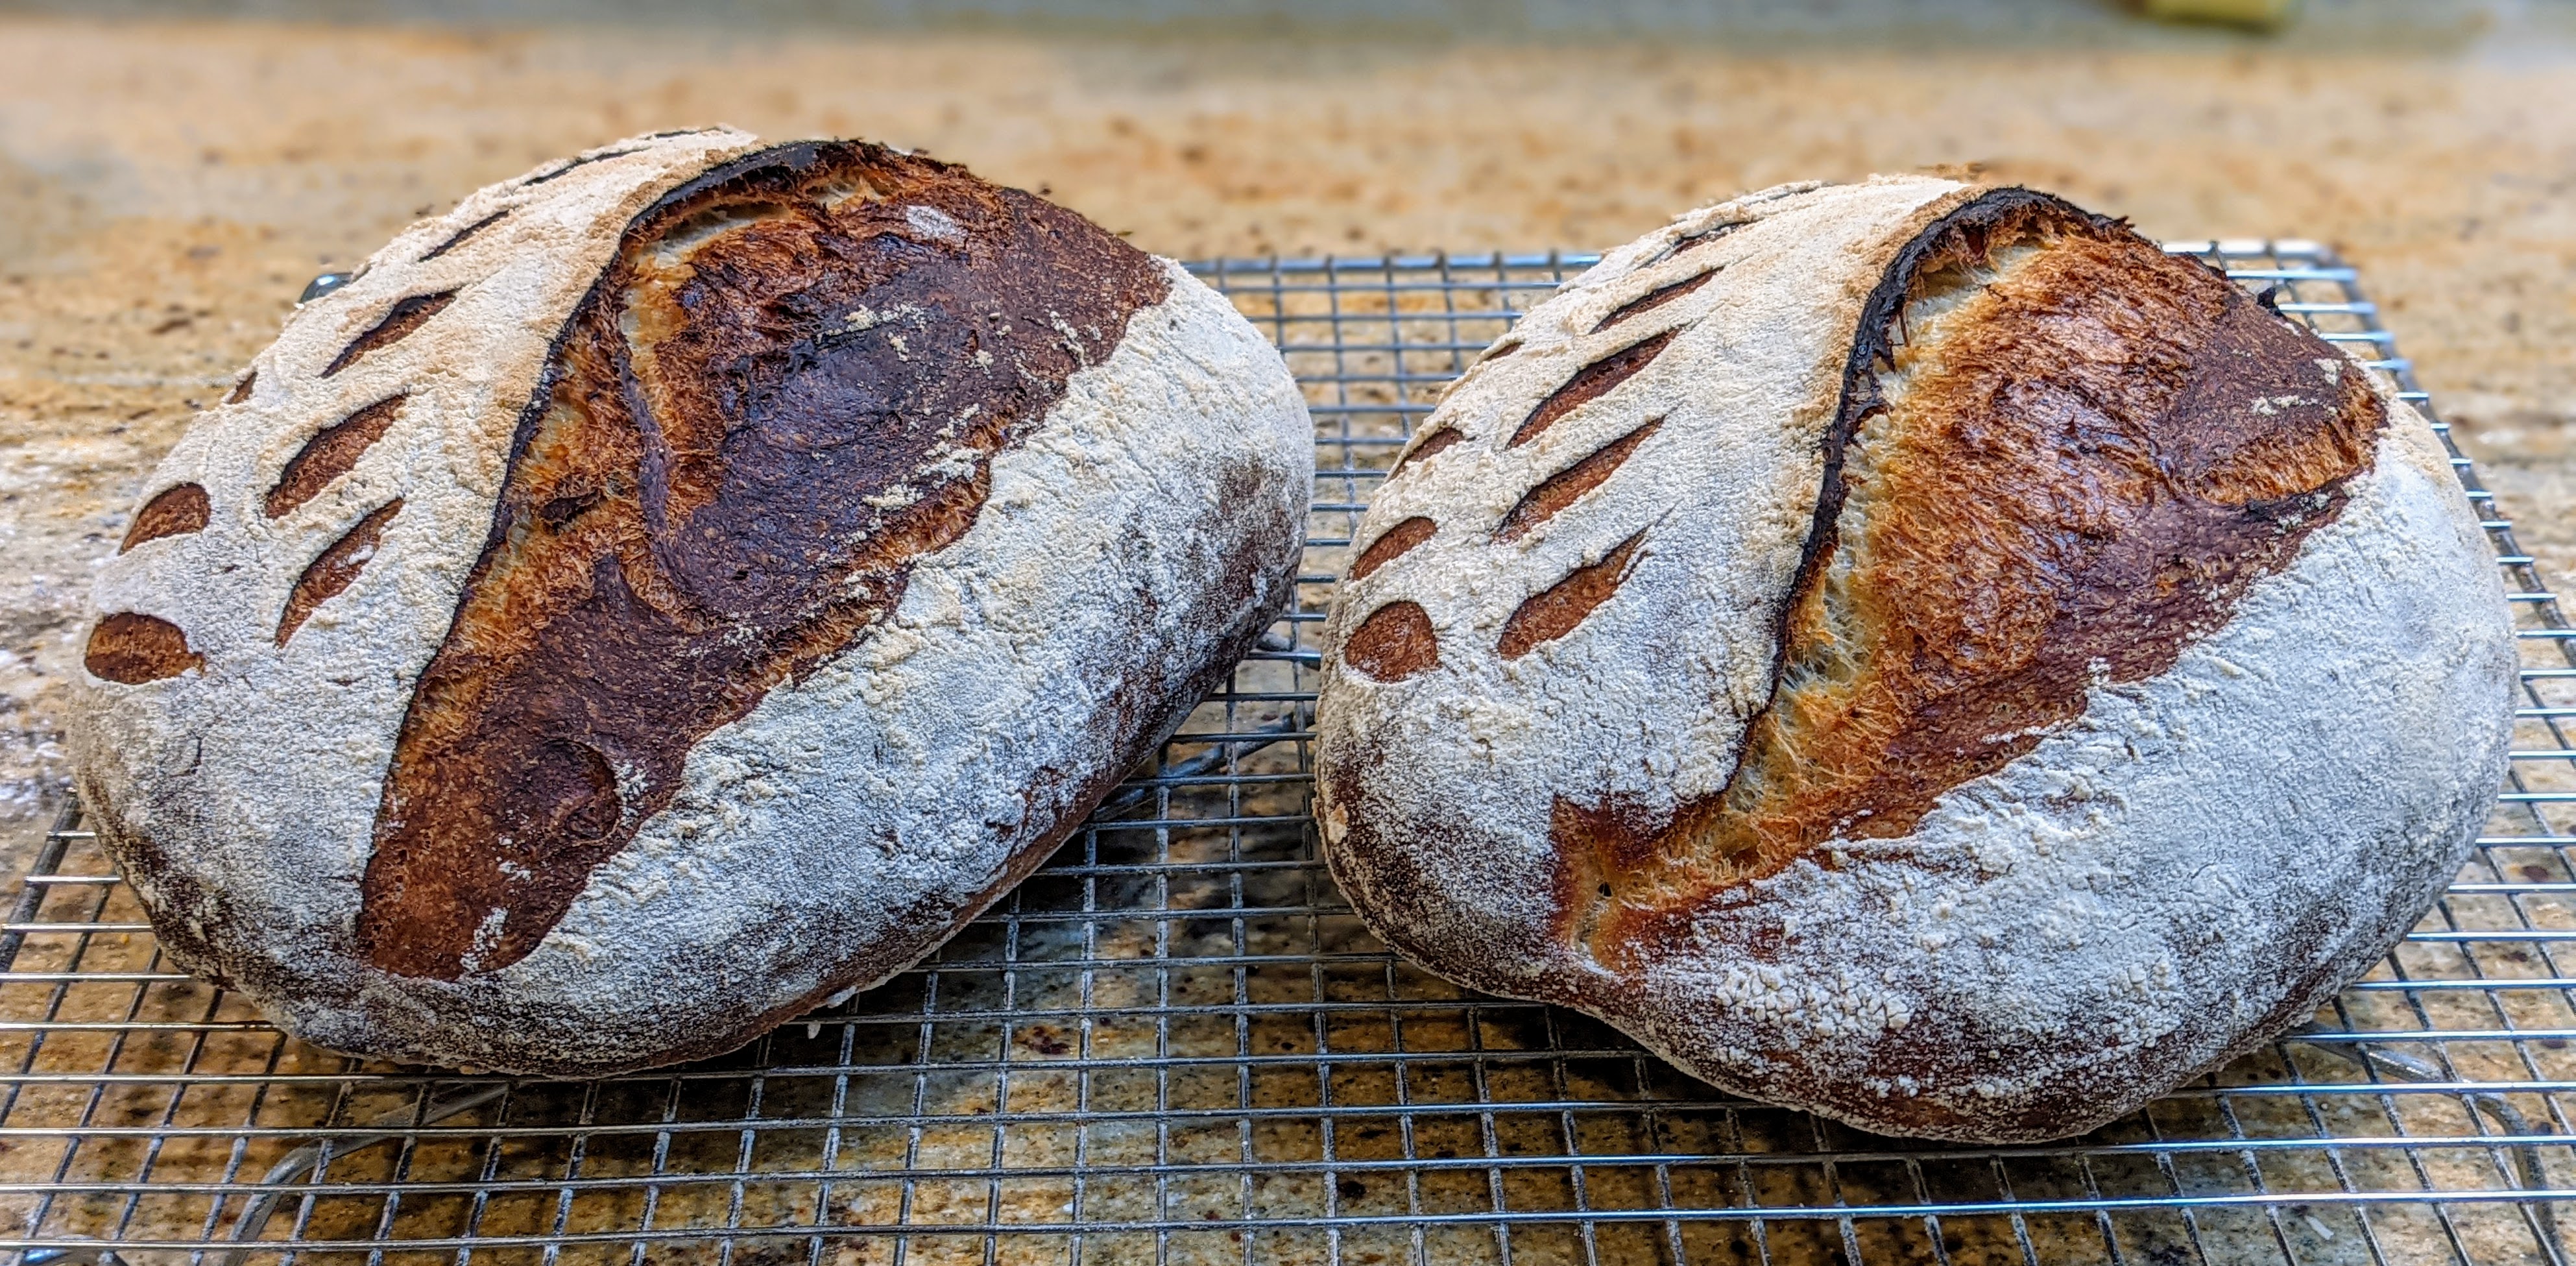
I also wanted to challenge myself and bake larger loaves than I normally bake with this recipe. My standard loaves are 700g, but I wanted to make 900g loaves with this batch. That doesn’t seem as if it’s a big difference, but my experience in the past with using olive oil in the dough is that larger loaves tend to collapse a bit as oil is a gluten formation inhibitor so I stuck with making smaller loaves that wouldn’t collapse under their own weight.
Okay… I have to admit that after thinking about it, I was just being chicken-shit. I didn’t want to alter my original process. But as I wanted to add more flavor complexity by using 30% Kamut flour which – at least in the brand that I use – is notoriously weak, I knew I had to change my approach. Really, all this entailed was to delay the addition of the olive oil until after I had developed the gluten a bit. And by doing that, I got insanely good results! Combine that with bassinage, and the results were amazing.
Let’s dive into the formula/recipe:
Overall Formula
| Bread Flour | 70.00% |
| Kamut Flour (If you don’t have Kamut, use whole-wheat flour) | 30.00% |
| Water | 70.00% |
| Olive Oil | 5.00% |
| Salt | 2.00% |
| Yeast | 0.00% |
| Garlic | 6.00% |
| Rosemary | 0.25% |
| Parmigiano Cheese* | 20.00% |
| Total Percentage | 203.25% |
Levain
| Mature Starter | 50g |
| Flour | 50g |
| Water | 50g |
| Levain Required for Recipe | 134g* |
Final Dough
| Bread Flour | 579 |
| Kamut Flour | 248 |
| Water (85°-90°F) | 559 |
| Olive Oil | 45 |
| Salt | 18 |
| Yeast | 0 |
| Garlic | 54 |
| Rosemary | 2 |
| Cheese | 179 |
| Levain | 134 |
| Total Yield | 1,818 2 X 900g loaves |
| Optimal Dough Temp | 80°-82°F |
| Total Flour | 894 |
| Total Water | 626 |
Build the Levain
Since I store my starter in the fridge, I invariably have to employ a two-stage levain build to ensure my levain is active. Typically, I’ll create 1:1:1 levain, usually about 30g mature starter, 30g water, then 30g AP flour. Once that peaks, I’ll feed it with more flour and water to get me to the levain weight I need. Then once it peaks again (and passes the float test), then I’ll proceed with the final dough development.
In both cases, I use very warm water – about 90°F – to ensure that the yeast is happy. And I ferment the starter in a warm environment to maintain the warmth. The idea at this stage is to emphasize yeast activity over bacterial activity.
Build the Final Dough
Roast the Garlic. Peel the garlic you need, then wrap in foil with a little olive oil, then roast at 375°F for 30-40 minutes. Or… I just cut the top off a whole garlic cluster, pour some oil over the top, then wrap it up in foil and roast it.
Initial Mix/Autolyse. Reserve 50g of the water. Add the rest to the levain and dissolve the levain completely. Add this liquid to all the flour and mix thoroughly until no dry ingredients remain. Rest for 45 minutes to 1 hour.
Second Mix/Bassinage. Dissolve the salt in the remaining water, then pour it over the dough. By now the garlic should be cool and soft. Squeeze out what you’ll need then dump it onto the top of the dough. Sprinkle the rosemary and cheese evenly over the dough. Using a squeezing action, work the ingredients into the dough until everything is fully incorporated and the ingredients are evenly distributed. Once the bassinage water is incorporated, add the olive oil.
Bulk Fermentation. 3 1/2 to 4 hours in a warm environment to maintain an 80ºF dough temperature. If you’re going to do an overnight final proof in the fridge, bulk fermentation will be done once the dough expands 25-30%. If doing a same-day bake, allow the dough to almost double.
Folding. Fold twice at 50-minute intervals. Since there is whole-grain flour in the dough along with bits of cheese and herbs, be gentle with your folding. It is absolutely crucial that you do not stretch to the point that you tear the dough!
Note that I used to instruct to fold the dough every 30 minutes ala Tartine. Because of all the cheese and rosemary in the dough, I now only recommend performing two stretch and fold sessions.
Divide and Pre-Shape. Divide the dough into two 900g pieces. Pre-shape into rounds and bench rest them for 15 minutes, or until the balls have sufficiently relaxed for shaping.
Shaping. Shape into rounds or ovals and place into appropriate baskets.
Final Fermentation. If you’re going to do a cold ferment, place your bannetons in the fridge for up to 24 hours (the longer the ferment, the more sour the dough). You could experiment with taking final fermentation out to 36 hours, but make sure to check the dough! For my fridge, 24 hours seems to work well and give me some nice sourness. If you’re doing a same-day bake, do the final proof in a warm environment for about an hour to an hour and a half. Poke test the loaves to make sure they are ready. That last time I baked these, it took almost two hours for the loaves to finish proofing.
Bake. Bake at 400ºF with steam for 20 minutes. Remove the steaming container, then bake for 30-35 minutes at 425º or until the crust becomes a deep, burnished brown. This is a gentle bake that will not burn the cheese or brown the garlic too much.