


To be clear, this wasn’t an experiment to see if I could bake bread on my Traeger. I knew I could bake with my Traeger based on making some great pizza and flatbread with it. This was more of a let’s see how it’ll taste exercise. TLDR; If you don’t want to read any further, not only can you bake a damn nice loaf on your Traeger, it doesn’t taste smoky at all – almost as if the bread came out of a wood-fired oven!
To be completely honest, the primary reason I decided to use my Traeger to bake my latest batch of bread was simply that during the pandemic lockdown I totally over-worked my ovens and they developed a couple of small cracks on the bottom and don’t hold their temperature. I actually found a way to patch the holes and not have to buy ovens, but until the sealant has fully cured, the ovens are unusable. So… I set up my Traeger to be a wood-fired oven! See the picture below.

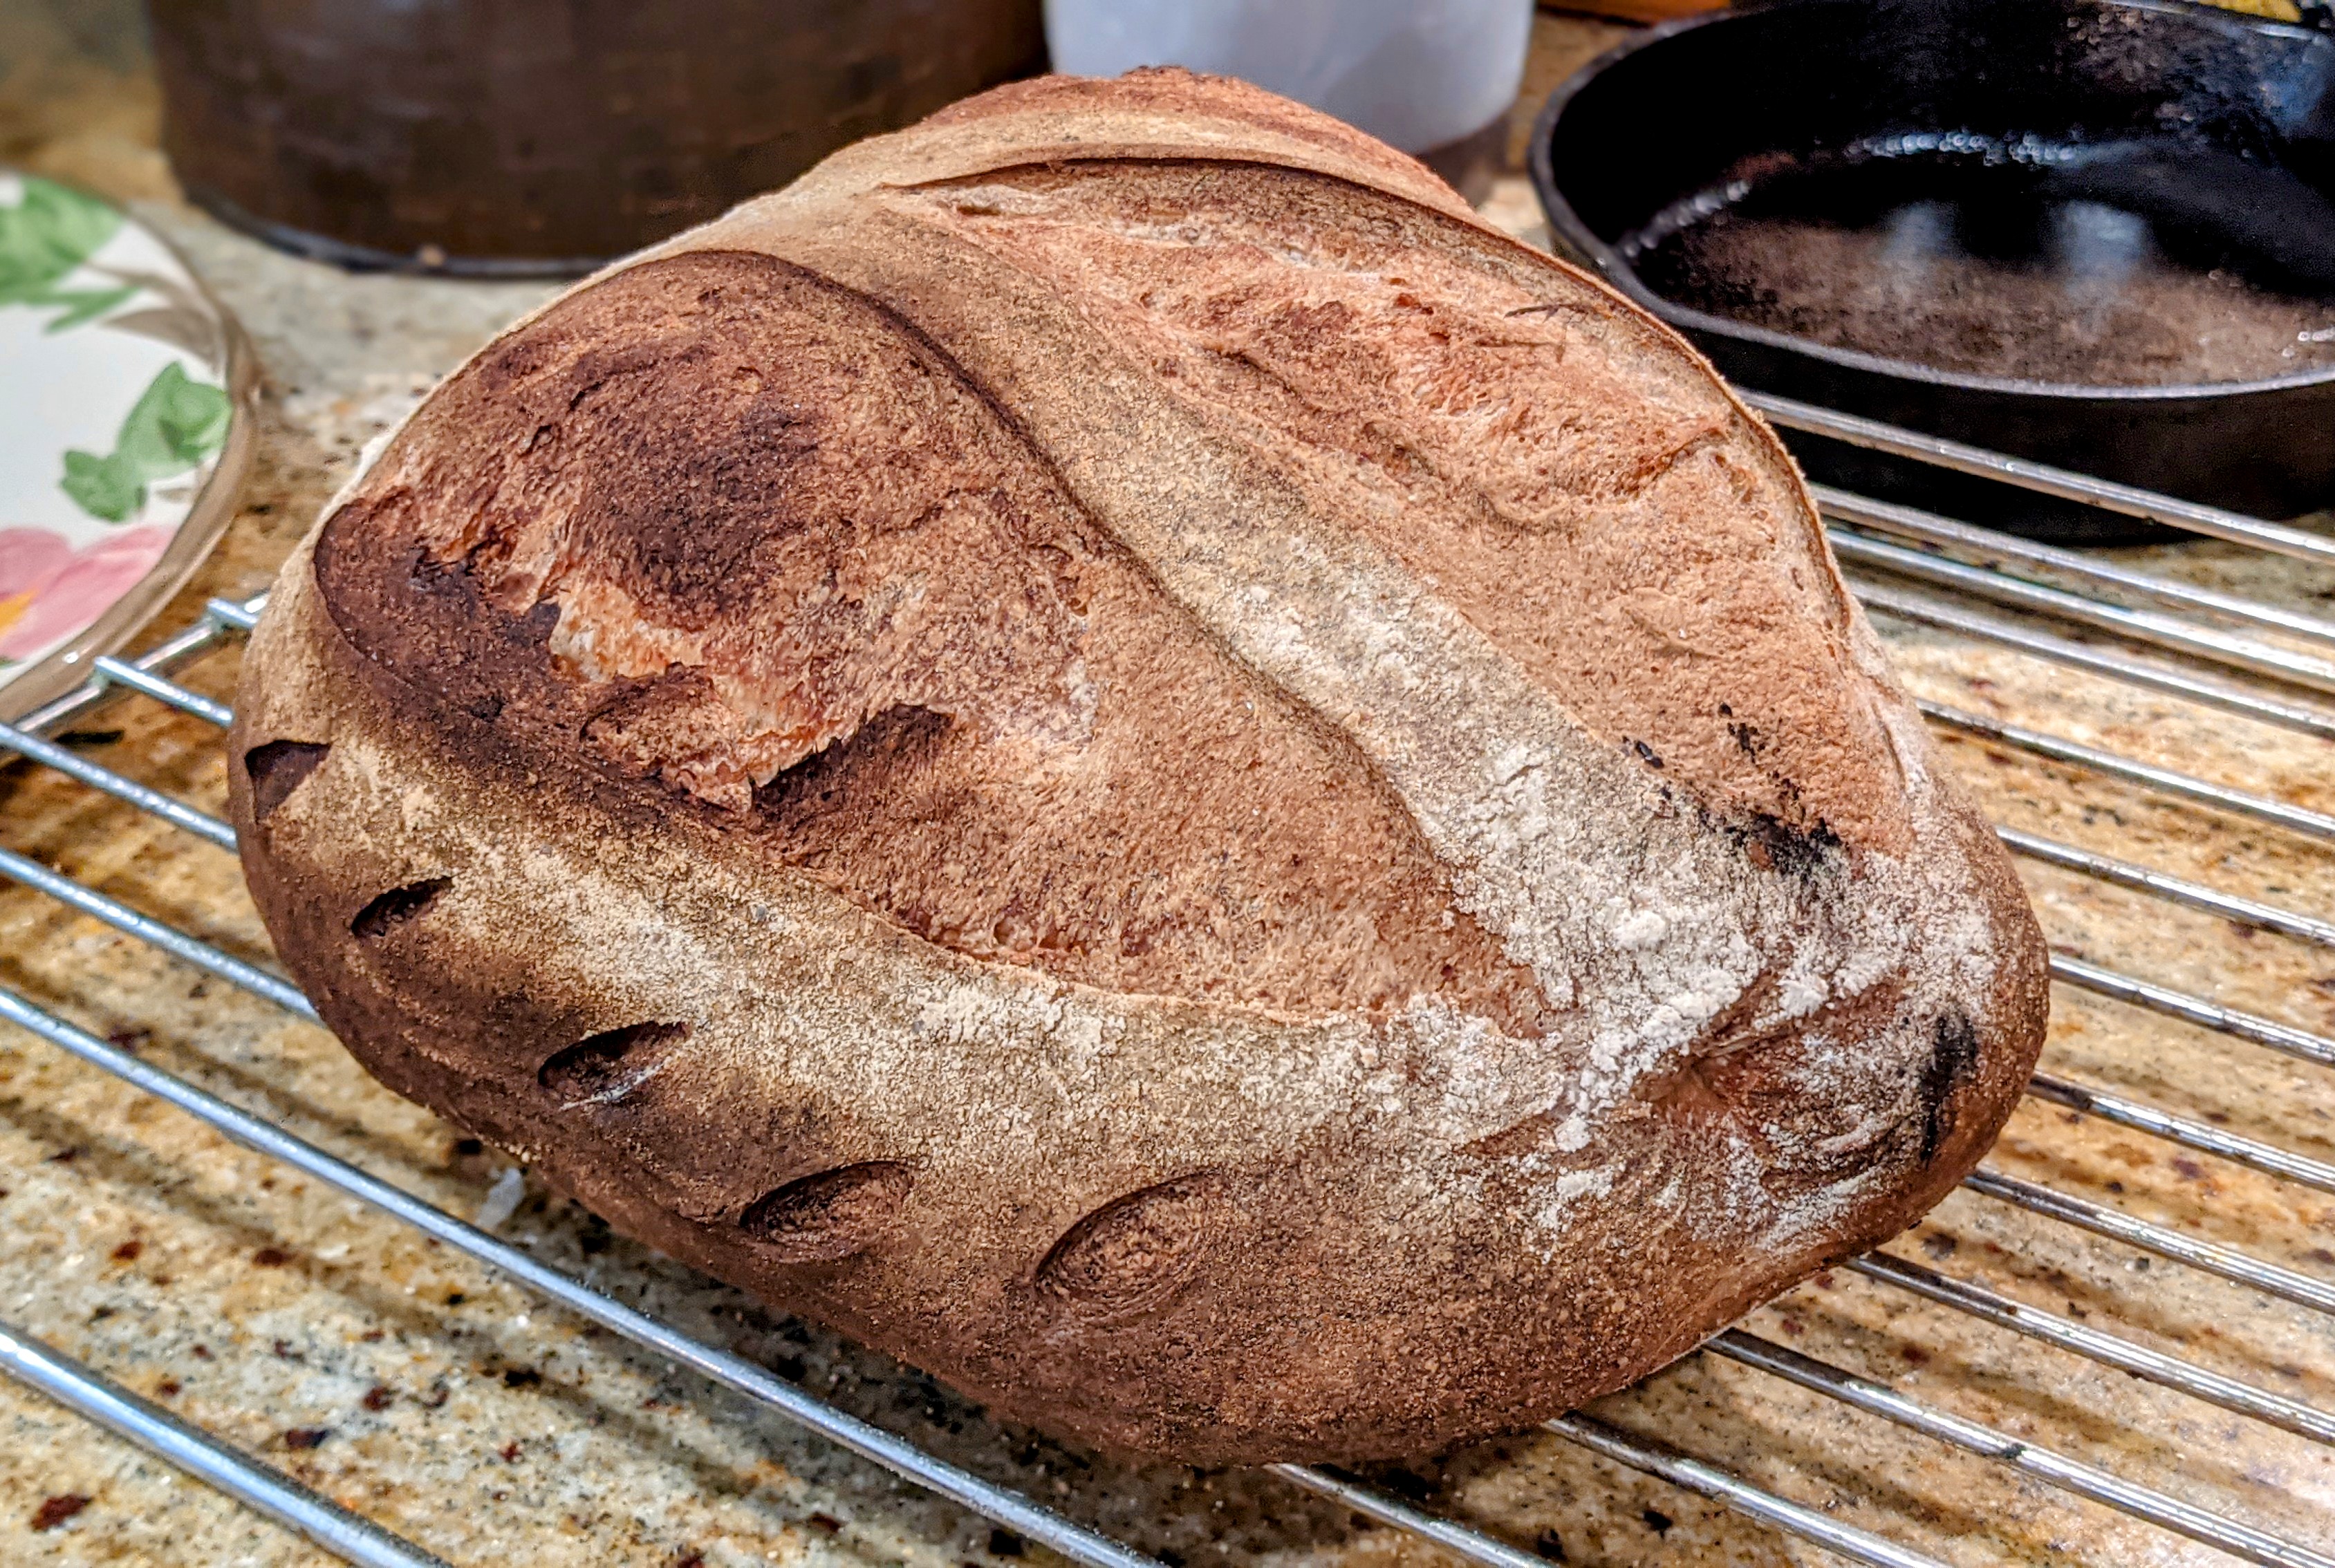
The results have been pretty incredible thus far! I baked four 1-kilo loaves in the Traeger over the weekend and as you can see from the pictures at the top, the results have been amazing! The oven spring was incredible; much more than what I was expecting.
As for the loaves, those were made with 40% whole grain flour (15% whole wheat (from the starter), 25% whole grain rye), and 60% high-extraction flour. Hydration was about 80% which was probably pushing it as rye doesn’t form gluten. But I was still able to develop good structure and dough strength.
Speaking of rye, wow! Those were my first-ever loaves that used rye flour. Not sure why I never baked with rye previously. The interesting thing about using rye flour was that it was similar to using Kamut flour. While Kamut does form gluten, it is not like the gluten formed with regular wheat flour. It’s a little gelatinous. I noticed a similar texture with the rye flour so I naturally worked the dough as gently as I work a dough that has Kamut.
All that said, if you’d like to try baking with your own smoker/grill, here are a few tips:
- You really need to use a baking stone! The heat comes up from the bottom, so using a baking sheet will only serve to burn the bottom of your loaf.
- Set the temperature of your smoker to its highest temp to warm up the stone, then bake at around 450°F.
- To generate steam, you can use a small cast iron skillet (I use that when making pizza as my pizza stone is a lot smaller than my big baking stone), or do what I did and make a boat out of foil.
- Do not open the smoker once you put the bread in there! I know, typically you remove the steaming container, but this is like cooking in a hearth oven. Just let the oven do its thing.
- Note that even with setting the controls to 450°F, your smoker will probably not come to full temp. That’s okay. Most smokers work via convection to maintain even heat throughout the chamber, so baking at a lower temp is okay – I imagine it’s almost like baking in a hearth oven that is starting to cool.
- With the cooler temperature, the bread will take at least an hour to finish baking. But check the internal temperature after 30 minutes with an instant-read thermometer. Your crumb should be at least 195°-200°F.
Happy Baking!
