I’m not a professional baker, but like many other avid amateurs, I’ve totally immersed myself in the process of making bread with the goal to create bread that I can call my own; that has kind of my own personal stamp. It’s not an ego thing. It’s akin to a musician doing a cover of someone else’s work. And from that perspective, I can actually speak as a professional because I’m a part-time professional musician.
For my solo acoustic gigs, in addition to doing some of my own original compositions, the bulk of my repertoire is comprised of covers. And though there will never be a mistake that I’m covering a song, my arrangement of a song often tends to be significantly different than the original song. After all, I’m playing just an acoustic guitar. So the song sounds like “Take It Easy” by the Eagles, but I’m the one performing it, so I don’t sing it like Glenn Fry and I do some other riffs than Joe Walsh.
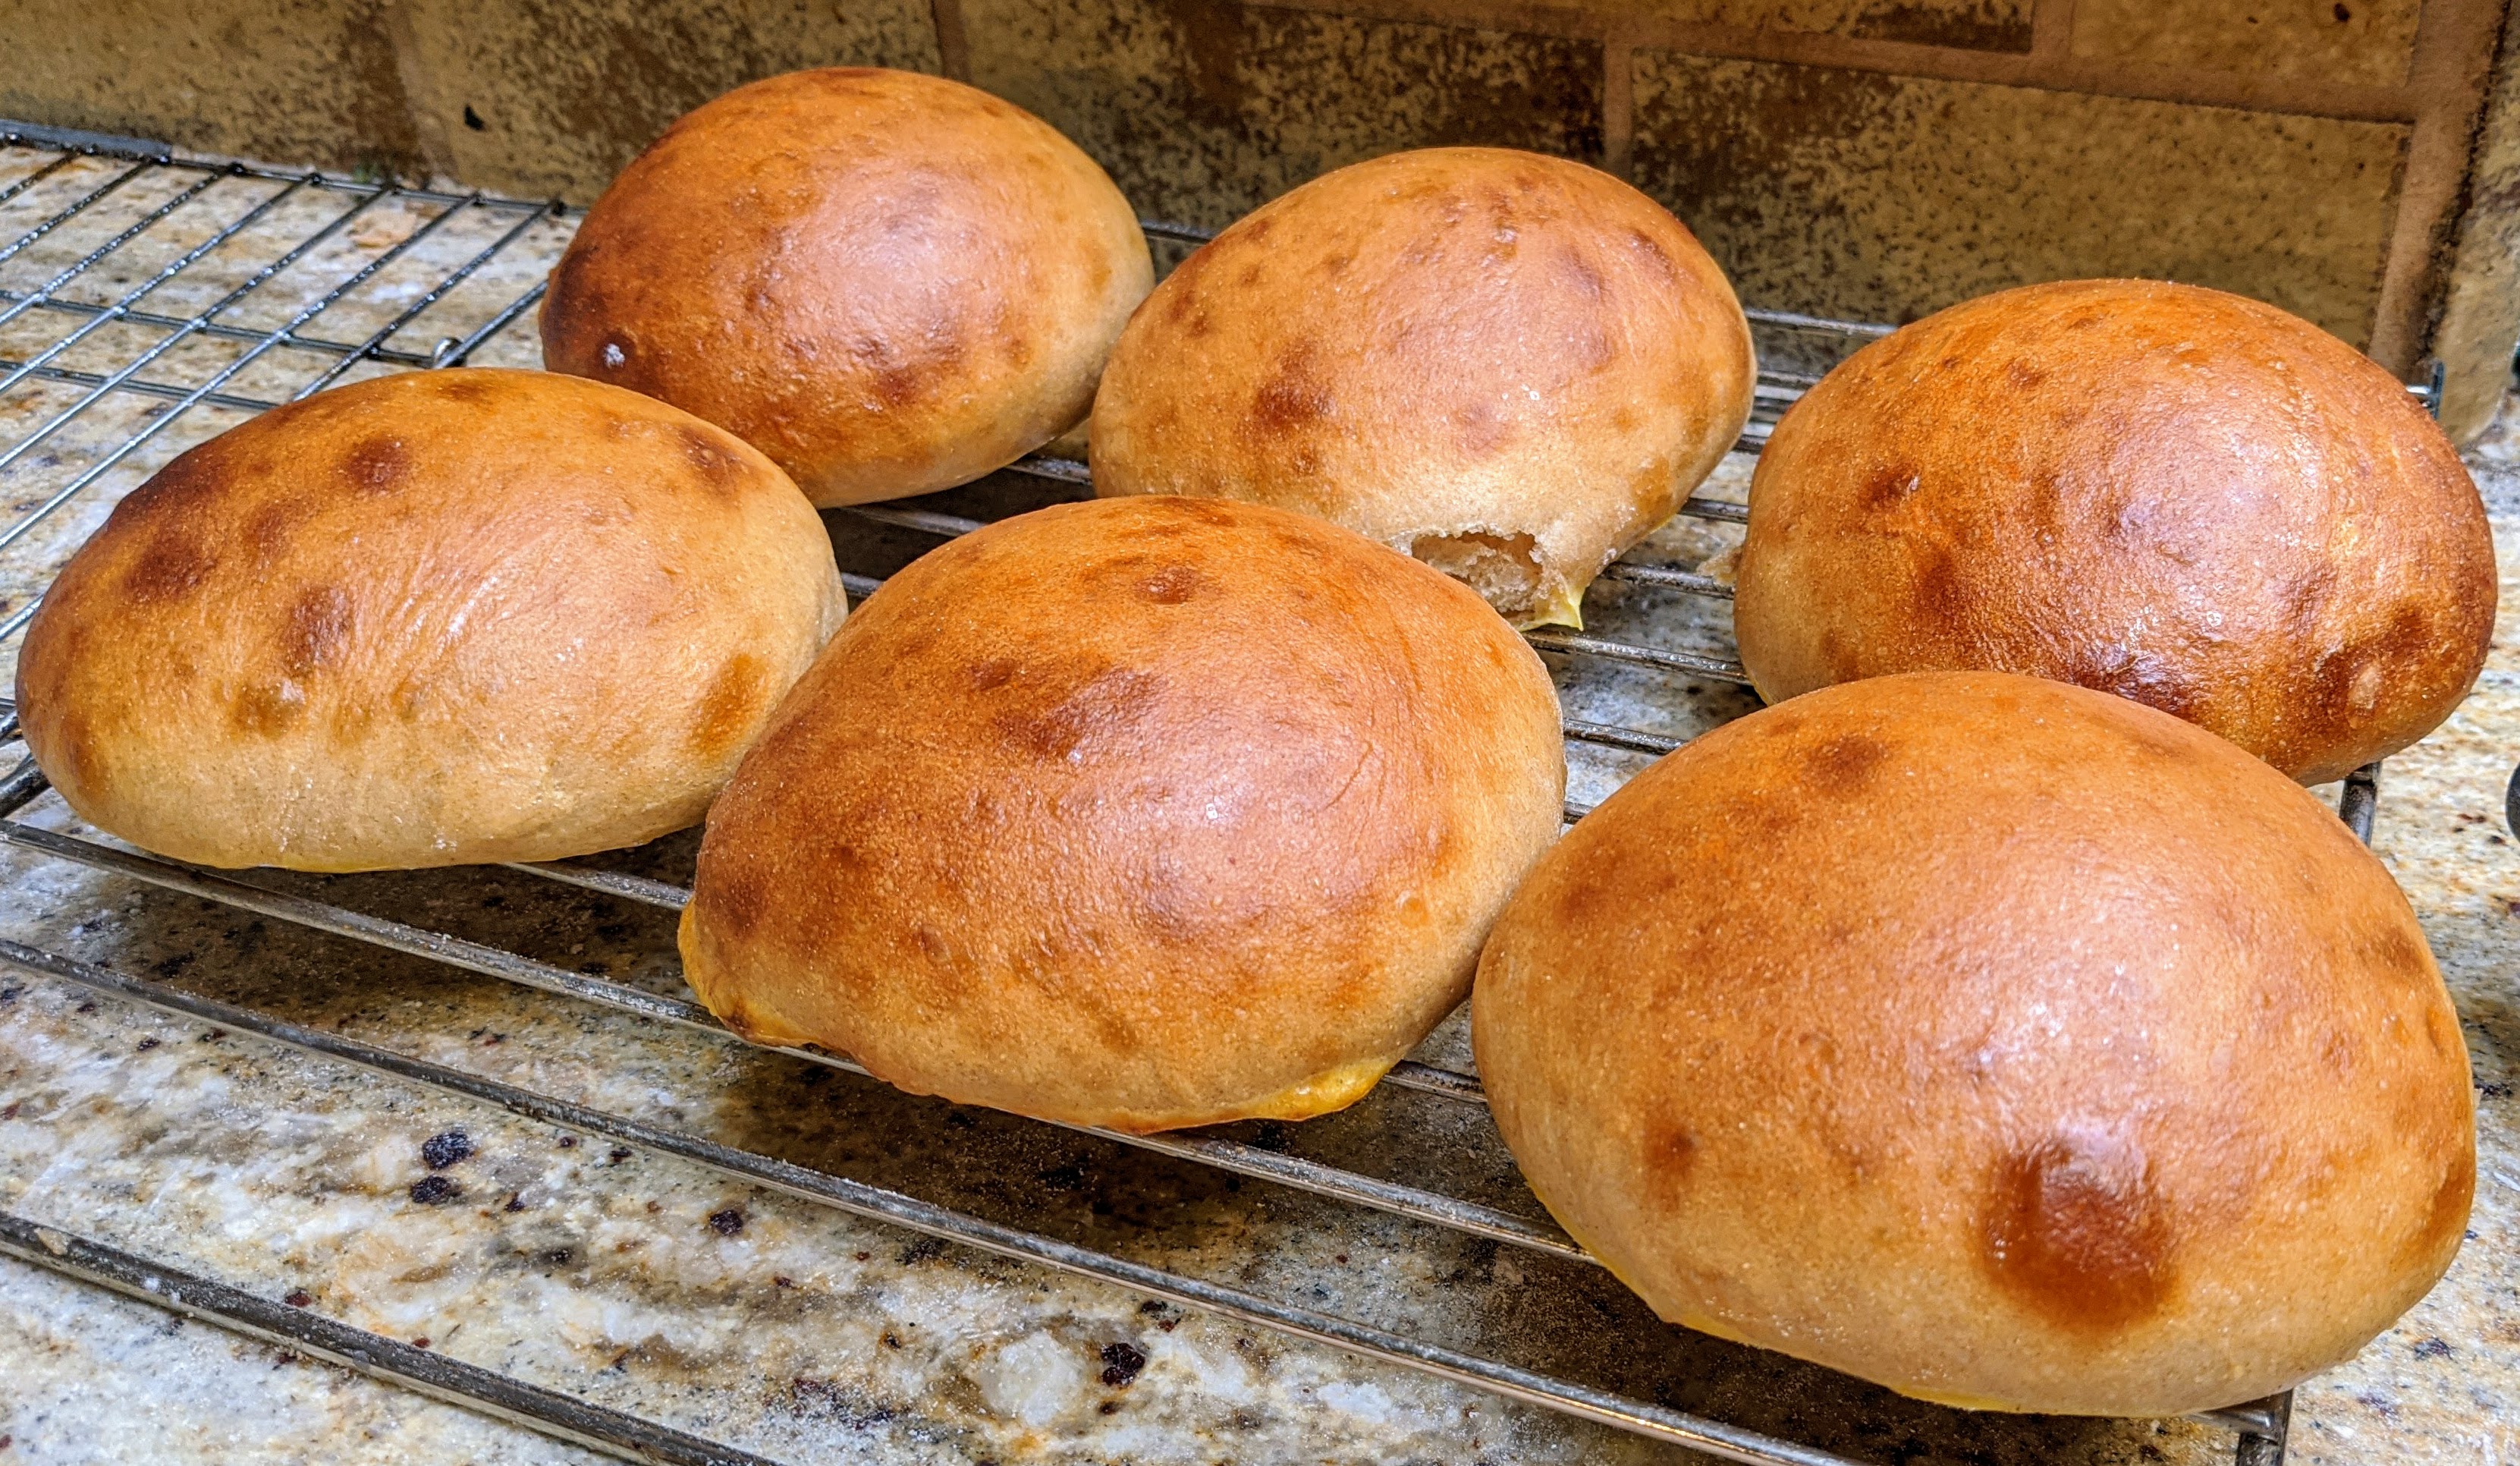
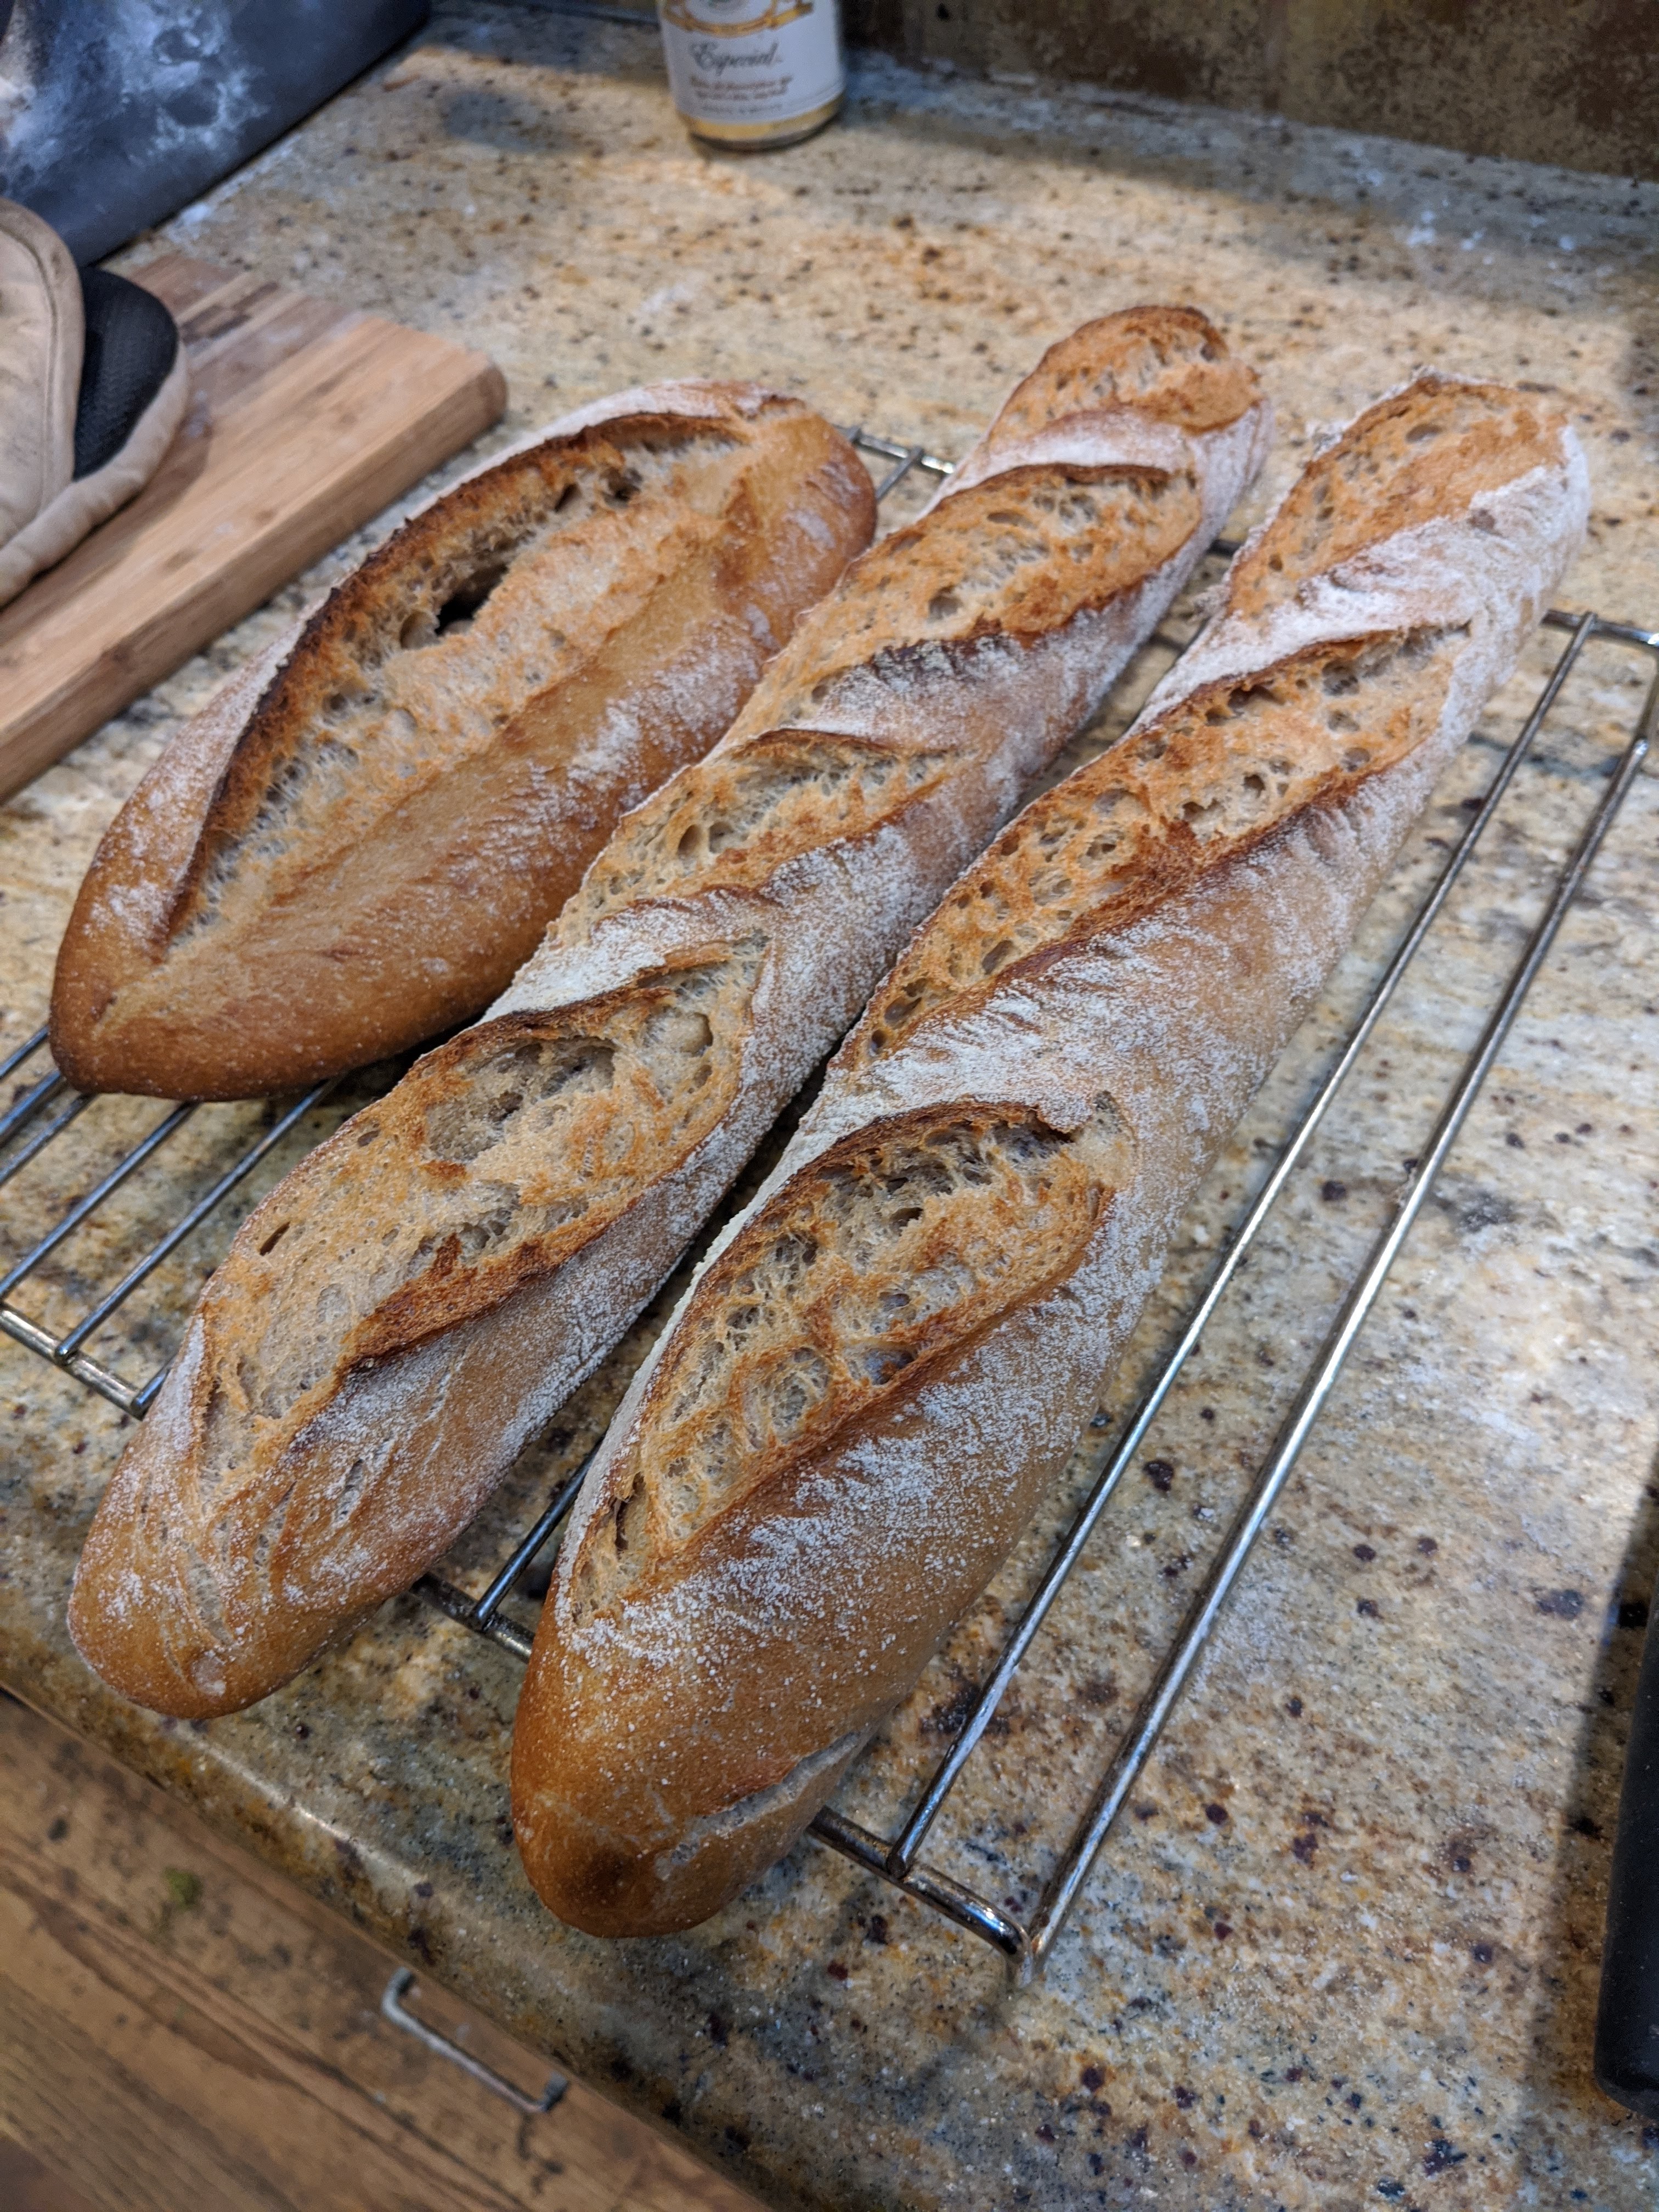
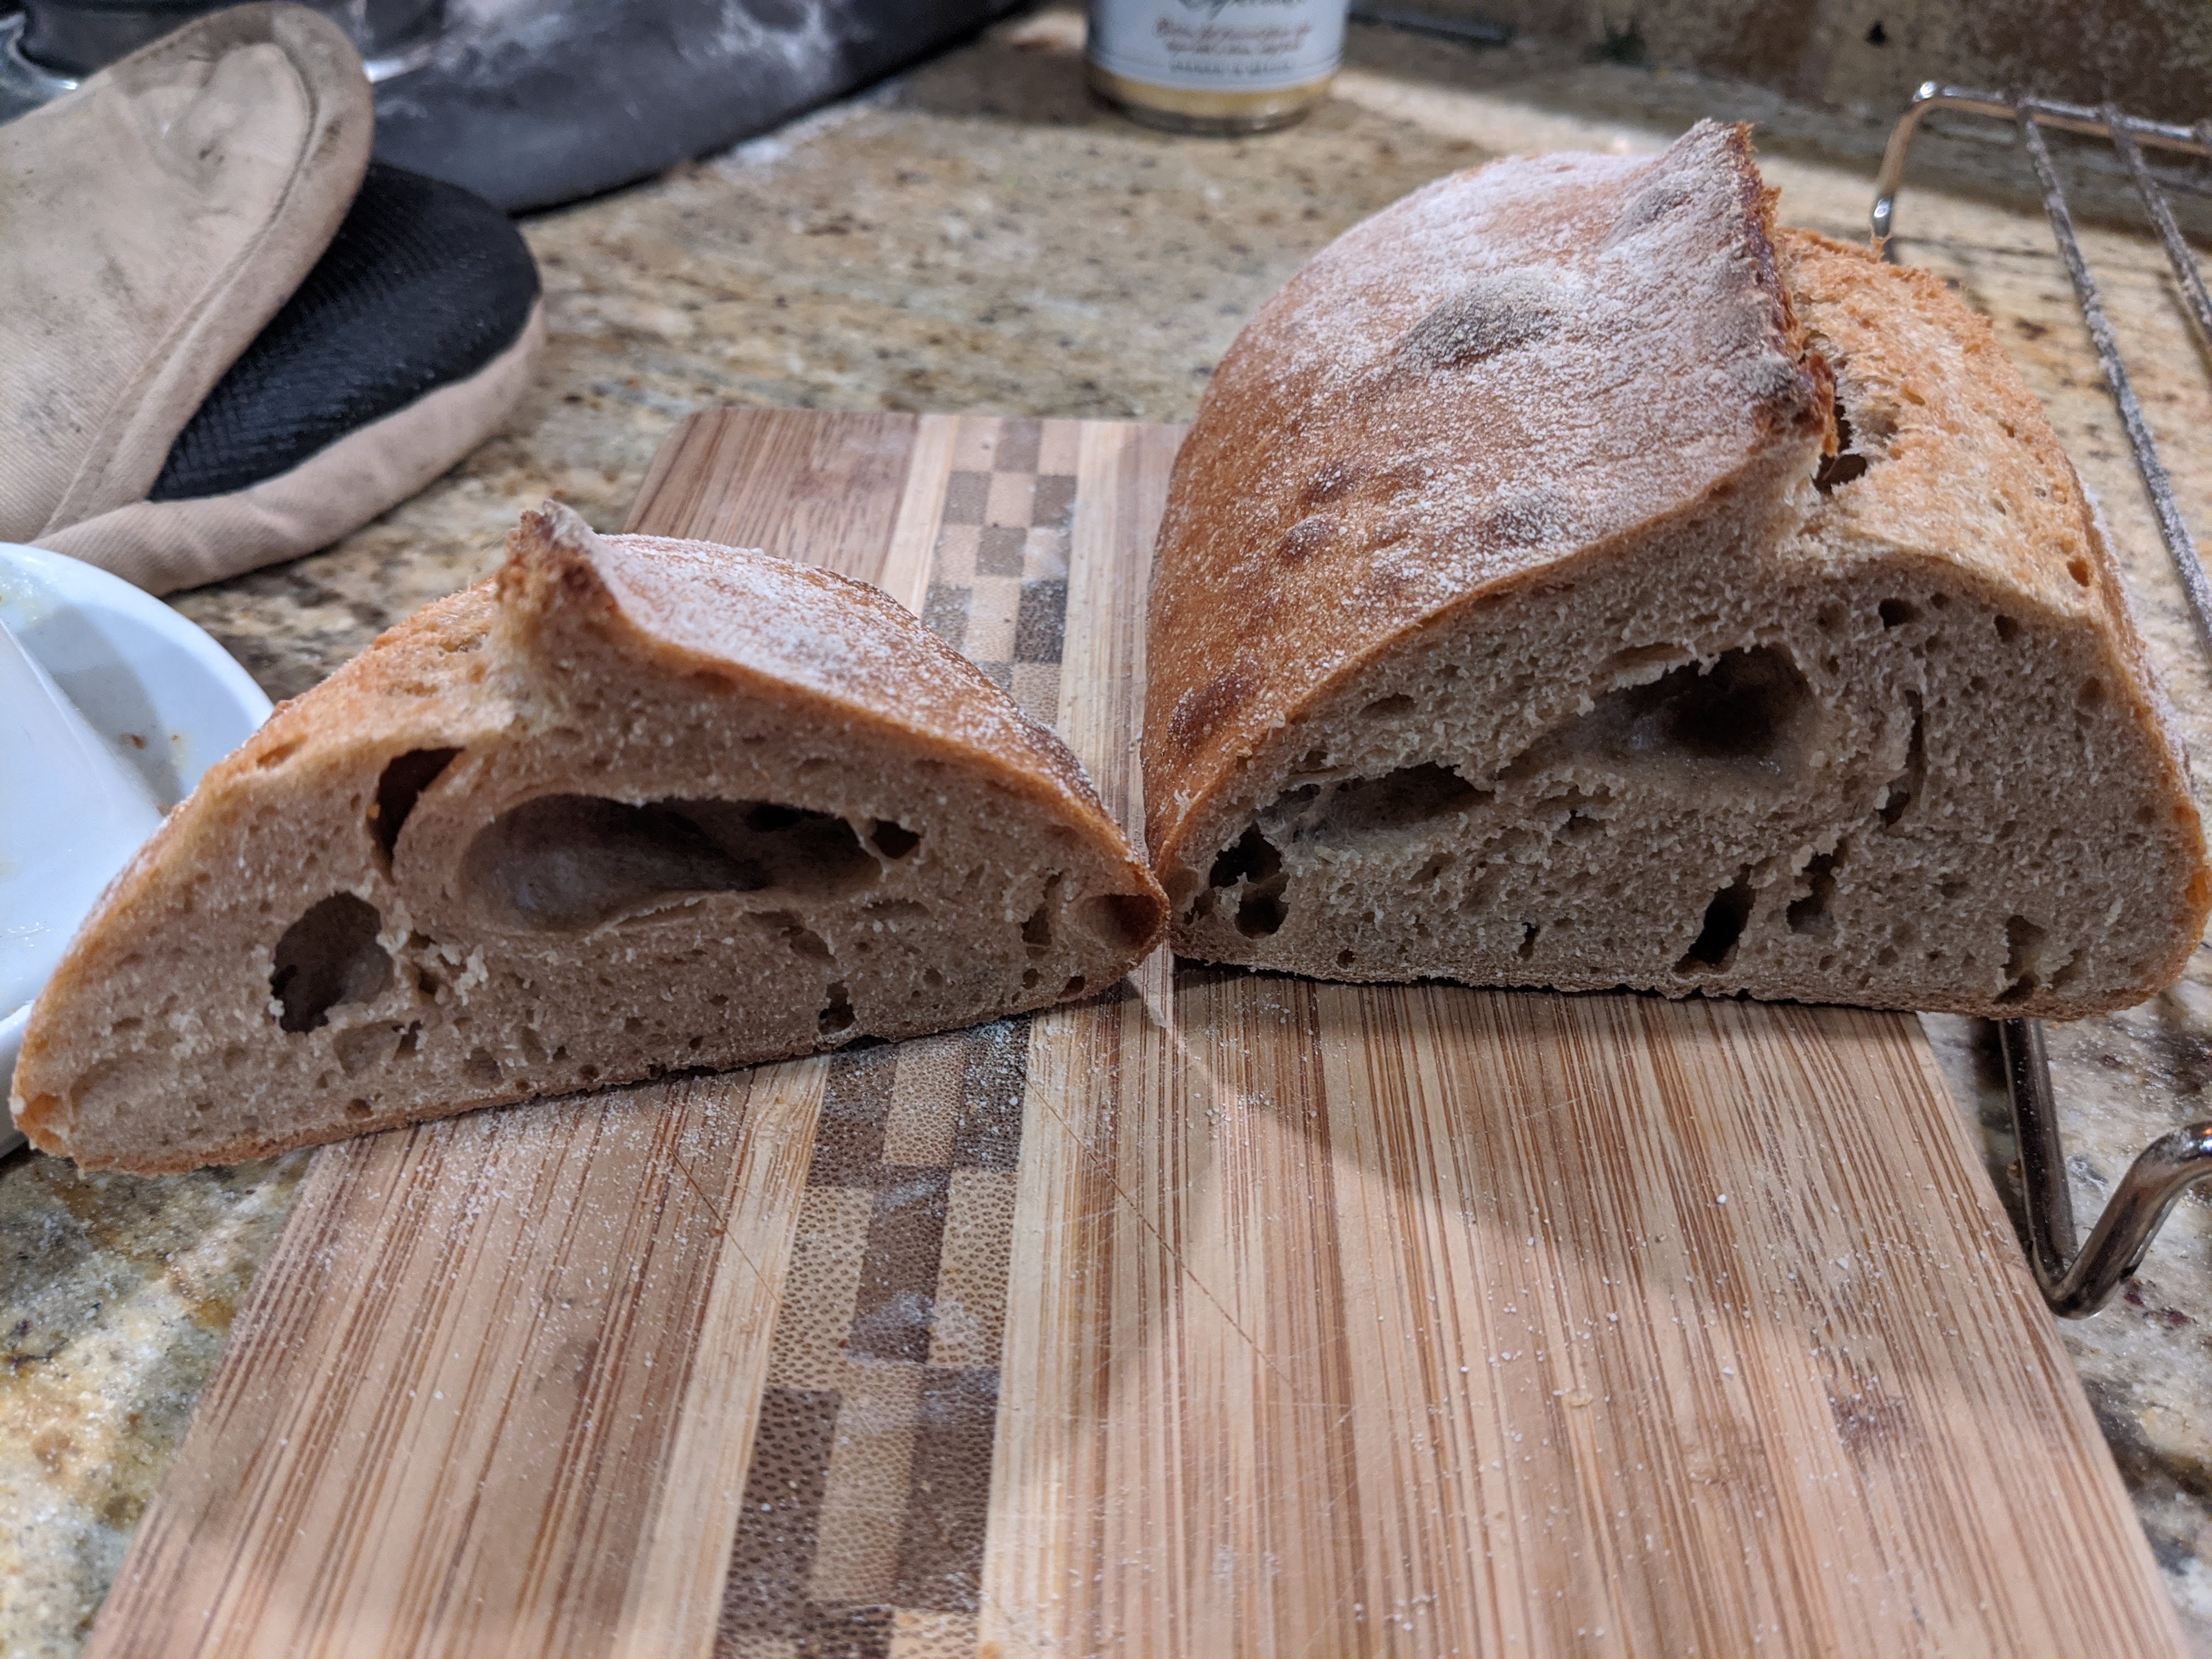
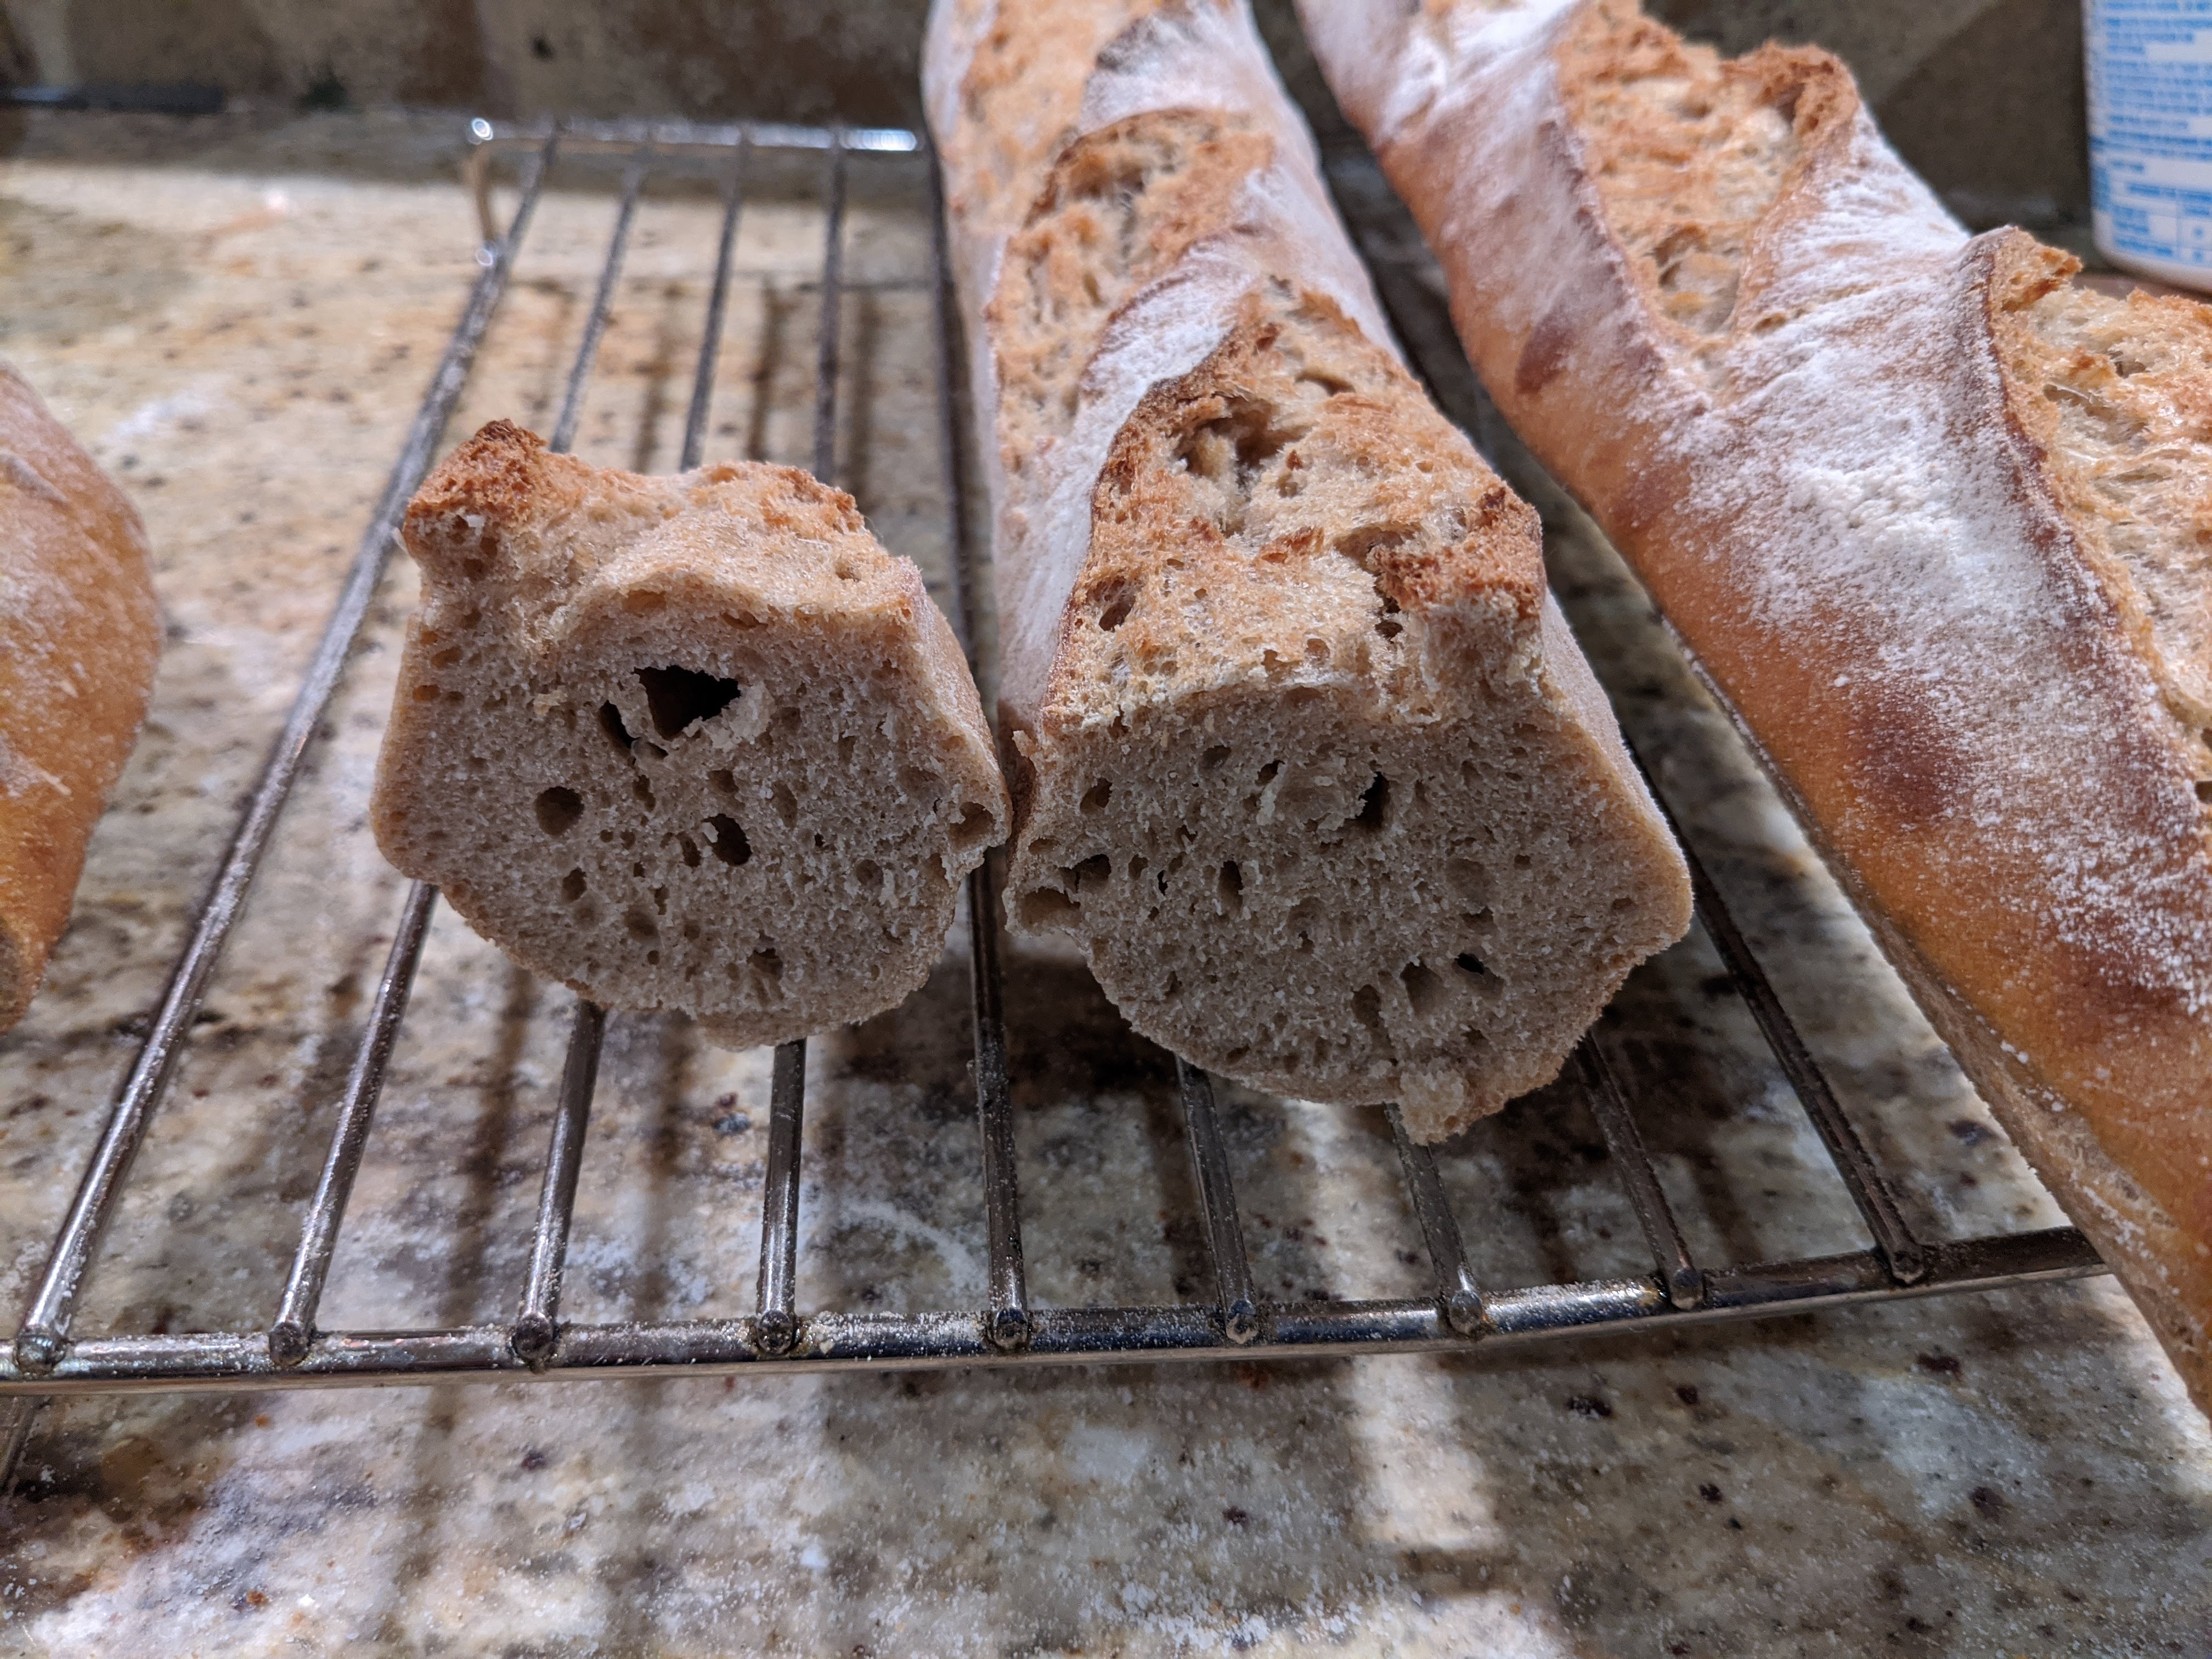
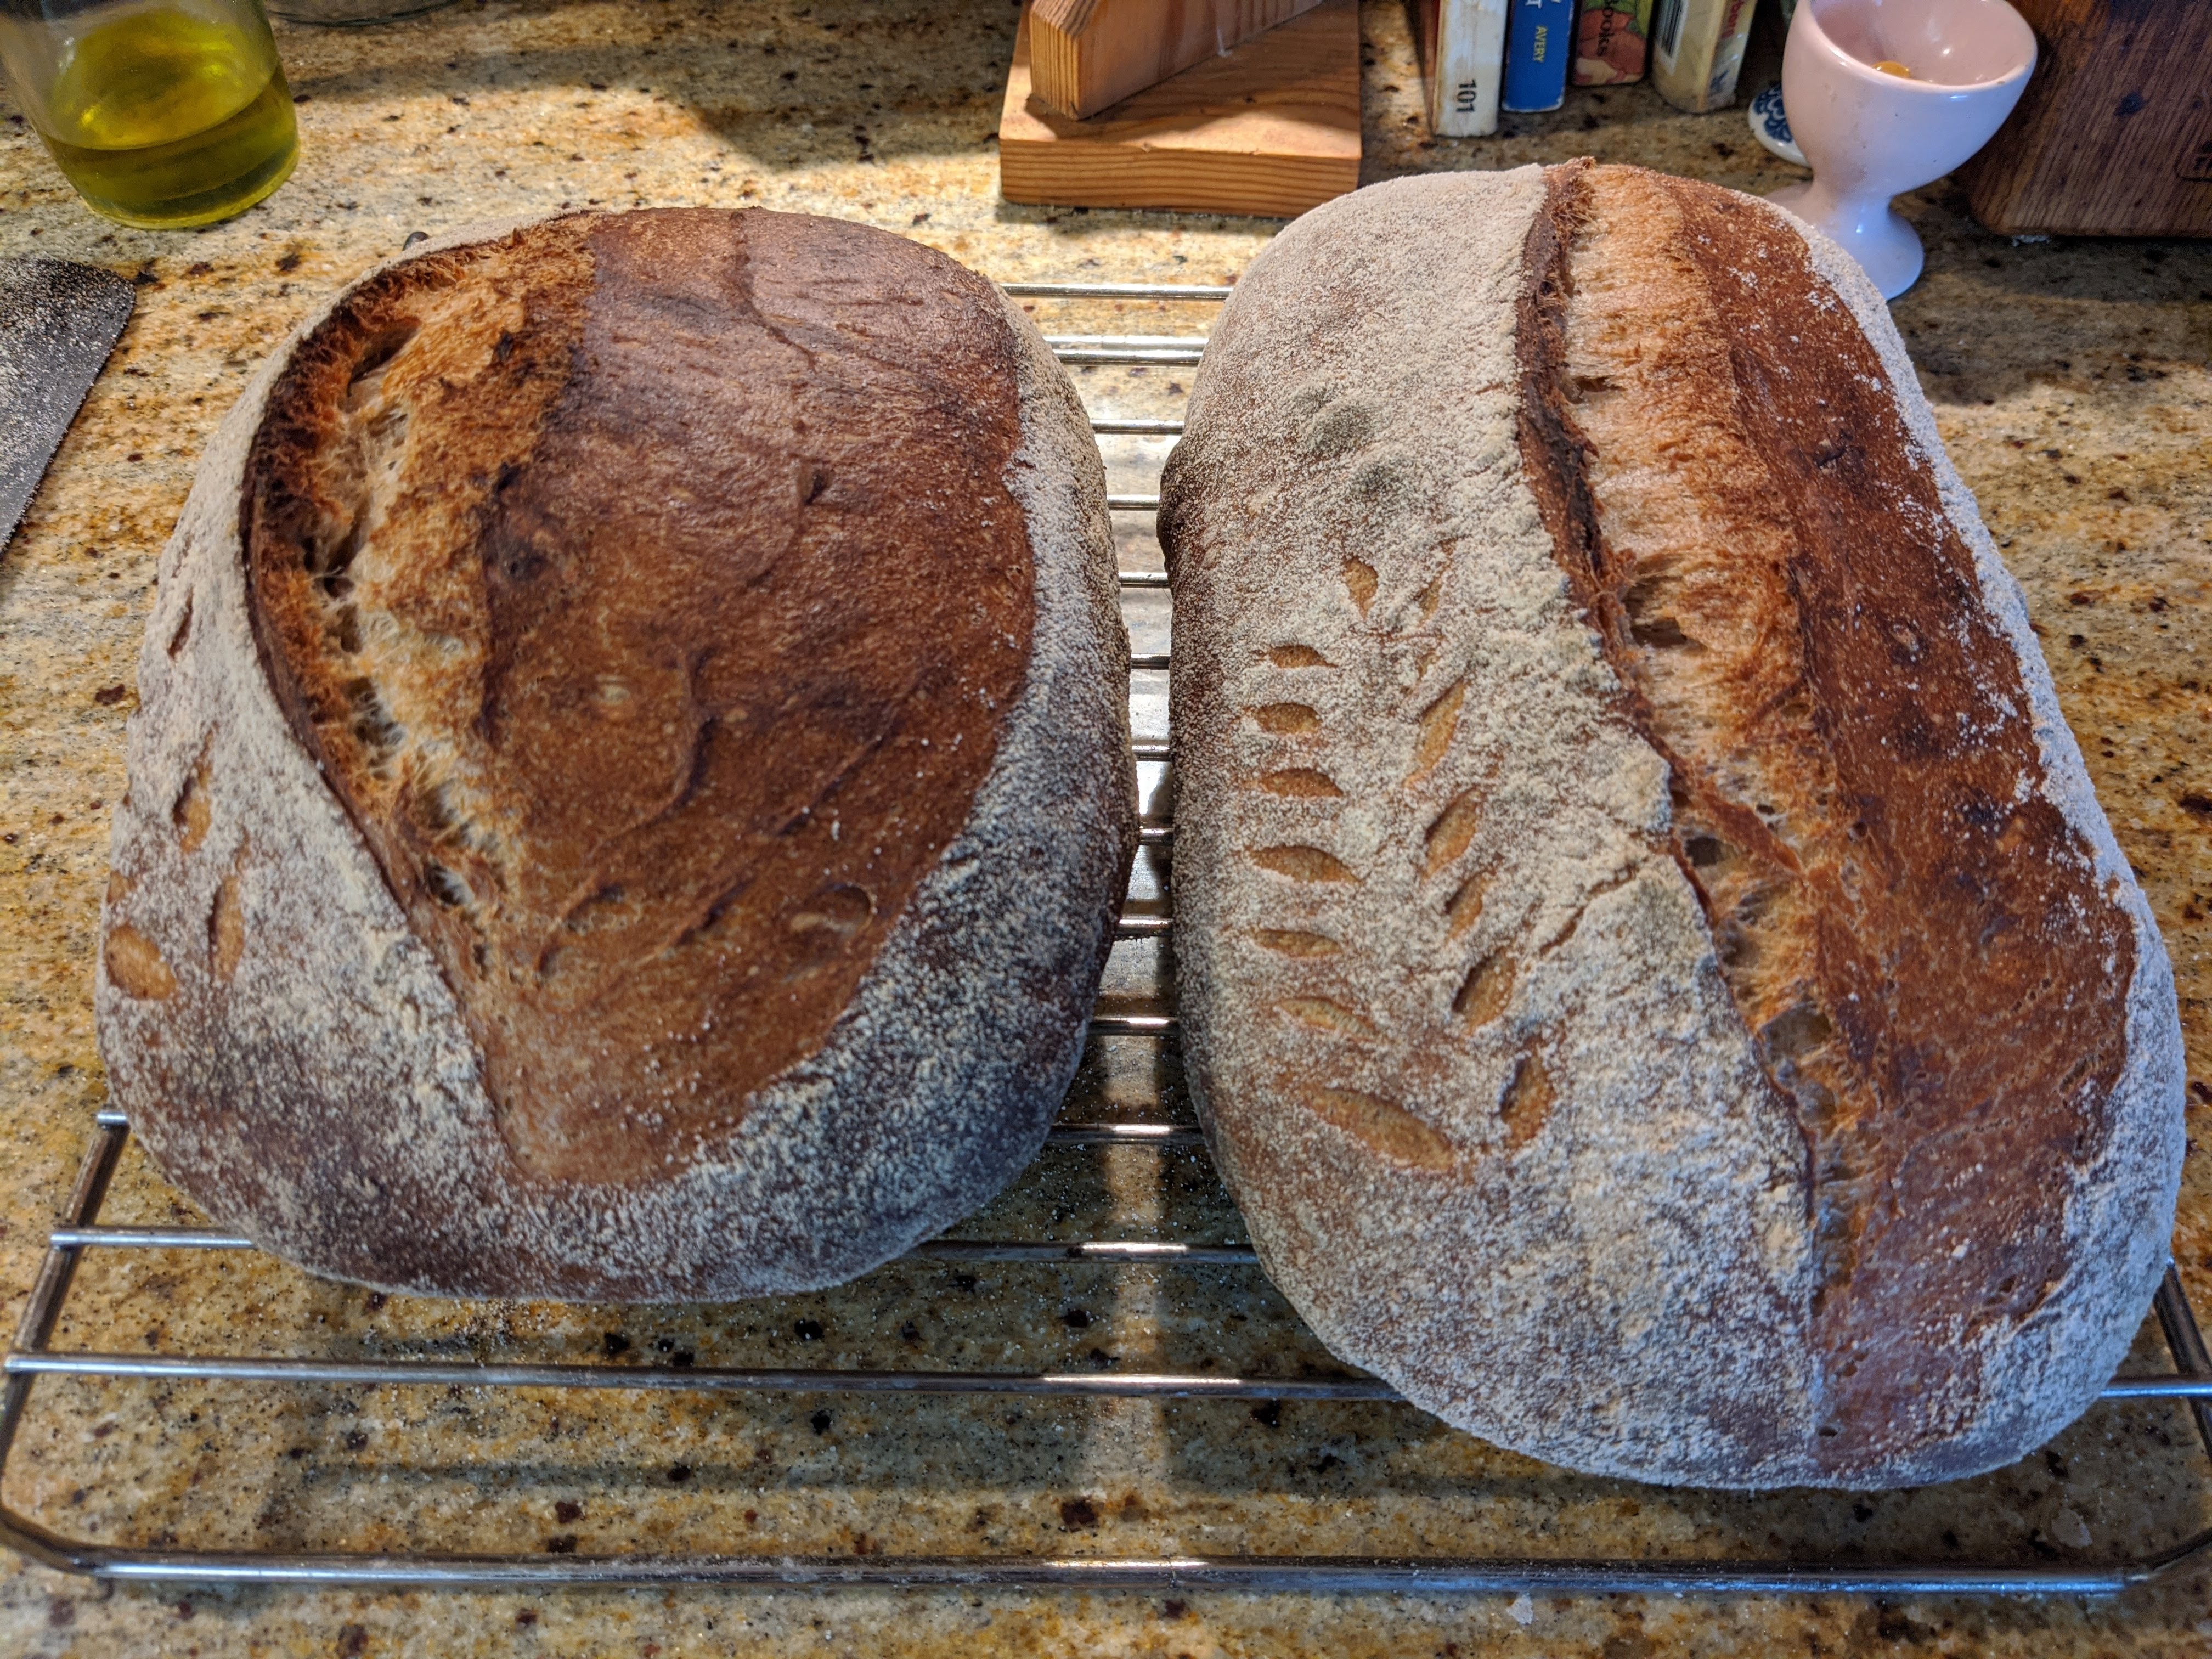
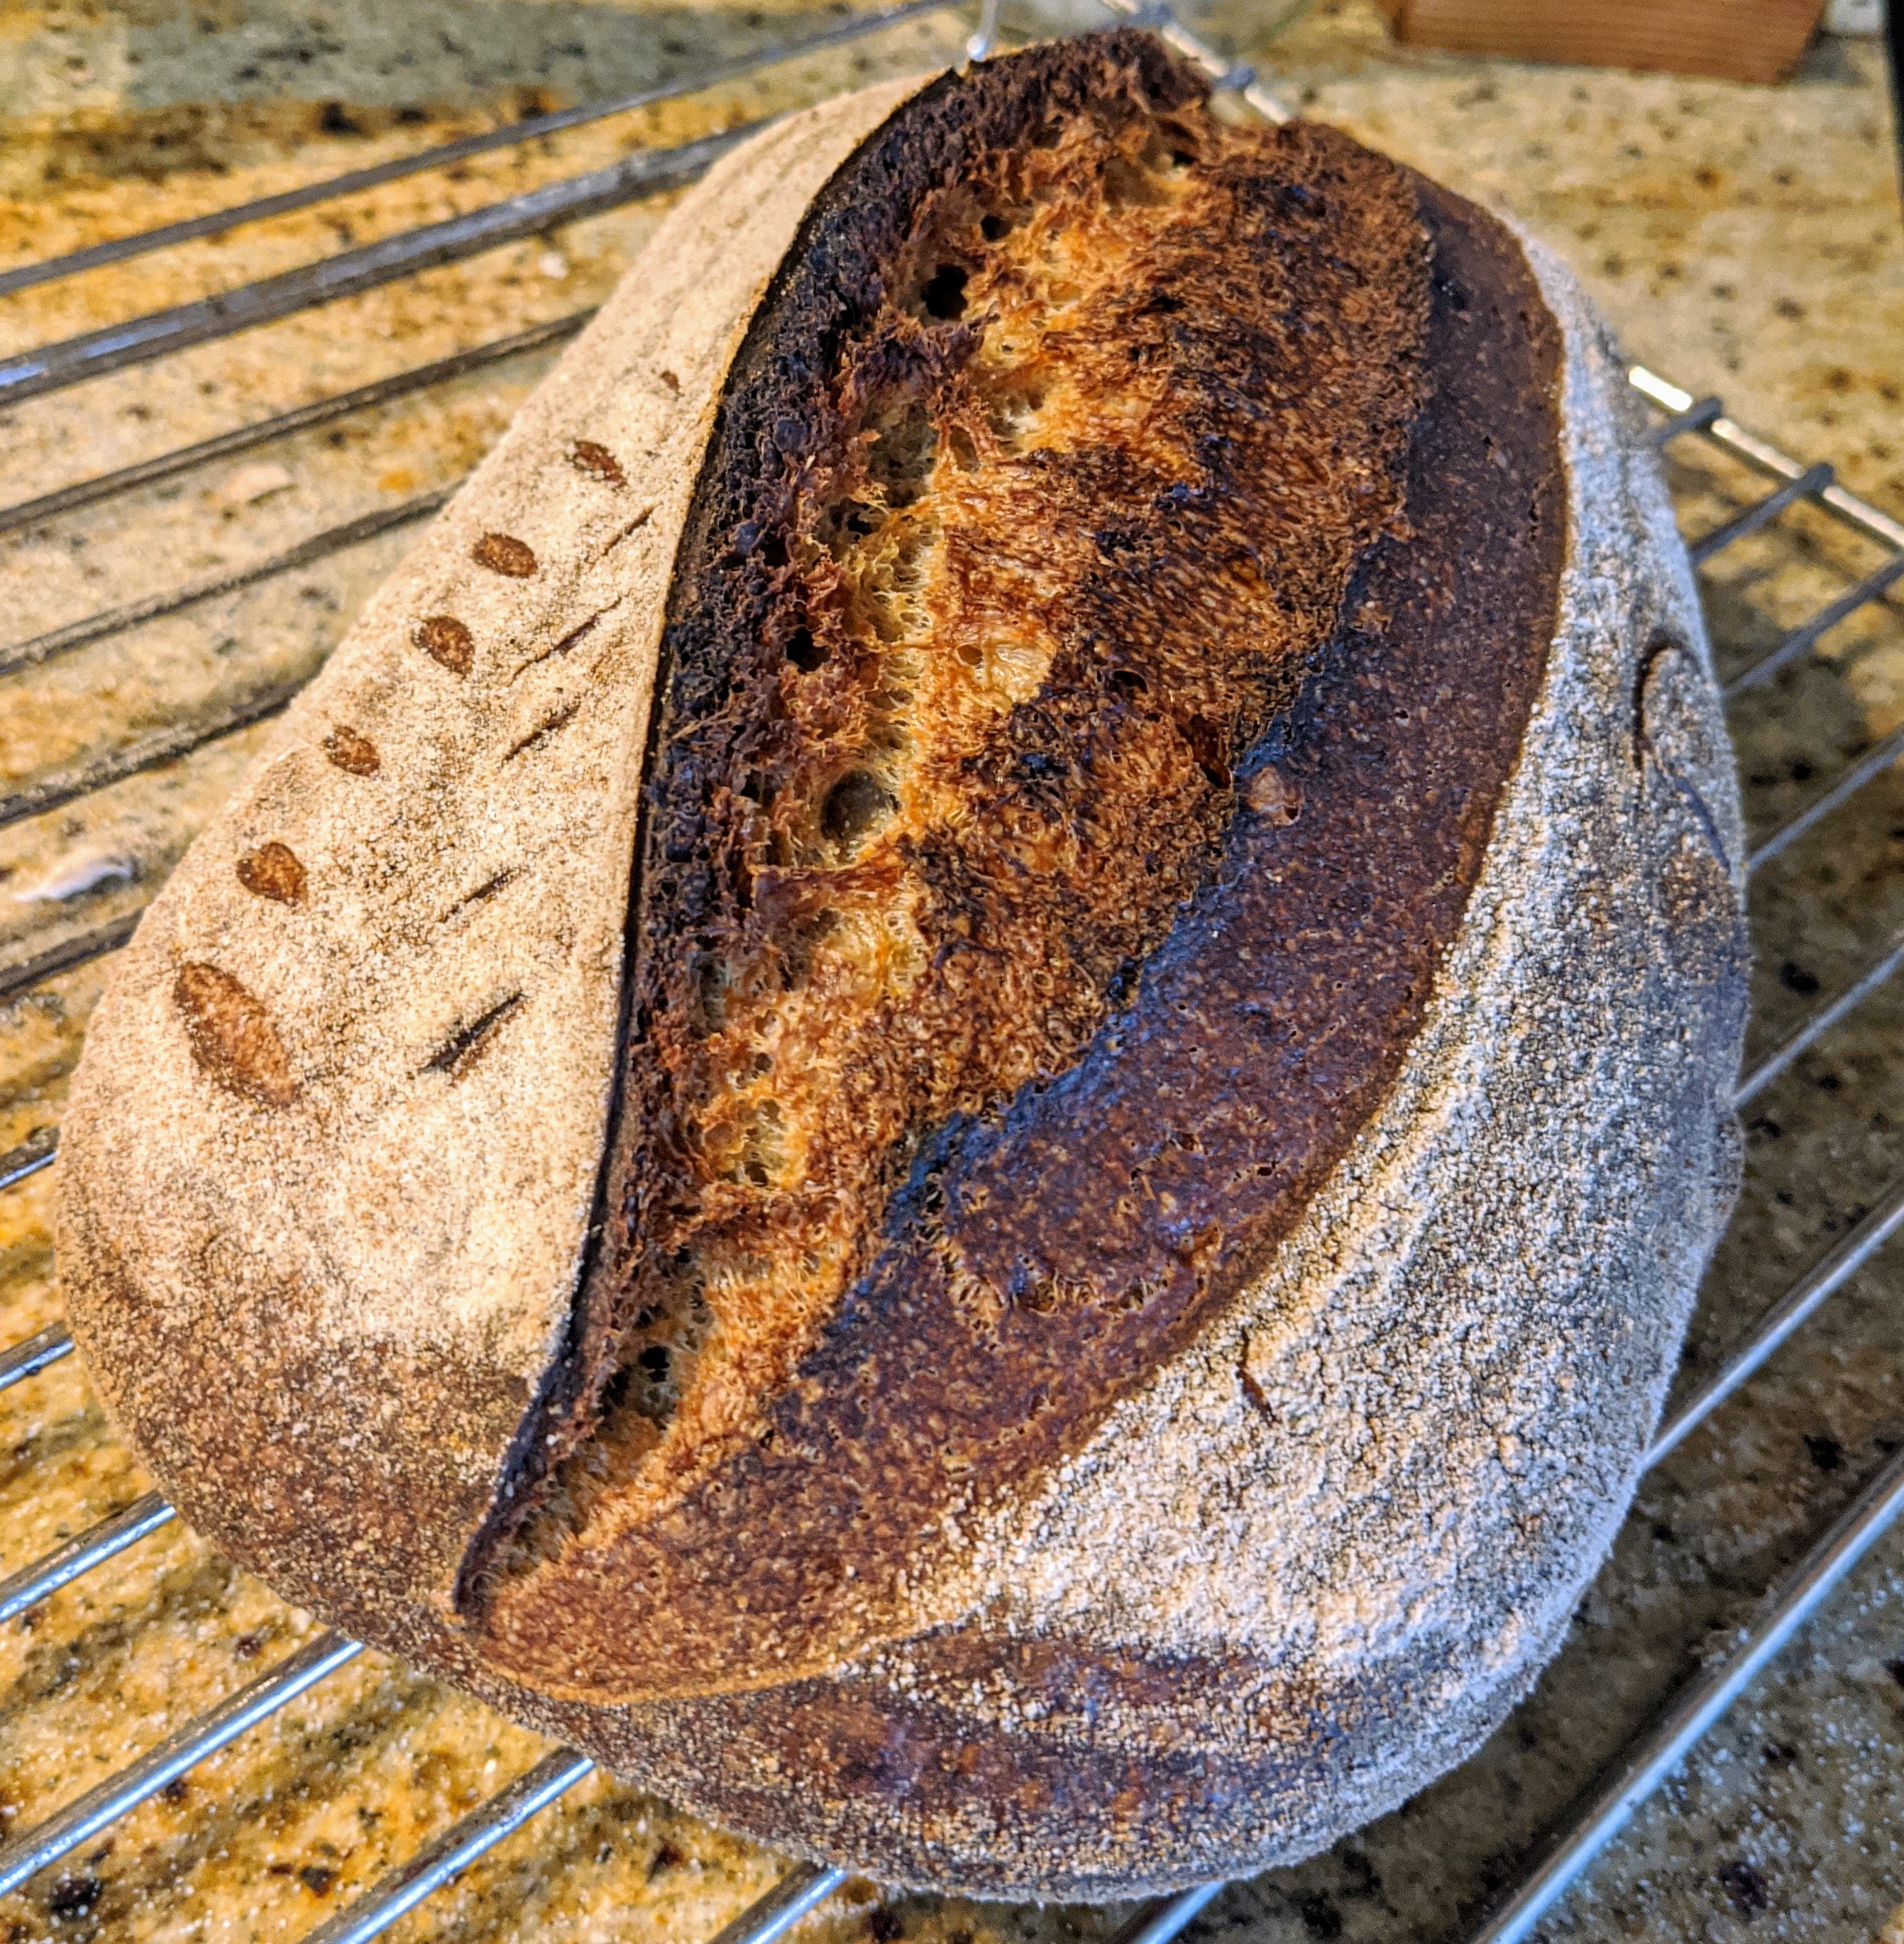
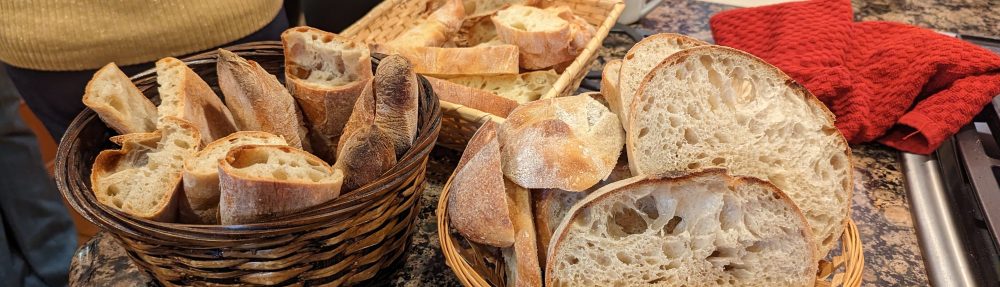
And I take a similar approach to bread making. Especially with my latest loaves, it looks like sourdough bread, it tastes like sourdough bread, so you inherently know it’s sourdough bread. But it has a slightly different texture than a traditional San Francisco hard loaf. There’s a distinct nutty aftertaste due to the kinds of flour I use. But the kicker is that instead of using a sourdough starter, I actually use a poolish that I make the night before.
And while I’d love to say that it was all planned out and I took a real scientific approach in arriving at my “sweet spot,” I have to be honest and say that I stumbled upon it more than anything else. Sure, I took notes of all the tweaks I did and how they affected the final product, and believe me, I literally spent hours poring over books and the Web to gain as much insight into the process. But in the end, how I arrived at my sweet spot was the result of lots of trial and error.
And I still don’t have it 100% down! I’m close, but I’m still perfecting the technique. While I’ve figured out the flour and am pretty sure what the optimal hydration rate is, I’m still figuring out the optimal fermentation and proofing times. Admittedly, I’ve pretty much got it down, but I’m running tests to see what the boundaries are so I can zero in on the most optimal process.
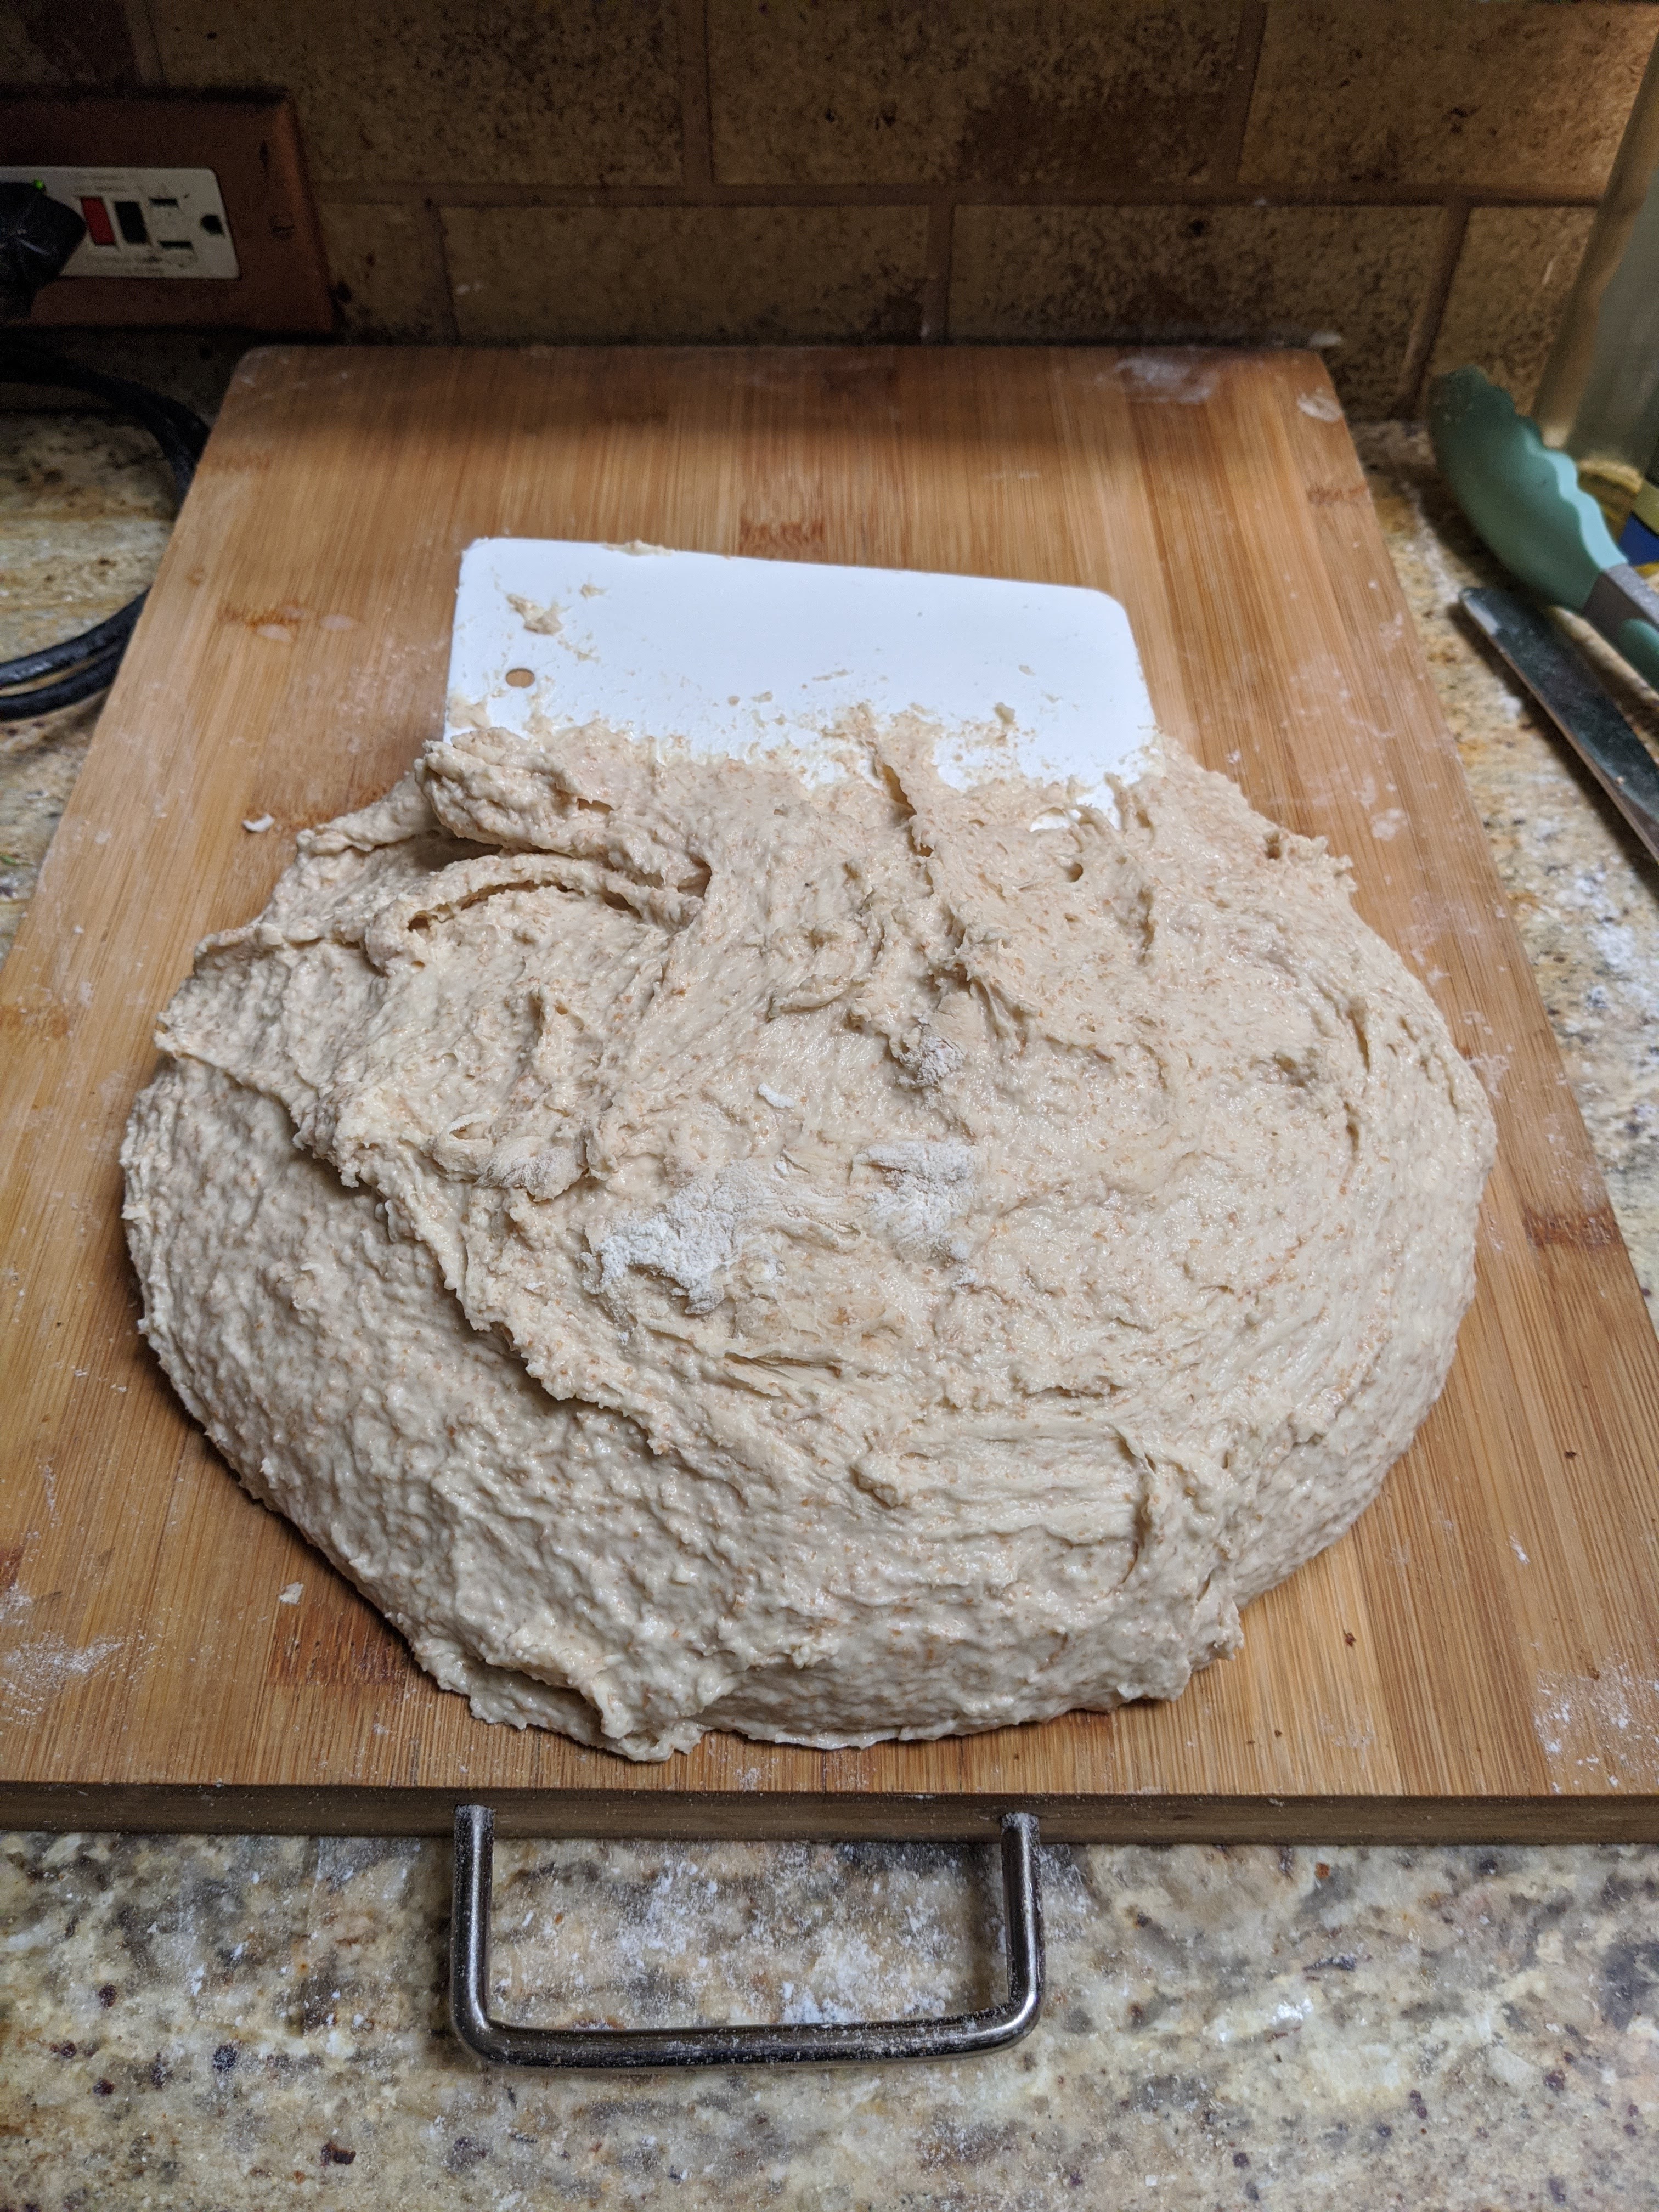
And talking about stumbling onto technique, one of the things that I started to do was to do a BUNCH of stretch and folds for three or so hours – every 30 minutes for a total of six times. I had read that when working with any amount of whole wheat flour, you have to work it a bit more than with standard white bread flour. And as I made the switch to a combination of high-extraction bread flour and whole wheat flour, I just started doing this to ensure that the gluten network gets sufficiently formed.
So imagine my pleasant surprise when I ran across a Tartine bread recipe (it was a link in a blog entry) and that’s exactly what they do! They do six stretch and folds over three hours during the bulk fermentation! I I literally had no clue of they did this. As I mentioned above, I started doing this because of the flour I was using. I have to admit that it gave me a real smile to know that I was doing something a famous sourdough bread bakery did with their dough.
And apparently, making Tartine-style bread (from the famous San Francisco bakery) is a rite of passage for makers of sourdough. I had no clue that it had this much importance when I first started making bread. My foundation was Ken Forkish’s Flour Water Salt Yeast book and Bonnie Ohara’s wonderful book, Bread Making for Beginners. I knew of Tartine Bakery though I never had their bread, but I didn’t know just how influential the bakery was in the sourdough world. So it’s cool to stumble onto what they’re doing!
The great thing about this bread journey is that I really don’t know where it’s going to take me. Who knows what I’ll stumble upon next?