Poolish In the Morning, Fresh Bread in the Afternoon

I know, I know… There’s all this craze about good artisan bread taking at least two days. I do it because the results are amazing. No doubt that using a 12-24 hour pre-ferment or a levain provides extra flavor complexity. But sometimes, I just want to make bread and have it ready the same day. But that doesn’t mean I have to completely sacrifice all flavor complexity.

From what I’ve been able to gather recently, one of the trends that seems to be occurring in artisan bread baking is that bakers seem to be leaning less on the leavening agent to provide flavor complexity and more on other factors such as flour. Myself, I now almost always have at least 25% whole wheat flour in my dough. I also started using high-extraction bread flour, where more of the wheat kernel is extracted than regular bread flour (think Type 85 flour). Just that change in flour has provided incredible flavor complexity to the 1-day loaves I bake.

This recipe is a riff on a poolish-based bread. It actually uses a poolish, but instead of fermenting from 12-24 hours with half a gram of yeast, I ferment it for 4 hours with 2 grams of yeast. We don’t get all the benefits of the microbes kicking and creating sourness (though there is some), but we do get the benefits of using a poolish which provides much better dough extensibility.

Also, it’s optional, but I add 1.5% diastatic malt powder to help the yeast along and promote great oven spring and crust color, especially if I use a 50-50 whole wheat to bread flour ratio. It really helps guarantee that the Maillard reaction occurs and we get the flavor benefits from a darkened crust.

With this recipe, if you start at around 8 AM in the morning, you should have bread by 4 PM. Here’s the basic recipe:

Create the Poolish

250 grams fine-ground whole wheat flour
250 grams bread flour
7.5 grams diastatic malt powder (optional)
500 grams 100-degree water
2 grams instant yeast (about 1/2 teaspoon)

Mix dry ingredients with a whisk until well-incorporated, then add the water, making sure no there are no dry spots. Mix until there are no large lumps. The dough will be a little shaggy and super wet – it’s 100% hydration so that’s okay. Make sure to scrape down the sides of the bowl you get everything. Finish mixing until smooth.

Cover the bowl with plastic wrap and set aside in a warm place for 4 hours. I place my container in the oven with an open oven door to provide a warm environment for the yeast to do its thing.

Final Dough

500 grams bread flour
7.5 grams diastatic malt powder (optional)
16 grams salt
4 grams instant yeast (1 level teaspoon)
21 grams honey (optional) – that’s about a tablespoon

250 grams 100-degree water

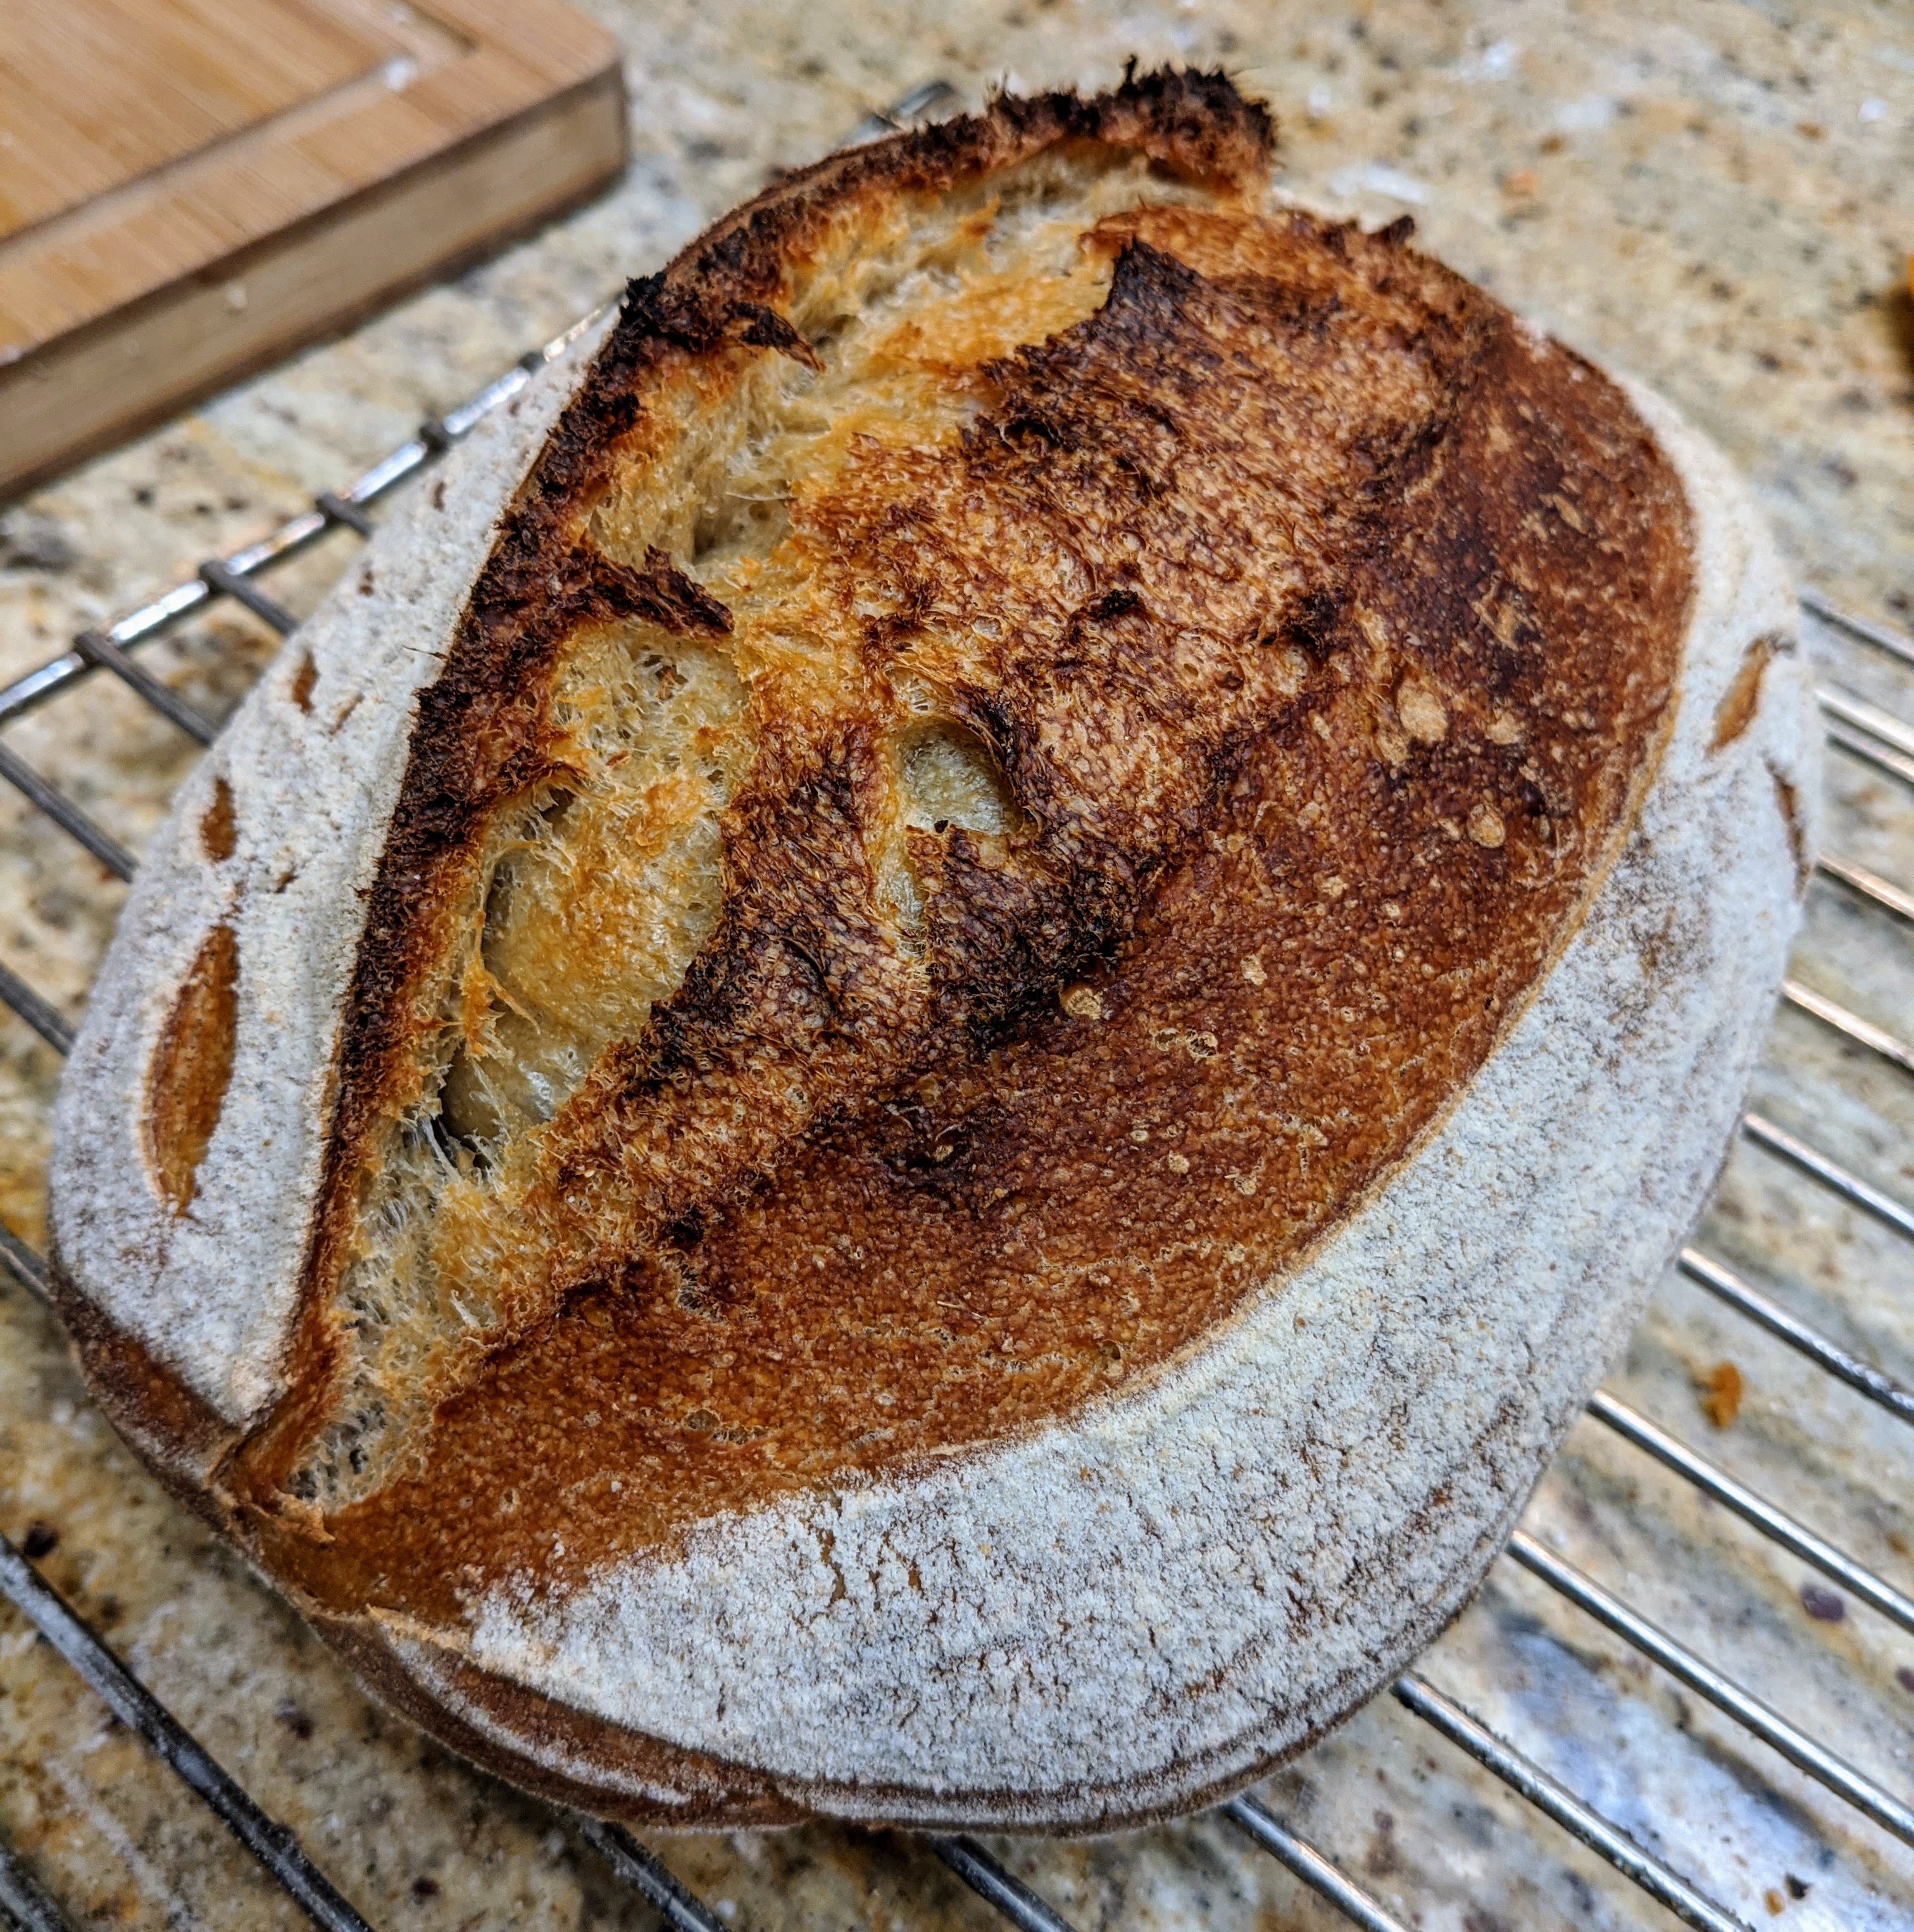
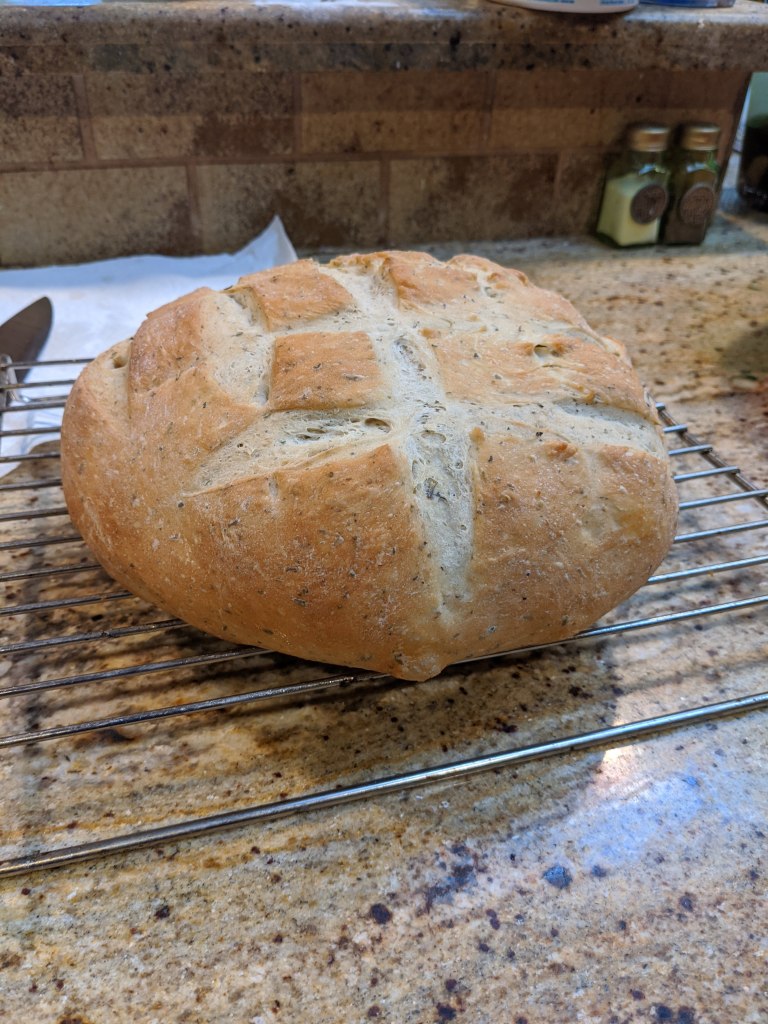
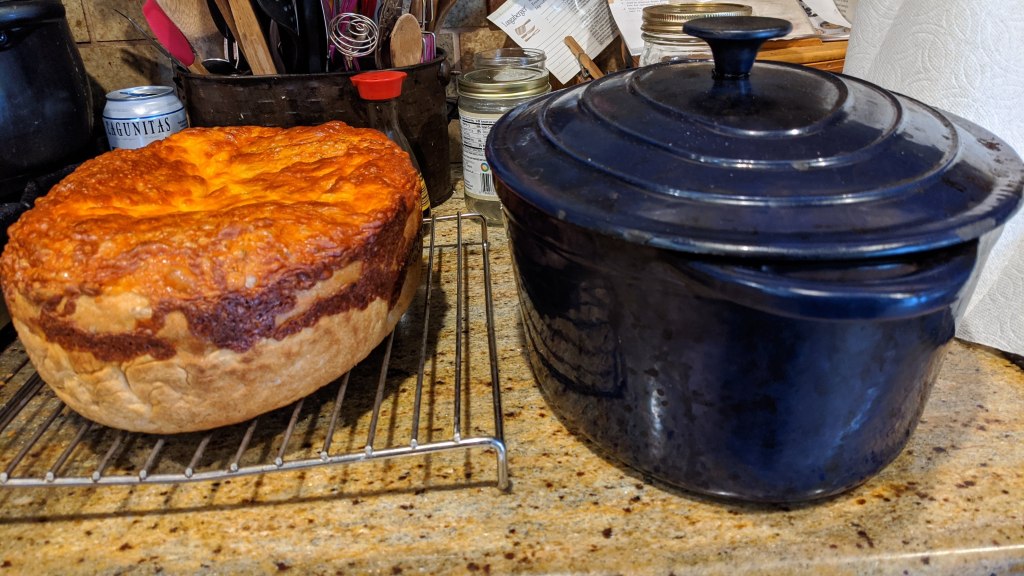
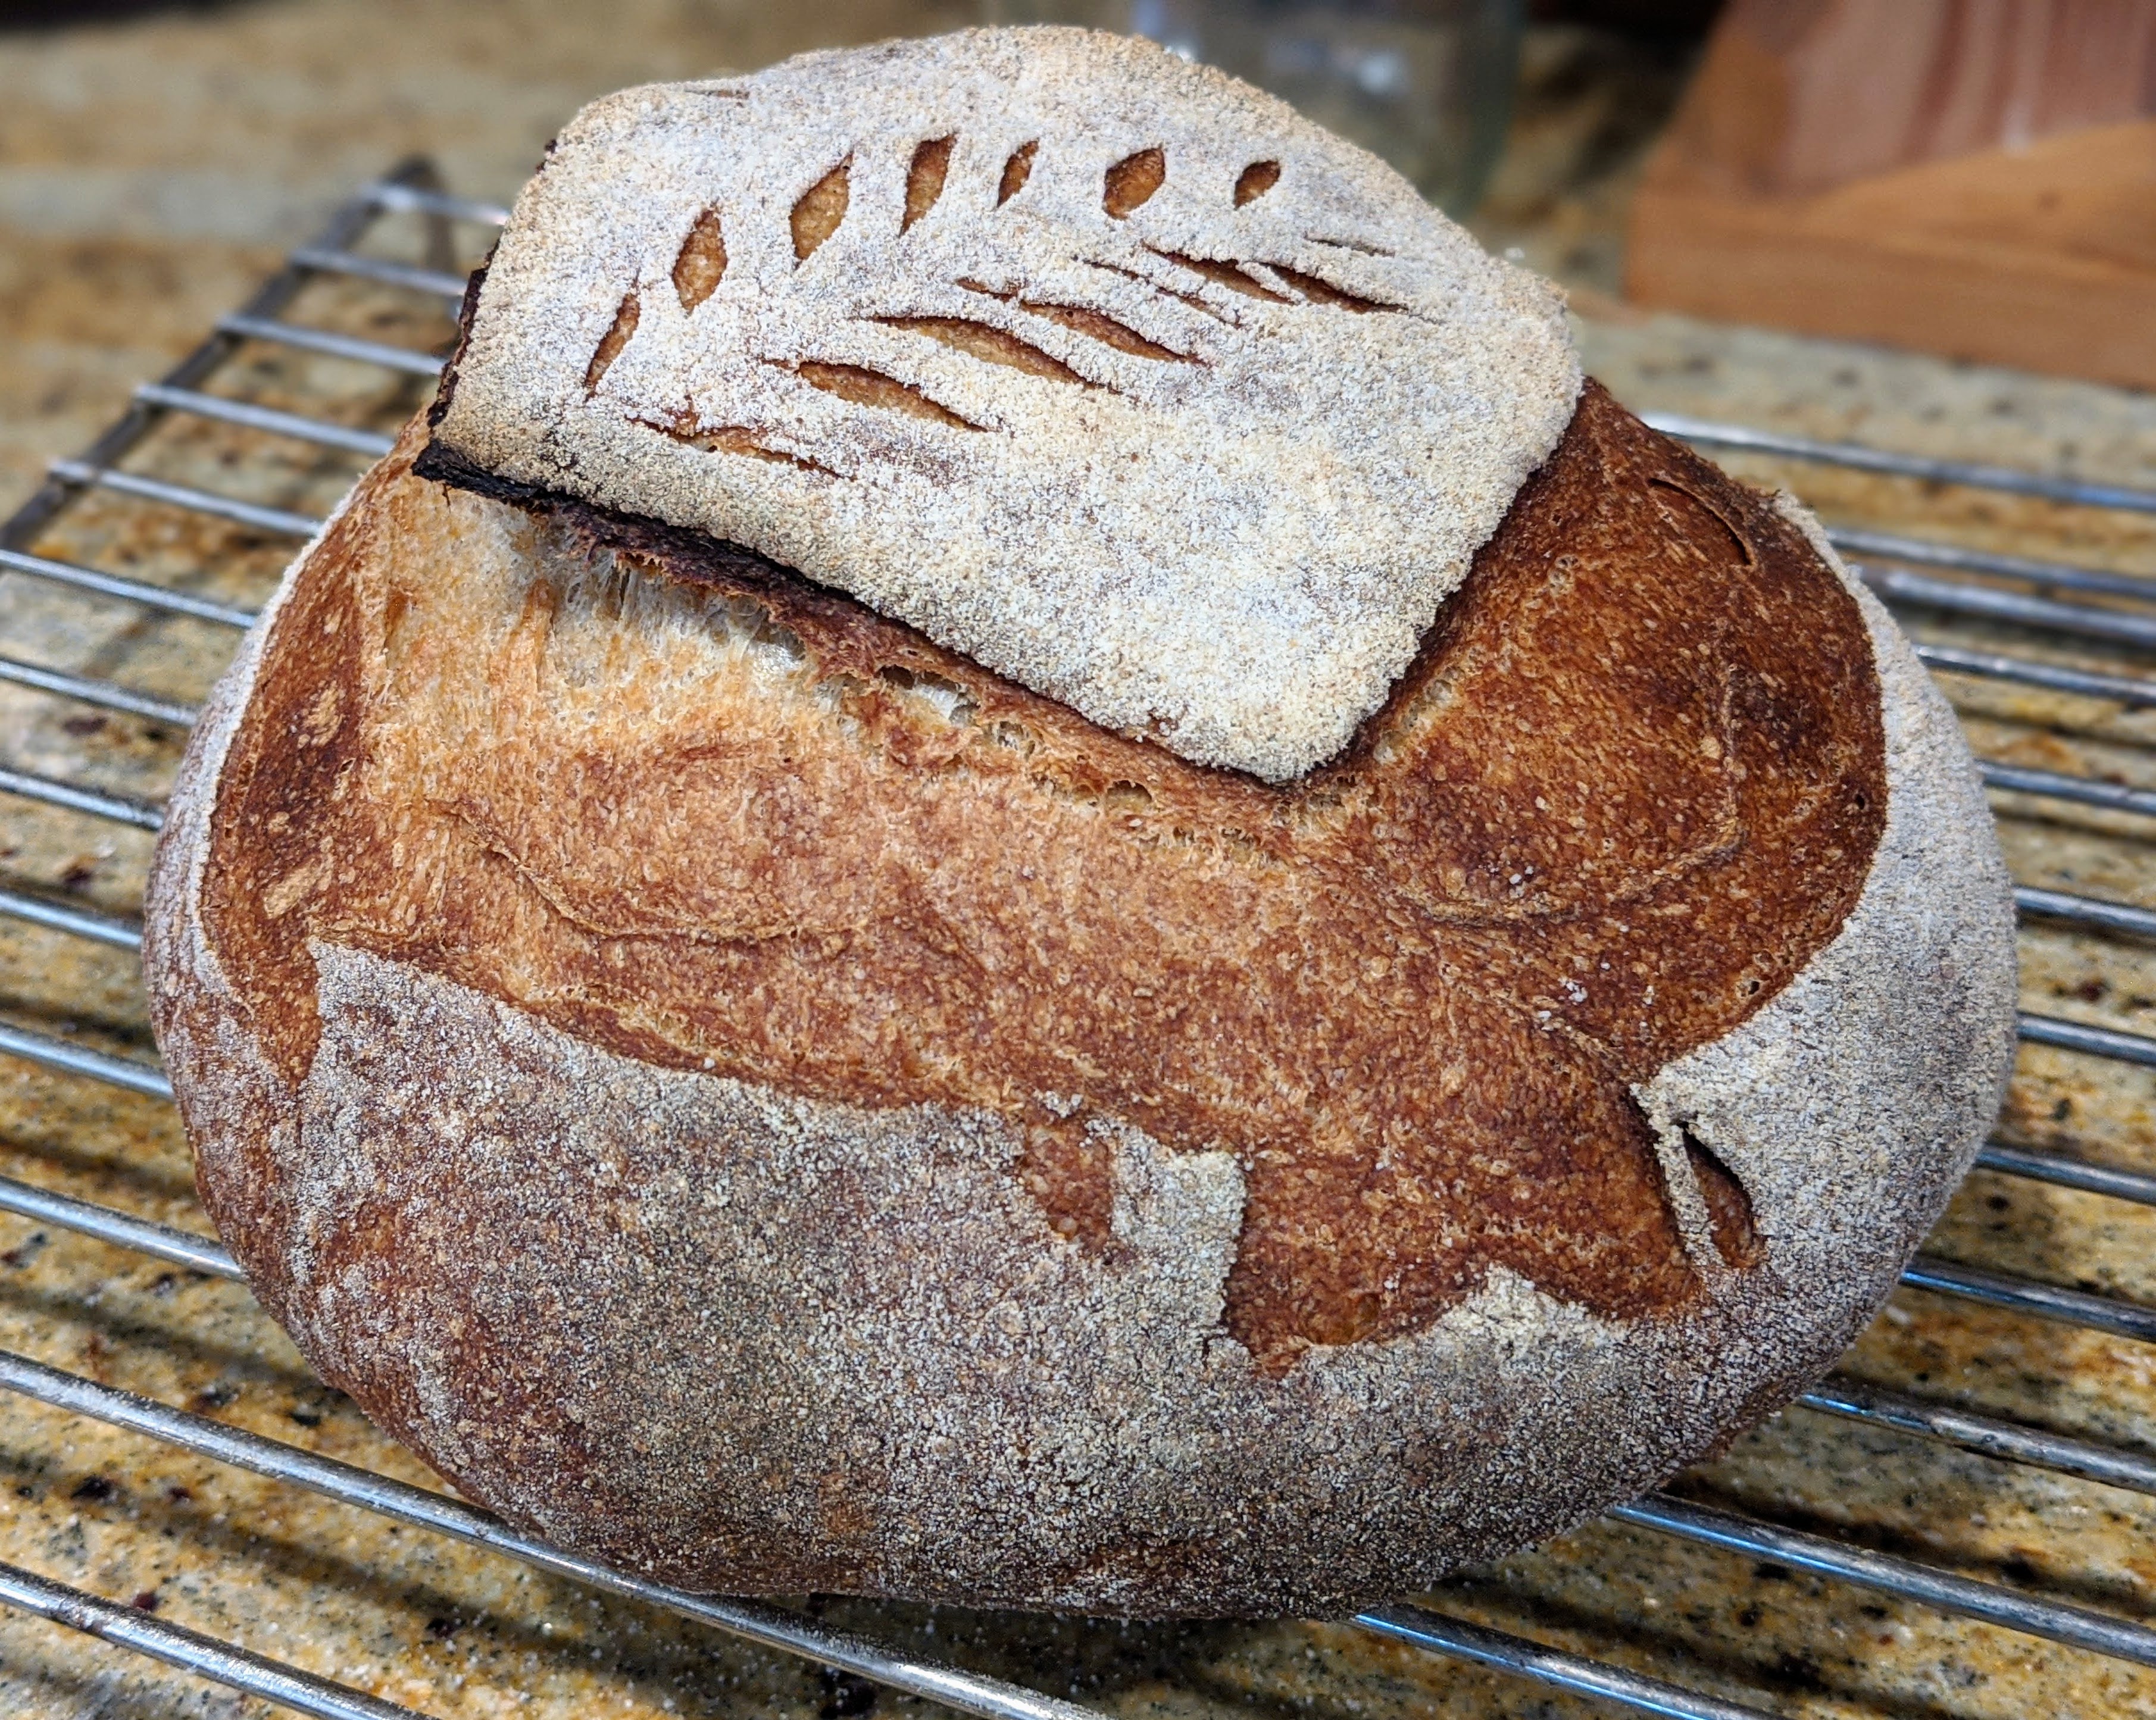
Tip: If your kitchen is anywhere near 80-degrees like mine gets in the summer – I have horrible HVAC ducting in my home – drop the hydration down to 73% or even less (FYI, at 73%, you’ll add 238 grams of water). In really warm environments, it will be difficult for a dough to hold its shape. And even 73% is pushing it. The boule I made above was done at 73%, but it it was originally shaped as a batard, but no matter what I did, I couldn’t get the batard to stop laying flat, so I re-shaped the loaf into a boule where I could control the surface tension better. Another option might have been to roll out a couple of baguettes.

Mix the Poolish and Final Dough

Measure out the 250 grams of water, then if you want to use the honey, add it to the water to dissolve it. Add the water to the poolish, then mix to create a slurry.

Add all the rest of the dry ingredients to a large bowl. Mix thoroughly and set aside. If you used small container for the poolish, you should transfer it to a larger bowl. This will be your mixing bowl.

Add dry ingredients to the poolish in batches until well-incorporated and you form a shaggy dough. At this point, if you’re using a stand mixer, mix on low to medium speed until the dough pulls away from the sides of the bowl, then transfer to the container you’ll use for the bulk ferment (I don’t like to use the stand mixer bowl because of the raised bump at the bottom. If you’re mixing by hand, once everything’s incorporated, since it’s a fairly wet dough, give it several stretch folds in the bowl until you feel the gluten strands developing.

Bulk Ferment

Note that the bulk ferment comes in two phases. The first phase, which is the first hour and half to two hours involves doing gentle stretch and folds. The second phase is letting the dough rest for a couple of hours.

Let the dough rest for 10 minutes then do a stretch and fold. Stretch and fold every 30 minutes two more times. After the third stretch and fold, give the dough the windowpane test to make sure you can stretch it thin without the dough tearing. If it tears, let the dough rest for another 30 minutes, then do a stretch and fold one last time. By this time, the dough should pass the test. If not (which is probably due to temperature), lather rinse and repeat the stretch and fold.

TIP: Be extremely gentle with your stretch and folds, especially an hour into the ferment. You want to avoid tearing the dough and you also want to retain as much of the gases as possible.

Let the dough rest and finish bulk fermenting in a warm place for a couple of hours, but check it after an hour. It probably won’t be done fermenting after an hour, but it’s a good thing to check its progress. By the end of two hours, you should see at least a 50% rise. At that point, you can let it go a little longer if you want or you can start shaping.

Divide and Pre-shape

The great thing about this particular dough is that you can pretty much do what you want from here. It produces about 2 kilos of dough. And since it’s a fairly high-hydration dough, you can make boules or batards or even simple baguettes if you want.

For boules and batards, you can split the dough into two or four equal pieces. For baguettes, there’s enough for eight sandwich size baguettes or 5 or 6 larger baguettes that’ll fit in a standard oven. No matter how you divide the dough, pre-shape your loaves into tight balls, lightly flour the tops, then bench rest them for 15-20 minutes.

Shape and Proof

Tip: Since this recipe produces two ~2-lb loaves, I make one that day, then pop the other shaped loaf into my fridge to proof for 24-hours. That way the family can have a loaf of fresh bread each day. Or… you can even freeze the dough after shaping. When you’re ready to bake, let it come to close to room temp and let it finish proofing. You won’t be killing the yeast by freezing it; you’ll only force it into hibernation.

Shape the loaves then proof for 45 minutes to an hour or until your dough passes the finger dent test. In warmer weather, I usually check proofing at 30 minutes. It’s usually not done by then, but there have been times where it has finished proofing in that small amount of time.

While the loaves are proofing, set your oven to 475-degrees. If you’re using a Dutch oven, pop it in the oven to pre-heat.

Bake at 475-degrees.

For boules and batards: 35 minutes

For baguettes and small, round loaves: 25 minutes

Azure Market Organics Unbleached Bread Flour, Ultra-Unifine

I am SO giddy about this flour! In my previous post, I sang the praises for the Azure Market Organics 100% Whole White Wheat Flour and now, I’m even MORE giddy about this bread flour. It not only goes through the Unifine process, Azure also performs an extra sifting stage to remove about 10% of the sharp bran particles.

So what we’re dealing with here is a high-extraction flour that has so much more nutrition than regular bread flour. And get this: It has 14.7% protein content! That’s 2% more than King Arthur at 12.7%! It’s amazing!

The first thing I noticed when I opened my bag was that the flour color is pretty dull, and Azure states it will get even more dull over time. But it’s silky-smooth in texture and it is an absolute DREAM to work with!

This morning, I made two 50-50 white whole wheat/bread flour batards. I used the whole wheat flour for a poolish and the bread flour for the final dough. The overnight ferment really helped smooth out the wheat flour (though to be honest, that flour’s already smooth). The results were spectacular. The poolish was nicely puffy with a distinct tang in the morning.

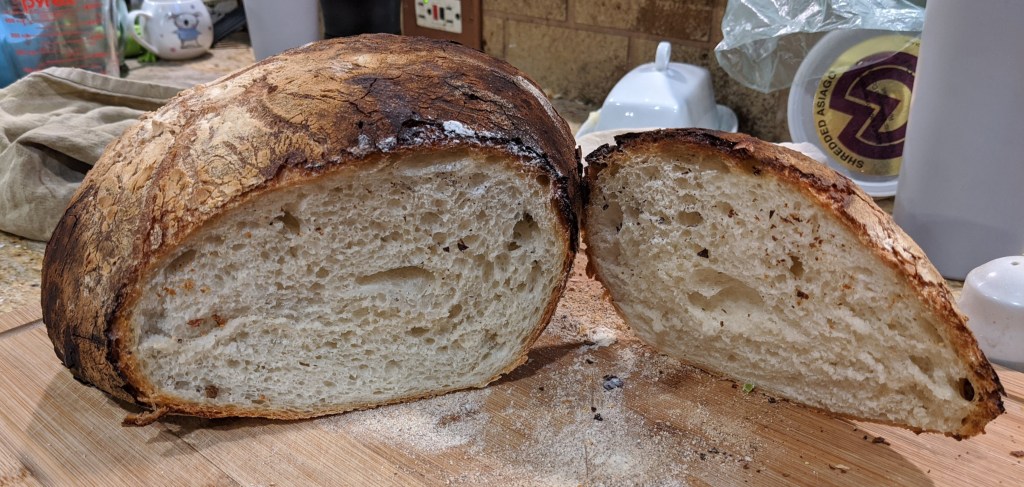
As for the final bread, as expected, it didn’t spring up as much as other loaves because of the high wheat flour content. But with the bit of extra protein in the bread flour, the crumb was not nearly as tight as with other white flours I’ve used.

Look, I Just Want to Make Great Bread

The Covid lockdown has had an interesting effect across the world: Lots of people started baking bread. I’m one of them and I’ll be the first to admit that I jumped on the bandwagon! And all throughout this time, there seems to be this one term that gets thrown around by beginners and experts alike when it comes to baking artisan bread: sourdough.

It seems, to me at least, that the term sourdough has also seemed to become synonymous with making artisan bread. There’s so much buzz about sourdough that when you go on online forums, all anyone talks about with respect to baking bread is baking sourdough bread, as if it’s the ONLY valid way to make bread. Of course, that’s not true. There are different ways to ferment flour and water.

I’ve felt so inundated by the term sourdough, that I’ve developed a bit of a mental aversion to the term. And to be honest, I feel just a little guilty about having this aversion to it which is why I’ve been writing articles in an attempt to articulate why I feel this aversion. But after a lot of careful thought, I think I can finally explain why I feel this way.

It boils down to this: Once you add a leavening agent to flour and water, the process is pretty much the same. Of course, you have to react to variants in hydration and environment, but irrespective of your leavening agent, you react to those variants in the same way. Hot room? Shorter bulk and proof times. Higher hydration? Stretch and fold; and you pre-shape with a scraper, forming a ball with the rotate and pull method. Whether you started with instant yeast or a poolish or a biga or a sourdough starter, after that, you handle the inoculated dough the same damn way!

Sure, there is an art to creating and maintaining a sourdough starter. For instance, I’m totally blown away by Nancy Silverton’s (of La Brea Bakery fame) Grape Method (look it up, it’s cool). But to me, the real art is in the actual manipulation of the fermented dough to produce loaves of bread. It may start with the starter, but it becomes bread through working the dough. And also, though I’m still pretty much a beginner at this, I’ve developed this sense that the actual craft of artisan bread is not just creating a single loaf of bread, it’s in creating different types of bread in a consistent fashion.

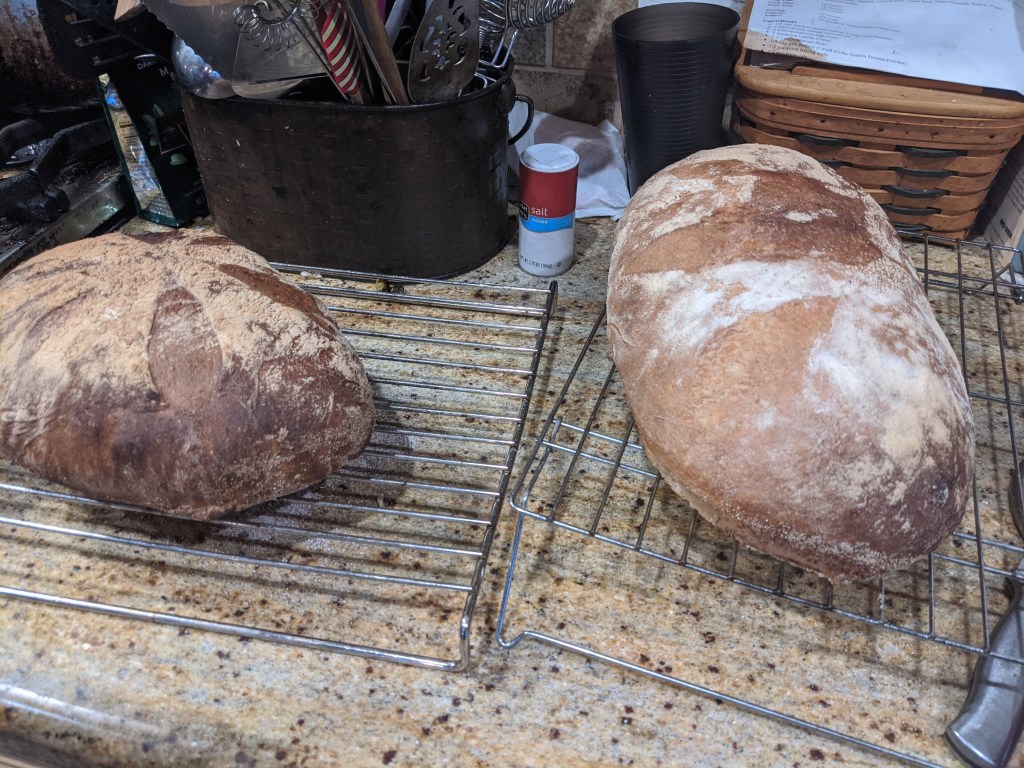
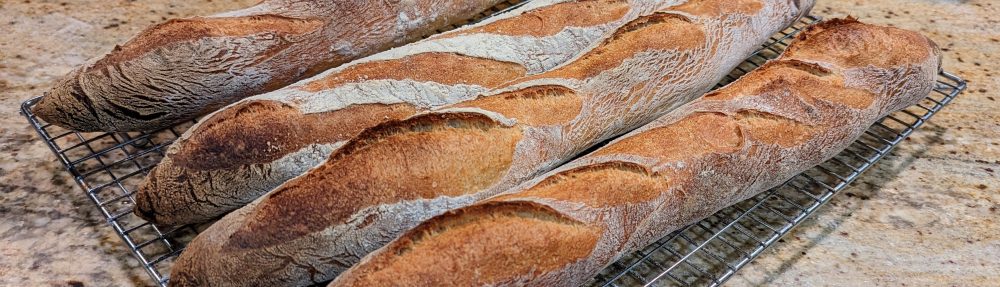
For instance, here are a few pics from recent 2-pound batards I made:

I just pulled the loaf on the far left out of the oven a few minutes ago. The thing about these loaves is that they all look, feel, and taste pretty much the same. Of course, that’s due in large part to my proofing baskets. But still, they’re all pretty similar. To tell you the truth, I’ve only just reached this point in the last couple of weeks. I’ve been working hard on consistency in my process; working on the craft.

And herein lies my slight aversion to the word sourdough. The starter is only a single piece of the puzzle. You have to construct the dough and build and shape its gluten structure for it to become a great loaf of bread. And for me, as I entitled this post, I just want to make great bread, no matter what leavening agent I use!

Unifine Is Oh So Fine!

Yesterday I got my latest shipment of wheat: A high-extraction bread flour and 100% whole white wheat flour. Both were produced by Azure (azurestandard.com) and milled with their Unifine mill.

I first ran across the Unifine milling process while researching sources for Type 85 flour, which is a “tweener” flour; not quite white, not quite wheat. With Type 85 flour, 85% of the wheat grain is extracted in the milling process, providing for a flour that works like bread flour (usu. around 62-65% extraction), but has much more intrinsic fiber and nutrient retention.

I stumbled upon the Unifine Mill website, thinking that it was an actual miller. Intrigued, I read through all their information, and then changed my search for millers that used the Unifine mill. And that’s how I found Azure.

I haven’t yet opened the bread flour, but I opened up the white whole wheat flour and baked with it today. The thing that struck me immediately was the texture of the flour. It is so fine that it feels like bread flour! It’s absolutely silky smooth, and it’s light in color. But you know it’s whole grain flour once it gets wet – it turns much darker. But I can’t believe how nice the texture is and that’s due to the Unifine milling process. It produces really fine whole grain flour, but still retains all the nutrients and fiber!

I just baked a 50-50 loaf, making an overnight poolish from the white whole wheat flour. It turned out amazing!

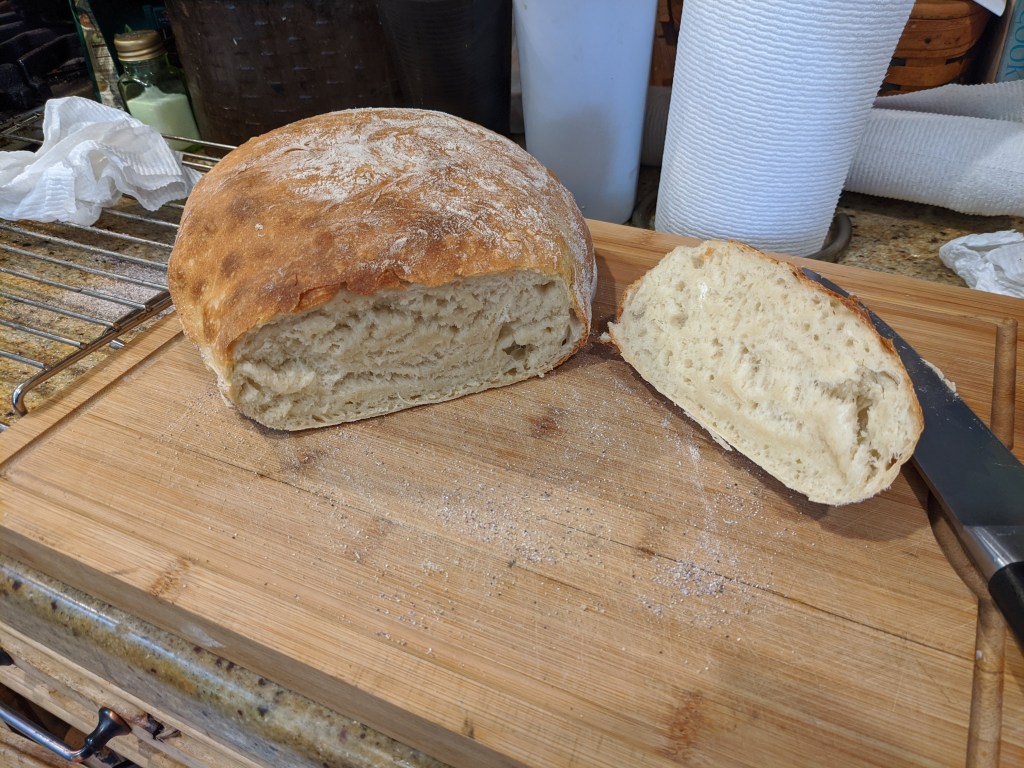
With that amount of whole grain flour, I was expecting a bit of a grainier texture in the crumb. It’s smooth! Absolutely smooth! #mindblown For the savvy out there, yeah, I didn’t get a big oven spring out of it because I baked the loaf way early so I could feed my wife. It was only three hours into a 12-hour cold proof. On the positive side of things though, the texture was unlike any loaf I’ve done with partial or even 100% whole wheat. No graininess, no grittiness. As smooth as if I baked it entirely with bread flour!

Needless to say, I’m completely sold on this flour. If you can find flour produced by the Unifine process, try it out. You will NOT be disappointed!

Adding Nuts, Garlic, Herbs, etc.

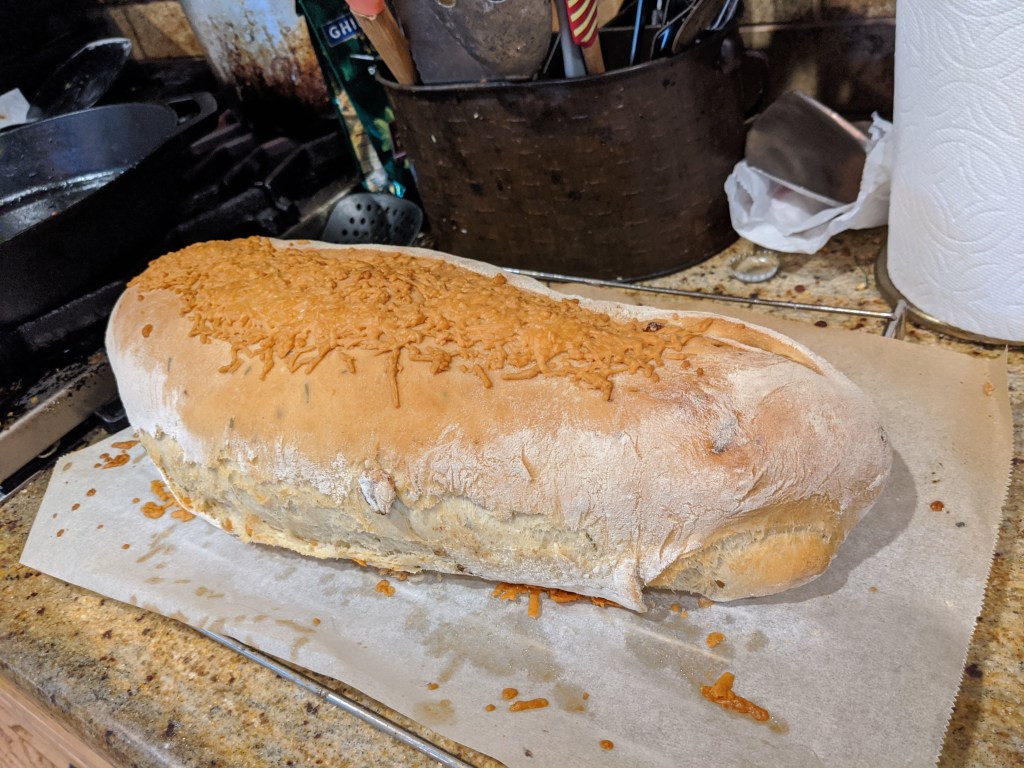
Since we live so close to Gilroy, CA, the famed “Garlic Capital of the World,” garlic in our area is – shall I say – plentiful, to say the least. As such, garlic has become an absolute staple in my kitchen. I kind of freak out if I run out! 🙂 Needless to say, I love garlic and one of family’s favorite breads for me to make is a Garlic-Rosemary bread, topped with cheddar.

I used to mix the add-ins right along with the flour, water, salt, and yeast. And using a stand mixer, things would distribute evenly. But if any time I used raisins or cranberry, the dough hook would obliterate them! So before I made those loaves above, I decided to educate myself on adding things to my dough, and luckily, Proof Bakery had just posted this video on adding “inclusions” to dough.

Mind you, like all Proof Bakery videos, they tend to talk – a lot. But other than Bake with Jack, I look to this couple, especially Jonathan, to provide valuable insights into the bread making process. Here’s the video:

Having done this yesterday, allowing the dough to first build up some strength is the key. For my bread, I didn’t add my garlic and rosemary until I was ready to do my third stretch and fold (I did four in total, spread out by 1/2 hour). By that time, the dough had already developed plenty of strength to handle folding in the garlic and rosemary.

Sharing My Mistakes…

One of my favorite YouTube channels to watch is Bake with Jack. Jack is based in the UK and has a no-nonsense approach to making bread and I’ve learned so much from watching his videos and internalizing the philosophies he shares. During the lock-down, Jack kind of disappeared. But recently, he came back and said that while he was still going to provide instructional videos, he needed to take some time to develop other things in his life. Good for him!

But in the same video, he shared the triumphs of several of his students and subscribers, but he also interjected that it’s also good to share are mistakes and failures. His viewpoint is that social media is flooded with everyone’s perfect loaves; not the previous loaves that led up to those triumphs.

So I’m going to share some of the epic fails and loaves I created when I first started out. I went through them this afternoon and was chuckling at just how bad they were. That said, not one of them tasted bad, they just didn’t rise very much or were a little misshapen. Looking at them, they’re a good reminder of where I started.

Upping the Protein Percentage of Your Dough

There have been times where all I have on hand is AP flour that has a fairly low protein content. It’s completely fine to use AP flour, but higher protein content means much better dough structure which, in turn, means much more rise. So to alleviate that, I purchased vital wheat gluten to increase the protein content in my dough.

When I first started using it, I was just going off advice I’d see online, like 1 teaspoon per cup or something like that. But since I’ve geeked out on the science of bread making, I’ve come to realize that to get consistent results, you have to remove the guesswork out of constructing dough. Bread making is so much more exacting than cooking – you can’t just throw in a little bit of this and little bit of that and expect consistent results. To that end, I needed a fairly foolproof way of calculating how much flour I’d need vs how much vital wheat gluten I’d need.

Enter the Pearson Square.

After doing a search online to find out how to calculate the proportions of VWG to flour I’d need, I ran across several discussions on the Pearson Square method. Talk about a face-palm moment! I knew this calculation from taking Statistics in college – but it had been 40 years since I even thought of it!

So what is it? The Pearson Square method is a statistical calculation that is used to determine a target ration based on two known rations. For our purposes, we use the protein percentages in our flour and our vital wheat gluten to determine how much of each we’d need for our recipe. Then all we have to do is choose the target protein percentage we’d like to have in our dough, and we can easily work out the amounts of flour and VWG we’ll need.

Look at the diagram below:

The only rule we need to be aware of is that the Target % has to be a number between our Flour % and the VWG %, and we’ll be able to do the calculation or…

Flour % < Target % < VWG%

Let’s do the calculation steps:

  1. First, write down the Target % you’d like to achieve in your final flour (We’ll call that “A”)
  2. Subtract Flour % from Target % (B)
  3. Subtract Target % from VWG % (C)
  4. Add B to C (D)
  5. Flour percentage you’ll need for your final flour is C divided by D (E)
  6. VGW percentage you’ll need for your final flour is B divided by D (F)
  7. Choose the amount of flour you’d like to use in your recipe (G)
  8. The amount of flour you’ll need is E times G (H)
  9. The amount of vital wheat gluten you’ll need is F times G (I)

I know, it looks like a bunch of algebra, but believe me it’s easy. Let’s apply some real numbers to this, shall we?

Flour protein % = 9.6%
Vital wheat gluten protein % = 77%
Target protein % in final flour = 14%
Amount of flour you want to use: 1000g

Given those numbers, let’s do the calculation steps from above:

  1. A: 14
  2. B: 14 – 9.6 = 4.4
  3. C: 77 – 14 = 63
  4. D: 63 + 4.4 = 67.4
  5. E: 63/67.4 = .9347 (93.5%)
  6. F: 4.4/67.4 = .653 (6.5%)
  7. G: 1000
  8. H: 1000 * 93.5% = 935 grams
  9. I : 1000 * 6.5% = 65 grams

That’s it!

So any time you need to up the protein percentage in your dough, just use the calculation above. For your convenience though, I created a spreadsheet that does the calculation for you. You can download it here.

Oven Spring – There Is NOT Just One Secret to It!

I was watching a video the other day where this one dude was claiming that there was one secret to great oven spring. And while I won’t call the video out specifically just to play nice, I felt that his video was a bit misguided. In it, he claimed that the one secret thing that will give you great oven spring is proper fermentation; specifically, not fermenting too long. He then went on to say that once you mix, you don’t have to do anything like kneading and folding because the fermentation process will develop the gluten.

I will say this: He is not totally wrong. I’ve done 93% hydration whole wheat loaves that required zero folding because the dough was so wet, but did need a long, almost 2-day ferment in the fridge to properly develop the gluten. But the problem I had with what that dude was instructing was that he made it seem as if it was the ONLY thing that’s important in proper oven spring. It’s not. There are several factors that contribute to it in addition to proper fermentation.

To be fair, he did go on to say shaping and steam are also big factors in good oven spring, but the focus of his video was mainly on proper fermentation. Proper fermentation is absolutely critical to good oven spring. But any experienced baker will tell you that there are lots of different factors that contribute to great oven spring beyond proper fermentation such as dough structure development (folding and shaping) and baking environment (steam and a super-hot oven) to name a few. Sure, it starts at proper fermentation, but there’s so much more that will ensure you get good oven spring.

Happy Baking!

A New Approach to a Lame: The Wire Monkey Lame

Though I haven’t been doing artisan bread making for very long, I’ve come to understand that scoring is a really important step in the process to control the nature of the oven spring. And having a good tool for scoring is super-important. To that effect, I’ve made my own lame and even purchased a gorgeous stainless steel “professional” lame. I’ve been getting better at scoring, but in the back of my mind, I’ve felt the traditional lame is a bit unwieldy.

One of the main issues I’ve had with the traditional lame is that I have a natural tendency to lay the lame down, parallel to the surface of the bread. This causes the side of the blade to catch on the skin of the bread, sometimes tearing it – eek! And though I’m much better at it than I was in the beginning, there have been times where I’ve just ended up removing the razor blade and slashing with the blade. It’s not safe, but I have much more confidence slashing with the blade held closer.

Enter the Wire Monkey Lame.

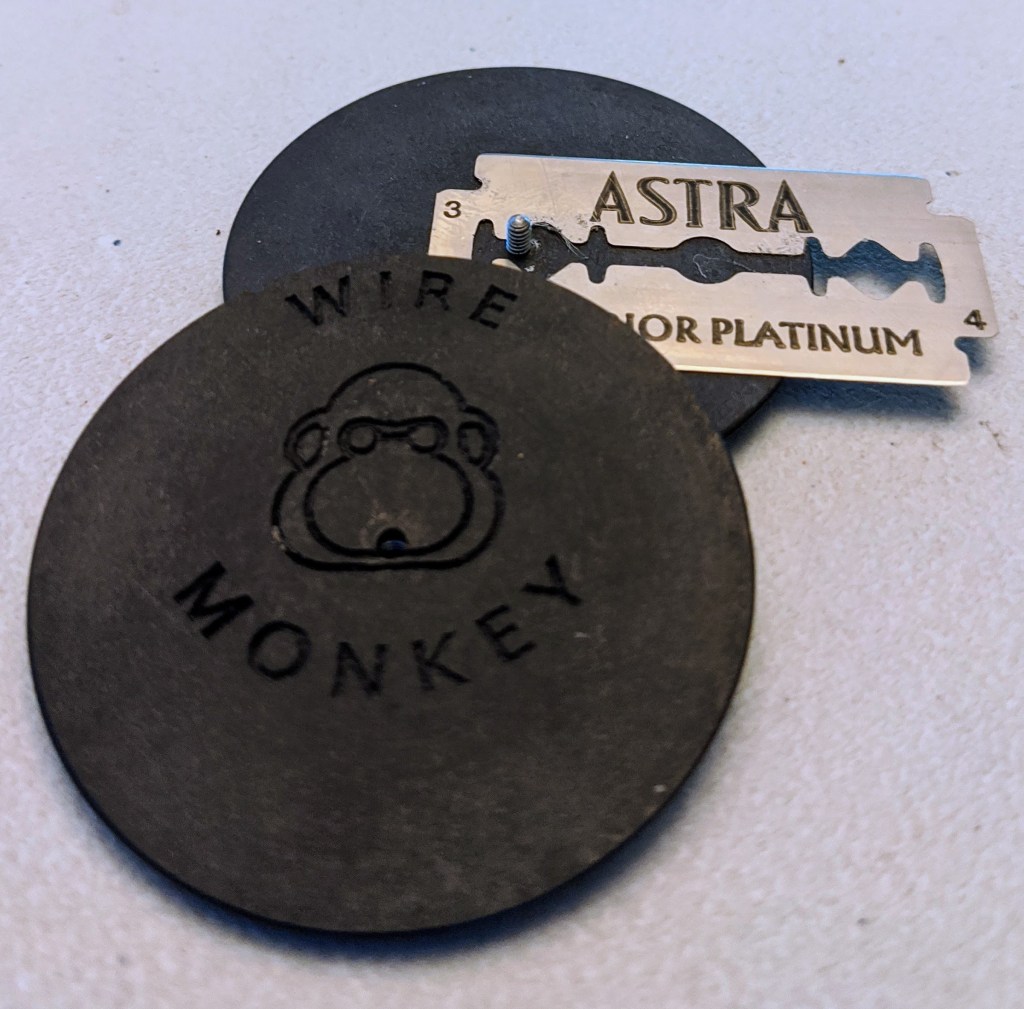
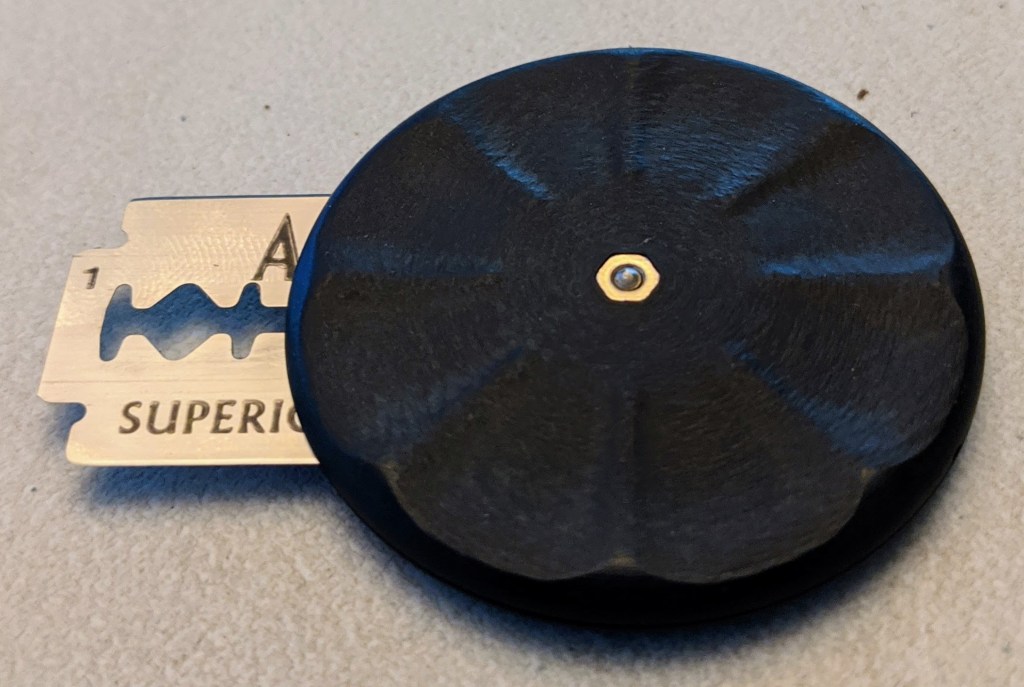
I first found out about this lame from a couple of Proof Bread videos on YouTube. The owners, Jon and Amanda, made a point of calling out this particular lame, so I checked out the Wire Monkey web site and got the UFO Corbeau. One of the cool things about Wire Monkey lames is that they’re all made from sustainable materials. The Corbeau that I got is made from 100% recycled paper and food-safe resin. I think it’s what’s known as RichliteTM which is a fantastic material. One of my guitar’s fretboards is made of the material and it feels like ebony! So cool!

The shape of the lame is – in a word – perfect. Its diameter is the same as the length of a razor blade, so when you’re not using it the razor blade tucks right into the lame. It is SO easy to hold and I feel as if I have so much more control over slashing while holding it!

Update 8/1/2020: When I first received the lame the other day, I was right in the middle of a poolish ferment, and didn’t get to use it till this morning because I also did a 16-hour proof on the same dough.

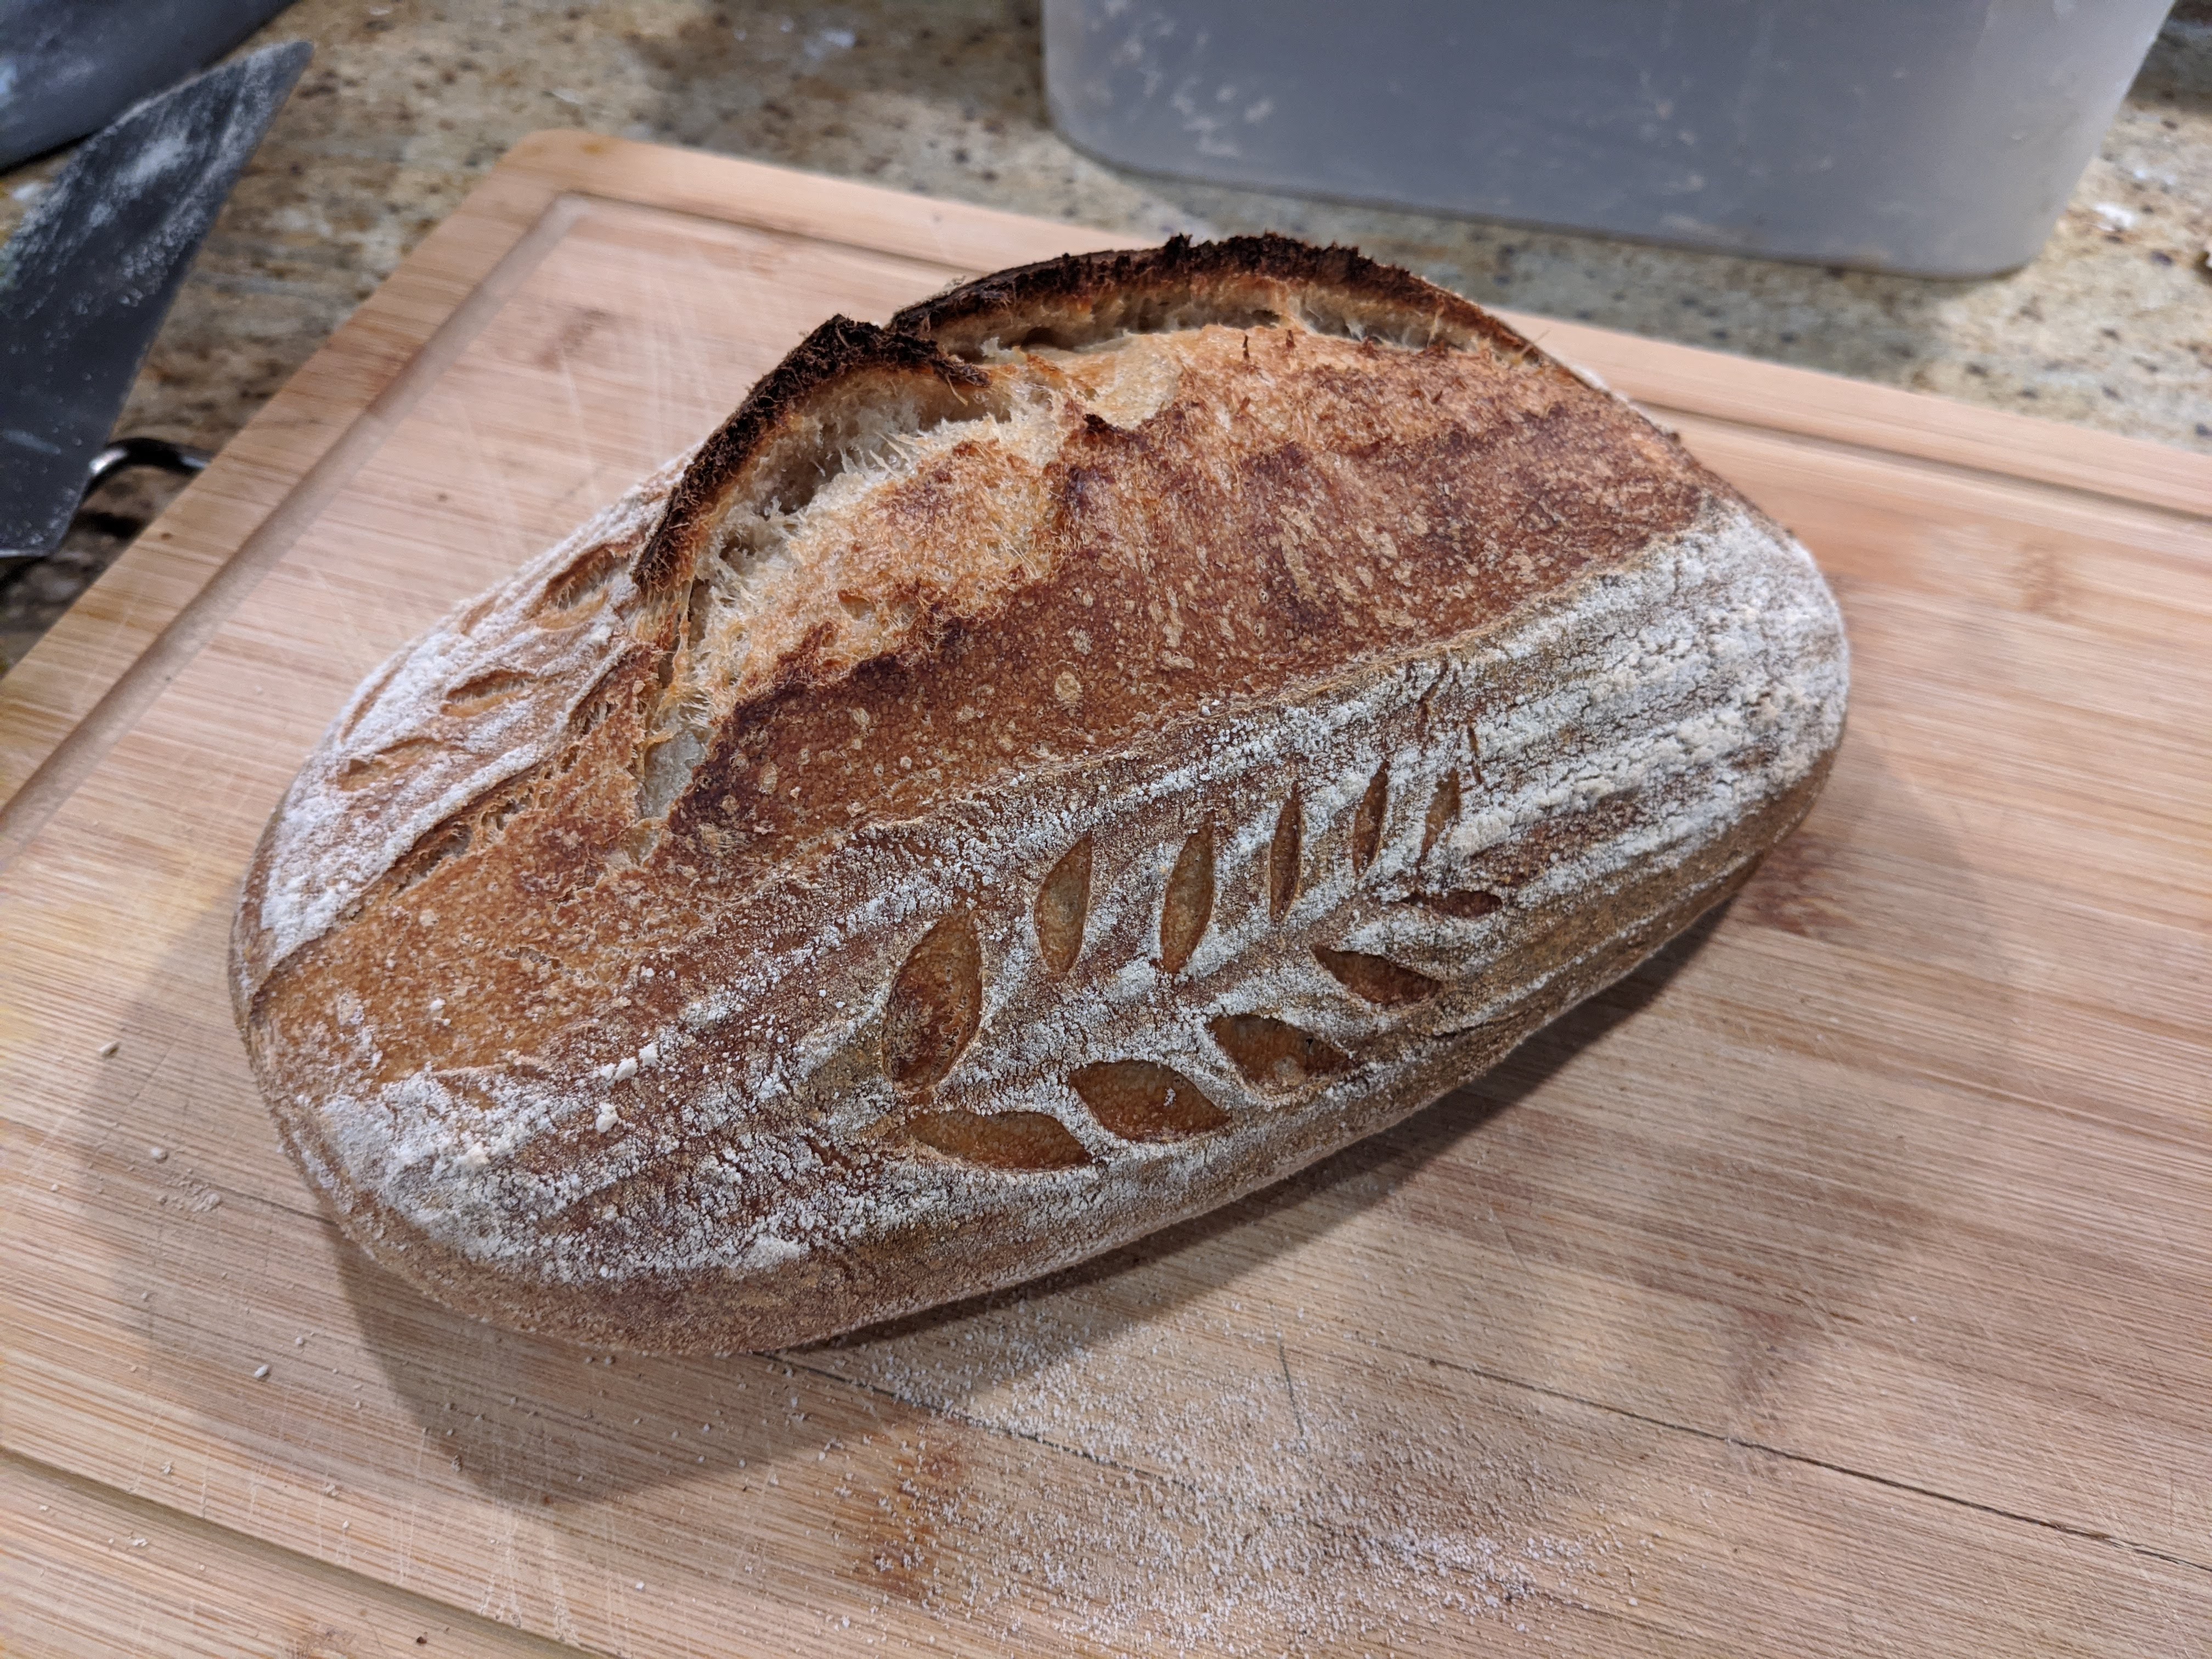
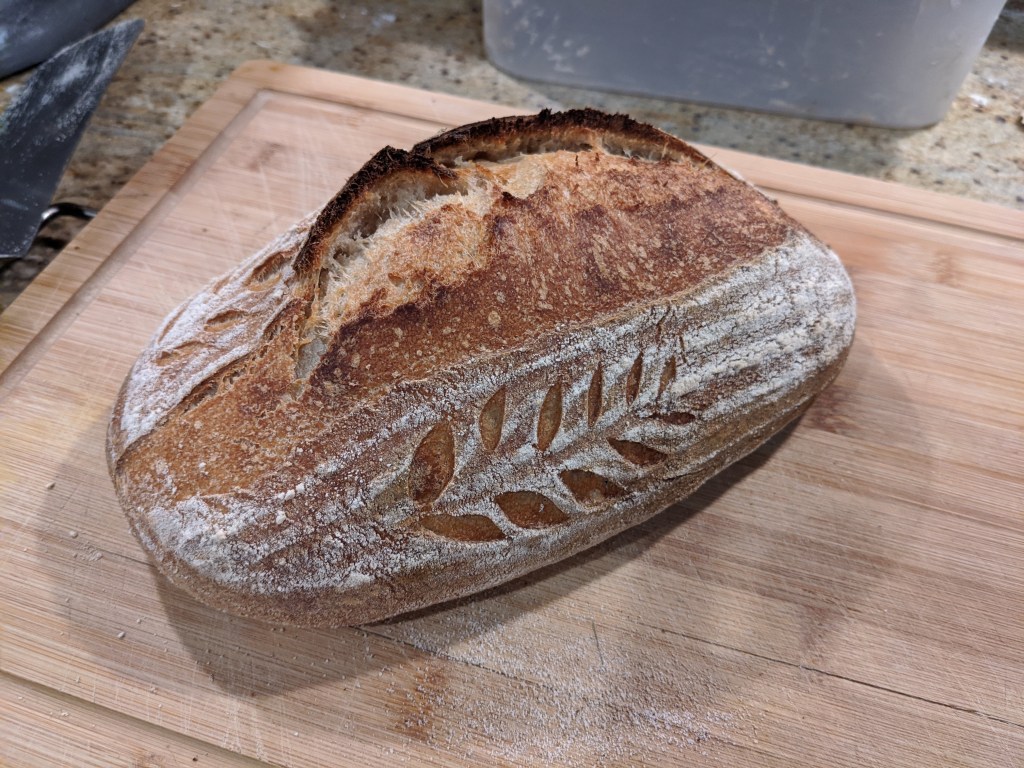
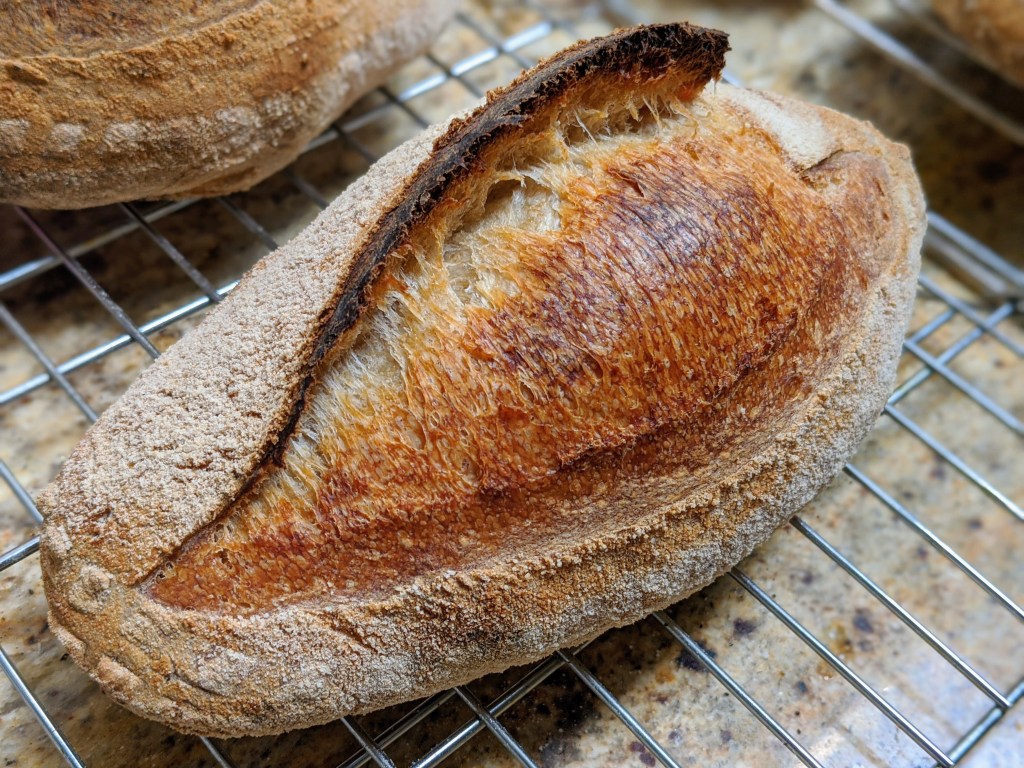
So what’s the verdict? Okay… THIS LAME IS AN ABSOLUTE GAME-CHANGER! I love that I don’t have to worry about my attack angle as with a traditional lame, where I’d often catch the side of the razor blade because I laid the lame too parallel to the dough. With this lame, I feel incredibly confident in scoring my bread! Look at the results:

What an ear! That was scored just this morning with the Corbeau lame! It’s a thing of beauty!

They’re not cheap, starting at $27.95 (I paid $35.95 for mine). But they’re totally worth it! If you’ve struggled with scoring, I can guarantee that you won’t struggle with this lame!

For more information go to the Wire Monkey website. They’ve got some really cool designs!

Wire Monkey lames are the original, made in the USA lames. There are lots of cheaper alternatives that do the same thing. And though I’m not one of those “Buy Only American” types of folks, I do want to support artisans where I can and not the companies that rip off designs.

My Favorite Kitchen Tool

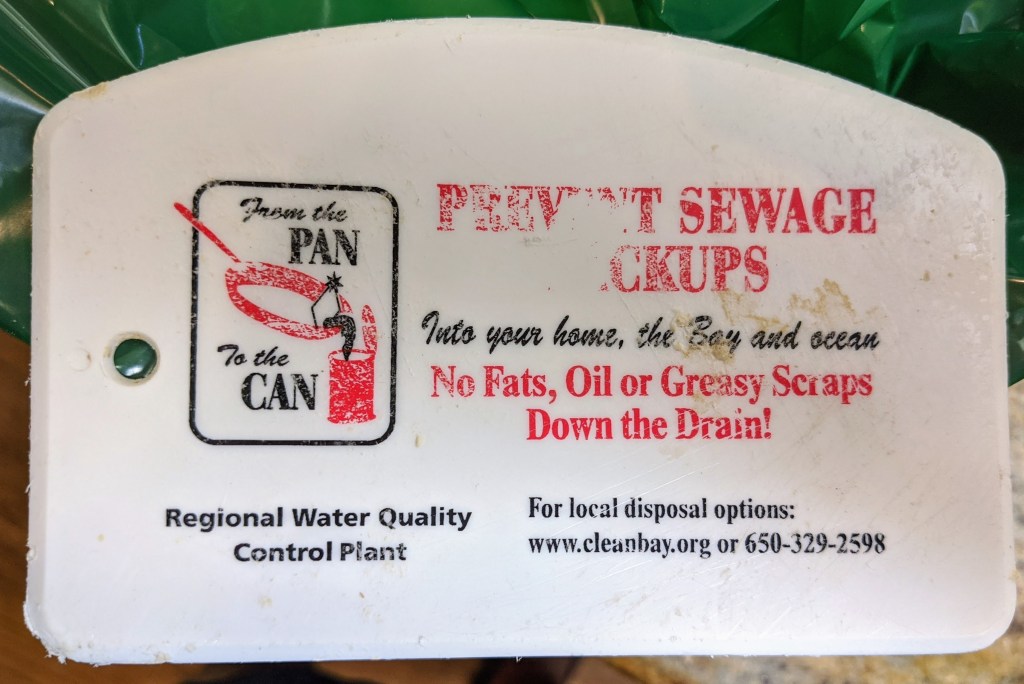
Years ago, I got some swag from our water company, among which was a flexible plastic scraper (shown above). I laugh every time I use it because of the “Prevent Sewage Backups” tagline. But irrespective of what’s written on the scraper, I use all the time, and not just for bread.

When I started making artisan bread, I was buying what I researched to be the essentials: A digitial scale, a baker’s lame, a few different kinds of loaf pans, etc., etc.. But when it came to a scraper, I put off getting a metal bench scraper because I could do practically everything with my handy-dandy, flexible plastic scraper! It’s SO useful that I’ve even used it to repair drywall!

The fact that it’s flexible is why I love it so. I can bend it to fit pretty much any bowl curvature; something rigid scrapers just can’t do. And though there’s a nifty, small scraper at Bed Bath and Beyond, I’ve seen it, and it just seems a bit too small for my tastes. But whatever, a great plastic scraper is an invaluable tool for working with dough.

As for metal bench scrapers, I have two of them: one 6″ scraper/chopper and a 12″ that I use for tensioning longer loaves (it works great).