I know, I know… I have several baguette recipes on here already. Despite that, I mostly use one dough development method no matter the type of baguette I happen to be making: pointage en bac, or the slow rise method, and I only vary it by the type of leavening agent I use. And whether I use yeast or starter, the process is exactly the same.
Of course, there is the exception (when isn’t there) of Baguettes de Tradition which is a straight-dough, same-day bake with no preferment. But I don’t make those too often and only when I’m pressed for time.
As for all the different recipes I have for baguettes, I’ve always been compelled to experiment. In Jeffrey Hamelman’s book, Bread, he has several recipes for baguettes and I’ve baked them all and shared those recipes here. But for my own baguettes, I riff on the original method I learned from Master Chef Markus Farbinger. It’s straight-forward and invariably yields me GREAT results.
Historically, baguettes were developed as a welcome change from sour breads. Leading up to the creation of the baguette – and other bread made with commercial yeast – all bread was sour because they were risen with natural starters. And we’re talking centuries here, folks! Baguettes offered up a different flavor profile; frankly, a neutral one, and based on the popularity of baguettes through the years, it was a welcome change.
Technically, there’s nothing wrong with making baguettes from sourdough starter as the French Decrét Pain states – however vaguely – that bread must be risen with a leavening agent suitable for bread. But, given how parochial the French are about food, using a natural starter isn’t quite de riguer.
Plus, the whole purpose behind the baguette was to create a neutral flavor platform, and sourdough is anything but neutral – and here I have to agree with the French: A baguette isn’t defined by its shape, but by its dough. But that doesn’t mean that you can’t do it, and dammit! These “baguettes” taste great!
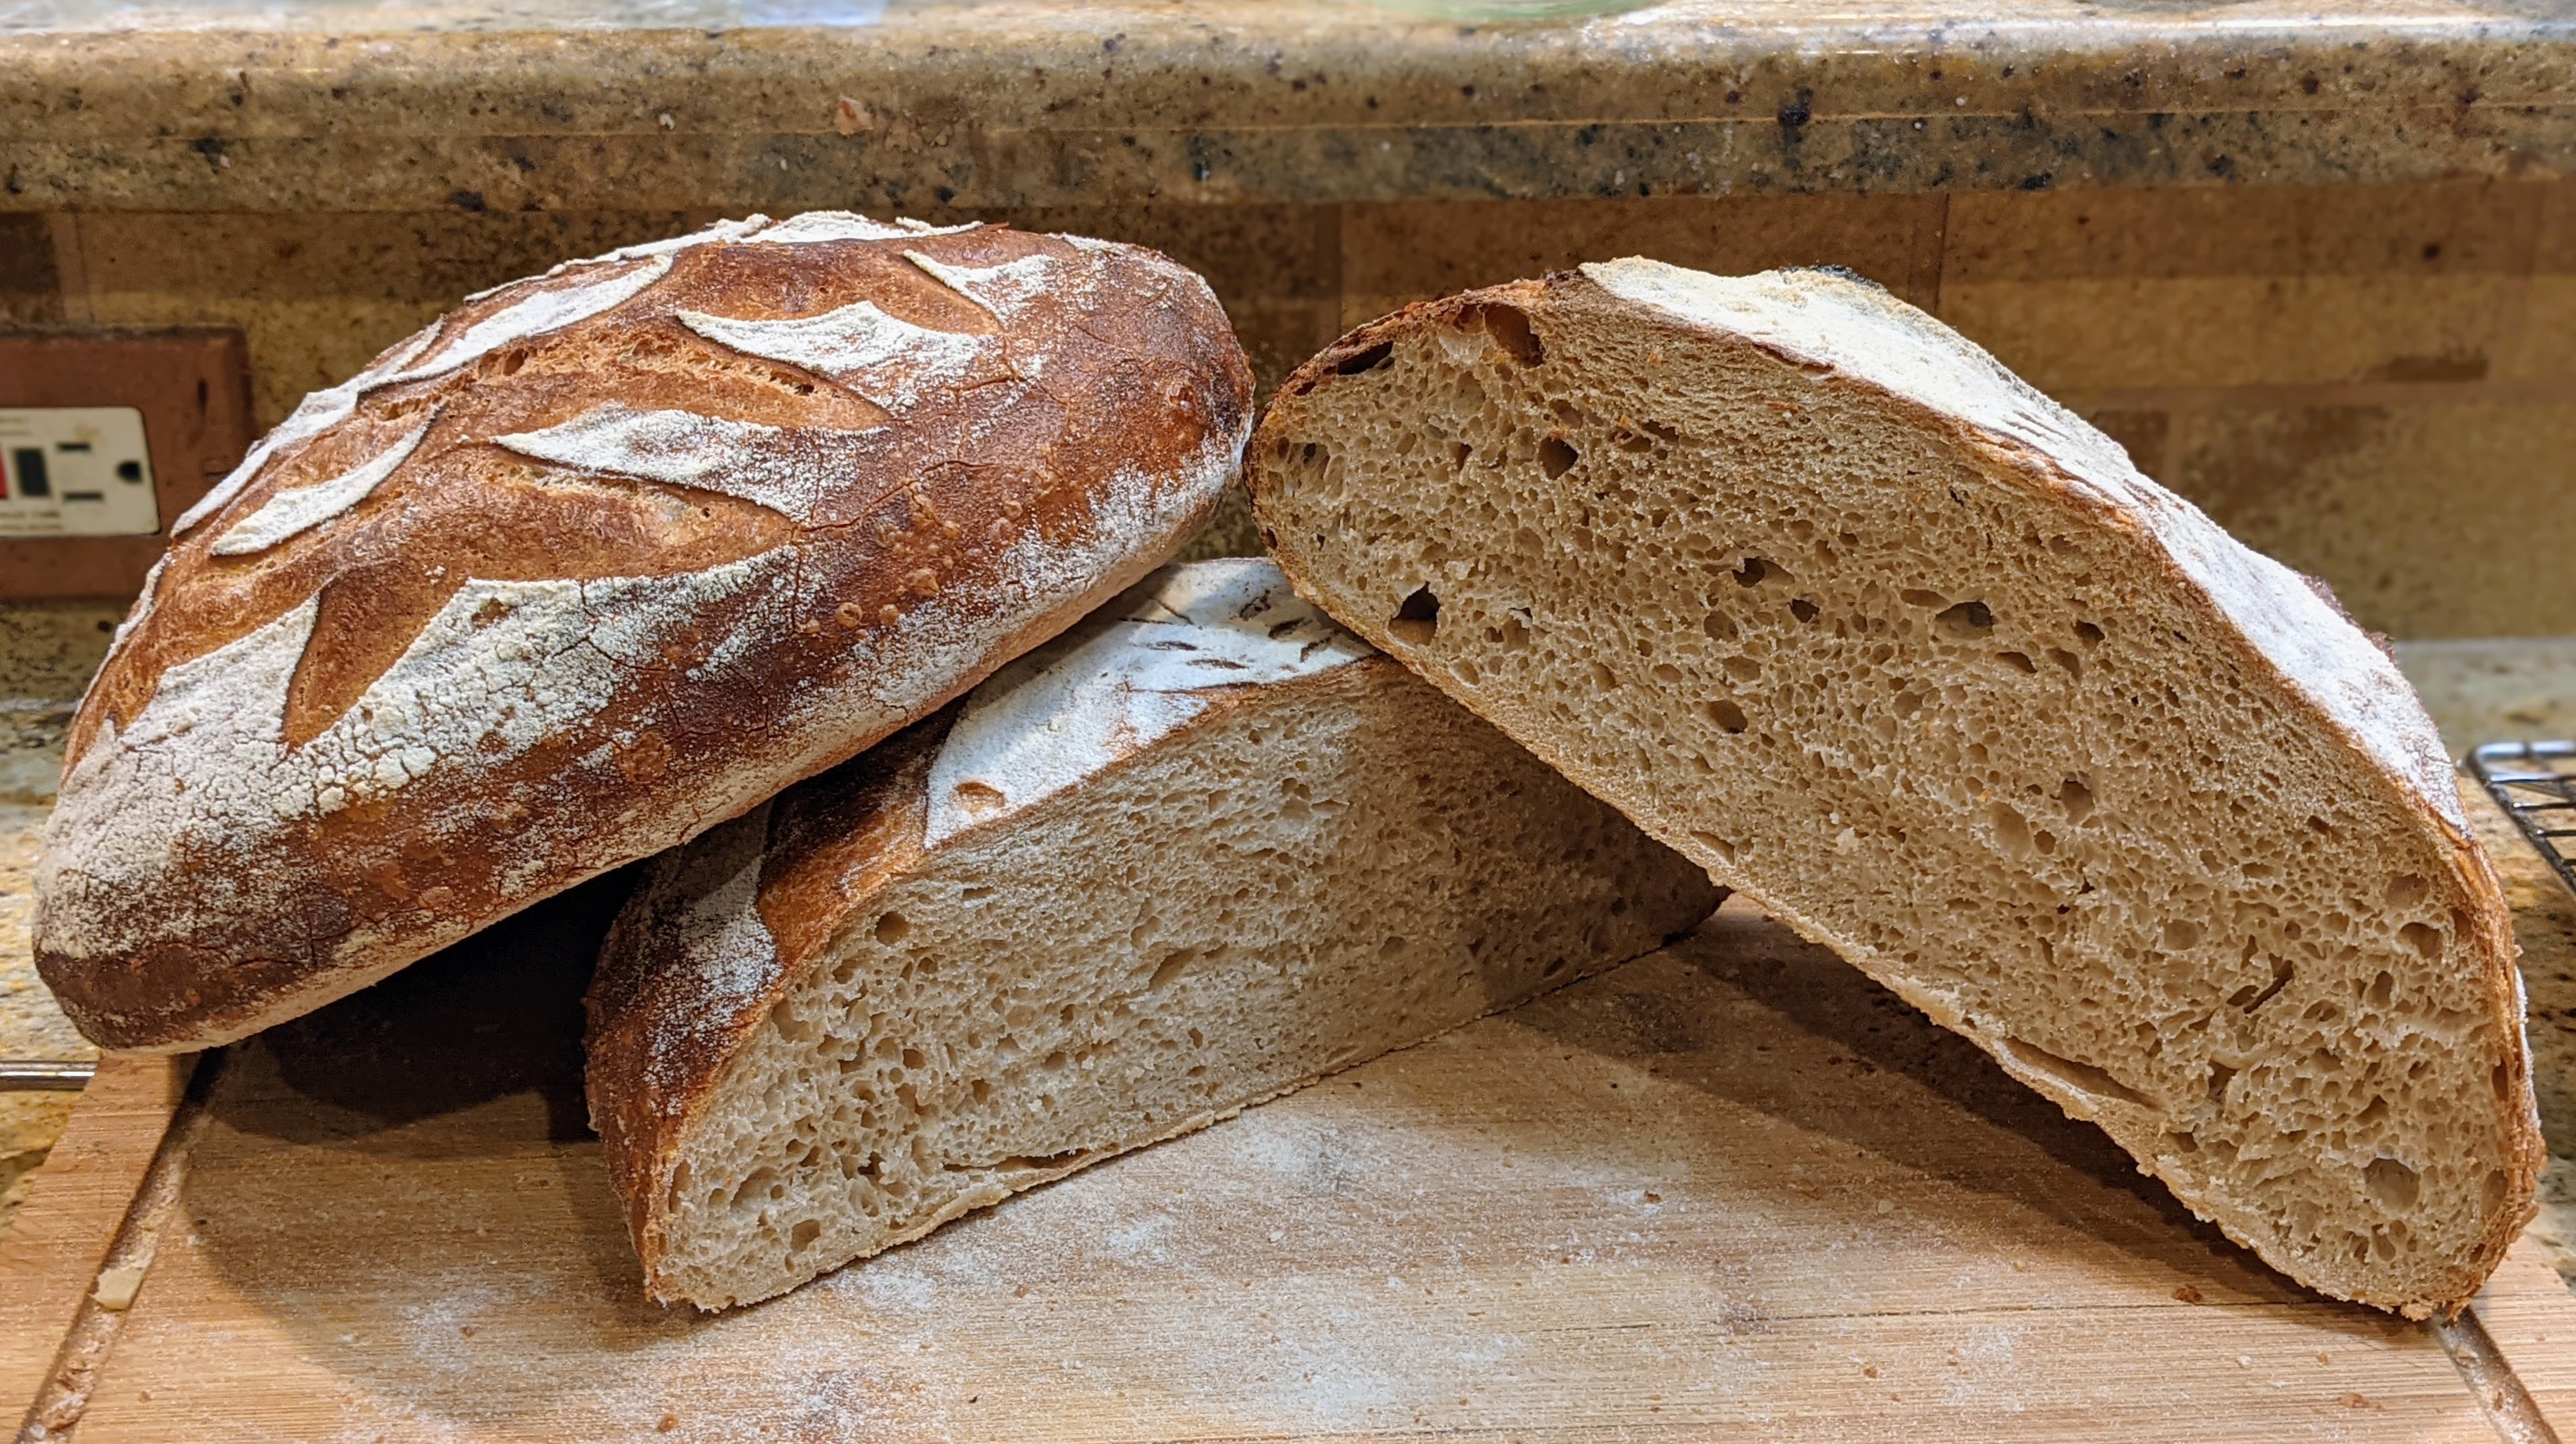
Now the interesting thing about these baguettes is that the acid in the starter acts as both a dough conditioner and a preservative. Even after a couple days, the crumb is still supple and pliable – even if left in the open at room temp!
So here’s the basic formula for the baguettes:
| Baker’s % | Example | |
| Flour* | 100% | 644 |
| Water | 76% | 462 |
| Salt | 1.8% | 14 |
| Yeast | 0.07% | .53 |
| Preferment | 35% | 227 |
| Optimal Dough Temp | 75°-78°F | Yield: 1346 |
I deliberately used the word preferment instead of sourdough starter or levain because you can use a poolish for this formula as well, which I have done. But for this discussion, we’ll focus on a levain.
Using the example numbers above, this will yield 4 baguettes scaled at 335g apiece, leaving a few extra grams of dough for loss during processing, which almost always happens, so I always calculate a few grams more than I actually need so I can scale my loaves to the exact weight I want them.
Make the Levain
Though I listed the levain as being 35% of the flour, I need to clarify where I got this number. I didn’t just pull it out of thin air. Assuming I’m using a 100% hydration levain, it turns out that if the flour of the levain represents 15% of the total flour of the recipe, the levain’s total weight comes out to be just a smal fraction over 35% of the flour weight.
I factor in the flour of the levain as part of the overall flour because a levain is simply part of the overall dough development. I do this to calculate my yield as I now bake according to the amount of dough I need for a particular bake. This keeps my loaf weights absolutely consistent.
In any case, using a mature starter, make a liquid (100% hydration) levain (like a 1:3:3 or 1:5:5) and let it activate until it passes the float test. I’m not putting a time on this because it can vary wildly based on the microbe density in starters. For example, when I make a levain using botanical starter water and a mother I maintain based on the botanical starter, my levain will be ready in about 3 hours. And it’s super-active.
Make the Dough
- Dissolve the levain and yeast in the water. The water should be at the appropriate temp to get the dough to the optimal temp. At this time of the year, that’ll probably be around 90°-95°F.
- You can actually eliminate the yeast altogether. The resultant bread will be a bit more chewy. And depending on how long you let it ferment, the acid in the dough will keep the crust lighter in color.
- Add the salt to the flour and mix well, then gradually add the liquid to the flour and mix until you form a shaggy mass with no dry ingredients.
- Scrape down the sides of your mixing bowl and let the dough rest.
- Initial Fermentation: 1 1/2 hour. During this first hour, fold the dough every 30 minutes, making sure to pay attention to building up the gluten. After the second fold, rest the dough for another 30 minutes, cover and put in the fridge for 12-16 hours, or until the dough has at least doubled in size. For the sourdough baguettes, the dough may seem a bit slack. This is due to the acid in the starter which breaks down gluten.
- FROM THIS POINT ON, BE ABSOLUTELY GENTLE WITH THE DOUGH!
- Divide and scale the dough. For demi-baguettes, weight should be around 250g. I make 20″ baguettes scaled at 335g. Roll each piece up like a jelly roll and rest for 30 minutes seam-side-up on a well-floured couche or tea towel.
- Preheat your oven to 500°F.
- Once the dough has relaxed sufficiently (it’s normally 20-30 minutes for me, but sometimes it takes longer if I pre-shaped them tight, remove the pieces from the couche and place on a well-floured surface, then shape into baguettes, moving them back to the couche to do their final fermentation from 30-60 minutes. This step is important. You want to do a finger-dent test after 30 minutes. If it’s still really springy; that is, your dent essentially disappears right away, let it go another 20-30 minutes. But if your dent springs back quickly but some of it still remains, it’s ready to bake. Note that that partial spring is ultra-important. That means that there’s still life in yeast.
- Score the loaves (see below).
- Bake with steam at 500°F for 12 minutes, then 12-15 more minutes at 450°F dry.
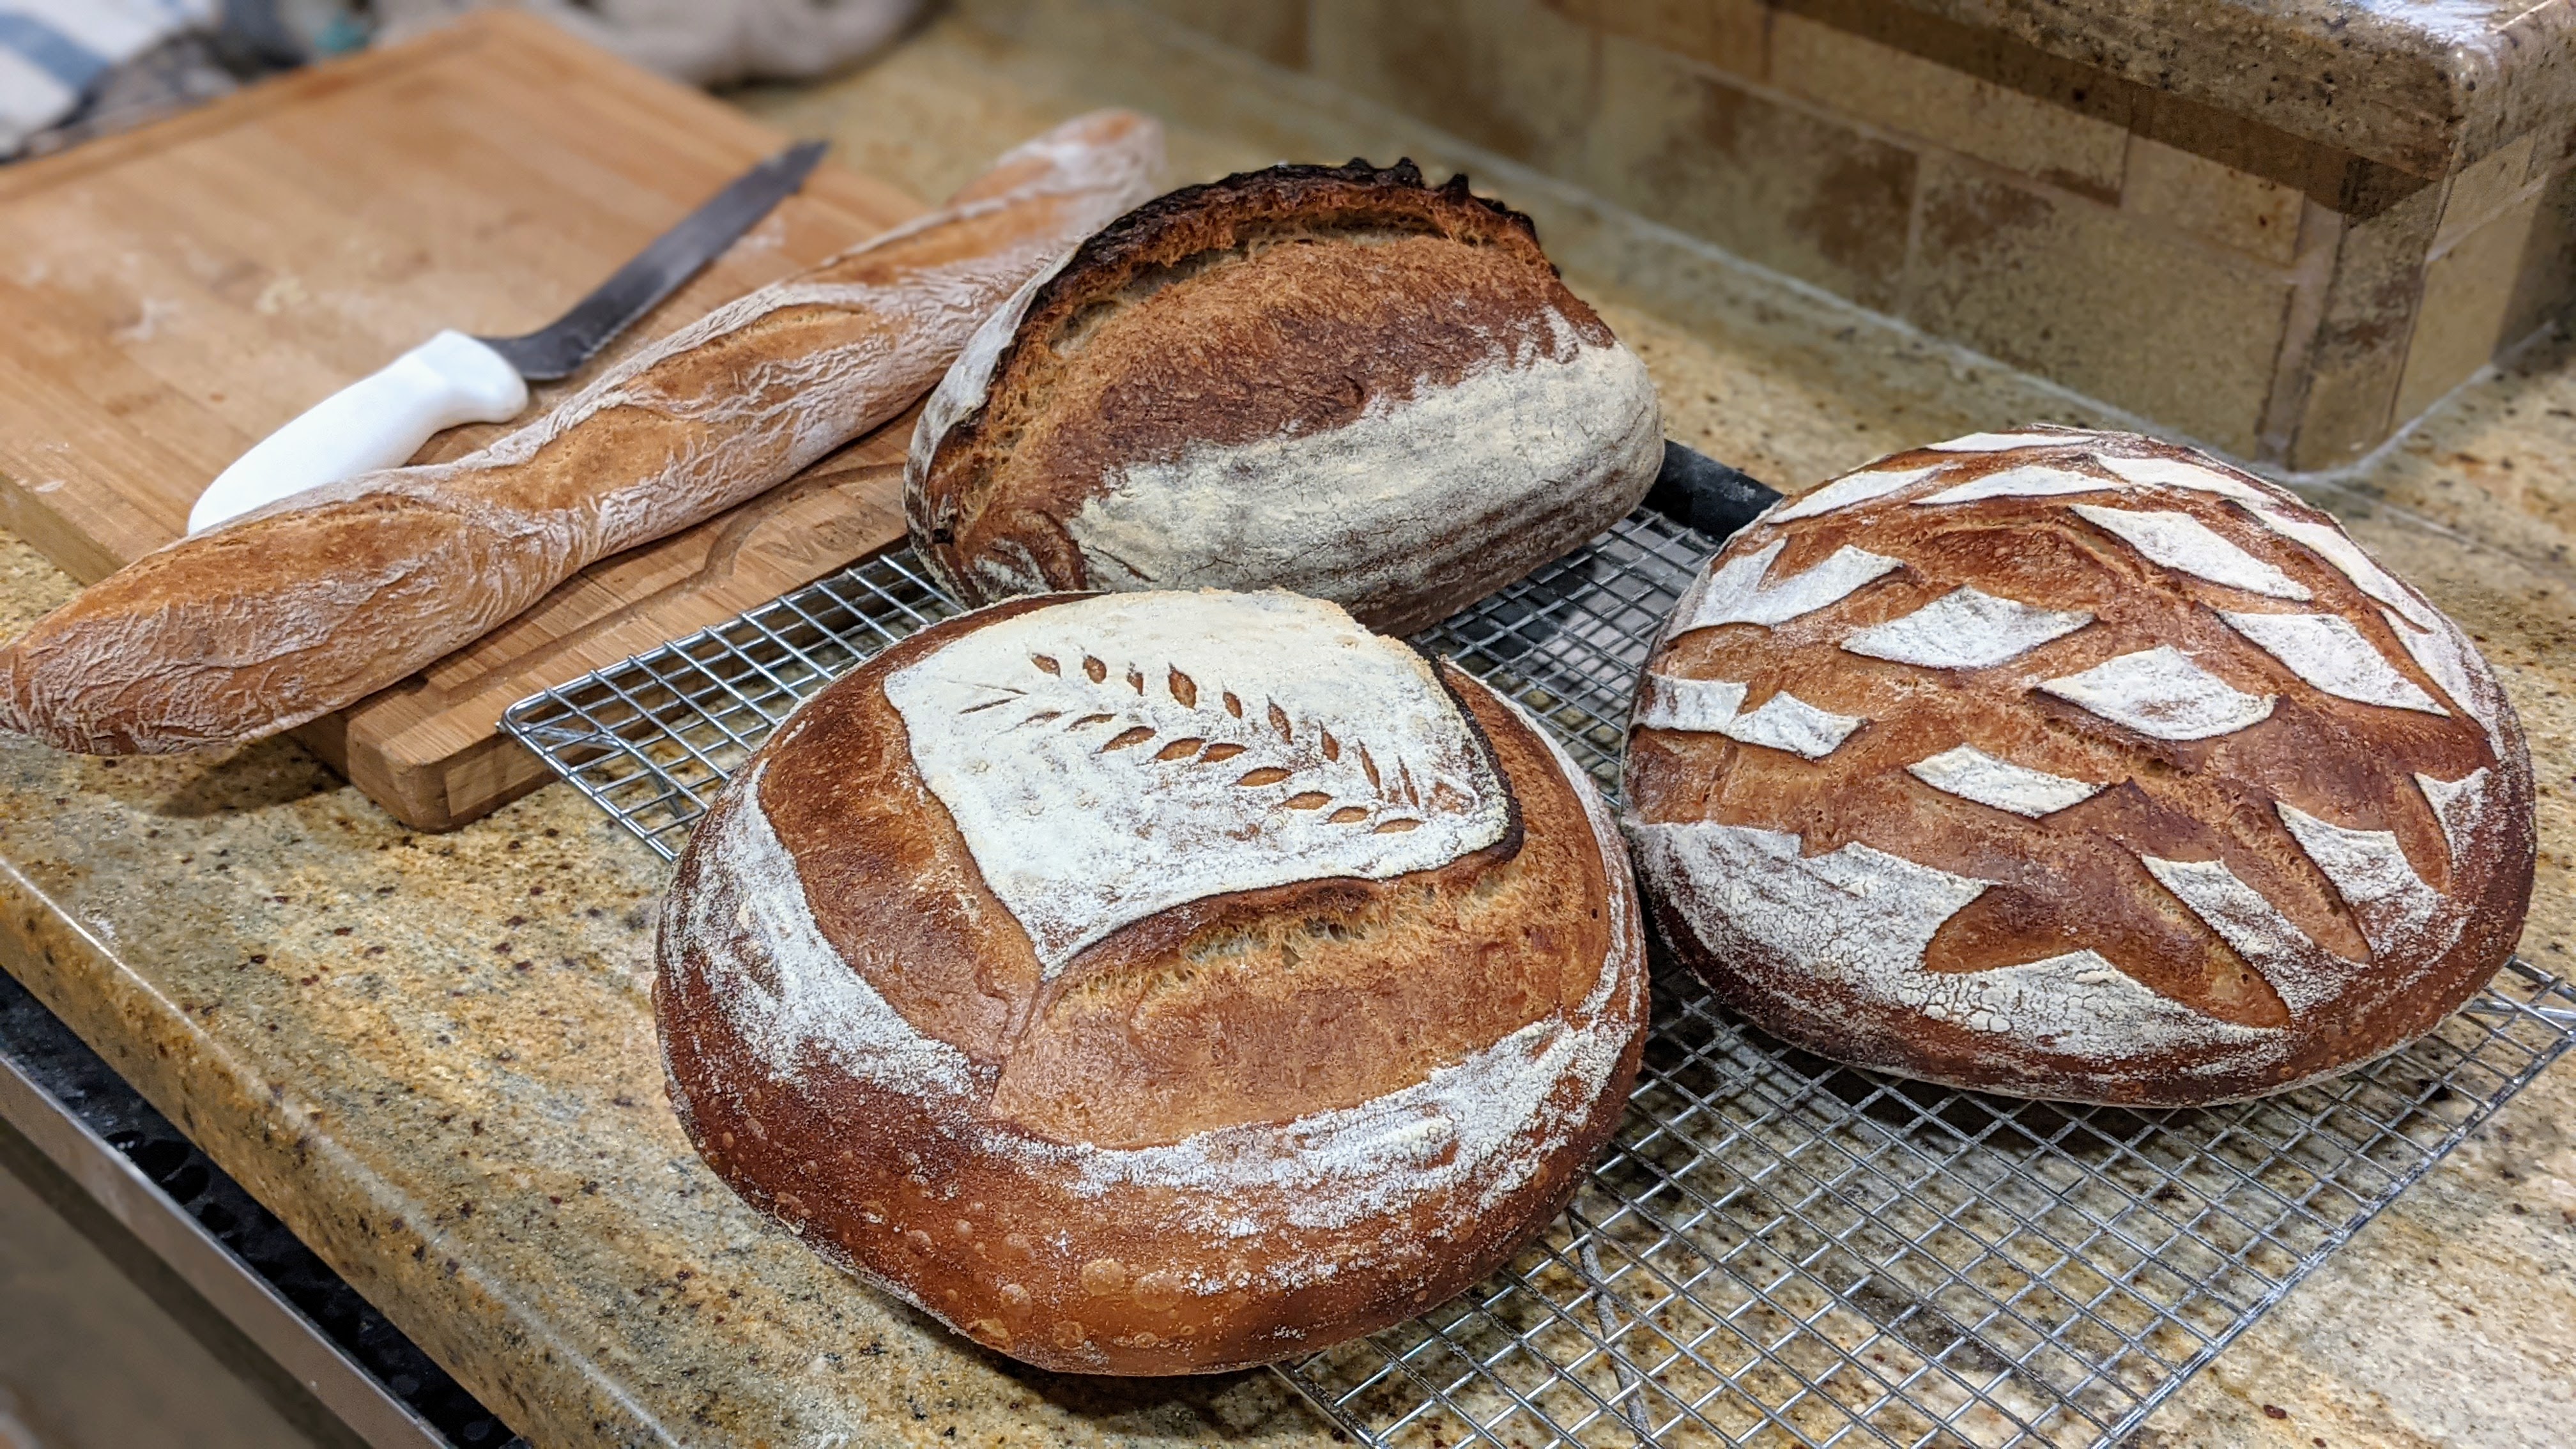
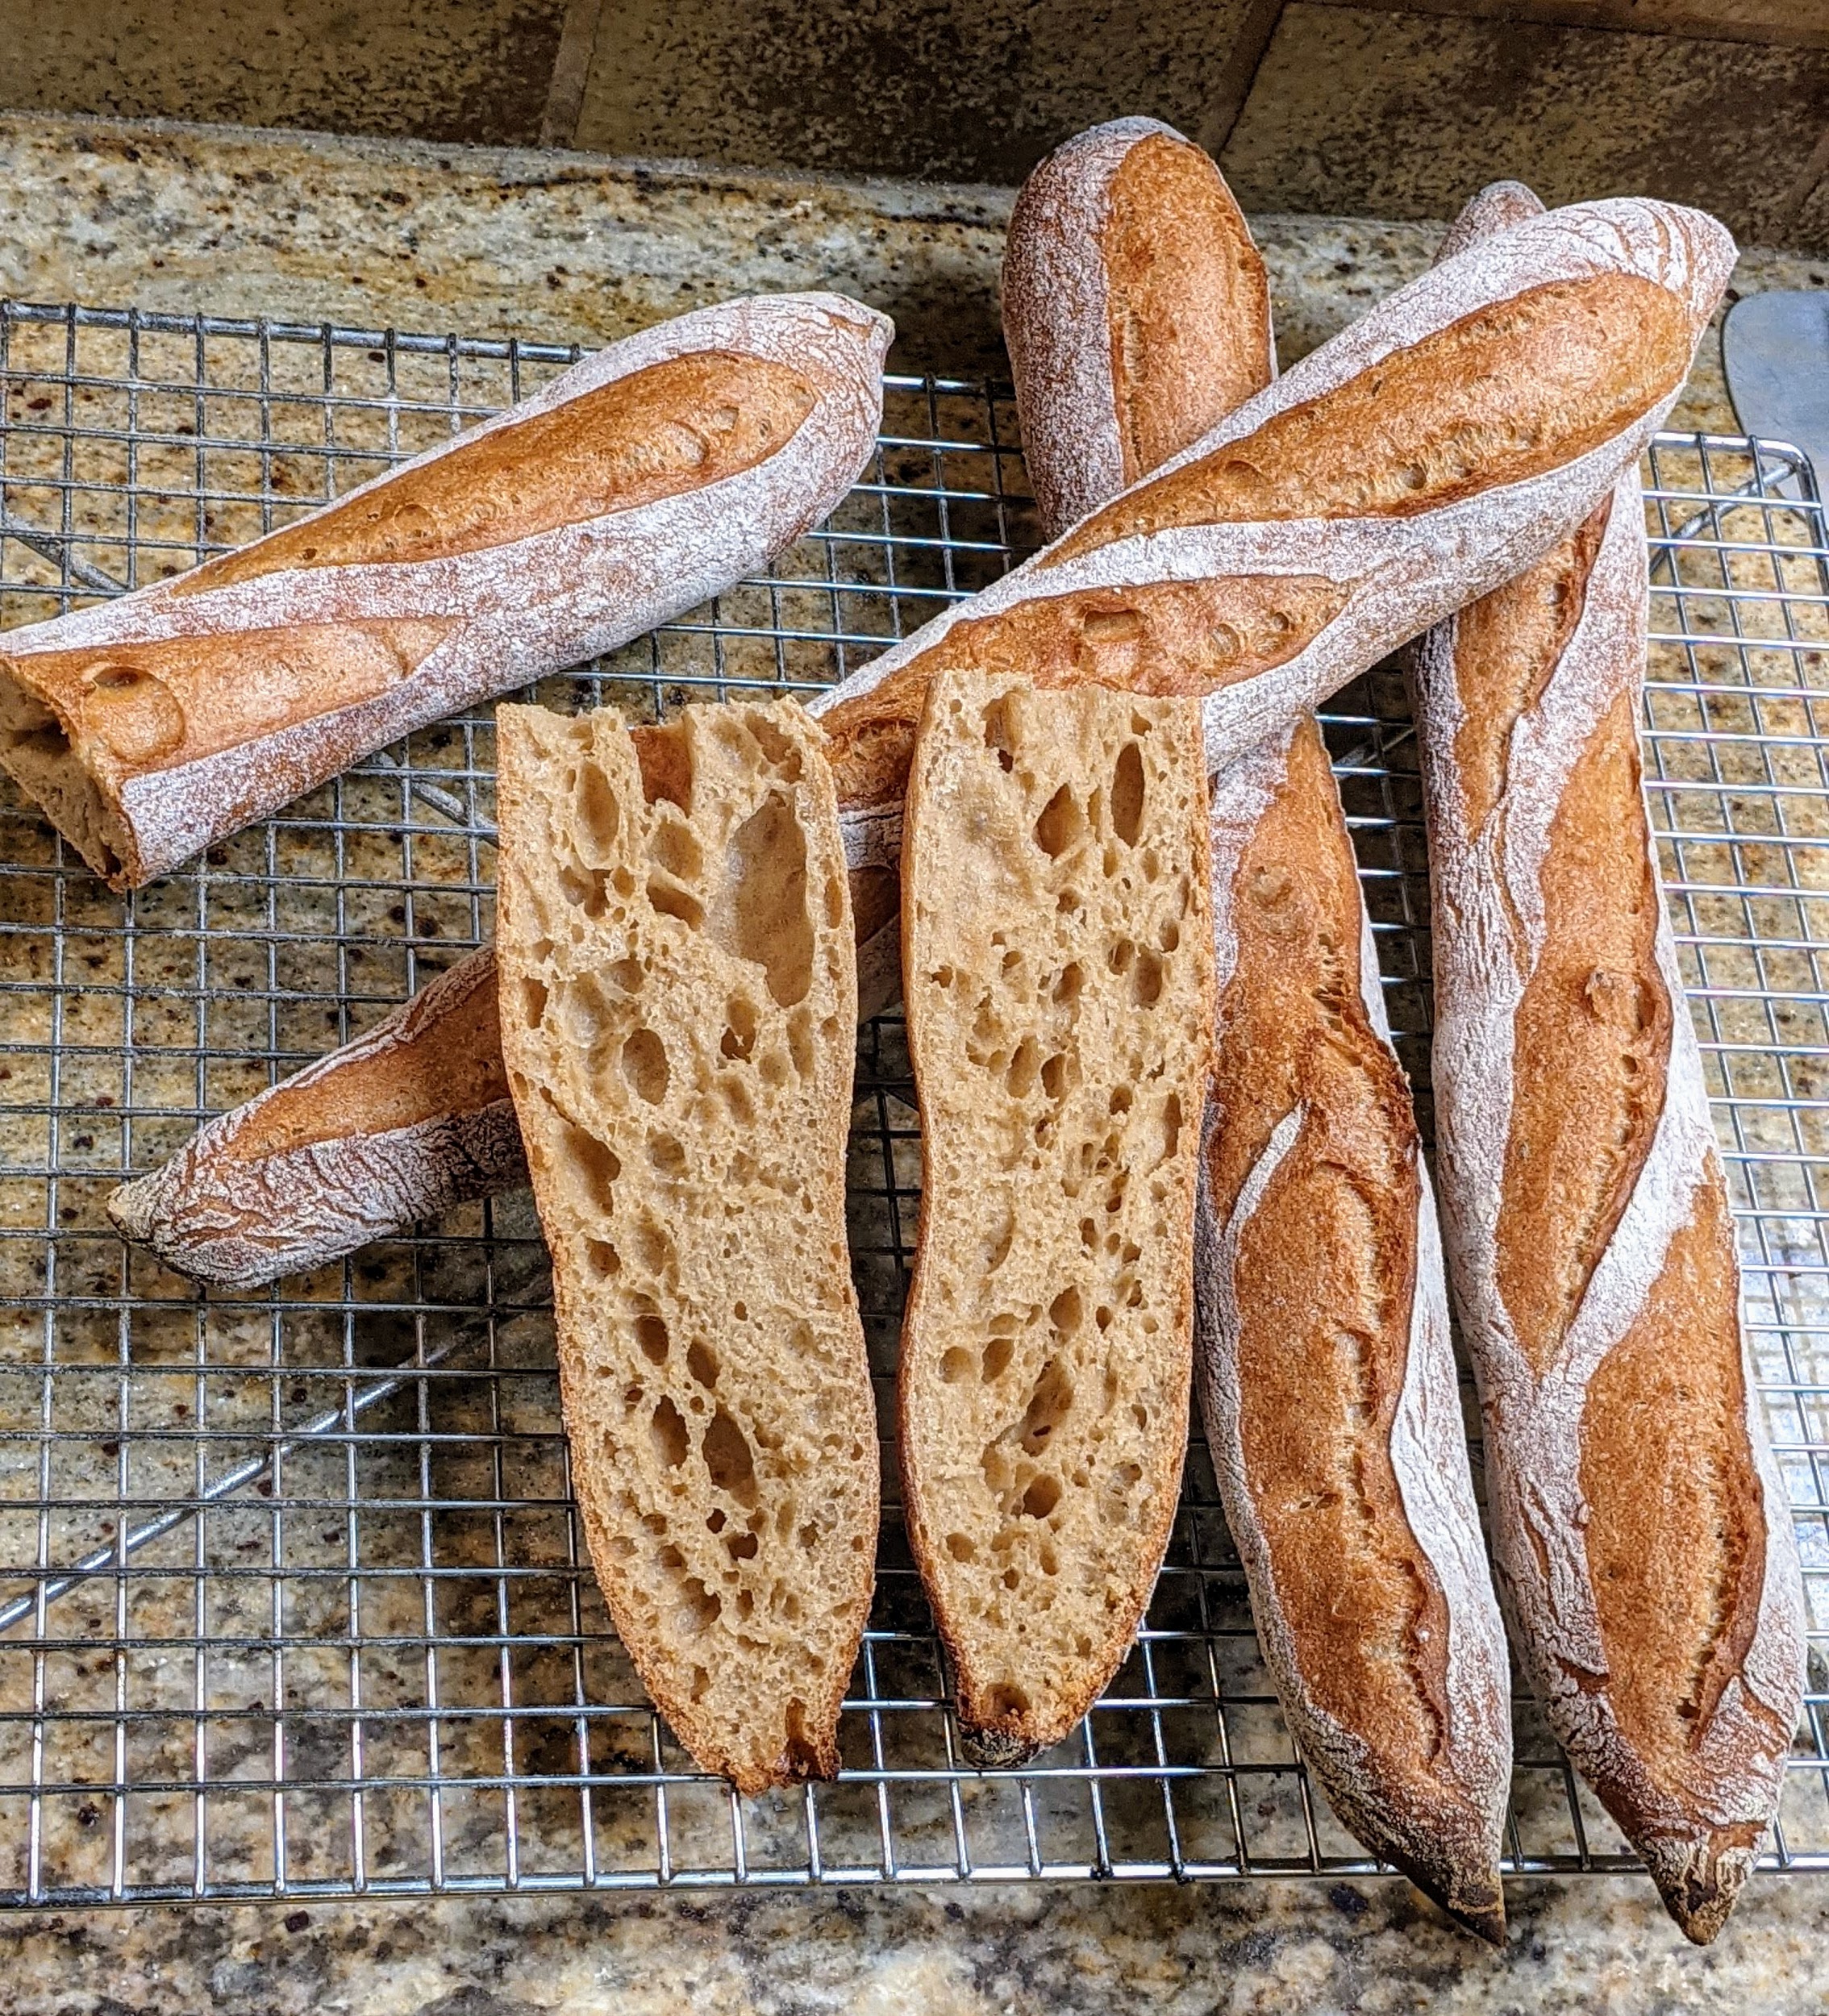
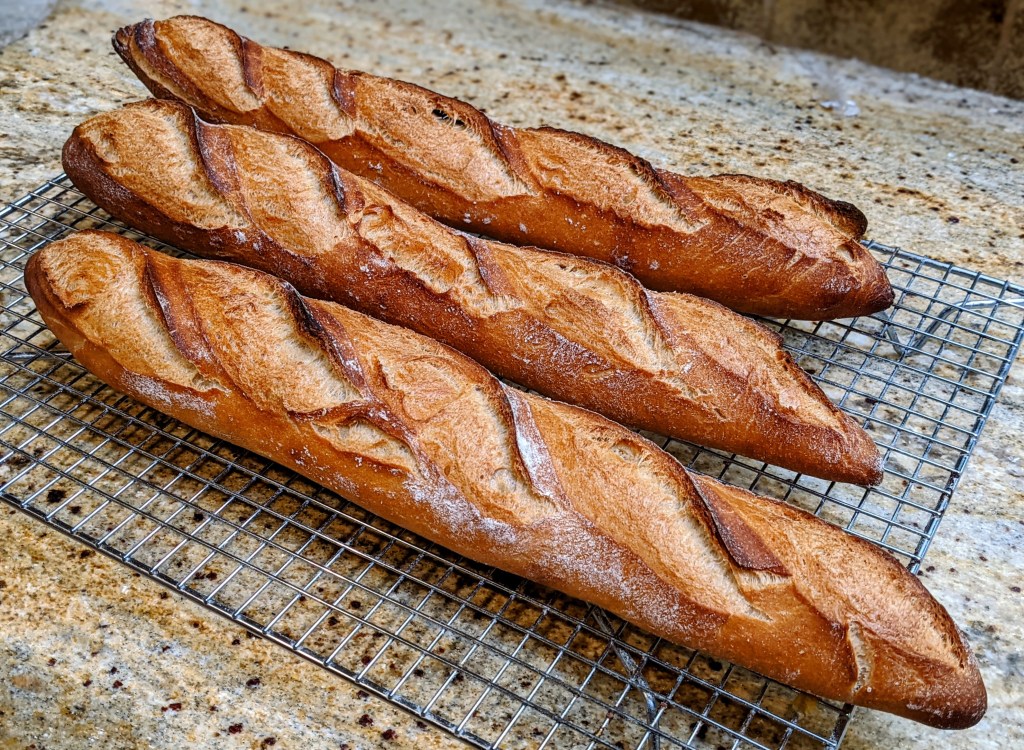
These baguettes really benefit from a full bake to ensure a nice, crisp crust. I’m not a big believer in taking the crust out to chocolate as I do with my boules and batards. But a deep, golden-brown like the loaves above yields a delicious crust.
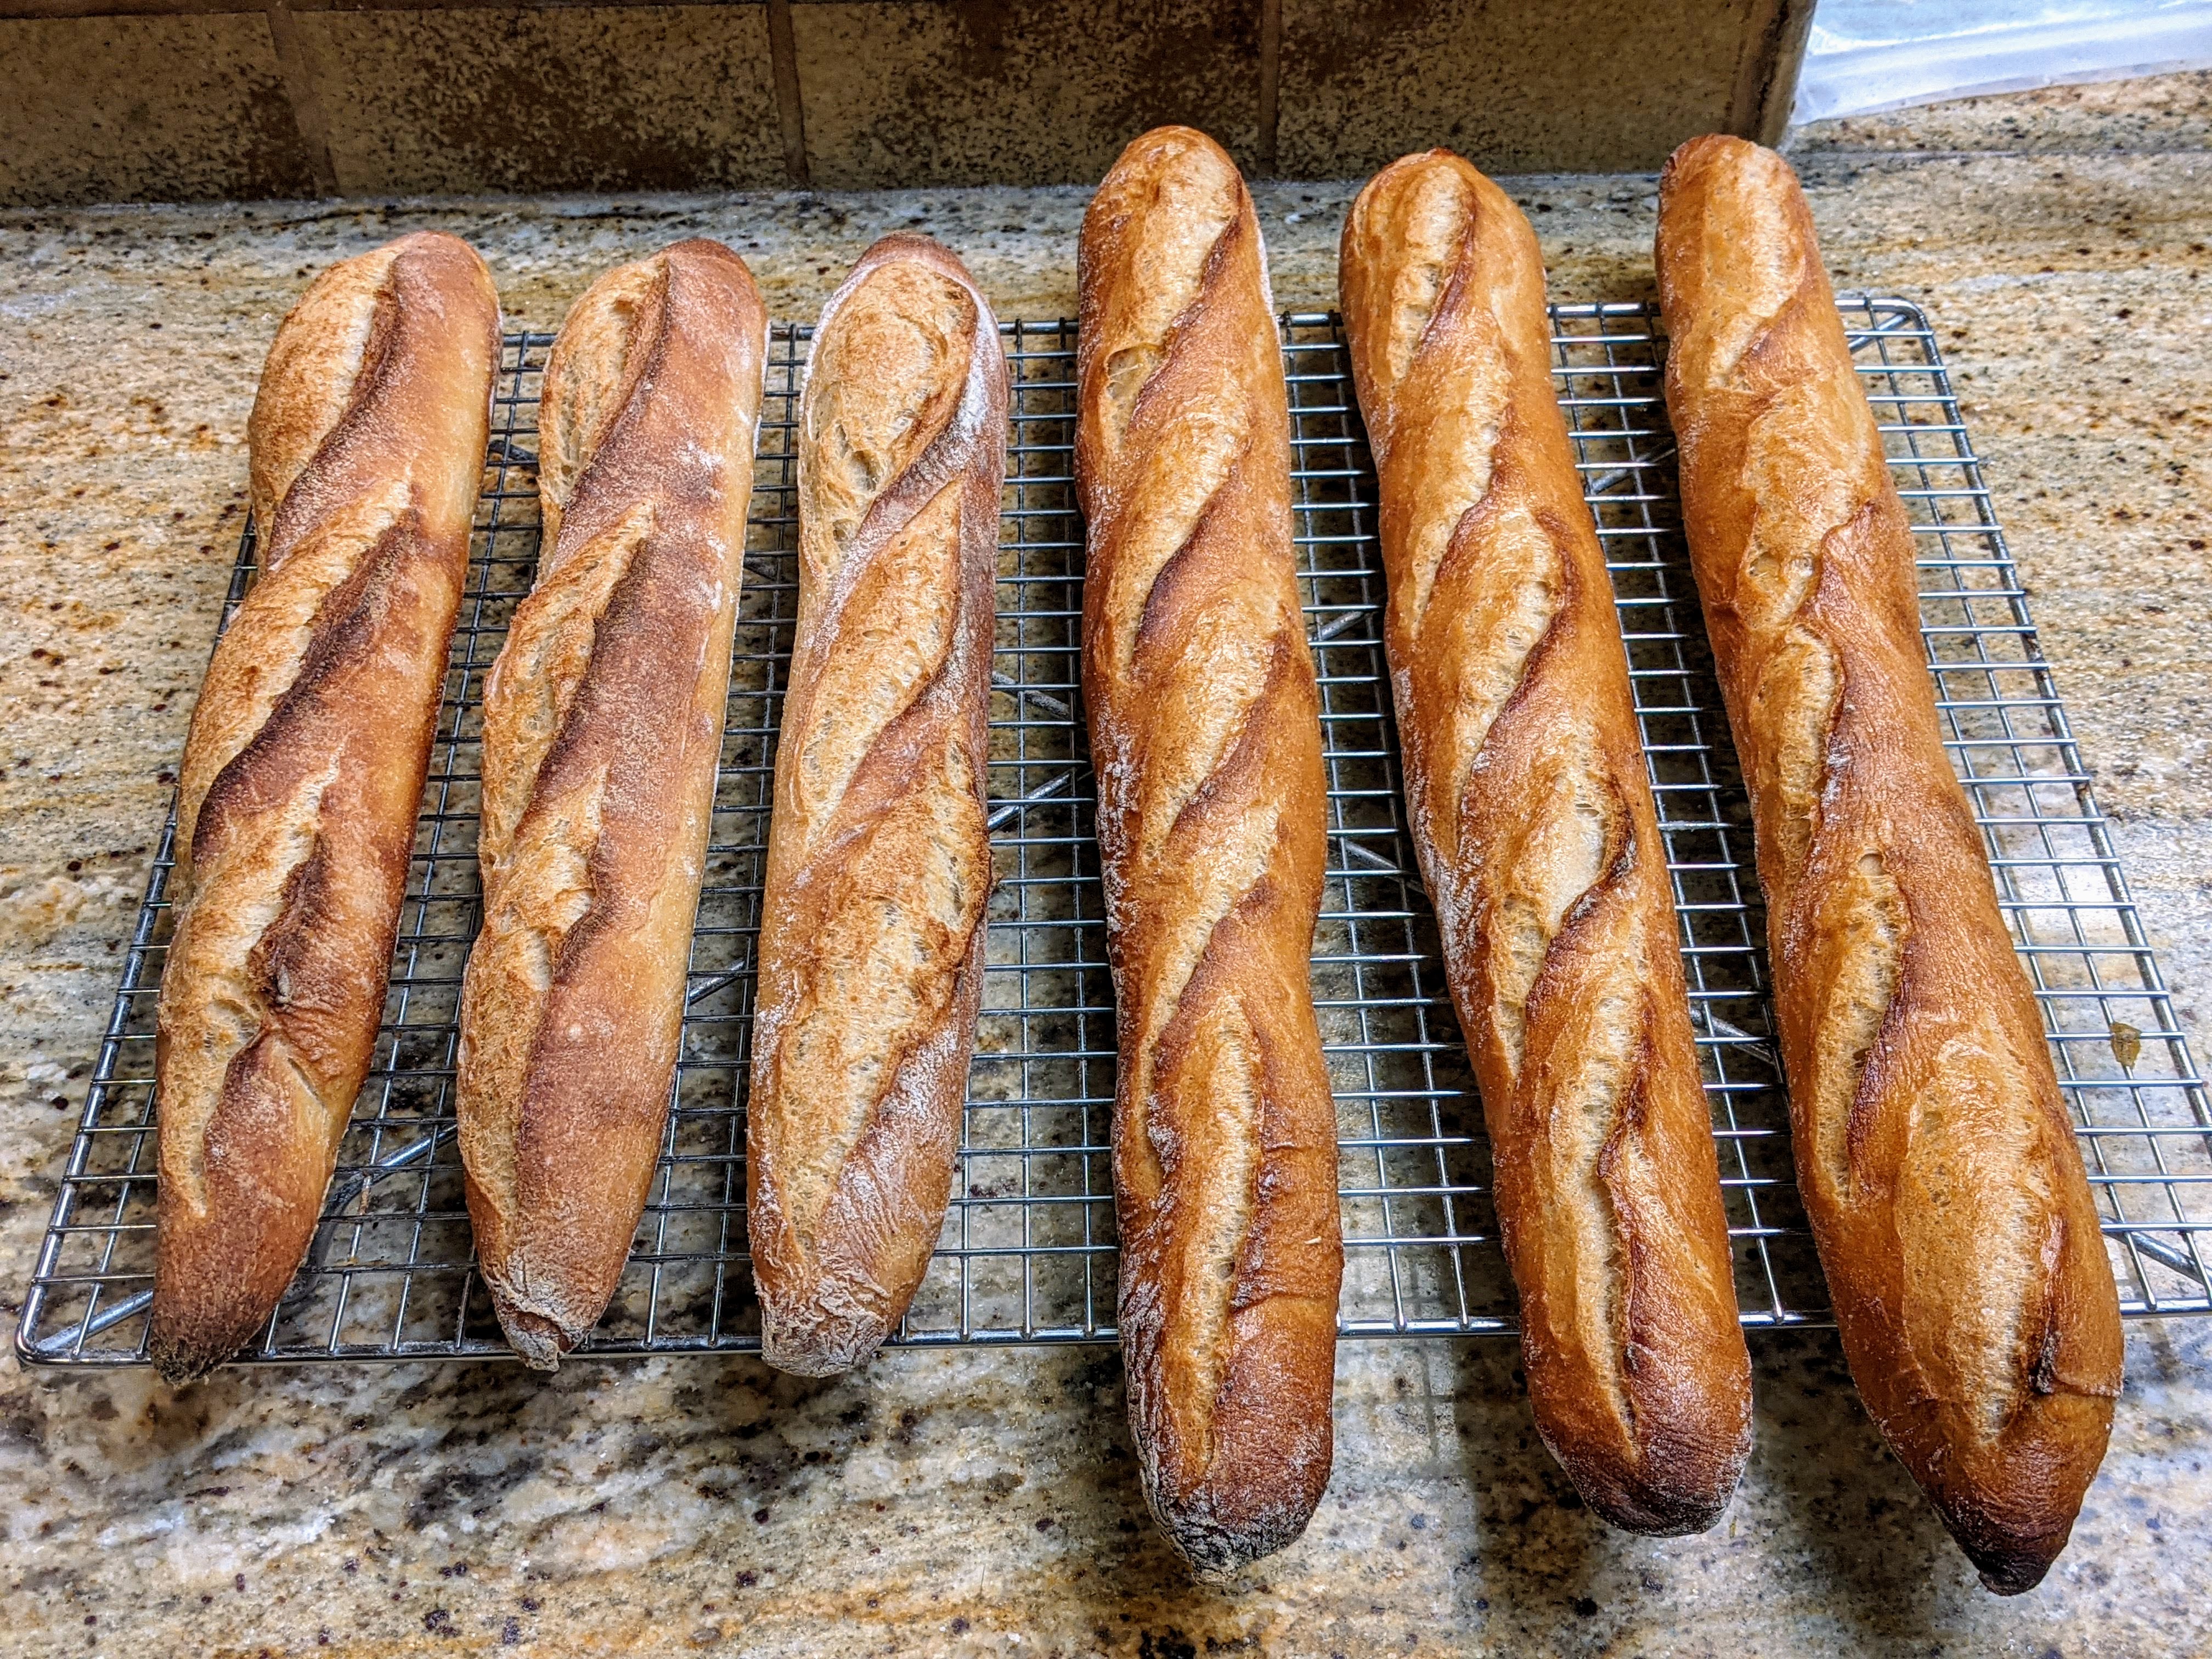
If you’ve baked traditional baguettes, you’ll immediately notice that once you bake these, the sourdough crust will not get as dark within the given times. You could bake them longer to get a darker crust, but you just might dry out the insides if you bake them for too long. I have a feeling that it has a lot to do with the amount acid in the starter which, at least for my very sour starter, is a clear indicator that there wasn’t much available sugar for browning.
But the other thing about these baguettes is that they stay fresh longer because of that acid. While they won’t remain as crisp as long as traditional baguettes, they will continue to be pliable for several days after the bake!
Scoring Baguettes
When you’re new to making baguettes – this included me when I first started making them – there’s a mistaken belief with scoring that the loaves are scored in a diagonal fashion. Technically, they are, but not nearly at the extreme angles that many beginners score them. I’ve seen otherwise gorgeous, straight loaves online whose aesthetics were essentially ruined by improper scoring.
To be honest, there’s no big secret or special technique to score baguettes. Just remember this: Use shallow angles! The diagram below illustrates the angles you should be using:

In both the top and the cross-sectional views, the proper scoring and blade angles are much more shallow that what most might think. From the top, the lines are long, starting from the center of the loaf, and deflecting just a few degrees. The blade angle from the cross-section is absolutely critical as it creates a flap which will produce that distinctive ear that you see in the picture immediately above.
Especially with baguette scoring, you need to be assertive in your strokes. Avoid making choppy motions with your scoring and do your best to be as smooth as possible. Also, aesthetically – and according to Master Chef Jeffrey Hamelman – an odd number of scores is much more appealing to the eye than an even number.