If there’s one thing I love in this world, it’s a great sandwich. And being a baker, to me, the key component of a sandwich is the bread. You get this wrong, fuggetaboutit! This past Sunday, while I was watching the 49ers rout the Cowboys, it struck me that a sandwich would be good. But… I didn’t have any bread. So, I thought to myself that I could make a sandwich for Monday Night Football.
But I didn’t want to make just any bread. I wanted a sub, and for me, that meant making baguettes! But I didn’t want to make just a straight-up dough. I wanted a bit different of a flavor. So, I decided to use just a bit of rye flour. I also decided to challenge myself a little and up the hydration to 80%, plus use a poolish to add some extra complexity. Here’s the formula:
Overall Formula
| Flour | 100.00% |
| Water | 80.00% |
| Salt | 1.80% |
| Yeast | 0.50% |
Poolish
| Flour | 122g |
| Water | 122g |
| Yeast % | 0.25% |
| Yeast | 0.31g |
Final Dough
| AP Flour | 557g |
| Rye | 74g |
| Water | 483g |
| Salt | 13g |
| Yeast | 3.41g |
| Preferment | 223g |
| Total Yield | 1353g 4 X 335g loaves |
Make the Poolish. The night before you bake, make the poolish. Dissolve the yeast in the water then add the flour. Mix well. Cover with plastic wrap, and leave on the counter until morning. The poolish should be ready withing 8 hours. But don’t fret if you go over. That’ll just add more organic acids (read: flavor).
Mix. Combine the flours and mix well until you get a homogenous mix. A stand mixer with the paddle attachment works excellent for this. Add the yeast and the salt and continue mixing to ensure an even distribution of both. In a separate bowl, dissolve the poolish in warm water until it completely liquifies. Add that to the dry ingredients then mix until you create a shaggy mass and there are no dry ingredients. I used a Danish dough whisk for this instead of a mixer.
Bulk Fermentation. 1 1/2 to 2 1/2 hours depending on your ambient temp. This requires only two folds. Do the first after 20 minutes, then do the second an hour after that. I did the first fold in the bowl, then I did the second fold on my work surface, doing an N-S-E-W fold, then flipped the mass onto the seams and rounded it with my hands. I then sprayed some oil into my bowl, then set the dough seam-side-down in it to finish fermenting. I eyeballed the dough to just under double in volume, if not a little earlier because I wanted to give plenty of time for final fermenation.
Divide and Pre-Shape and Shape. Divide the dough into four 335g pieces. If there’s any leftover, just distribute it between the four pieces. From here, please refer to my Baguette Dough Development Process (will open a new tab).
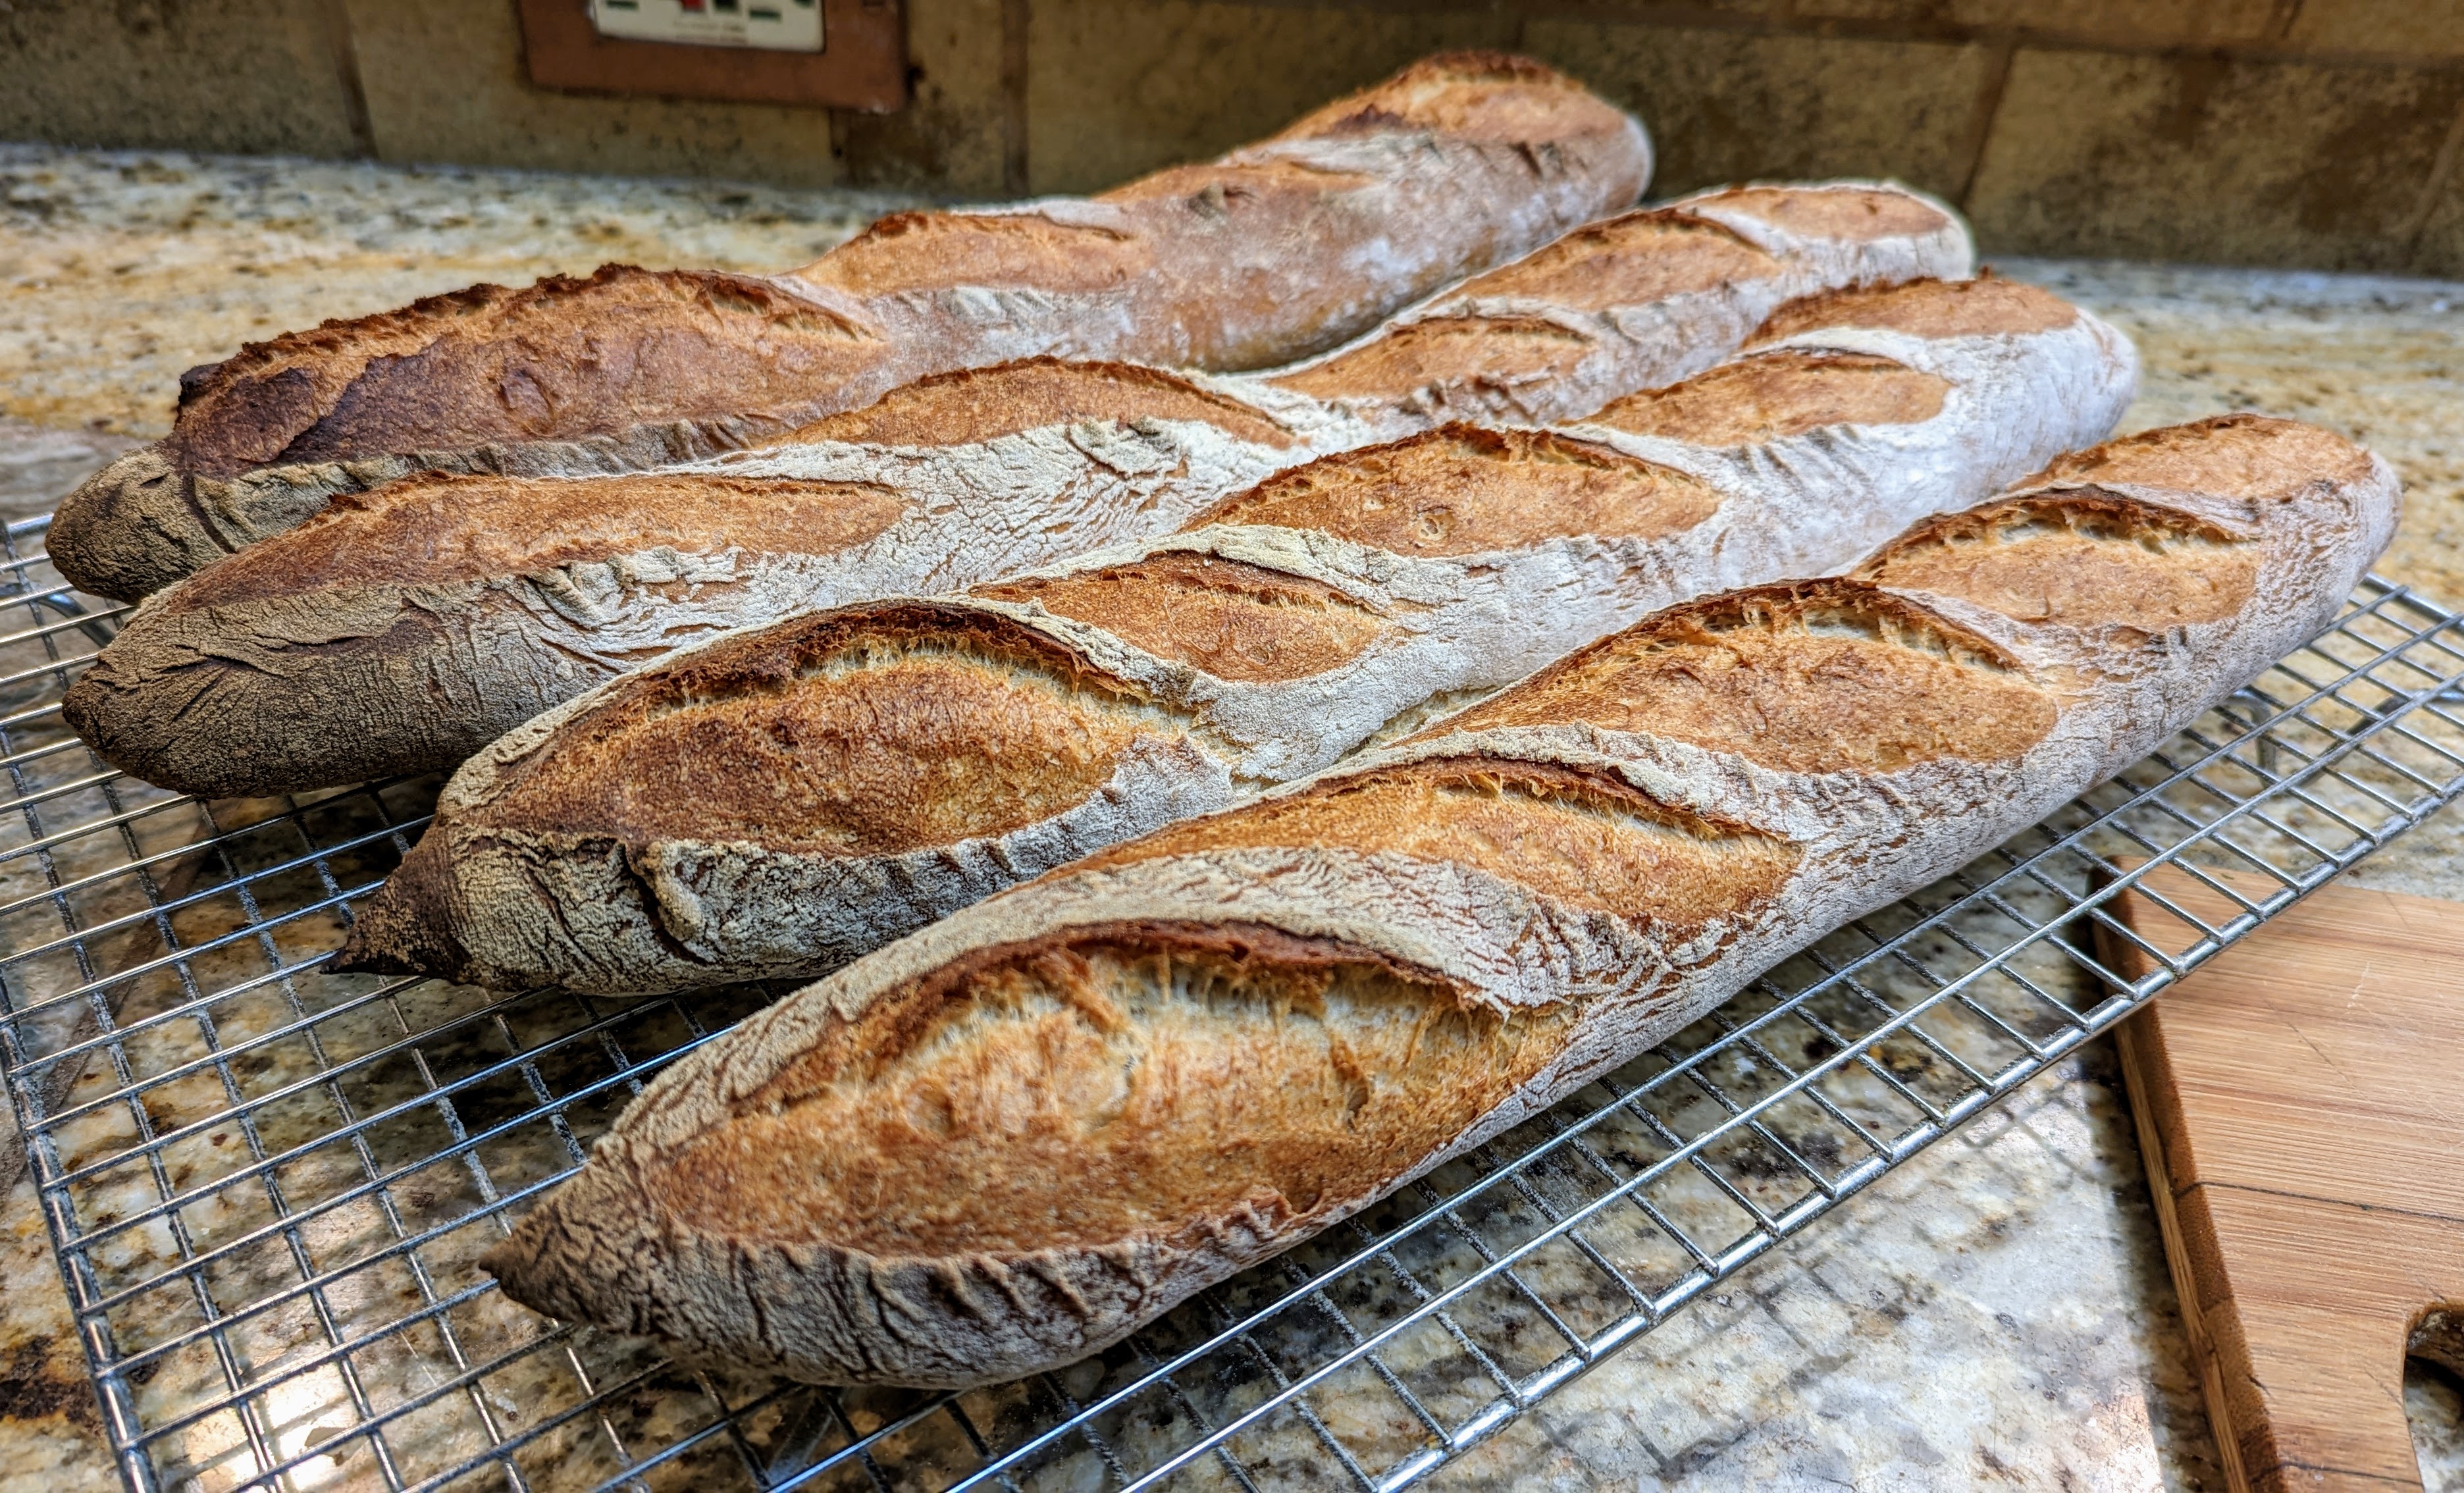
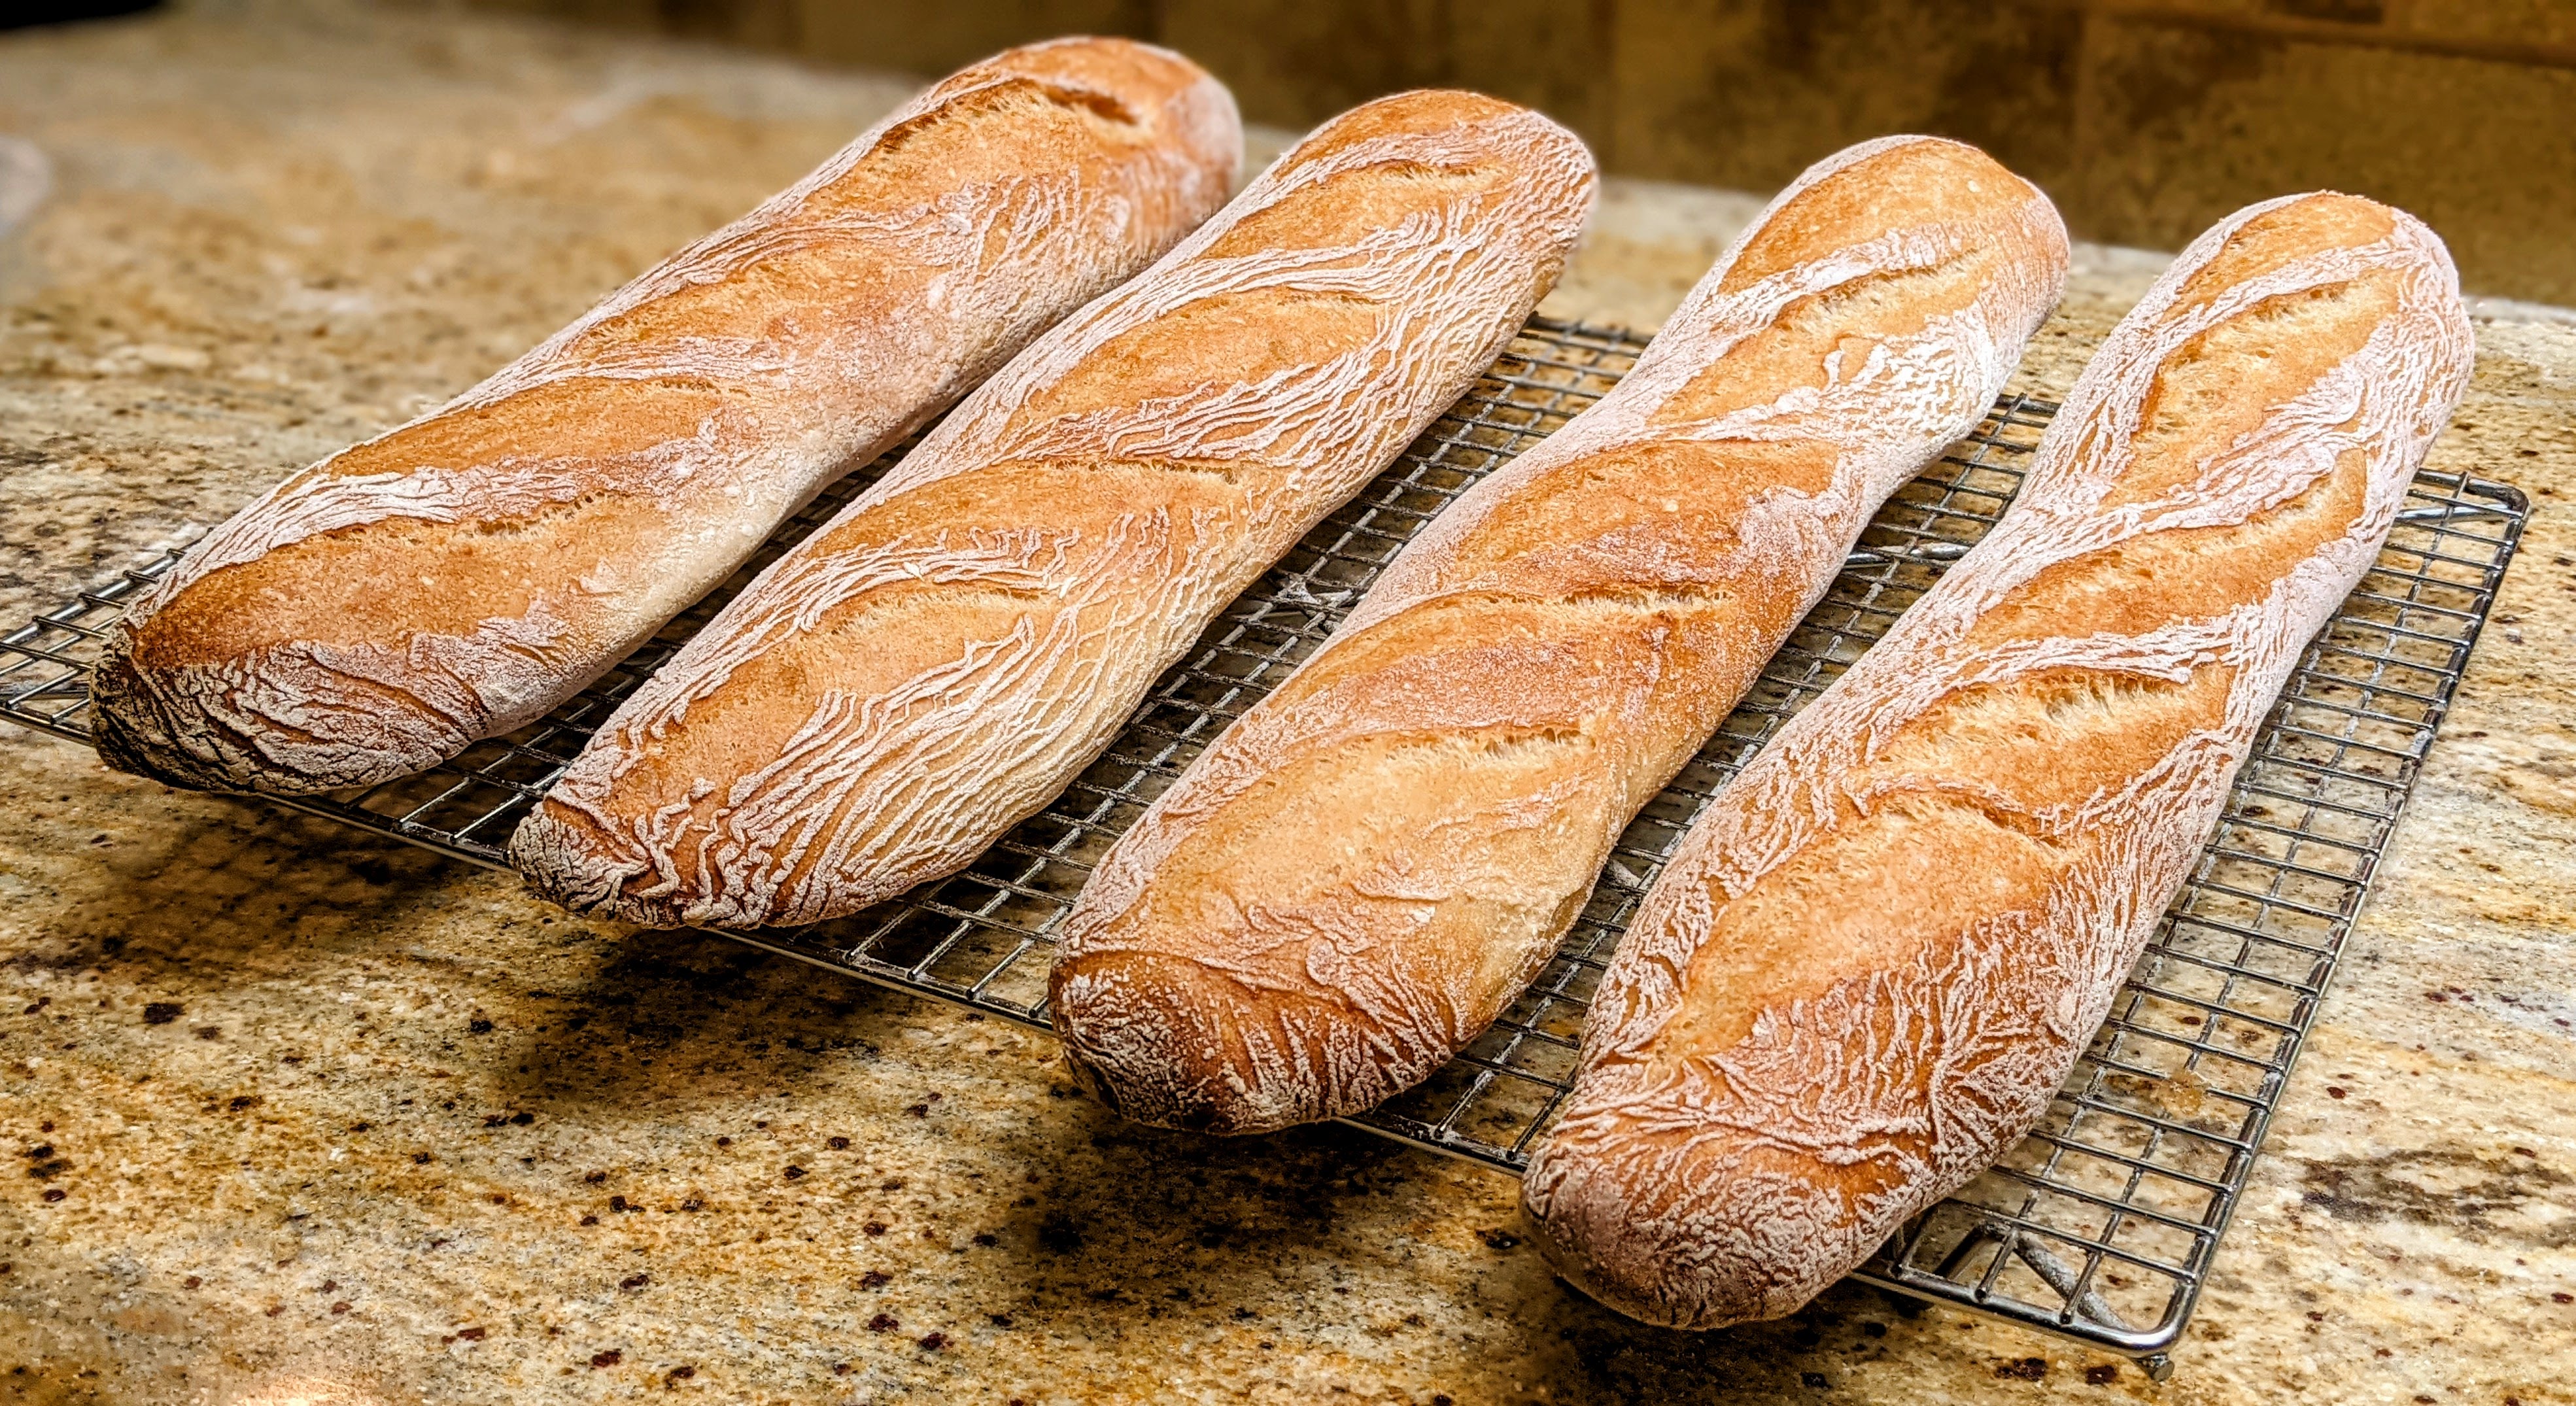
Bake. Bake at 475°F for 12 minutes with steam. Remove your steaming container, then bake for another 20 minutes at 425°F. When you remove the baguettes from the oven, they should feel lighter than they look. If they feel a little heavy, that means there’s still water in the dough that needs to be evaporated. Pop them into the oven for another 10 minutes if this happens. I had to do this with the batch above.
Notes
- Even with this small amount of rye, bear in mind that rye contains absolutely no gluten, so folding is going to be a challenge. This is why I did the second fold on the bench, much like I’d handle a ciabatta.
- Also, because this dough is so wet, don’t be afraid to use a bit more flour on your bench than you normally would.
- Shaping at this high of a hydration is challenging. I suggest using Martin Philip’s shaping technique. The important thing with his technique is that the fingertips and heel of the hands maintain contact with your work surface. With this dough, you will use more flour on the board.