Recipe: Roasted Garlic and Rosemary Sourdough

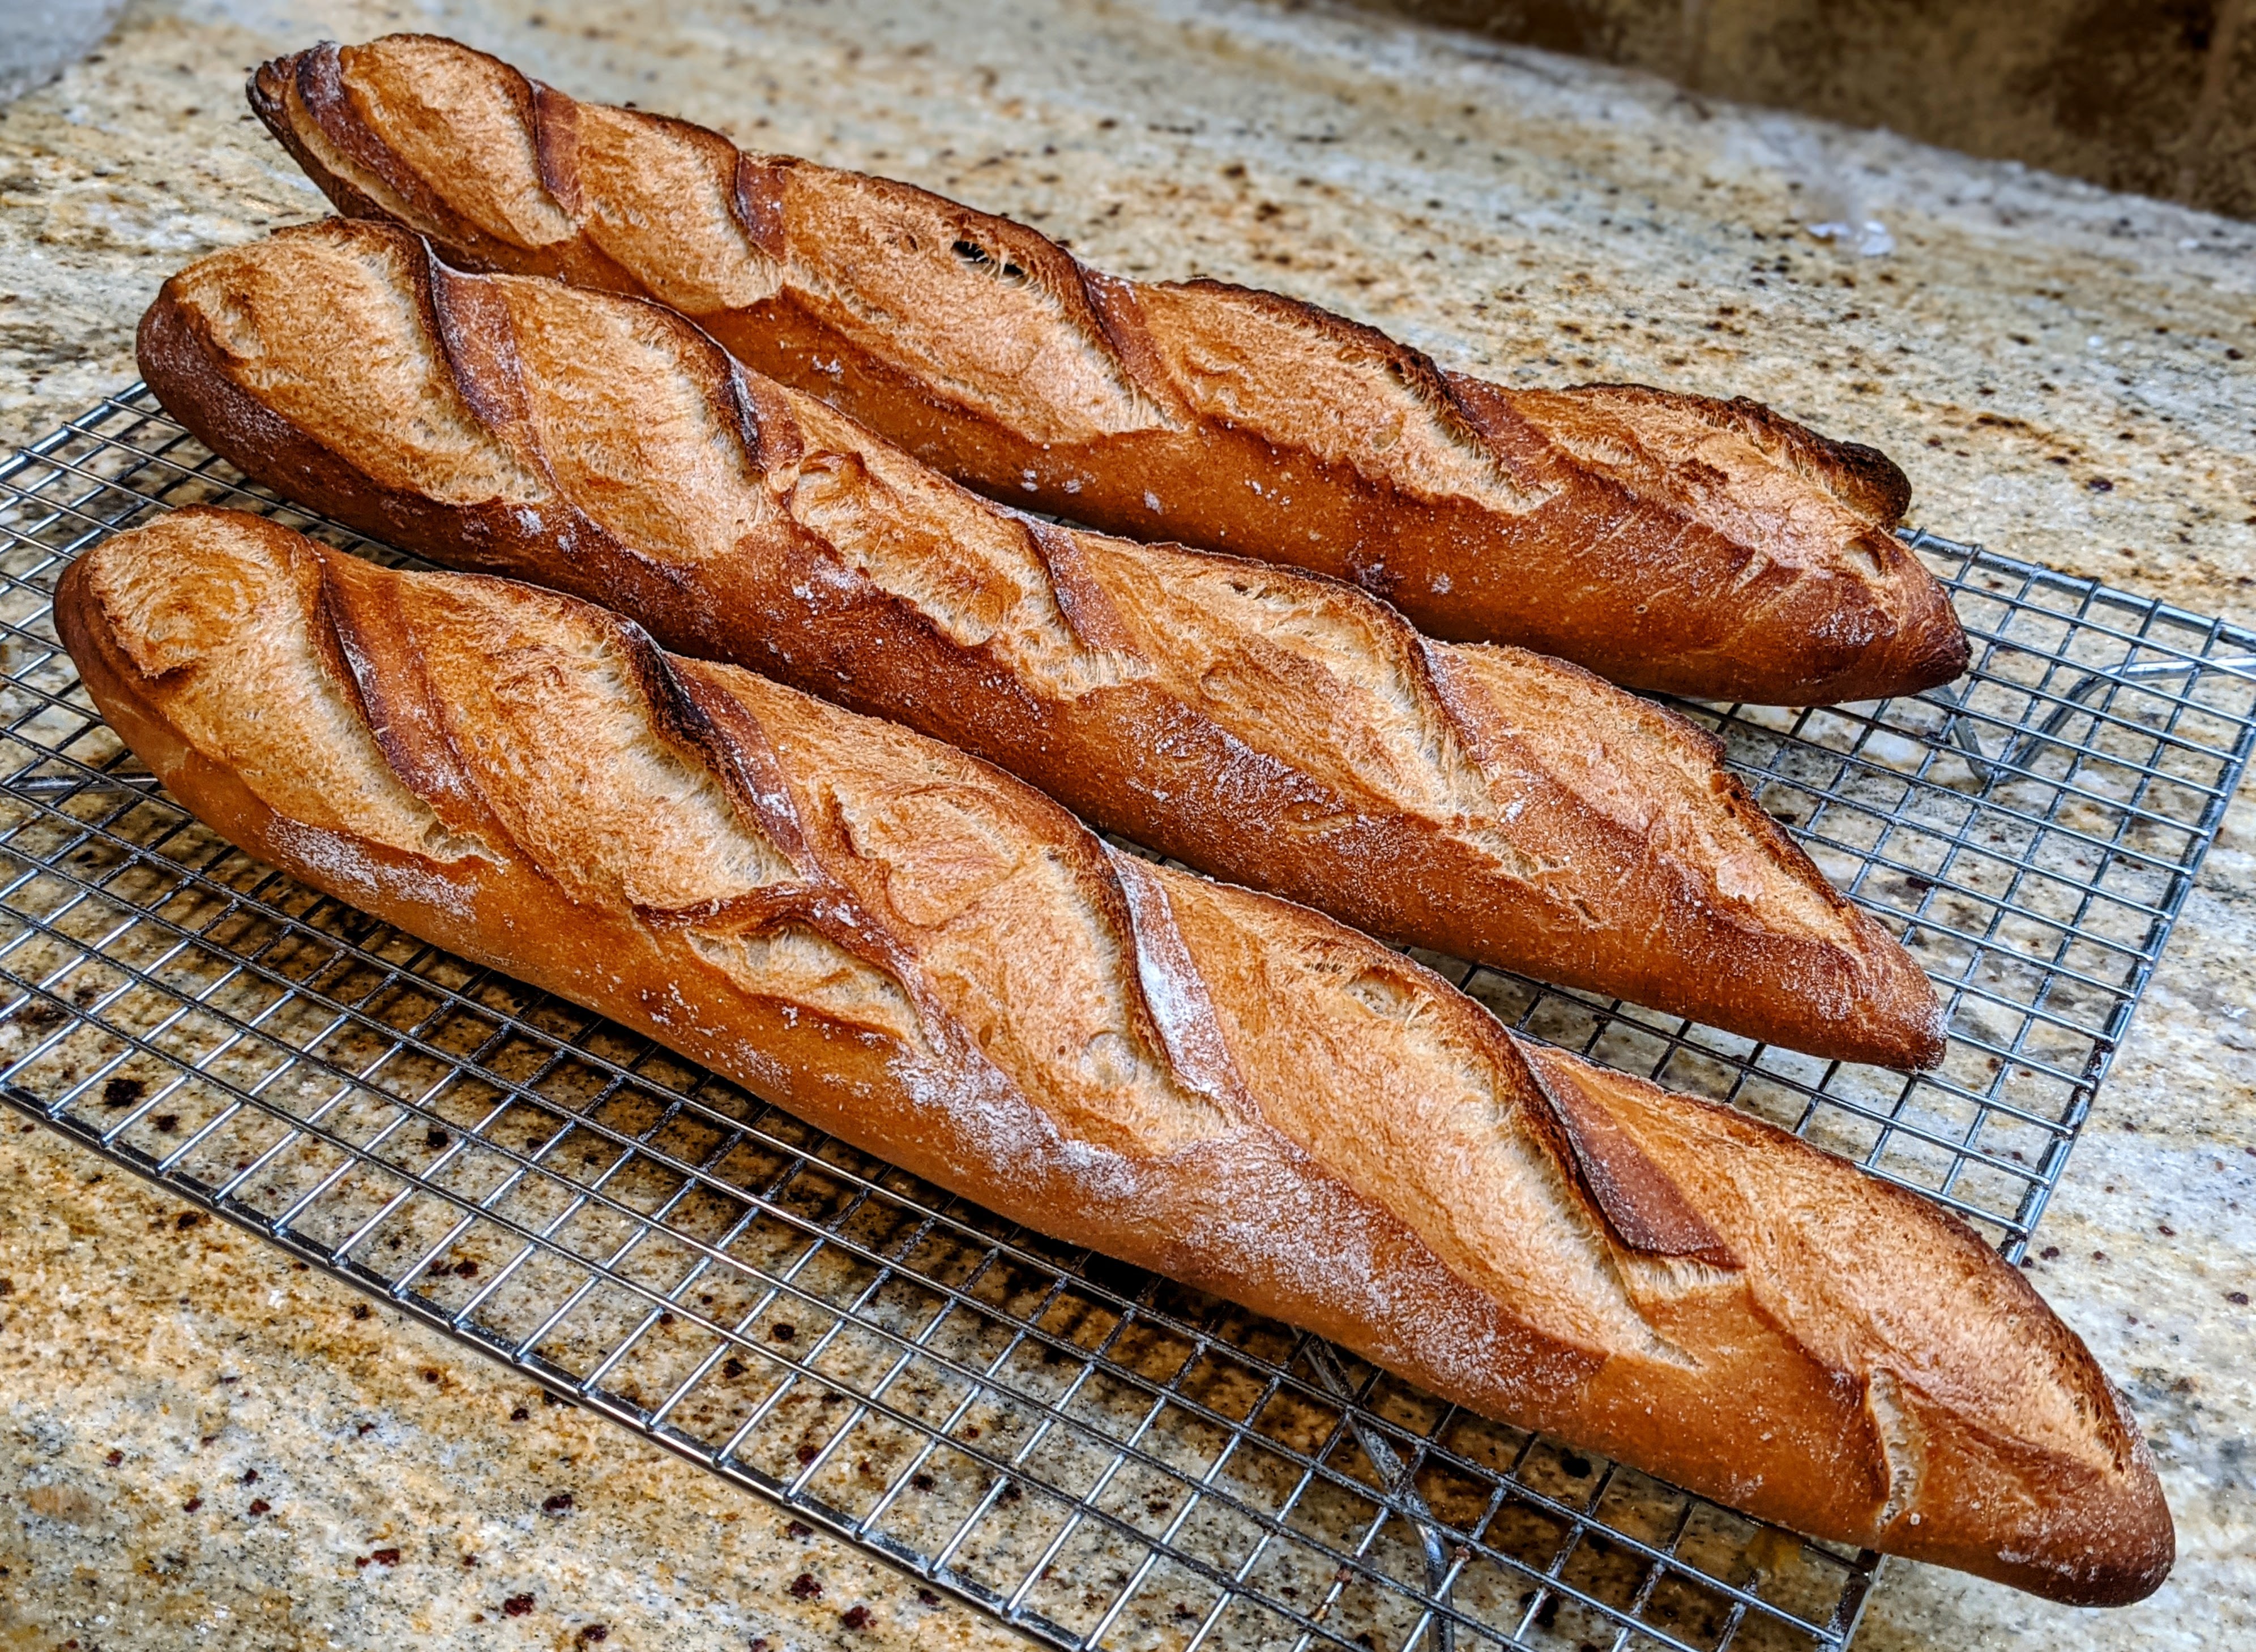
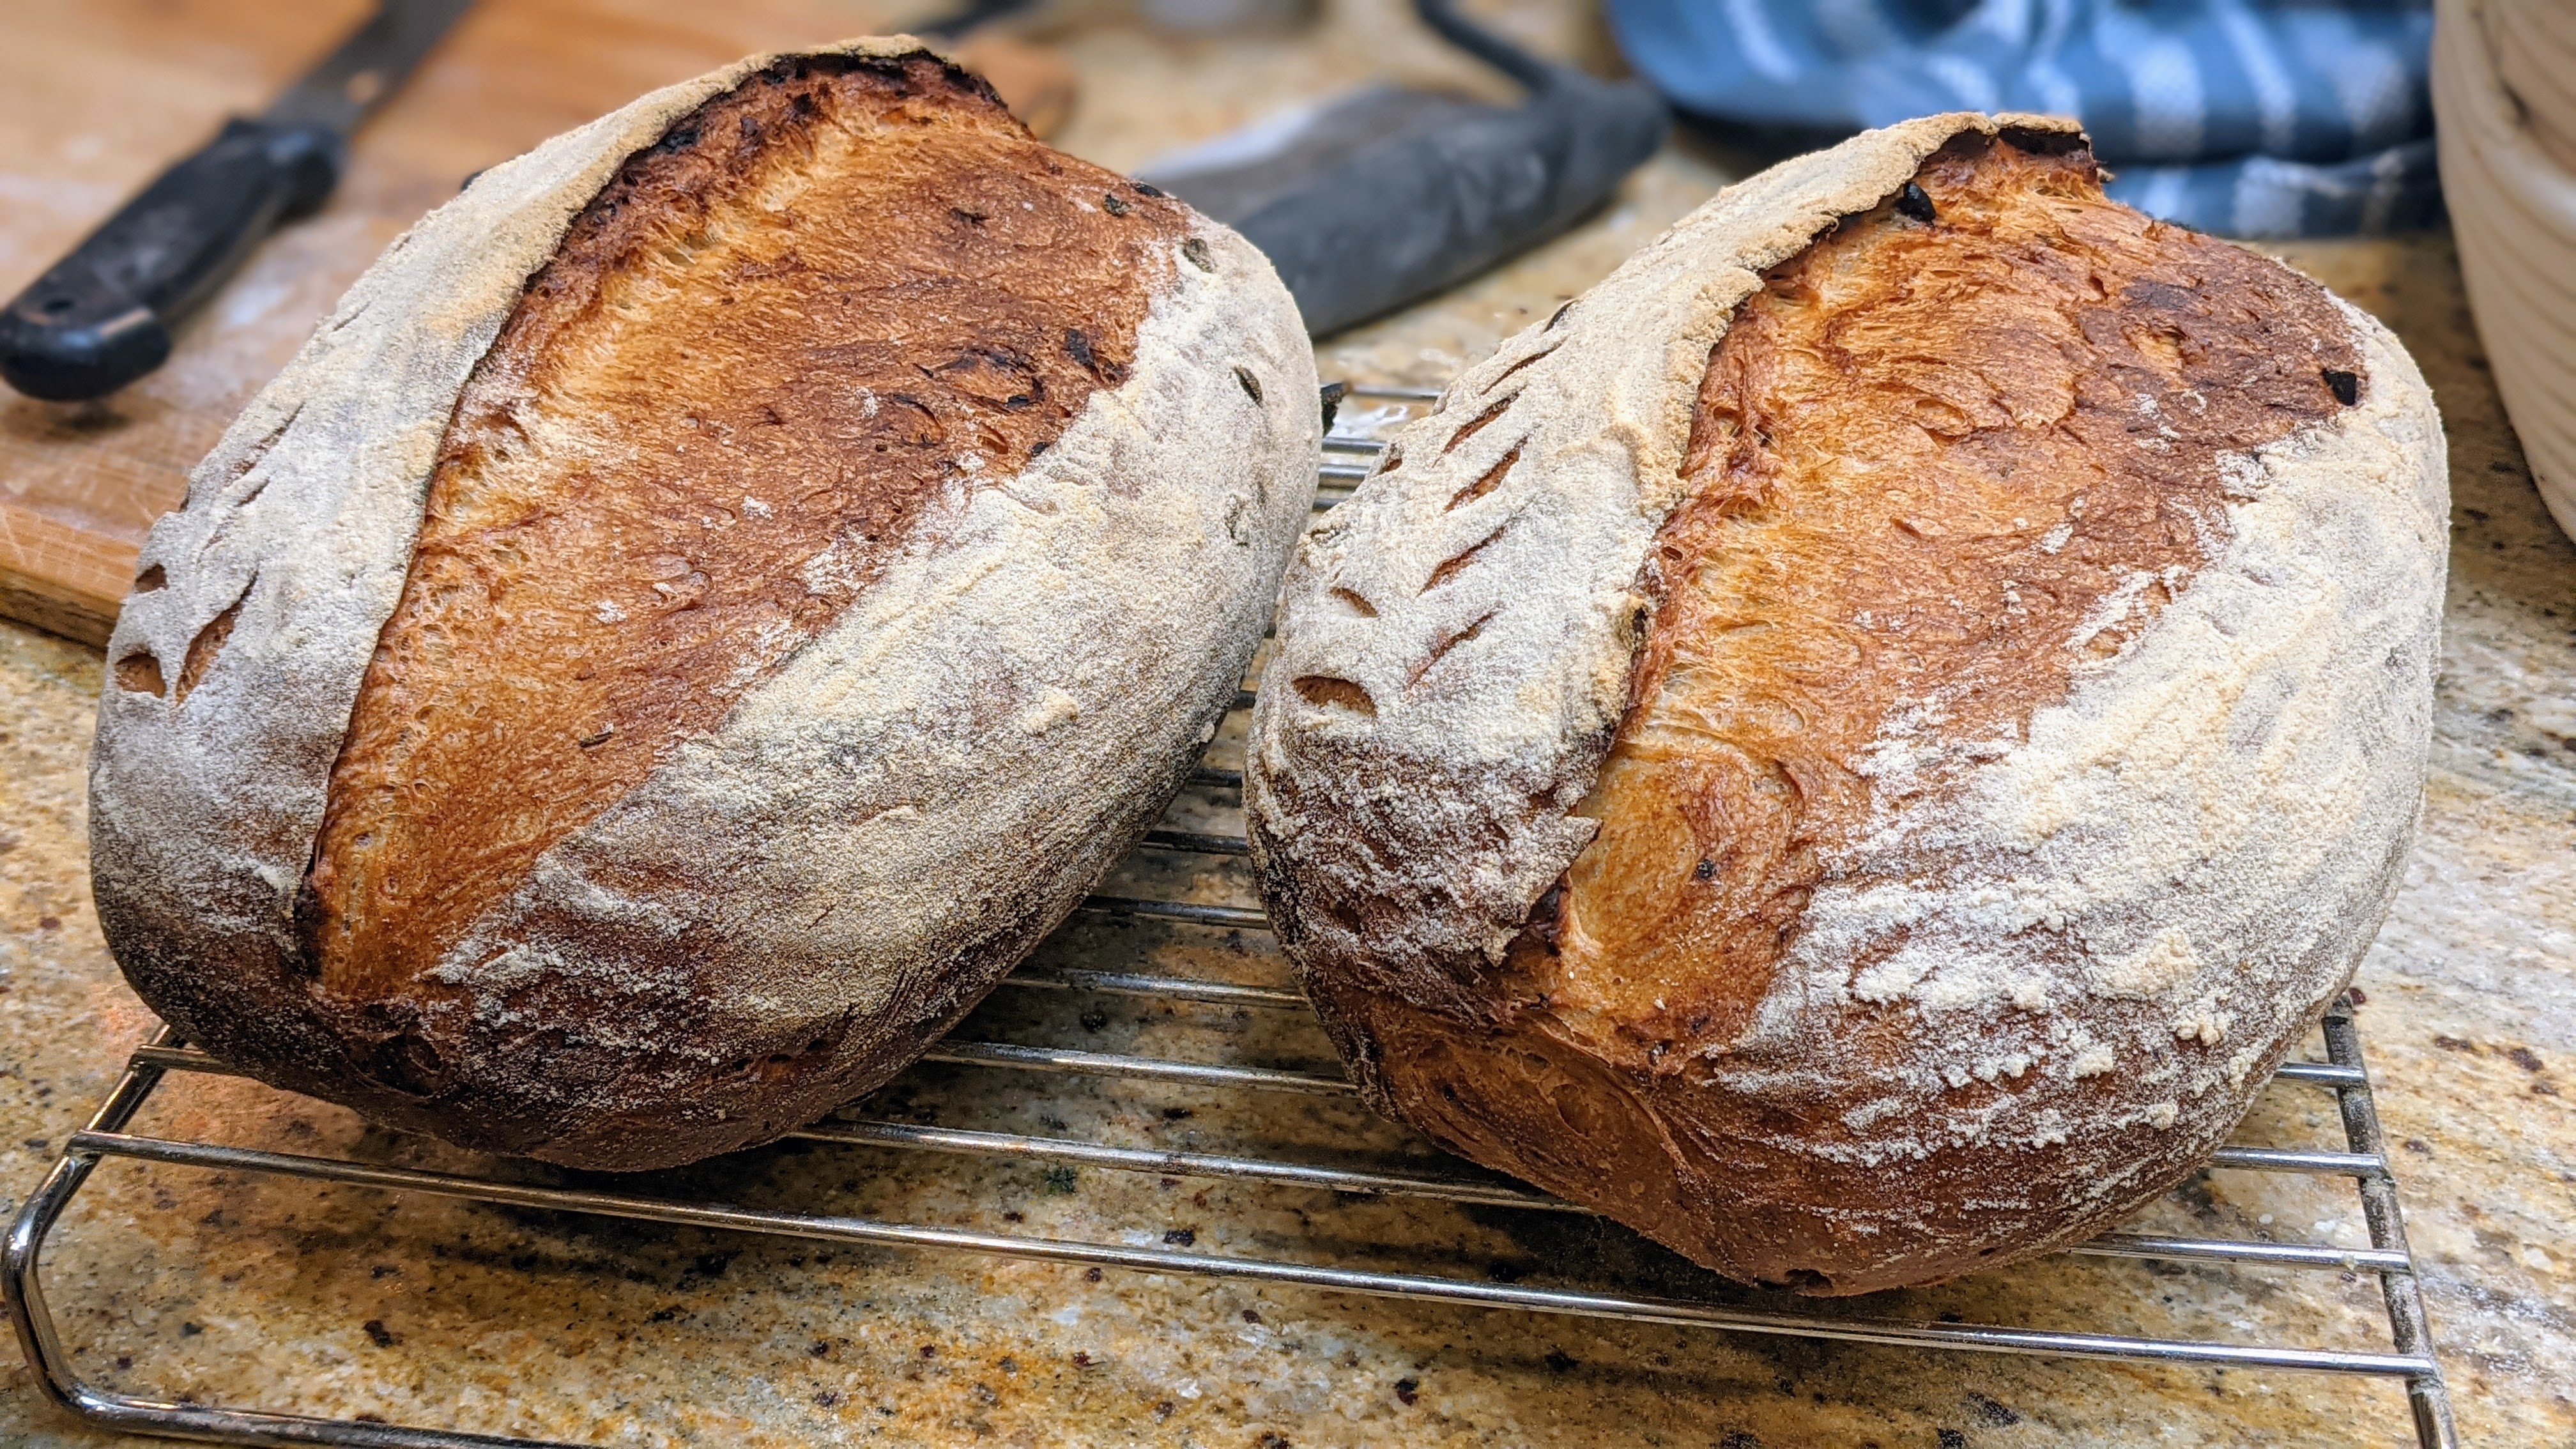
This is an absolutely wonderful bread that I learned to make from Jeffrey Hamelman’s book, “Bread.” The garlic, rosemary, and levain combine together to create an incredibly complex and delicious flavor profile that can be enjoyed alone, with a little butter, or as a dipping platform into olive oil or a savory sauce. It’s one of my family’s favorite kinds of bread that I make and a loaf never lasts more than a day – it’s that addictive.

When you see the formula, don’t be fooled by the low hyration rate. The mashed, roasted garlic and oil more than make up for the lack of water to make the dough more slack than its hydration will indicate. Also, you’ll notice that in addition to a levain, the formula calls for yeast. I will provide a short discussion on making the bread with little to no yeast.

Here’s the formula:

Baker’s %Example (g)
Flour100.00%713
Hydration %65.00%472
Salt2.00%18
Yeast0.90%8
Olive Oil5.00%45
Garlic7.00%62
Rosemary0.50%4
Stiff Levain40%285
Totals180.4%1608
Optimal Dough Temp75°F
Though I listed the levain as 40% in the formula, its flour represents 20% of the total flour in the recipe.

For the numbers that I provided, this will yield two 800g loaves with about 8g of extra dough for loss during processing.

Make the Stiff Levain

A stiff levain is simply a low-hydration levain. This one is 60% hydration. To make it, I just converted 100%-hydration mature starter culture to a 60% levain. I did this by taking 100g of mature culture, added 200g of flour and 100g water.

Hamelman says to do the final build of the levain 12 hours before making the final dough. However, in my case, my culture is extremely healthy and it literally almost tripled in volume in 3 hours! But I wasn’t prepared to bake late at night, so I just popped the levain in the fridge to completely slow it down.

Roast the Garlic

If you use whole bulbs of garlic, cut off 1/2″ from the top to expose the cloves then sprinkle olive oil on top to keep them moist, then wrap in foil. I normally just have loose cloves on hand, so I just measure out what I need then place them in some foil with a little olive oil. In either case, roast the garlic at 400°F for 30-40 minutes.

Mix the Final Dough

Once the garlic has cooled, mash it and set it aside. Measure out the amount of levain you’ll need, then in your mixing bowl, break it up into the water until it’s fully dissolved. If you’re using a stand mixer, just use the dough hook on the 2 speed.

Once you’ve created a smooth slurry with the levain and water, add all the ingredients together and mix until everything is incorporated forming a shaggy mass that has both the garlic and rosemary reasonably evenly distributed.

For this small amount of dough, I just mix by hand using a Danish dough whisk. It saves me from having to clean my mixer. 🙂

Bulk Ferment

Hamelman says bulk fermentation is 1-2 hours. But in my experience – at least in my kitchen – it takes more like 2-3 hours. In any case, after an hour, give the dough a fold. Personally, I’ve found it valuable to gently knead the dough in the bowl at this point, being careful not to tear it while I press into the dough.

Let rise until nearly doubled. This may take a little while, especially on a cool day.

Divide and Shape

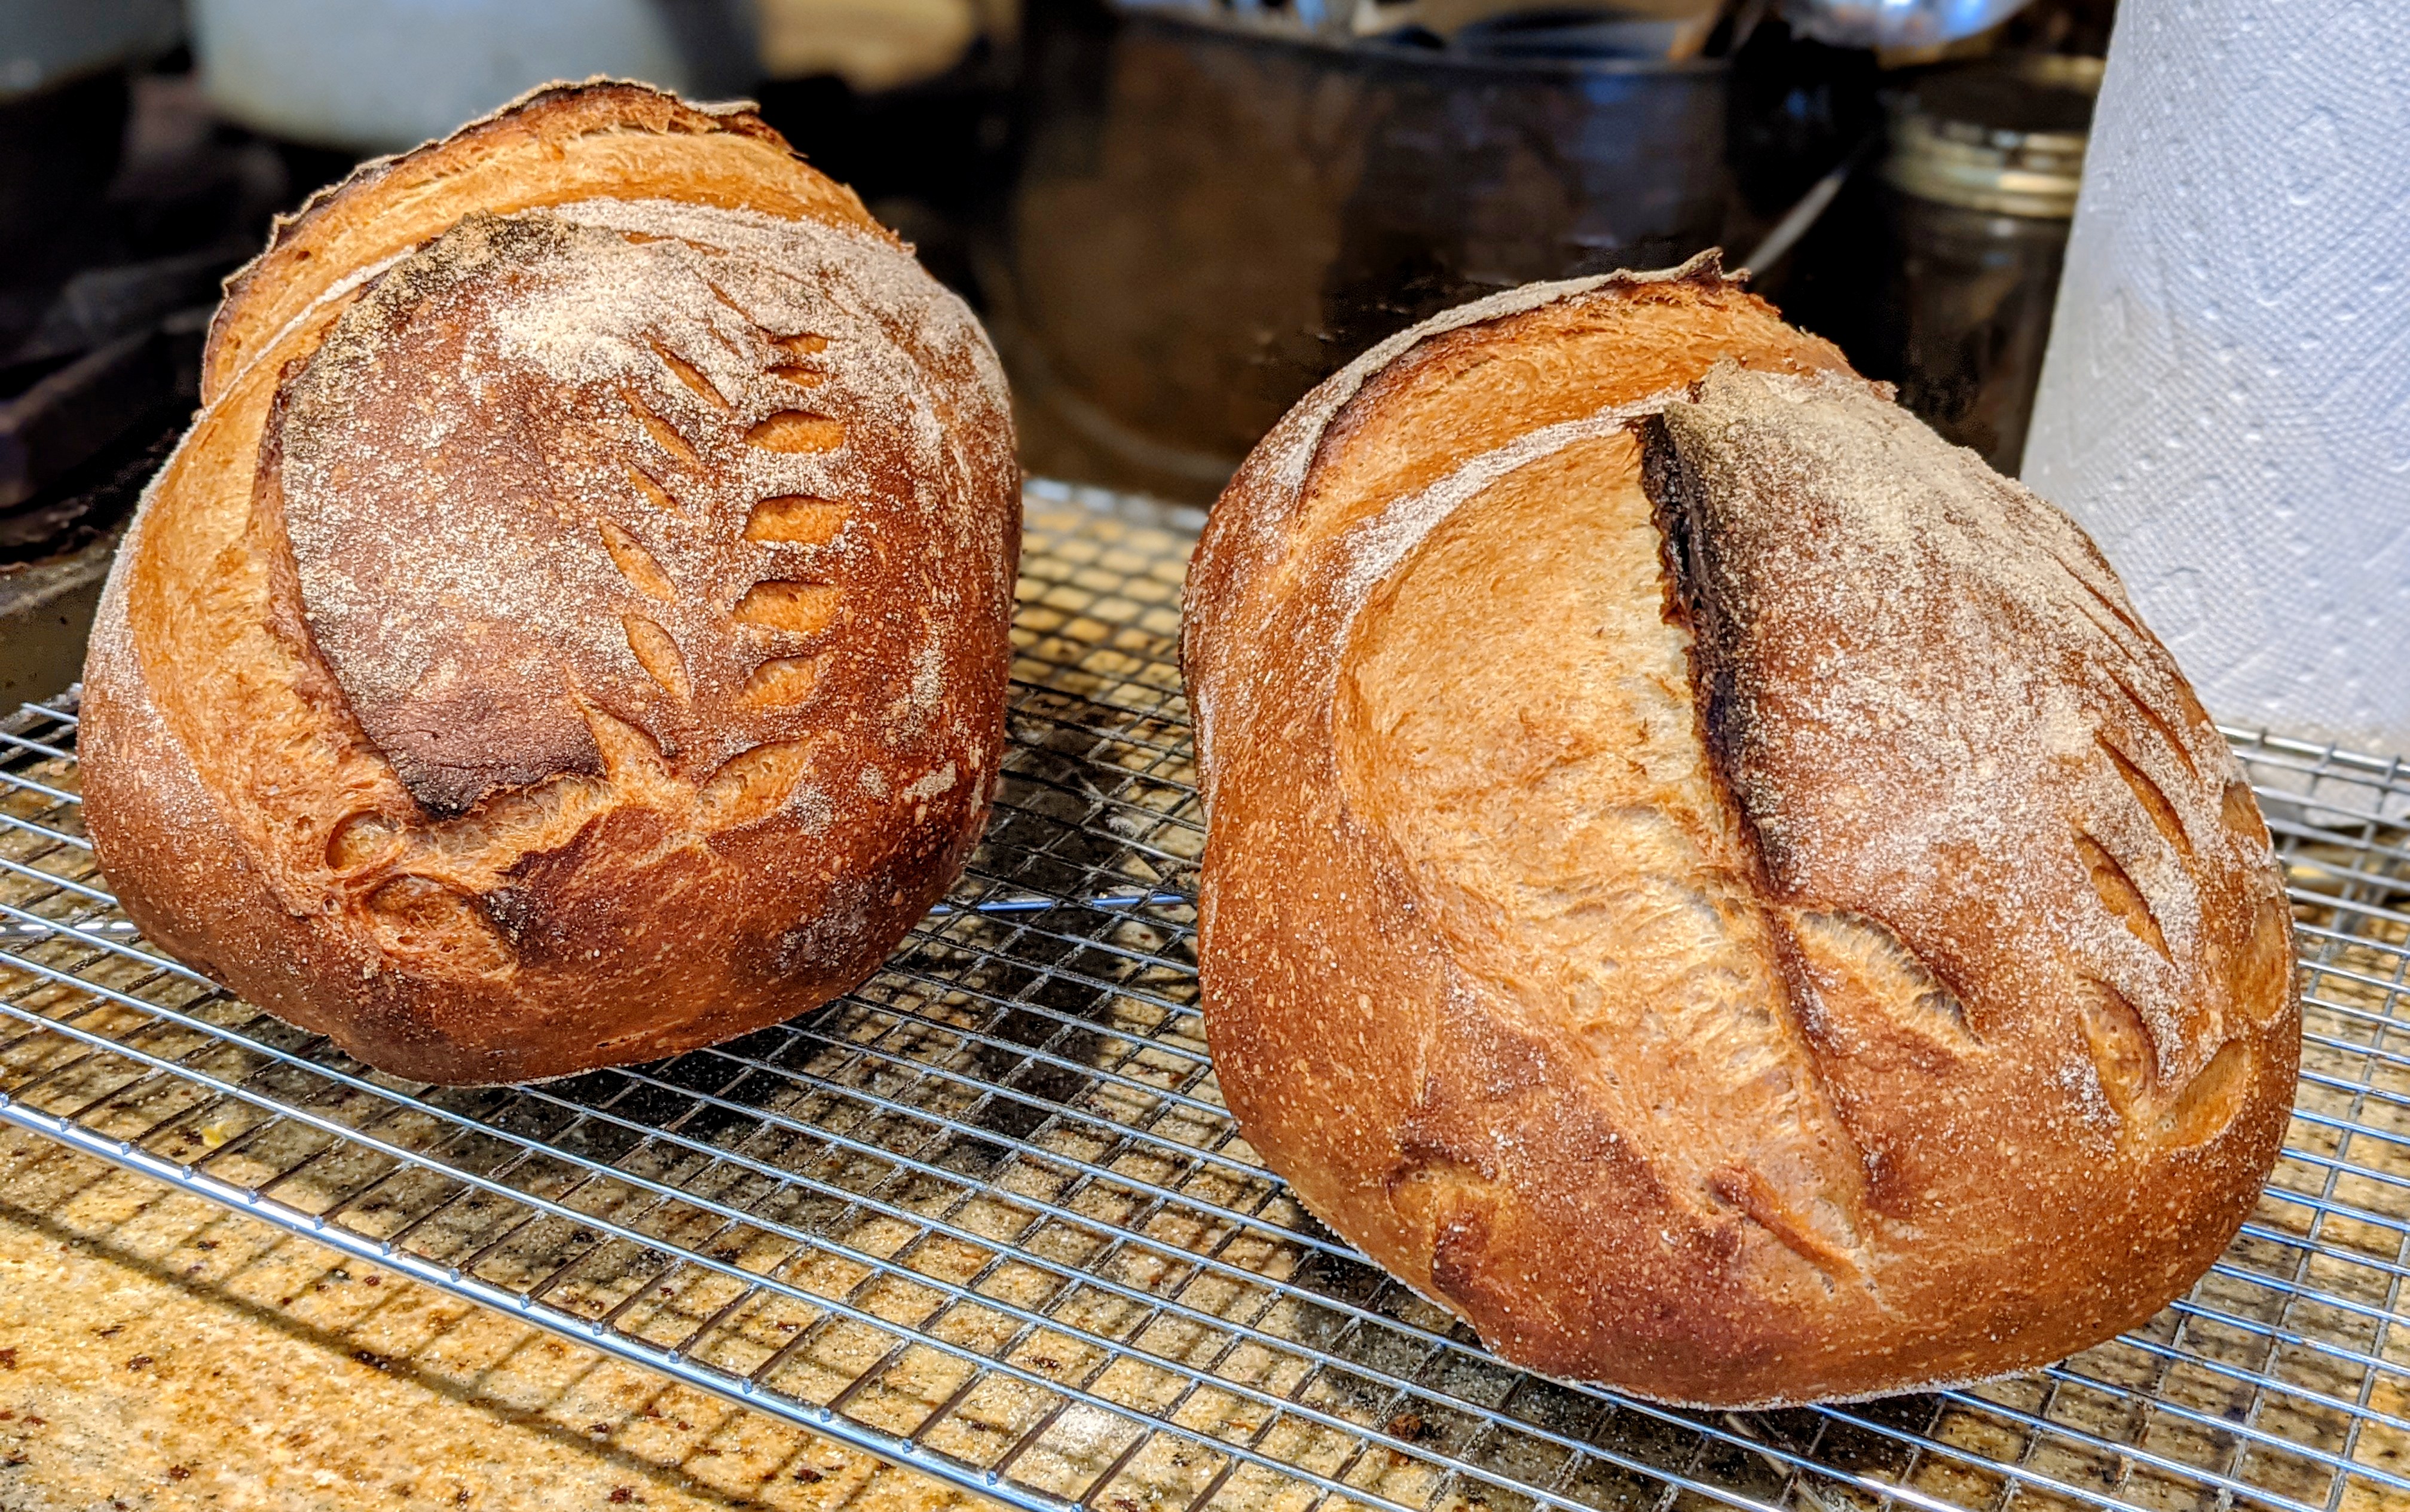
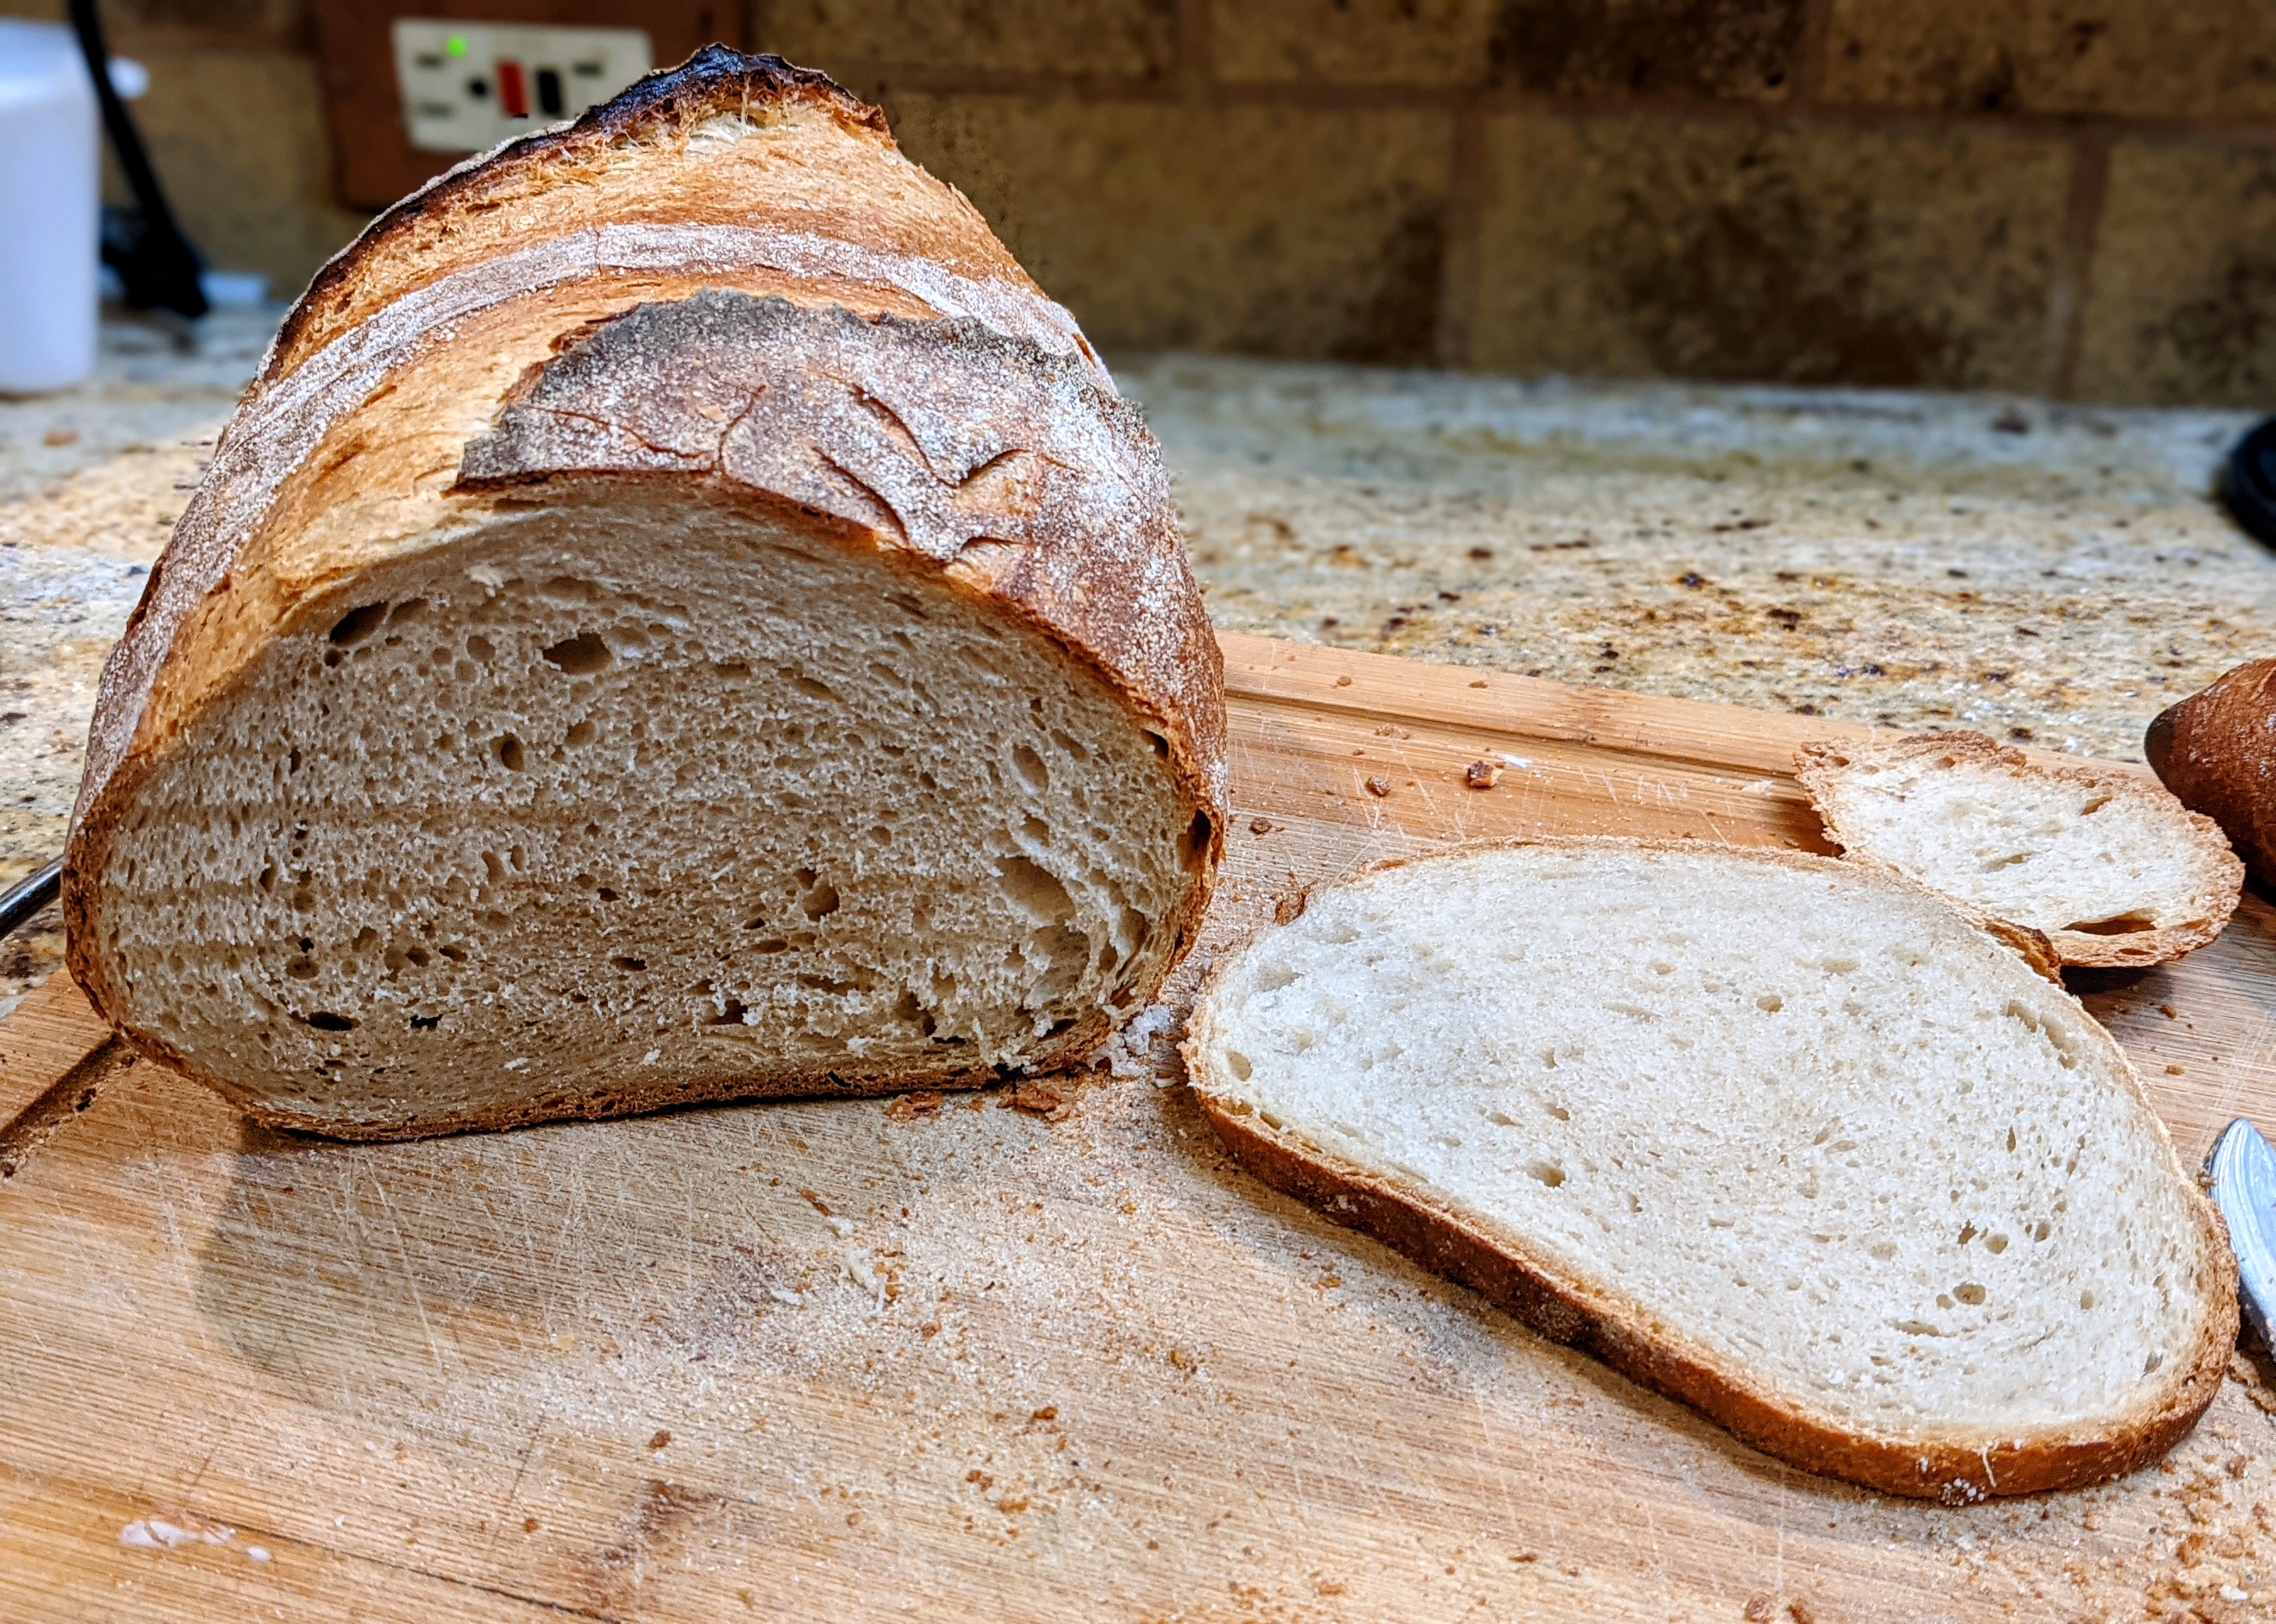
Having made this bread many times, I’ve found that the optimal scaling weight for these loaves is 800g. This will produce loaves with a finished baked weight of approximately 1 1/2 pounds. After scaling, pre-shape into rounds and bench rest the balls for 20-30 minutes until the dough has sufficiently relaxed.

Final Fermenation

Shape the loaves into boules or batards. At this point, you have a couple of alternatives:

  1. Ferment at room temp for 1 – 1 1/2 hours (or until they pass the finger dent test).
  2. Rest for 20-30 minutes, then pop them in the fridge for 8-12 hours.

The second option is more of a timing thing rather than a flavor development thing. The garlic and rosemary are already intensely flavorful and the a long rest, while allowing for the development of organic acids will not have that much of an affect on the overall flavor. So I just normally bake the loaves the same day I make the final dough.

Bake

Hamelman recommends baking the loaves at 460°F under normal steam for 30-40 minutes. But I just bake the loaves the same way I bake boules and batards at 500°F for 20 minutes with steam, then 425°F for 25-30 convection. If you’re using a Dutch oven, just bake the loaves as you normally would for boules and batards.

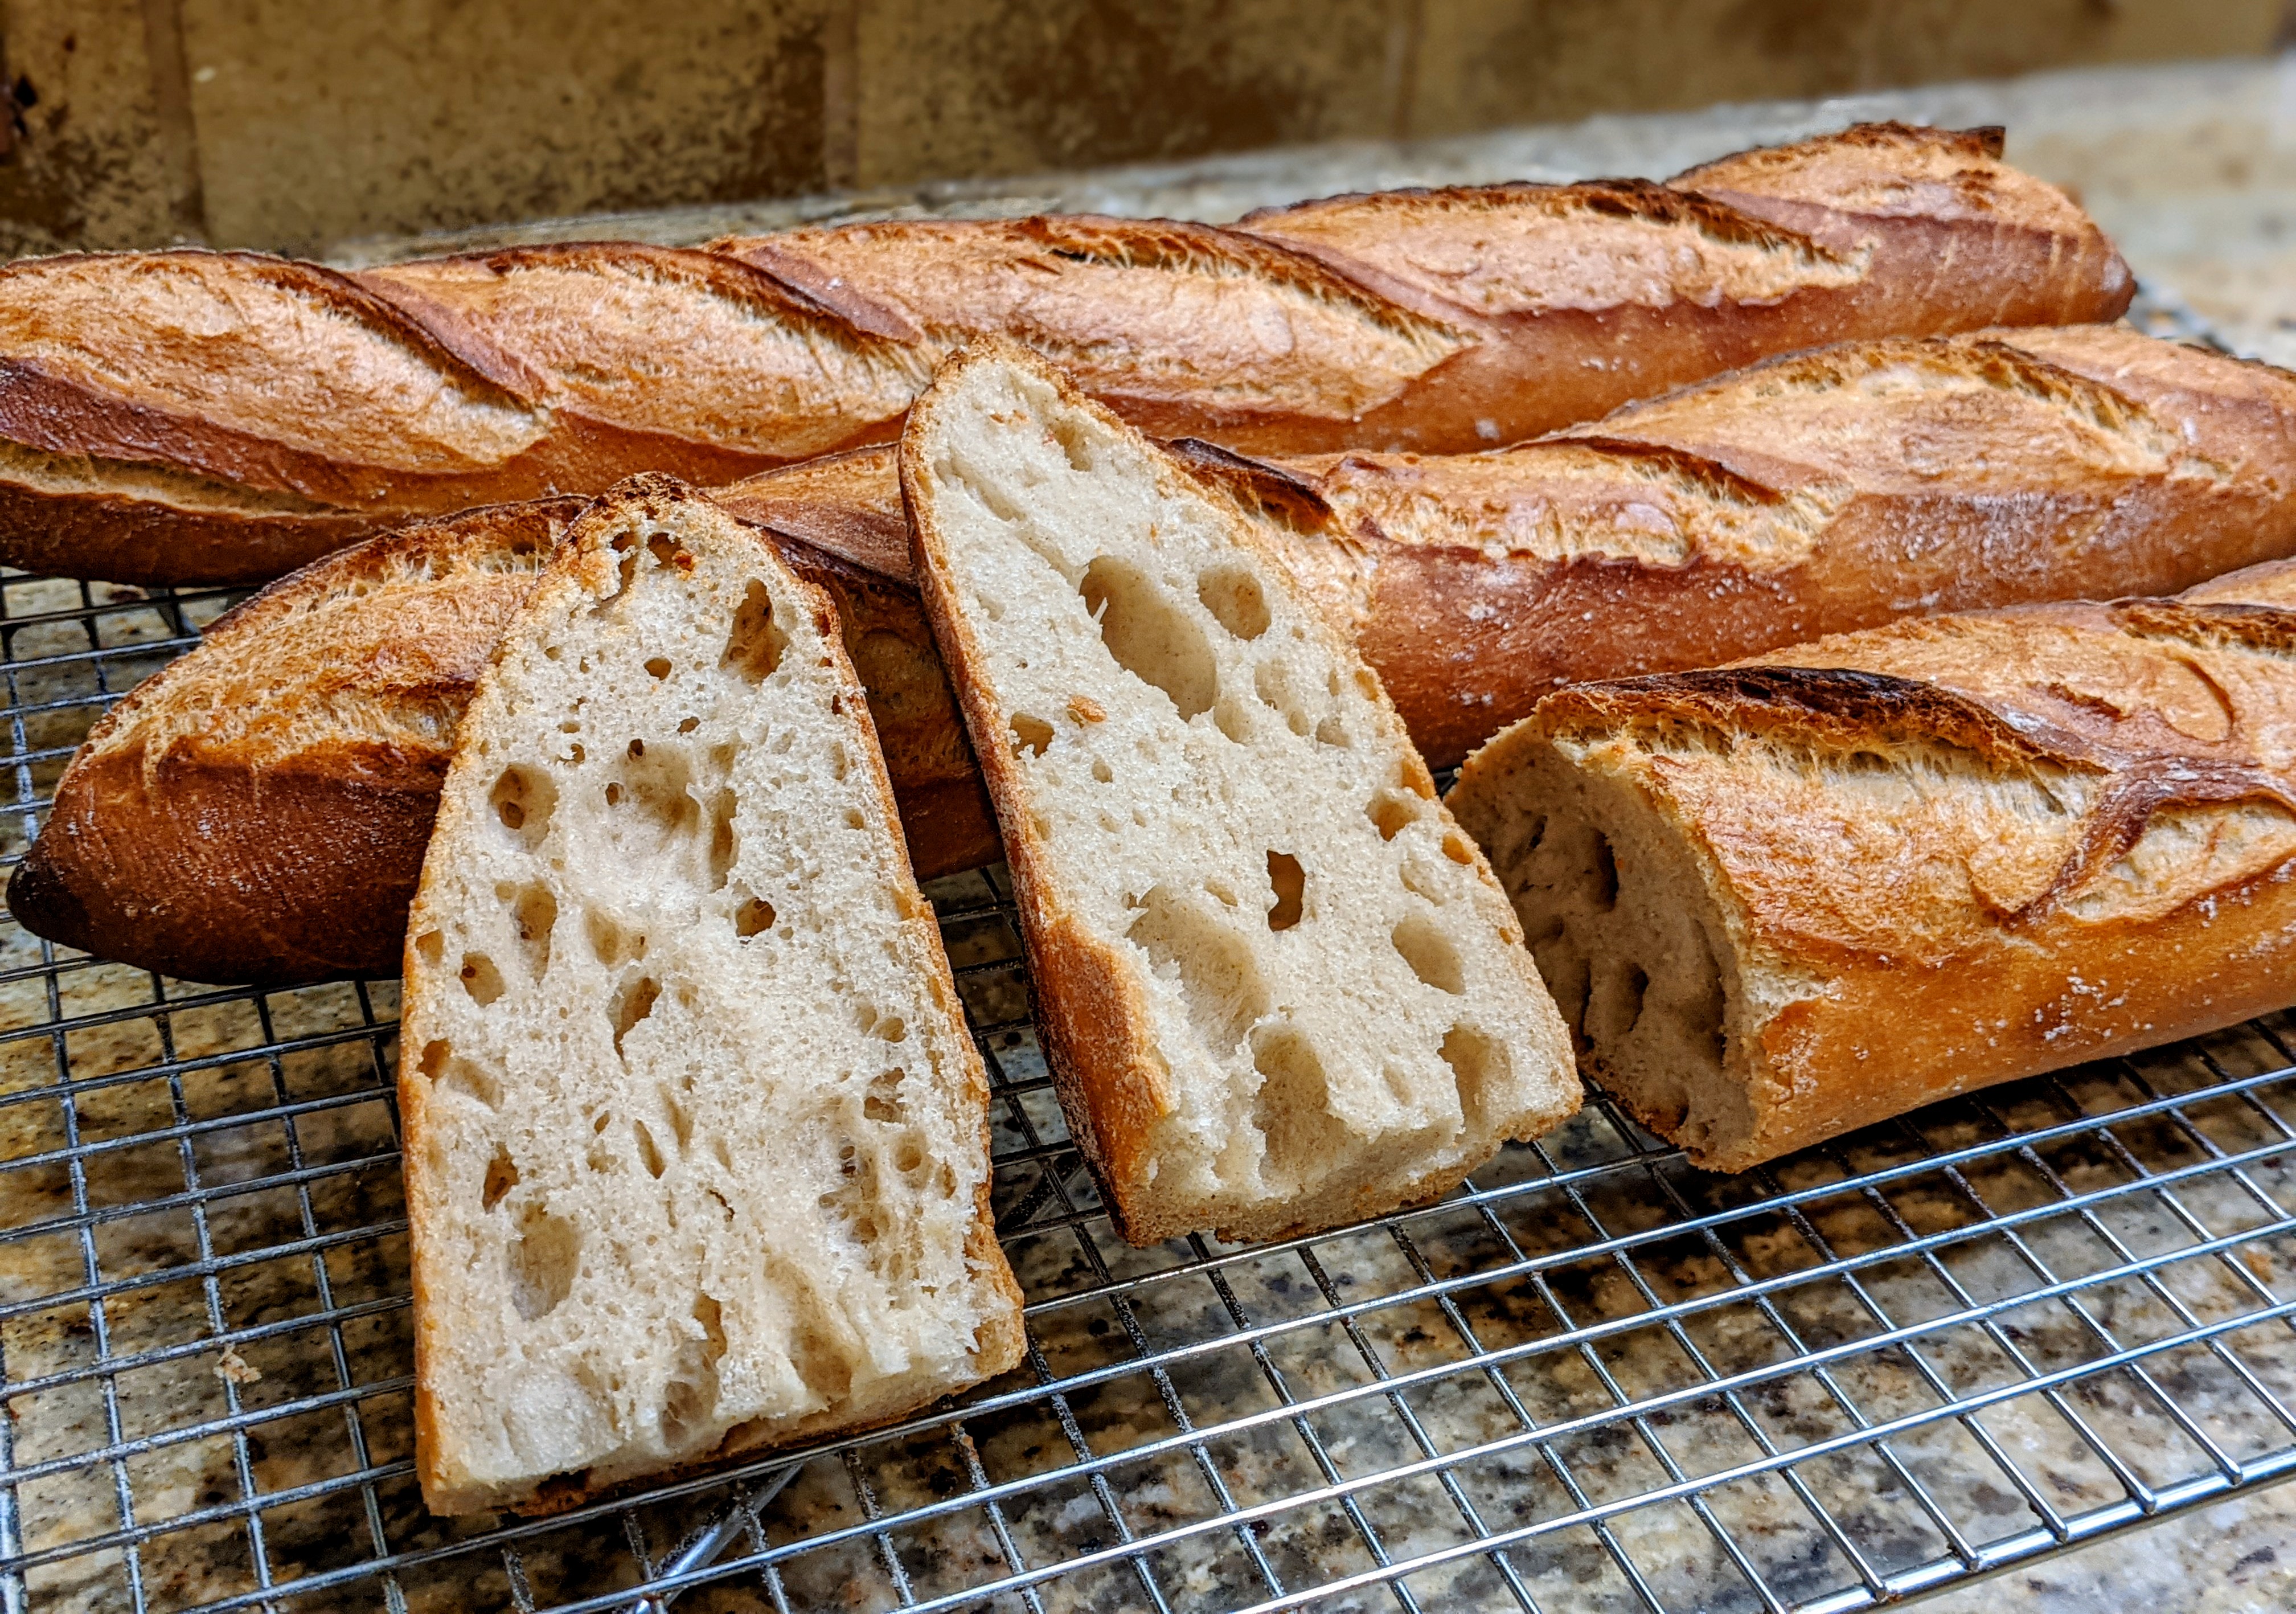
Cool for at least 3 hours before cutting!

Pure Sourdough Method

If you don’t want to use commercial yeast, things will take a much longer time. At 65% hydration, fermentation will take a while – at least twice as long. To be honest, I don’t have exact timings on this because they vary based on the weather. But in general, I’ve found that it takes double the time. Your best bet is to use standard telltales (windowpain, finger dent tests, etc.).

I know that’s not much instruction, but truth be told, this is a bit more advanced of a recipe than just simple sourdough or straight dough, which is why I didn’t include my normal step-by-step instructions. I’ve assumed a certain experience in baking.

Creating a “Mother” Dough

I’m soon going to be doing a big bake. It’s for a fundraiser that I’m putting on where for each loaf of bread I sell, I donate a loaf to a local shelter. With that in mind, I’ve been trying out ways to be as efficient as possible. One of those ways was to see if I could make different kinds of loaves from the same batch of dough. Hence, a “mother” dough.

So two nights ago, I started a 1:5:5 levain (1 part 100% hydration starter to 5 parts flour/water each). I let that ferment overnight, then mixed a final dough which was 3 parts flour to 1 part levain, then added water to bring the hydration to 71%. My thought was to create a dough that I could use for boules and batards and baguettes.

I was a little iffy about the baguettes because I normally make them at 75+% hydration. But my starter has been particularly active as of late, so I thought the yeast could more than compensate for the slightly lower hydration, and I would proof them a little longer than normal to create just a touch lower pH in my dough to help with its extensibility.

As you can see from the pictures above, it worked! I was able to use one dough to create baguettes and batards, and by extension, boules. The crumb is not perfect for either loaf. Though I got big holes with the baguettes, they’re not as numerous as in my regular baguettes. With the batards, which are huge, the crumb isn’t really open with big holes, but the interesting thing is that I got HUGE oven spring out of these loaves – lots of little holes working together to make the loaves expand! And the texture is exactly how I like it.

So while the loaves aren’t absolutely perfect, they’re pretty good in their own right, so I will most likely proceed with this dough. Here’s the formula/process:

The Night Before…

Before constructing the dough, I had to make my levain. For this, I didn’t want my levain to be particularly sour, so I used a 1:5:5 ratio: 100 grams mature starter, 500 grams water, 250 grams high-extraction flour, 250 grams AP flour. I made this at about 9pm the previous night. Since it was like a feeding it would take about 9-12 hours to fully develop in my < 70° kitchen. Long story short, it took 12 hours before it got really bubbly and active.

NOTE: You don’t have to use an active starter for this. I used a completely spent starter that was ready for feeding. The microbes are still alive, so I’m just feeding them when I make the levain. Then I feed the remaining culture in my jar and put it away. I’m not of the school of using my starter directly. I prefer to use a “mother” that I then create child batches of levain to give me more options.

Day 1 – Dough Build

The basic, overall formula that I used is this:

1/3 High-extraction flour*
2/3 AP Flour
3:1 ratio to total flour used in levain
Water71% – factoring in the water in the levain
Salt2%
Instant Yeast**0.02%
LevainAll of it
* That 1/3-2/3 blend of high-extraction to AP flour gives me a protein content of 12.7%, that of regular bread flour.
** This is a minuscule amount just to give the starter a little boost, just in case it was too spent.

With the exception of the instant yeast, you may probably notice that this is a riff on the basic 1-2-3 sourdough recipe, though technically, the hydration is a little lower. Remember, I was trying to achieve a happy medium that could be used for different kinds of loaves.

  1. Autolyse – Combine the flour and water (reserve a little to help break up the levain later), and let soak for at least 30 minutes.
  2. Mix – Break up the levain with the reserved water, then add it to the autolysed dough along with the instant yeast. Mix a little, then sprinkle salt evenly over the mass, then continue mixing until all ingredients are incorporated and there are no dry ingredients and no large lumps. Mix until you create a well-incorporated shaggy mass.
  3. Stretch & Fold – Do two sets of stretch & folds every half-hour in the first hour after mixing. This is to build strength and make sure all the ingredients are well-distributed, so make sure you stretch and fold to the point where the dough doesn’t want to be stretched any longer. Since it was a bit cool that day, I did three sets just to make sure that everything was well-combined because I saw little activity in the dough.
  4. Coil Fold – After the S&Fs, I wanted to be much more gentle with the dough so it wouldn’t degas significantly so I switched to coil folds for the next hour and a half. By the time I finished the third set, it was clear that I was getting enzymatic activity in my dough, so I let it rest for 30 minutes, then popped it into my retarder fridge.
  5. Retard – Retard the dough for at least 24 hours, or until the dough has expanded 50-75%.

Day 2 – Making the Loaves

I couldn’t do all my loaves at once because 1) The timing would get screwed up; 2) Different loaves require different bulk fermentation times. But that’s an advantage! With baguettes, you want to start pre-shaping at about 50% expansion. Because you need a nice, long runway for intermediate and final fermentation. So with that in mind, early on Day 2, I scaled out what I’d need to make three 400-gram baguettes, so 1.2 kilos, then returned the rest of the dough to my retarder because I wanted to do a longer bulk for my batards.

I went through my regular baguette process, then once I finished baking my baguettes, I set my oven back to the proper temp, then removed the rest of the dough to create my batards. For those, I pre-shaped into tight balls, then bench rested for 30 minutes. I then shaped the loaves and put them in their proofing baskets and they proofed at room temperature for 2 hours (the dough was pretty cold so that probably accounted for the long, slow proof – which is NOT a bad thing).

Final Thoughts

All in all, I’m quite happy with the results. However, I am going to up the hydration to 73% or maybe up to 75% the next time I do this. Even with just 1/3 high-extraction flour in the final dough, the water absorption of that flour is high because of all the bran that at 71%, it felt like working with a 67-68% dough: pliable but a little stiff.