
When I first started making baguettes, I learned the pointage en bac method of making my baguette dough. To date, this is my most-used method for making baguettes. The slow rise significantly slows the yeast activity and allows the amylase enzymes to break down the starches in the flour and release more sugars into the dough than can be processed by the yeast that would otherwise be converted to alcohol and CO2. Plus it allows the lactobacillus and acetobacillus bacteria to release organic acids into the dough as well. With that method, I start with a dough temperature that is about 76℉-78℉, so when I finally put the dough into the fridge, fermentation has already started then gradually slows as the dough temp equalizes with the fridge temp.
But there is a bread called pain à l’ancienne whose fermentation is retarded at mixing using ice-cold water. Once mixed, the dough is then put into the fridge overnight. The dough is then removed from the fridge in the morning and allowed to come to room temp; thus, delaying fermentation and benefitting from the other microbes not having to compete with the yeast. But the two techniques differ in that with the pointage en bac method, the dough is immediately shaped out of the fridge as opposed to the pain à l’ancienne that is allowed to wake up for a period of time before shaping.
It actually makes a bit of sense to allow the dough to wake up because fermentation was delayed from the start. The cool thing is that when fermentation is allowed to proceed in earnest, the yeast have plenty of sugars on which to feed since the amylase enzymes had time to break down the starches overnight. Plus, the organic acids released into the dough will make it much more extensible. All good!
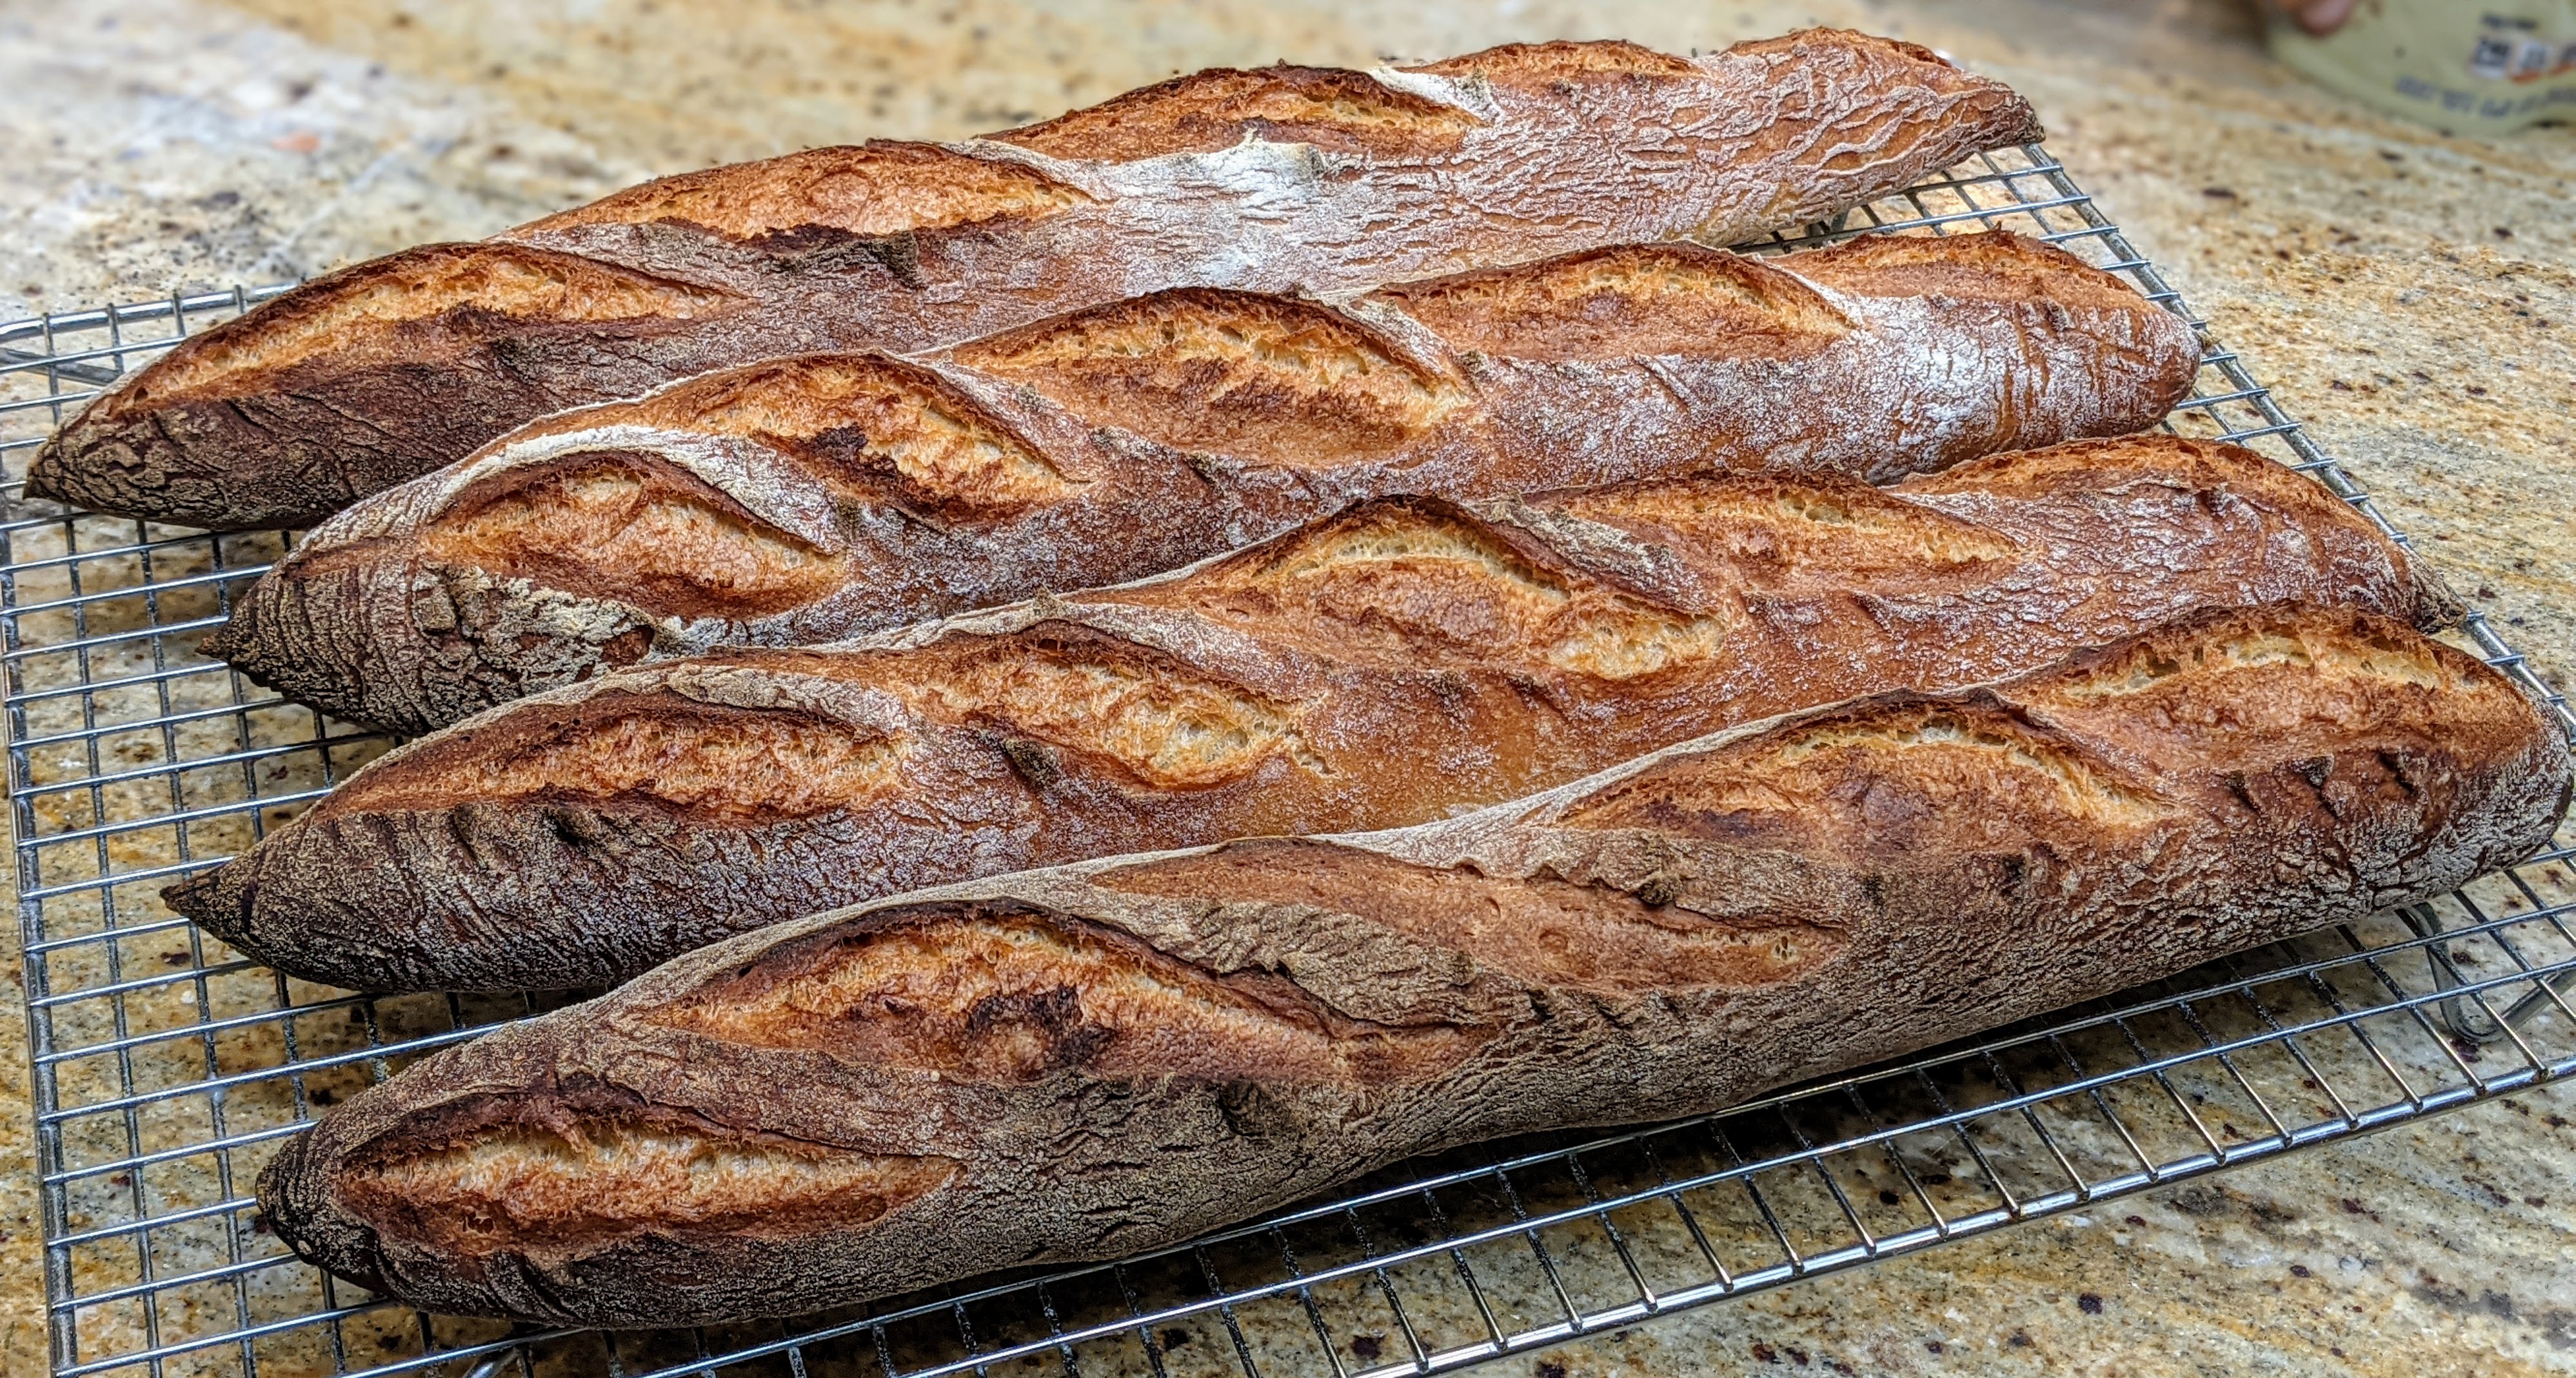
I did a riff on the pain à l’ancienne technique with my latest batch of baguettes and they turned out fabulous!
Formula
| Flour | 100.00% |
| Water | 76.00% |
| Salt | 2.00% |
| Yeast (instant) | 0.38% |
| Total % | 178.38% |
Final Dough
| Kamut Flour (sifted) | 190g |
| AP Flour | 569g |
| Water (35℉ – 40℉) | 577g |
| Salt | 15g |
| Yeast | 3g |
| 1353g 4 X ~335g loaves |
Mix. Thoroughly mix ALL dry ingredients together until fully combined. For the ice water, I just filled a bowl with ice water then used a strainer when adding it to the dry ingredients. Mix until you have a shaggy mass with no large lumps. Cover the mixing bowl, then place it in the fridge for 30 minutes to maintain the dough temp. After 30 minutes, take the bowl out, then stretch and fold the dough until smooth.
Retard. Return the dough to the fridge and let it sit for at least 8 hours. There will be yeast activity during this time, but it will minimal.
Bulk Fermentation. Remove the dough from the fridge and allow it to wake up for 1-1 1/2 hr. During this time you still won’t see much expansion of the dough mass, but that’s okay. There’s actually a lot that has happened overnight. All in all, you should see about a 50% expansion of the dough from its original size.
Divide and Preshape. Divide the dough into 335g pieces. Letterfold each piece, then roll up the piece perpendicular to the seams like a jelly roll. Alternatively, you can create rounds. After preshaping, place the piece on a well-floured couche and let the pieces rest for 30 minutes. This is an important step because the dough is still cool at this point and needs time to relax. After that time, if you pick up a piece, it should feel billowy and the dough should give.
Shape. Rather than write down the process, here’s a GREAT shaping method that Martin goes into in detail.
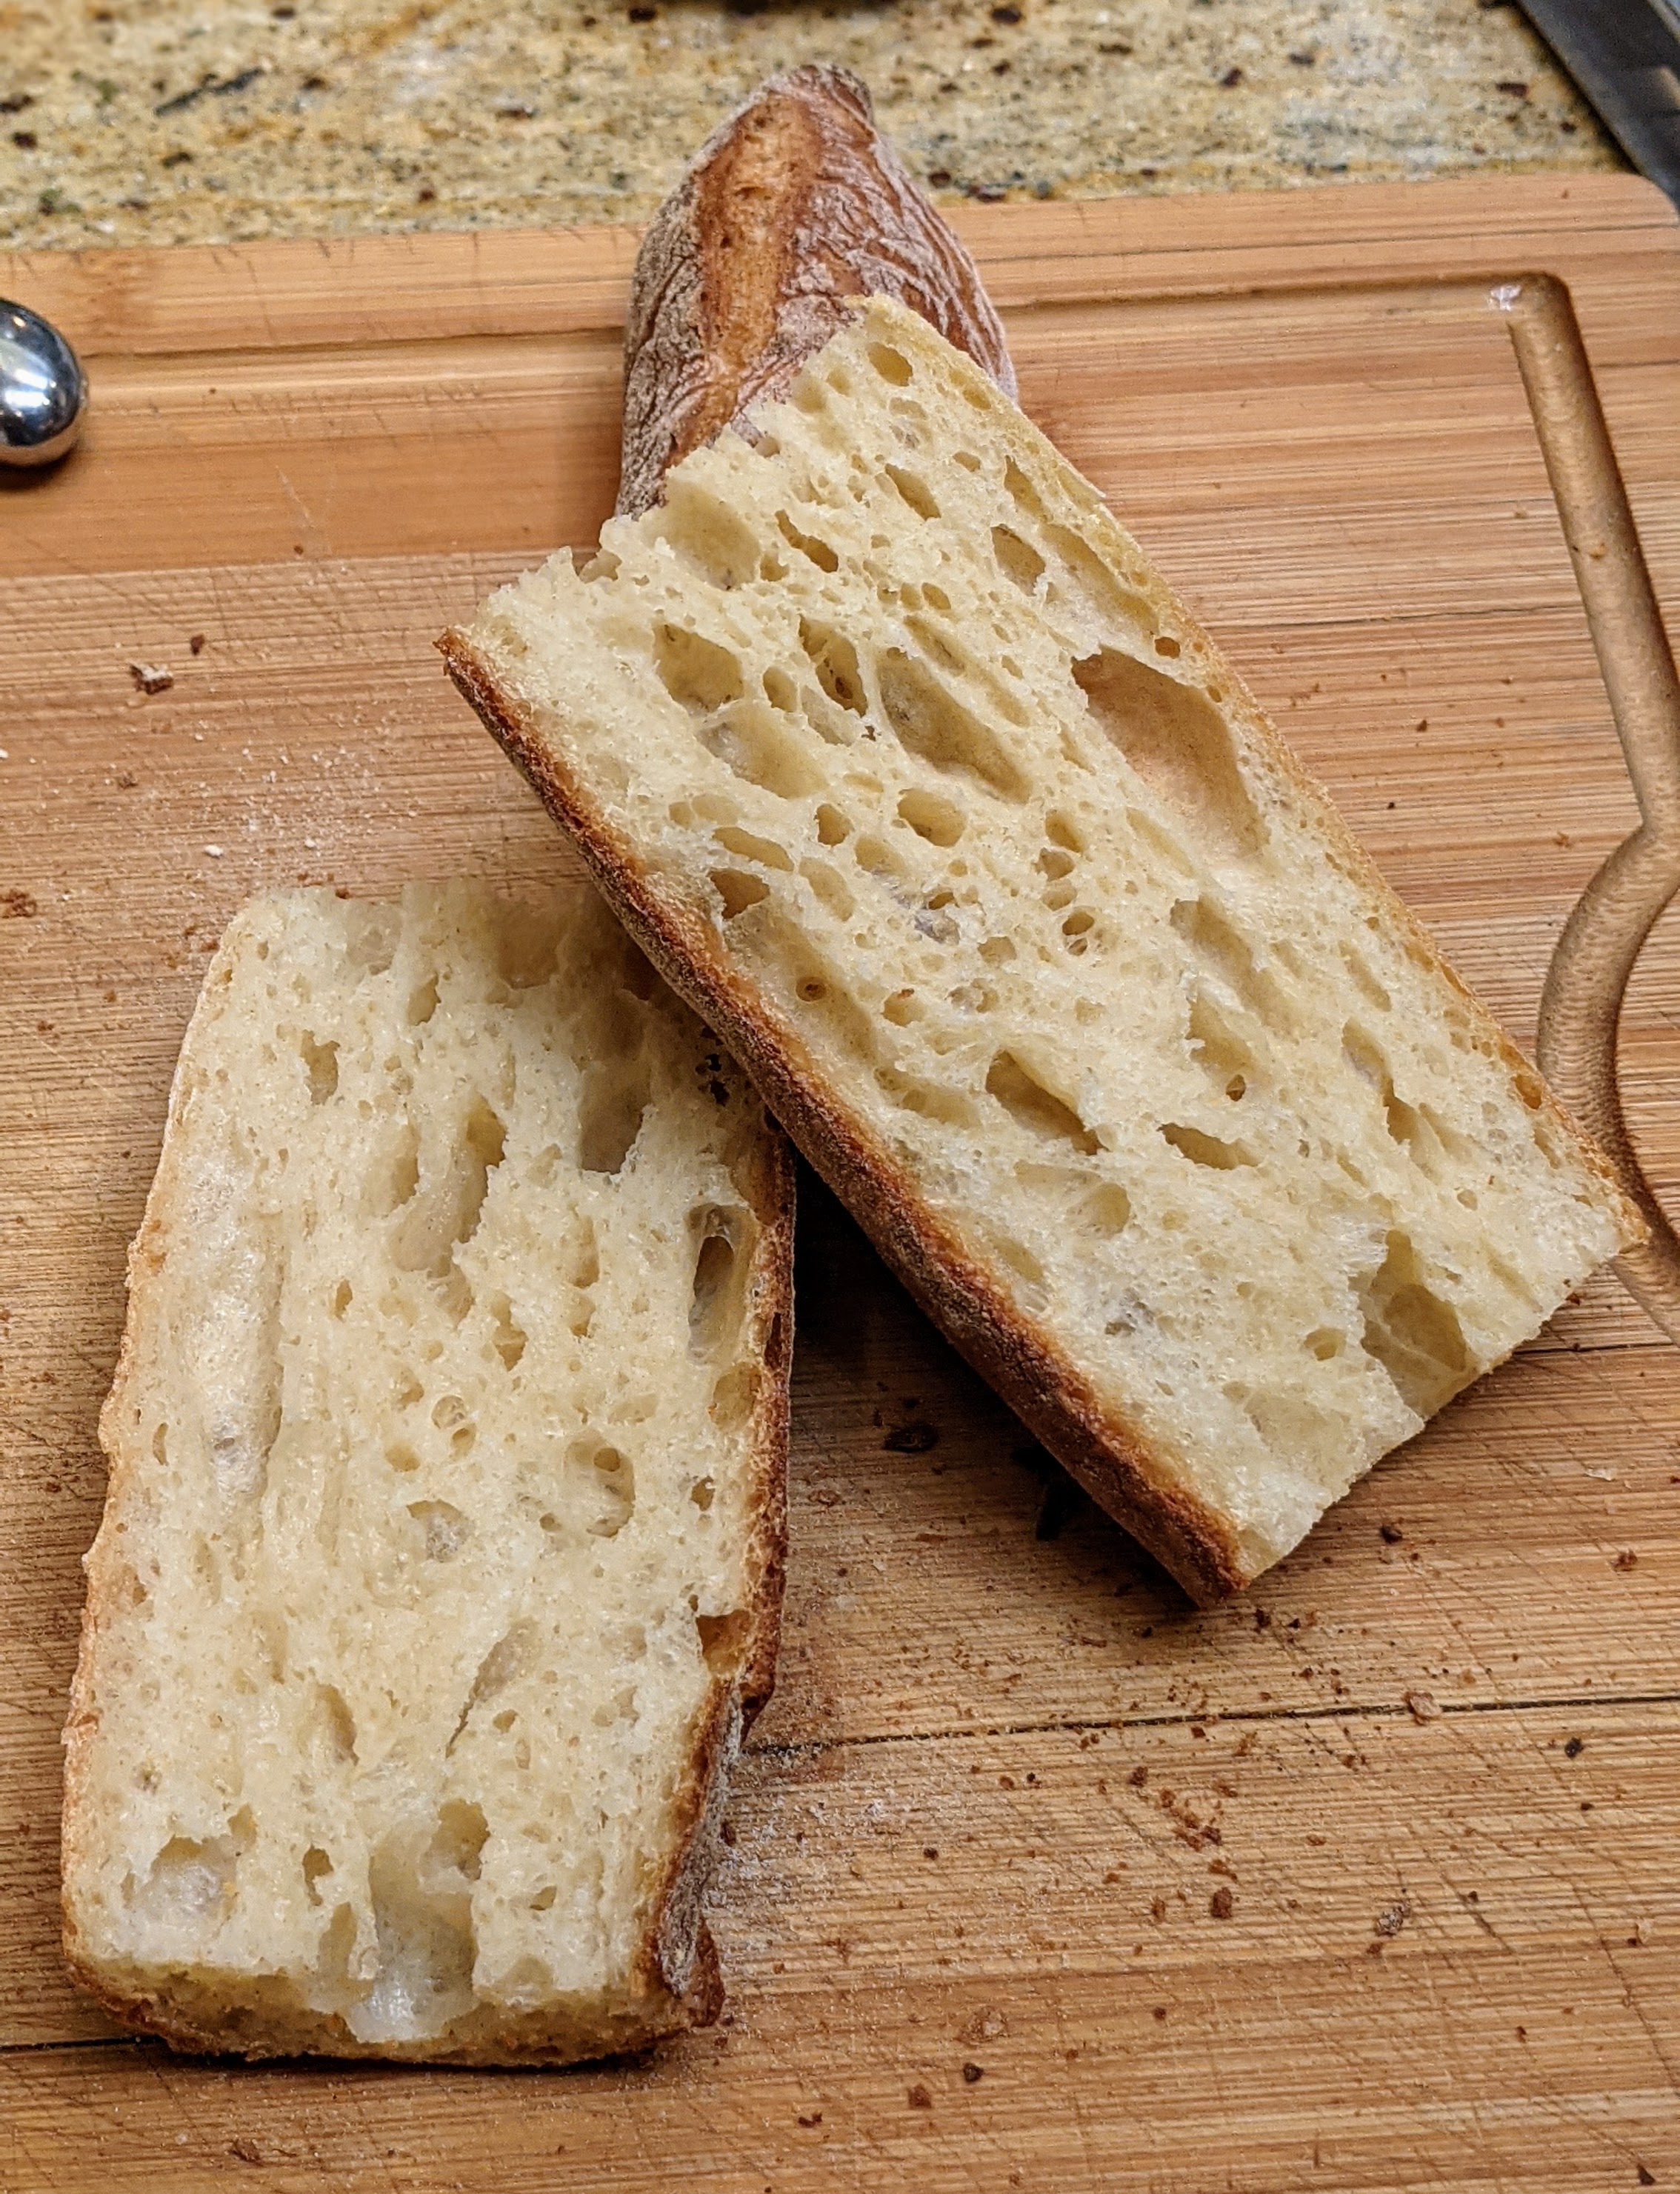
Final Fermentation. This last part is a little tricky in that it really require a bit of feel. But because the dough started out cold, the minimum final fermentation would probably be one hour. But when I baked these today, my kitchen was 72℉ and it took a little over two hours to finish final fermentation. Use the poke test to determine readiness. With this dough, the indentation should remain, but still eventually fill in. If your poke disappears completely, the dough isn’t ready. It’s really critical that you give final fermentation plenty of time as shaping will have degassed the dough slightly. Final fermentation will allow the holes to reform.
Bake. Bake at 475℉ with steam for 12 minutes or until the crust is set and you start seeing color. Remove steam, then finish baking at 425℉ for 15-20 minutes. This bread really benefits from a full bake.
If you’re wondering what the difference between this type of baguette is and a standard baguette, look at the pictures below:


On the left are the baguettes made using the pain à l’ancienne technique and to the right are a recent batch of Baguettes de Tradition. They were both baked in pretty much the same way, at the same temperatures. But notice how the pain à l’ancienne style baguettes are darker. This is because of the carmelization of the sugars that were released into the dough overnight. Baguettes de Tradition, on the other hand, are processed all within a few hours time; not enough time for sugars to be released.
