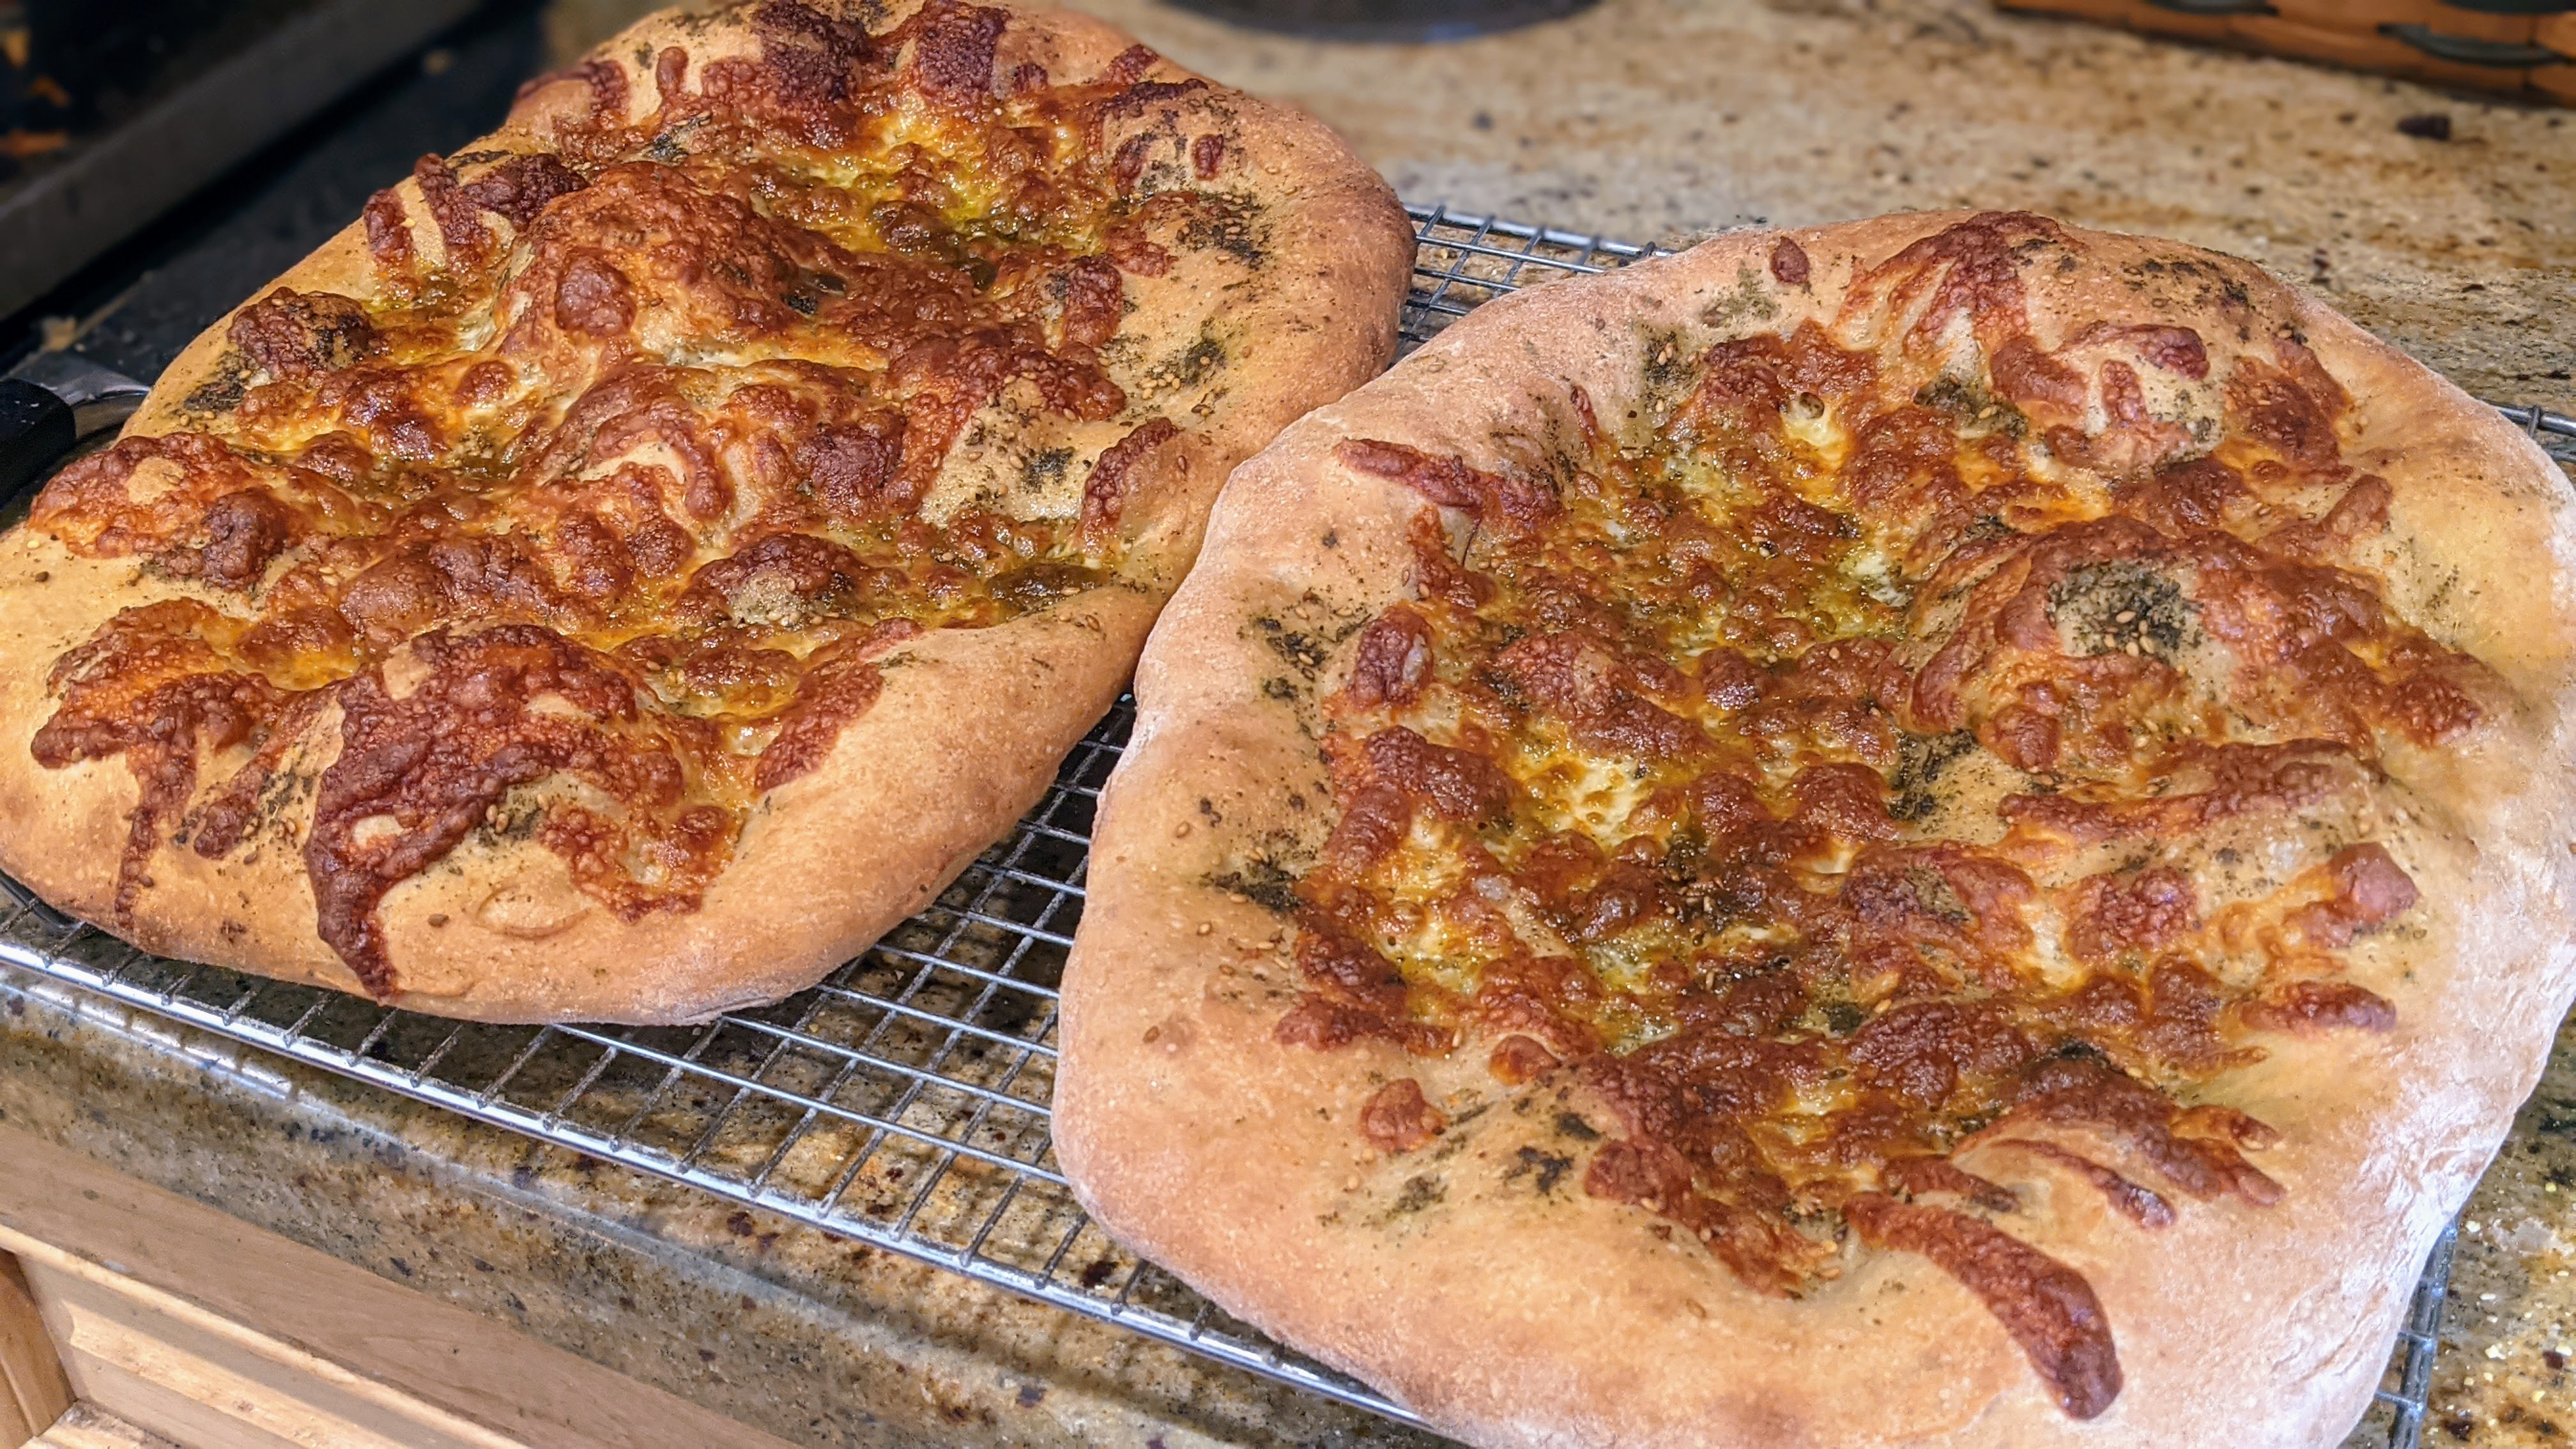
Though I haven’t ever posted anything about pizza dough, I actually make pizza or flatbread a couple of times a month. I just haven’t posted anything about it because I’ve been working on my formulation as well as my dough development technique. But I finally developed a formula and method that I’ve been using the past few times I’ve made pizza and as I’m getting consistent results, I thought I’d share it.
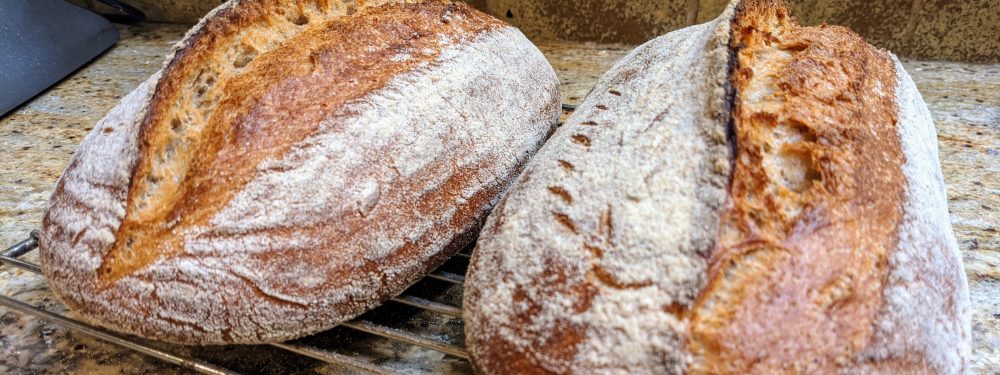
This dough may not be for everyone, especially those who like a thin, crusty crust. I like a crust that’s similar to baguettes: A crispy exterior and a chewy, toothy crumb. If you like a crust like that, this dough will fulfill that!
One thing I love about this particular dough is that it’s highly extensible due to the olive oil. But what I discovered is that you can’t add the olive oil too early as it inhibits gluten formation (I actually had to do some research on that). So the olive oil is always added last, after the dough has been worked a bit.
Contributing to the dough’s extensibility is the use of a stiff biga. But it also lends a very nice, slightly sour flavor profile from the long, slow fermentation. That, combined with a cold final fermentation makes this dough very tasty! Let’s get to the formula!
Overall Formula
| Flour | 100.00% |
| Water | 68% – 70.00% |
| Salt | 1.80% |
| Yeast | 1.30% |
| Olive Oil | 5.00% |
| Total Percentage | 178.10% |
Biga
| Preferment Flour % of Total | 17% |
| Hydration % | 60% |
| Preferment Yeast % | 0.20% |
Final Dough
| Flour | 430 |
| Water | 299 |
| Salt | 9 |
| Yeast | 7 |
| Olive Oil | 26 |
| Biga | 138 |
| Yield | 909.00 / 2 X 450g pieces |
| Total Flour | 510.39 |
| Total Water | 357.27 |
For both the biga and the final dough, I like using a high-protein flour. Something in the range of 14-17% protein content. You can use King Arthur or Bob’s Red Mill bread flour and add a bit of vital wheat gluten to get you over the 14% mark. I wrote an article on upping the protein percentage in your dough using vital wheat gluten that you can use as a reference.
Biga. As I make a lot of Italian bread, I usually have a couple of different biga formulations in my fridge, so when I need some, I just scale out what I need for a particular bake. For this, you want to make a 60% hydration biga. Most folks won’t have a 60% biga on hand, so you should make it the day before you mix. So for this recipe, take 100 grams of high-protein flour, 60 grams of water and a half-gram of yeast. Mix it all together then form it into a ball. Place it into a lightly oiled bowl and cover tightly with plastic. Let it begin to ferment at room temp for an hour, then pop it into the fridge. It will be ready when the surface is riddled with holes and the center is ever-so-slightly recessed.
While I recommend using a mixer to mix, you can do this by hand. It’s just a little harder.
Mix. Measure out the water to 68% (the final dough indicates what you’ll need for 68%). Place all the ingredients in a mixing bowl except for the biga and the olive oil. Thoroughly mix all the ingredients together. As the ingredients start coming together, add the biga in chunks, then mix until fairly smooth. Once everything has been incorporated, the dough should be sturdy, but still pliable. If it seems a little dry and stiff, add a few grams of water to correct the hydration. Work the dough a little to start developing the gluten, then once you’ve got some gluten development, add the olive oil. At this point, I usually squeeze the olive oil into the dough with my hands. To use the mixer would mean to mix at a higher speed, and I don’t want to tear the gluten strands to incorporate the oil.
Bulk Fermentation. 1-2 hours or until the dough has doubled. It was 83°F in my kitchen yesterday when I made the dough and the dough doubled in 45 minutes! So in warm weather, keep an eye your dough!
Folding. If you mixed by hand, you can optionally fold after an hour. But I never fold if I use a mixer. I get good enough gluten development with it.
Divide and Shape. Scale the dough into 450g pieces. These will be big enough for a 16″ peel. If you want smaller pieces, then just half the halves again. Form the pieces into rounds (it’s not important to form a super-taut skin), then place on a floured surface, seam-side-down. If you plan to bake them the same day, let the balls rest for 20-30 minutes then they’ll be ready to press out or thrown. Otherwise, sprinkle the tops with flour, then wrap each piece individually with plastic then place them in the fridge. Alternatively, you can place the pieces unwrapped in a sealable container. Store in the fridge for up to 24 hours. That said, with this amount of yeast in the final dough, I’ve had the most success with a 12-hour final ferment. If you rested your rounds in the fridge, allow them rest at room temp for an hour before baking and shaping into flats.
Note: If you want do an even longer cold fermentation, use 25%-50% of the prescribed yeast. Depending on how cold your fridge is, you could take a two or three days.
To shape, press the ball into a flat circle or a rough oval if making flatbread. Stretch the dough with both hands on the backs of your knuckles, rotating often to ensure an even thickness. As the dough thins, it will tear, so be careful not to tear it! These particular dough balls will make 16″ pizzas. Once finished shaping, place on a peel that has been well-dusted with semolina or coarse-grind cornmeal (my preference), then add toppings.
There’s technically no final fermentation step unless you count the bench rest after shaping into rounds or resting in the fridge. .
Bake. This is where it kinds of gets tricky. And as much as I’d like to say you can bake your pizza or flatbread on baking trays, you get the best results with a stone or steel. Even though you can’t get the high 700° temps of a wood-burning oven, you can still get pretty good results. So bake at 500°F dry for 10-12 minutes. The crust will be golden brown.
