
I’ve touched upon this before that I’ve always had issues with recipes because they always list out the ingredients like 1000g of flour, then say, “Divide the dough into two equal pieces.” I suppose that’s fine if you’re just baking for your family and you don’t really care about things being truly equal. But when I started baking a lot and especially when I started Dawg House Bakery, dough yields and loaf weights became VERY important to me.
With regular recipes, even though they might include the baker’s formula, oftentimes they simply say, “Use this much of this and this much of that, etc.” It makes it incredibly difficult to calculate yields based on that approach, especially if you’re baking a dozen or more loaves. So I’ve taken to working backward. And by that I mean I figure out what I want to bake first, like 8 loaves @ 800 grams apiece, then work backward from there. And THAT is where the baker’s formula comes into play.
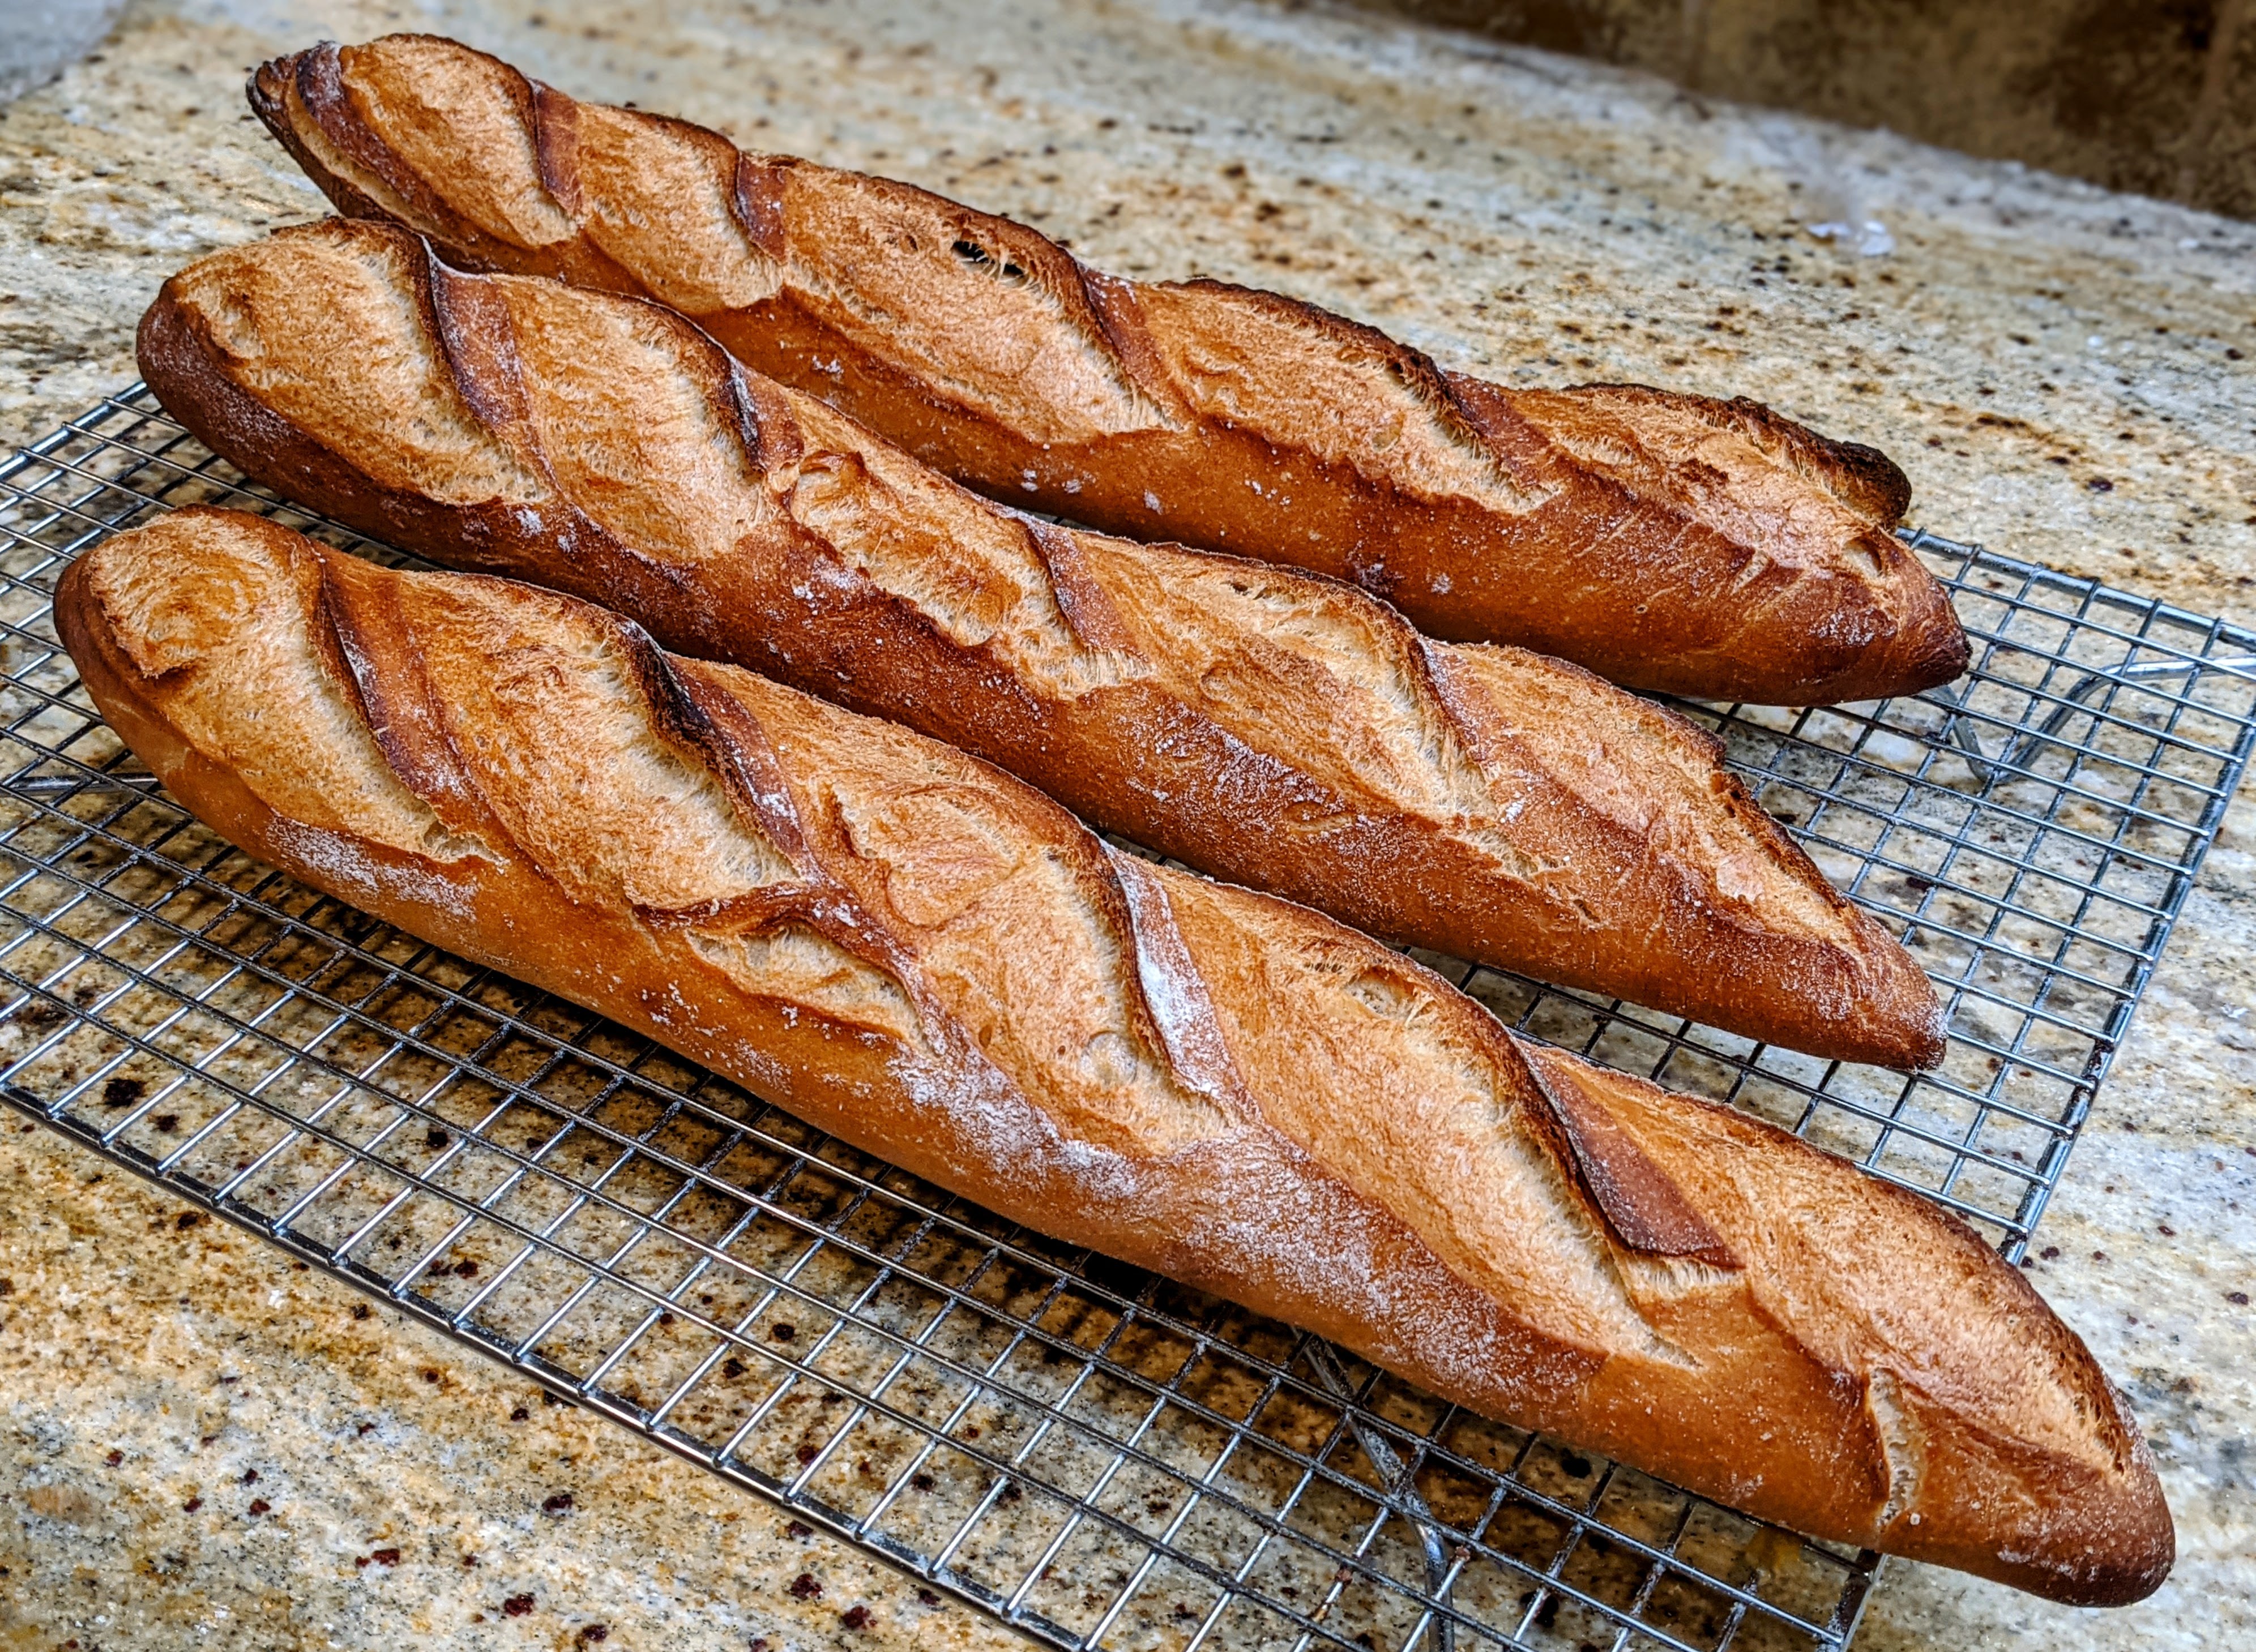
Now, most people look at a formula and only look at it from the perspective of calculating the non-flour ingredients, for instance, salt is 2% of the total flour. But the real secret of a formula lies in the sum of all the percentages. Let’s look at a basic sourdough baguette formula that I use:
| Flour | 100.00% |
| Water | 80.00% |
| Salt | 2.00% |
| Total % | 182.00% |
When I first started using formulas, I didn’t understand that Total % figure. Like most, I just looked at the non-flour ingredients. But once I learned that if you divide the total dough weight by that Total %, you get the flour amount that you need, it was a total game-changer!
For instance, let’s say I want to make 4 baguettes at 335g apiece before baking. The total dough weight would be 1340g. Now, if divide that by the 182% total percentage, the total flour in my recipe would be:
1340 / 182% = 736g
From there, it’s easy to calculate the rest of the ingredients!
If we were doing a straight dough, the numbers would look like this:
| Flour | 736g |
| Water | 589g |
| Salt | 15g |
For this amount, I just know from experience to use about 6-7 grams of yeast, so I don’t really factor that into my calculations, but typically it’s around 1% or less depending on the weather (the warmer it is, the less yeast I use).
But What About Using a Preferment or Sourdough Starter?
This is where it gets a little tricky because the preferment is technically part of the total flour and water, not a separate component. You will hear some bakers say that a preferment is the early stage of the dough. You still calculate the total amount of the preferment based on the total flour, but you have to subtract the flour and water of the preferment from the total flour and water when figuring out what you’ll need in the final dough. Otherwise, you’ll throw off your total dough weight.
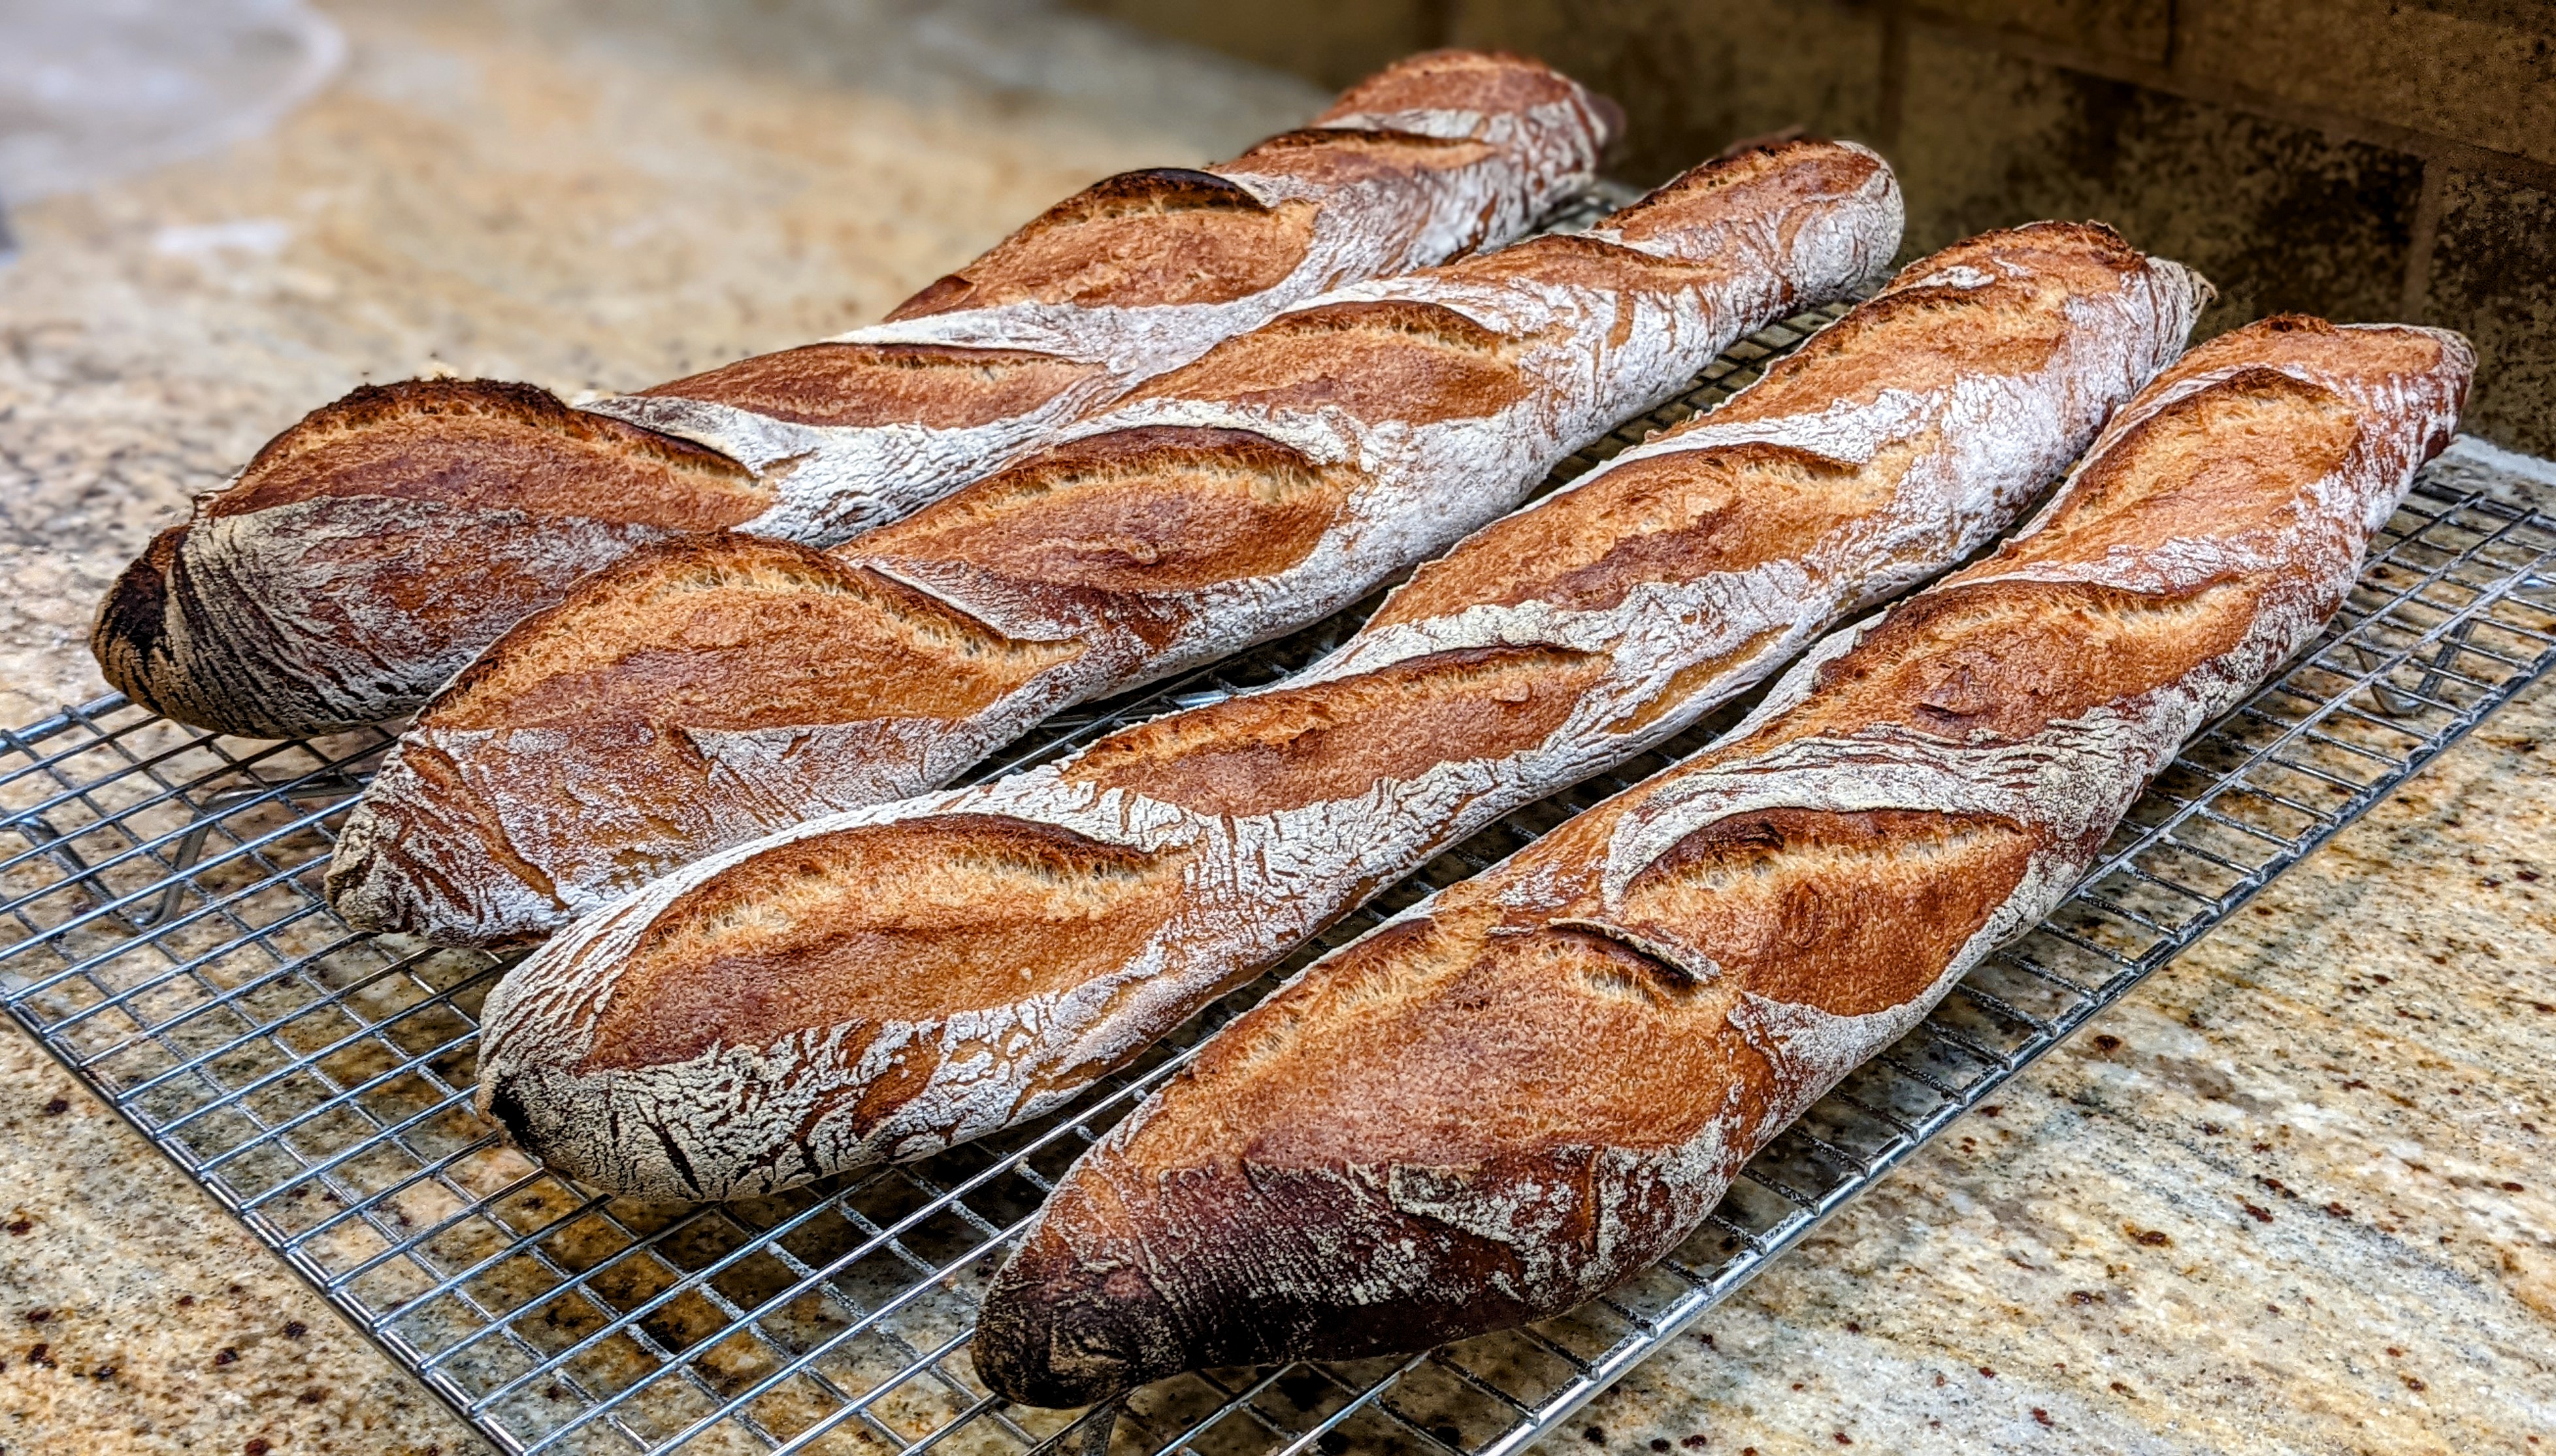
For my sourdough baguettes, I want my starter to be 25% of the total flour. As my starter is 100% hydration, here are the calculations:
| Preferment % of Total Flour | 25% |
| Preferment Total Weight | 184g |
| Preferment Hydration | 100% |
| Preferment Flour | 92g |
| Preferment Water | 92g |
Based on that, here’s what the final dough ingredients will look like:
| Flour | 736g – 92g = 644g |
| Water | 589g – 92g = 497g |
| Salt | 736g * 2% = 15g |
| Preferment | 736g * 25% = 184g |
| Total Yield | 1340g |
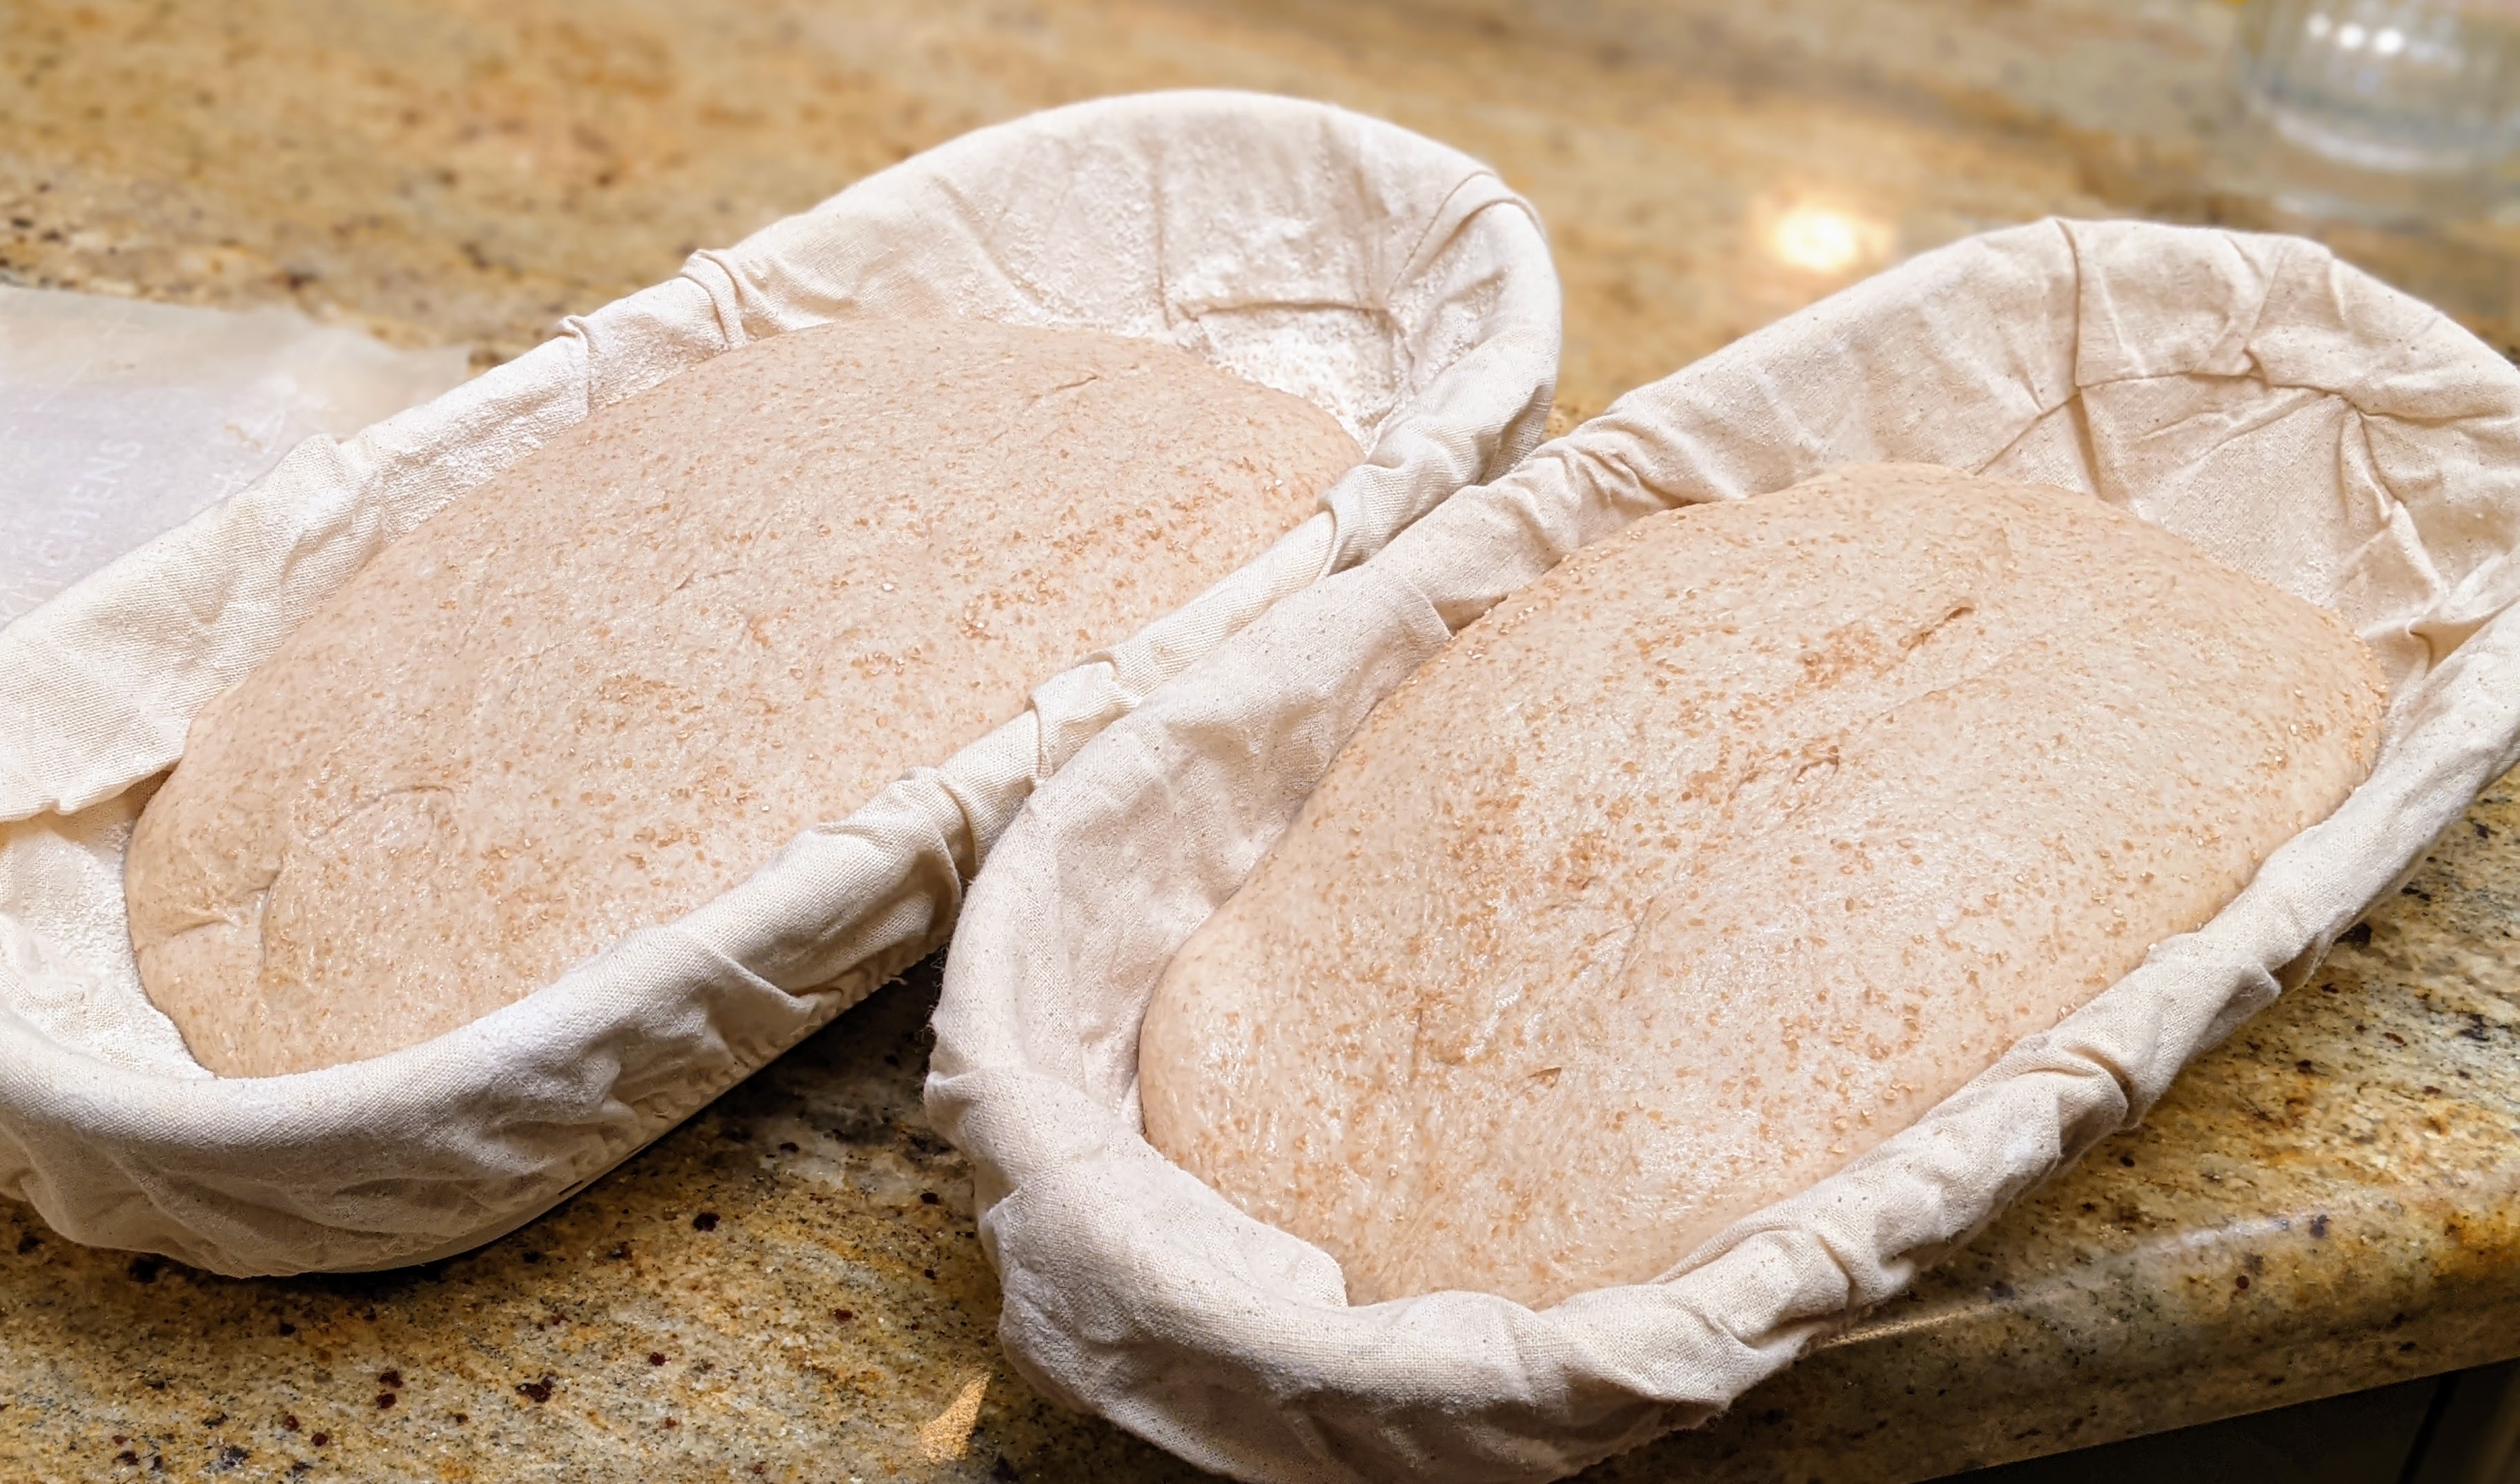
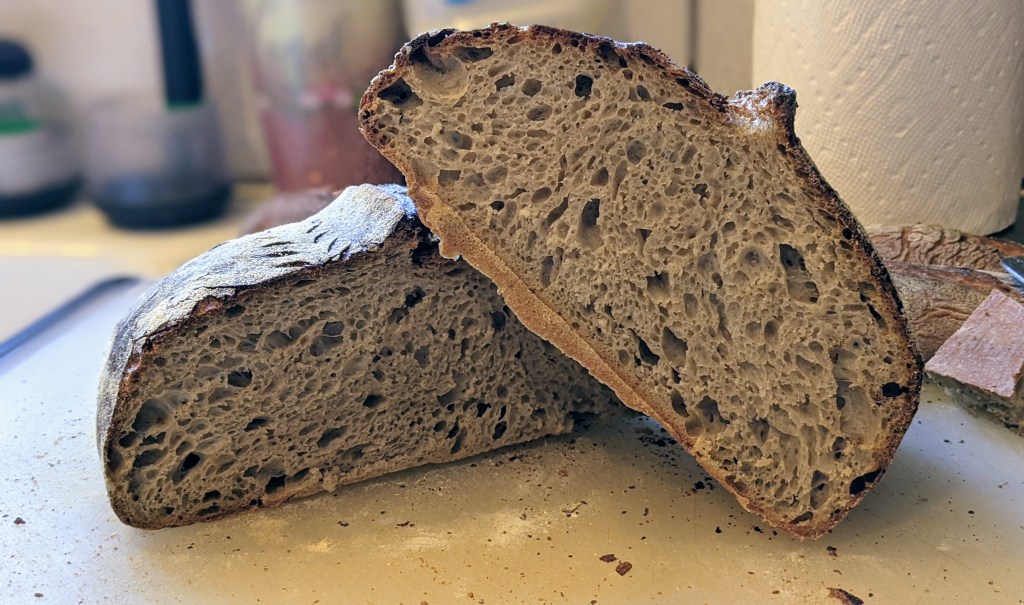
For your convenience, I’ve created a Google Spreadsheet that you can use to calculate your ingredients. You won’t be able to edit the document, but you can copy it to your own spreadsheet, then edit it as you see fit. BTW, the calculations in the spreadsheet that you will first see are for creating 2 X 1000g Tartine-style 40% Kamut loaves. If you’re new to baking, I don’t recommend this recipe! At 90% hydration, the dough is VERY tricky!
To be honest, I have about 30 different sheets for the different kinds of bread that I bake. When I’m developing a new recipe, I always use a spreadsheet like this. It takes the guesswork out