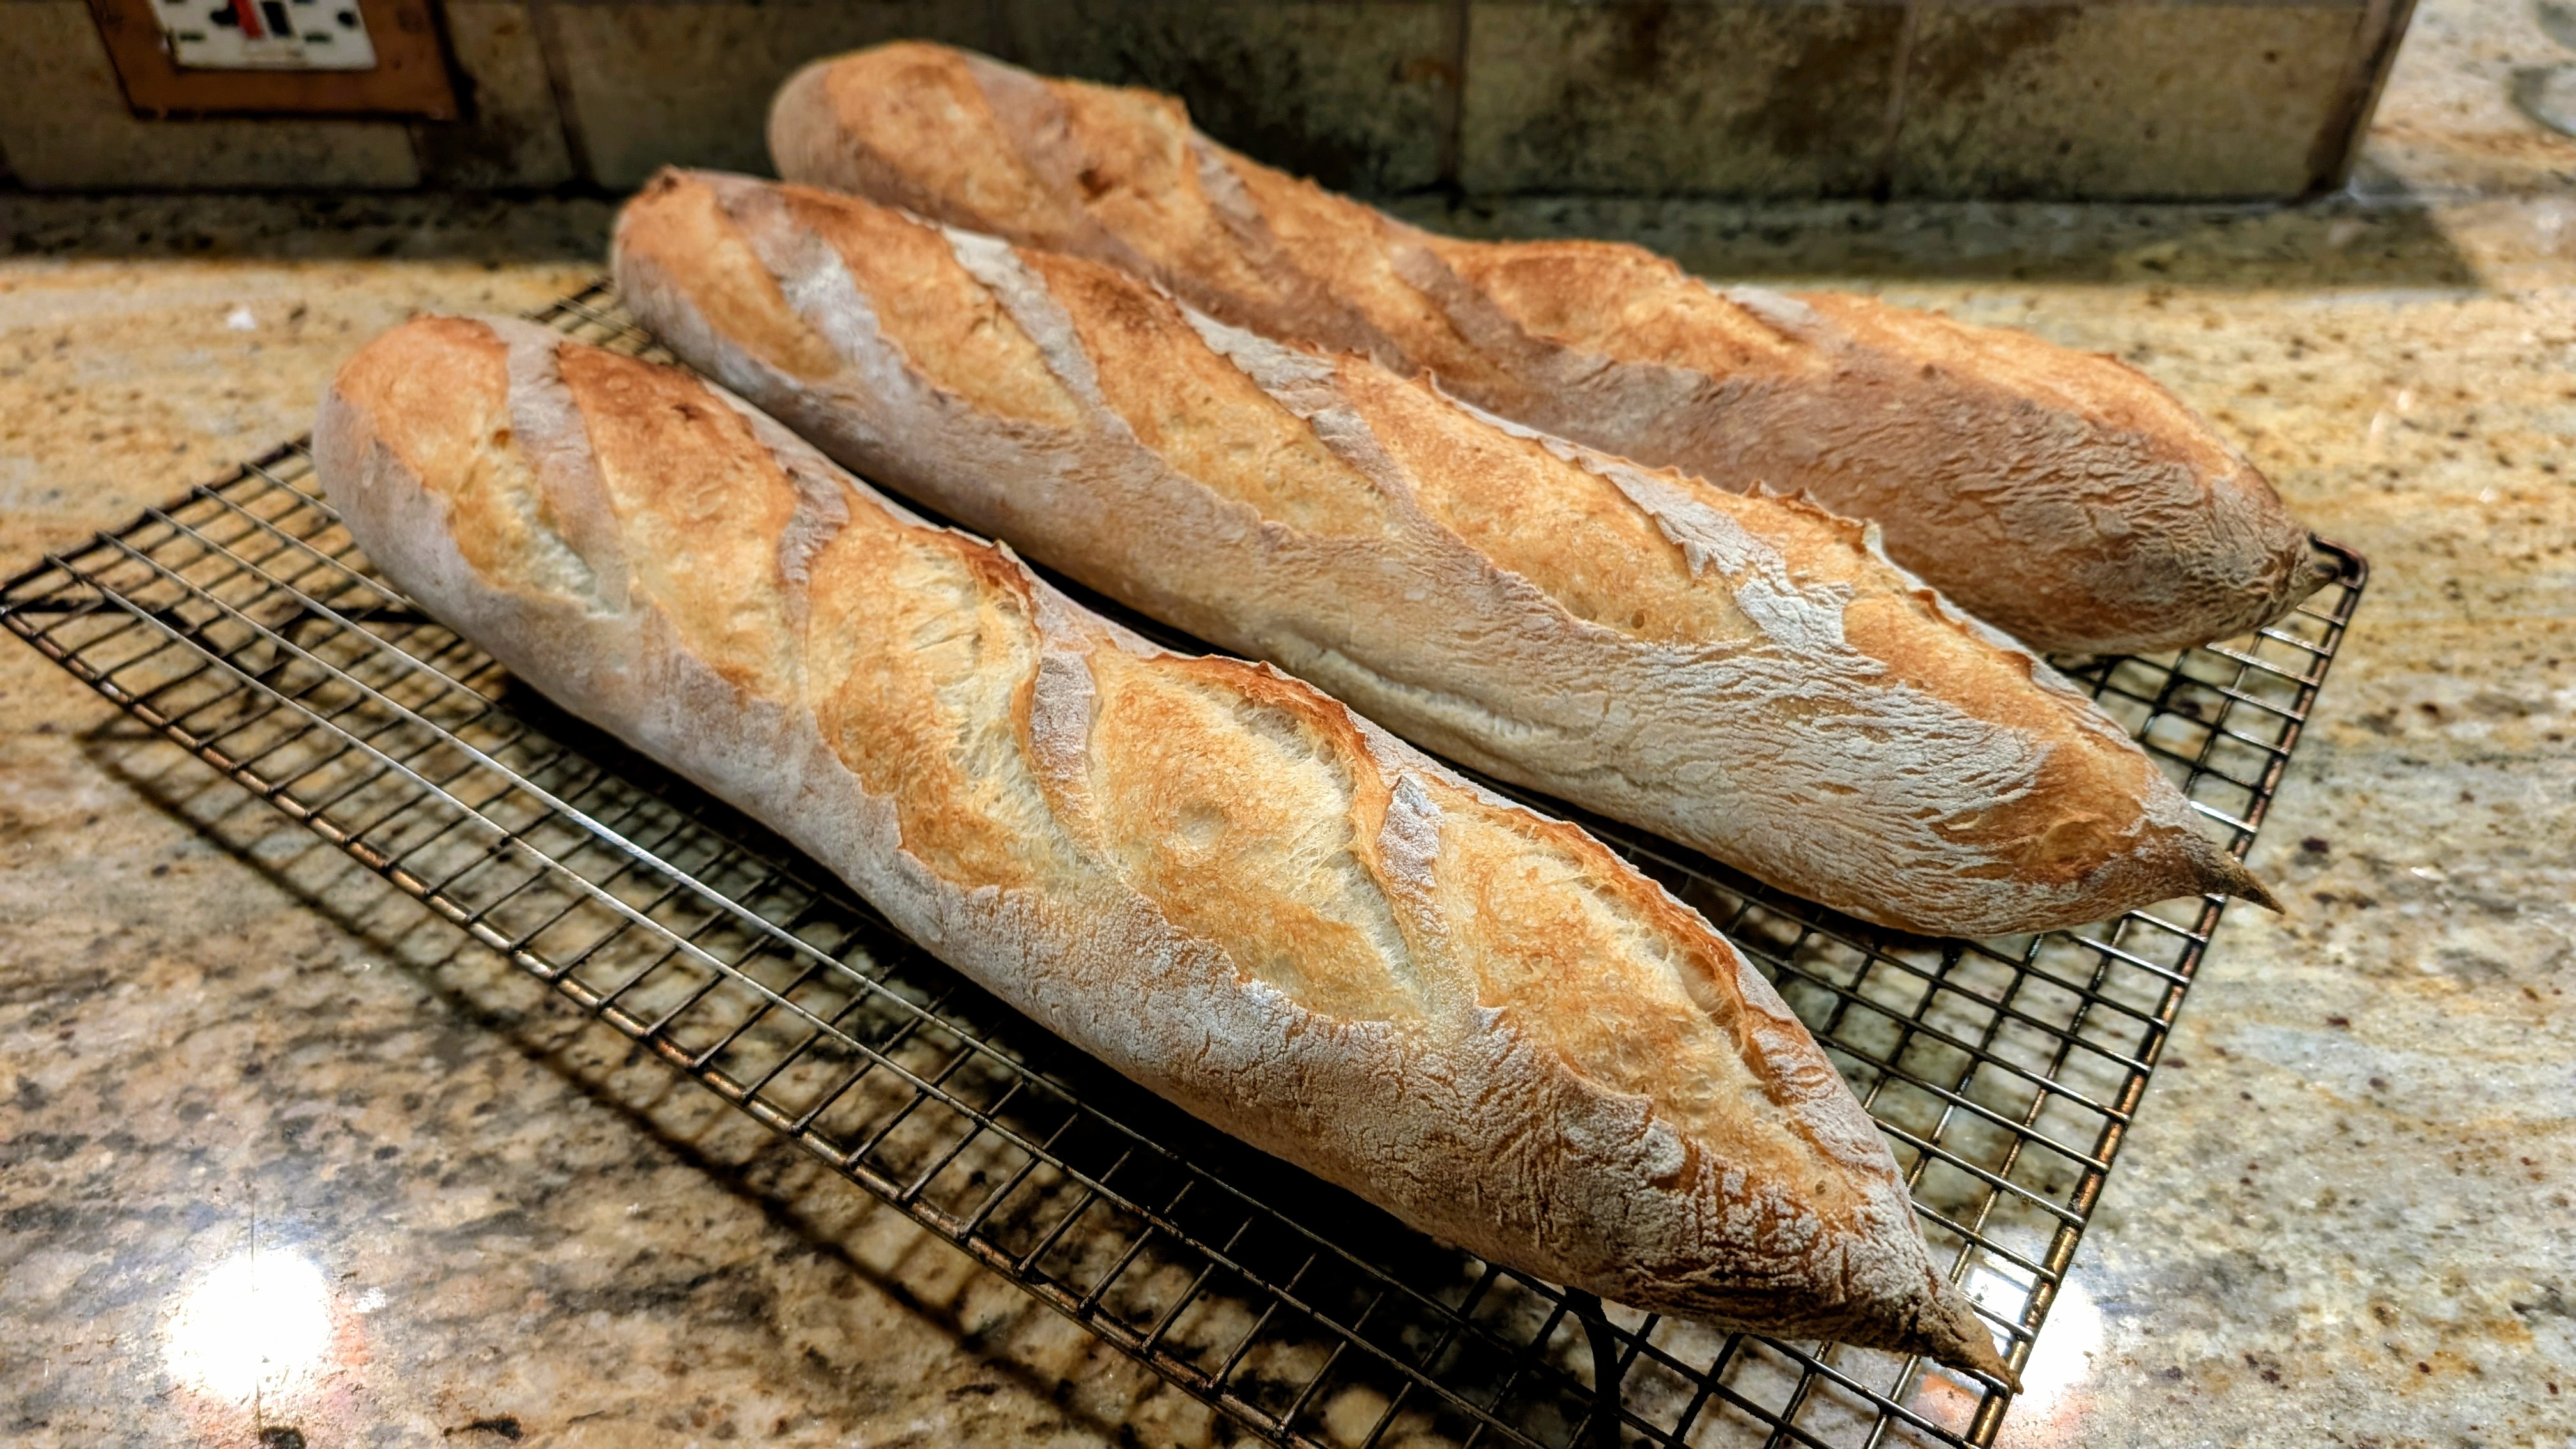
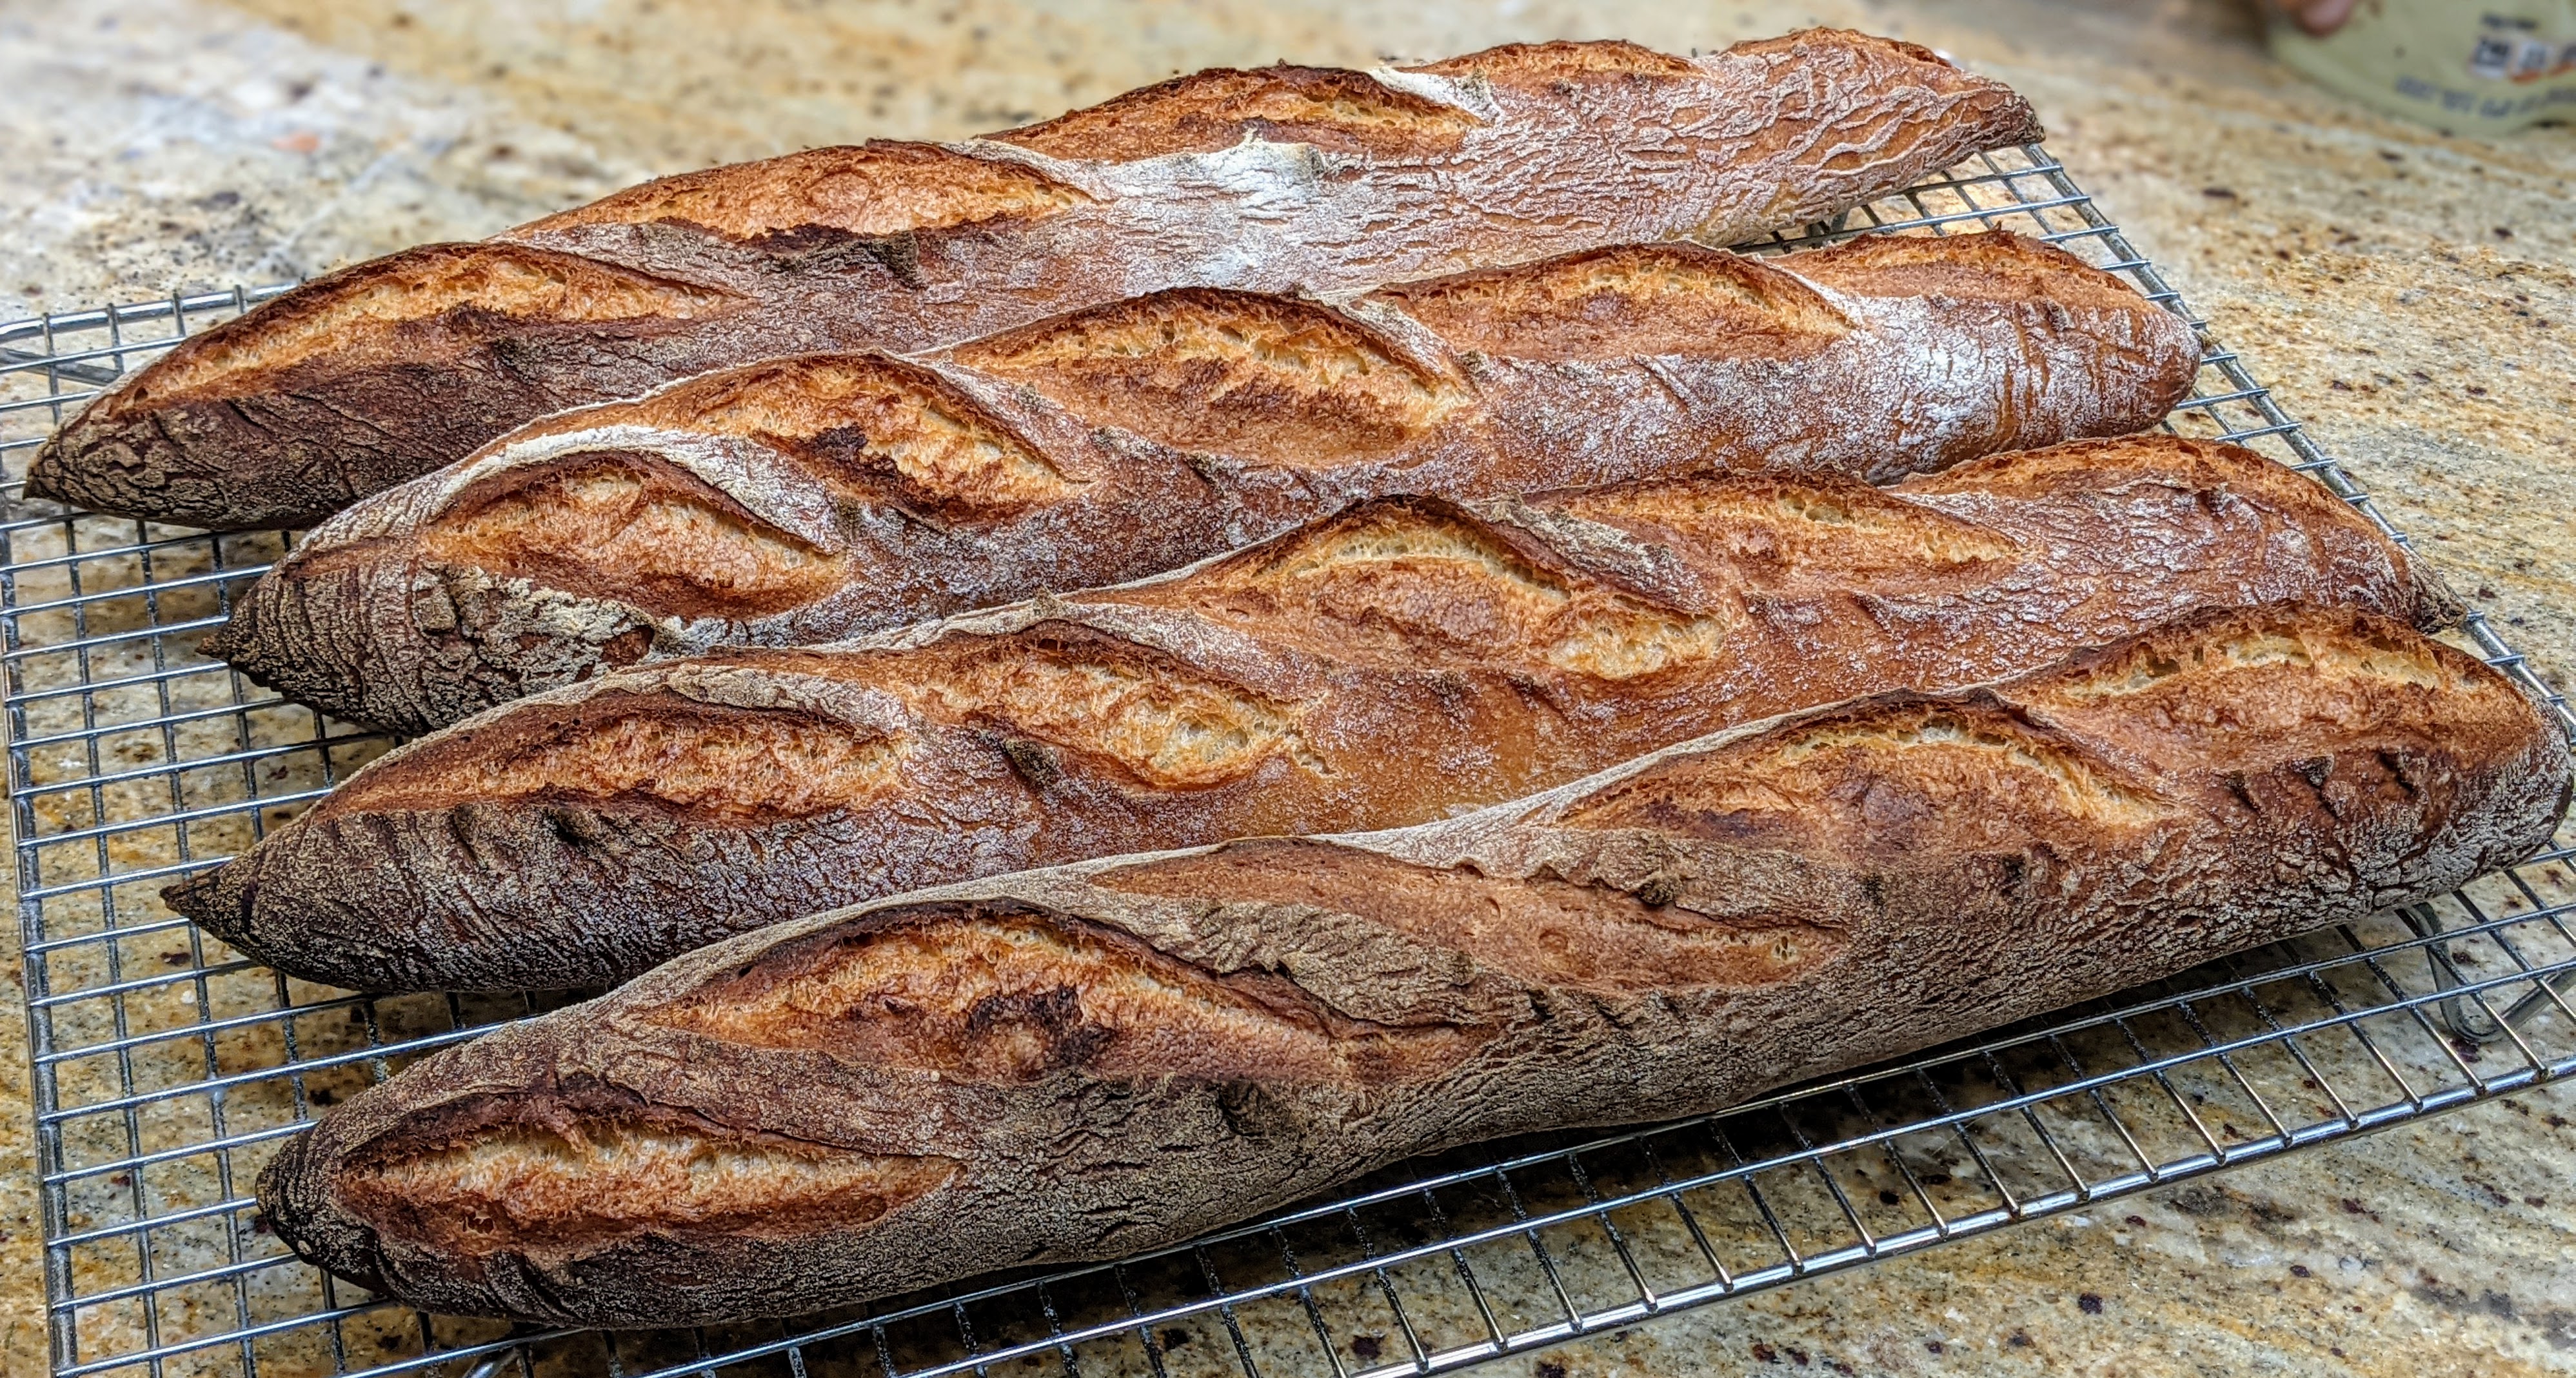
Now that I’m back to baking on a regular basis, I realized something after my last bake of sourdough baguettes: I’m really rusty! It’s not that the baguettes turned out bad; in fact, they turned out pretty good, though I do have to say that my scoring technique needs some practice. But where I was really rusty was in dough and starter development.
First of all, I let my starter go too long without feeding it, and even though I revived it and it doubled in less than four hours, part of me knew that it wasn’t very strong but I made dough with it anyway. It took forever to ferment! We’re talking 12 hours at room temperature on a warm day where were my kitchen was 80°F for most of the day! That was concerning to me because I knew that that length of time would favor bacteria and protease enzymes and would lower the pH of my dough.
And it did. By the time the dough doubled (I shouldn’t have waited so long), it was sour. And though it still had a bit of structure, I could tell from its extreme extensibility that it was at the very edge of being ruined. From a flavor perspective, that might’ve seemed like a good thing, but I knew that I’d have some challenges in handling the dough. So, instead of giving a couple of hours to final fermentation, I only let it happen for 20 minutes. And it’s a good thing I did because the loaves were seriously slack sitting in the baguette pan.
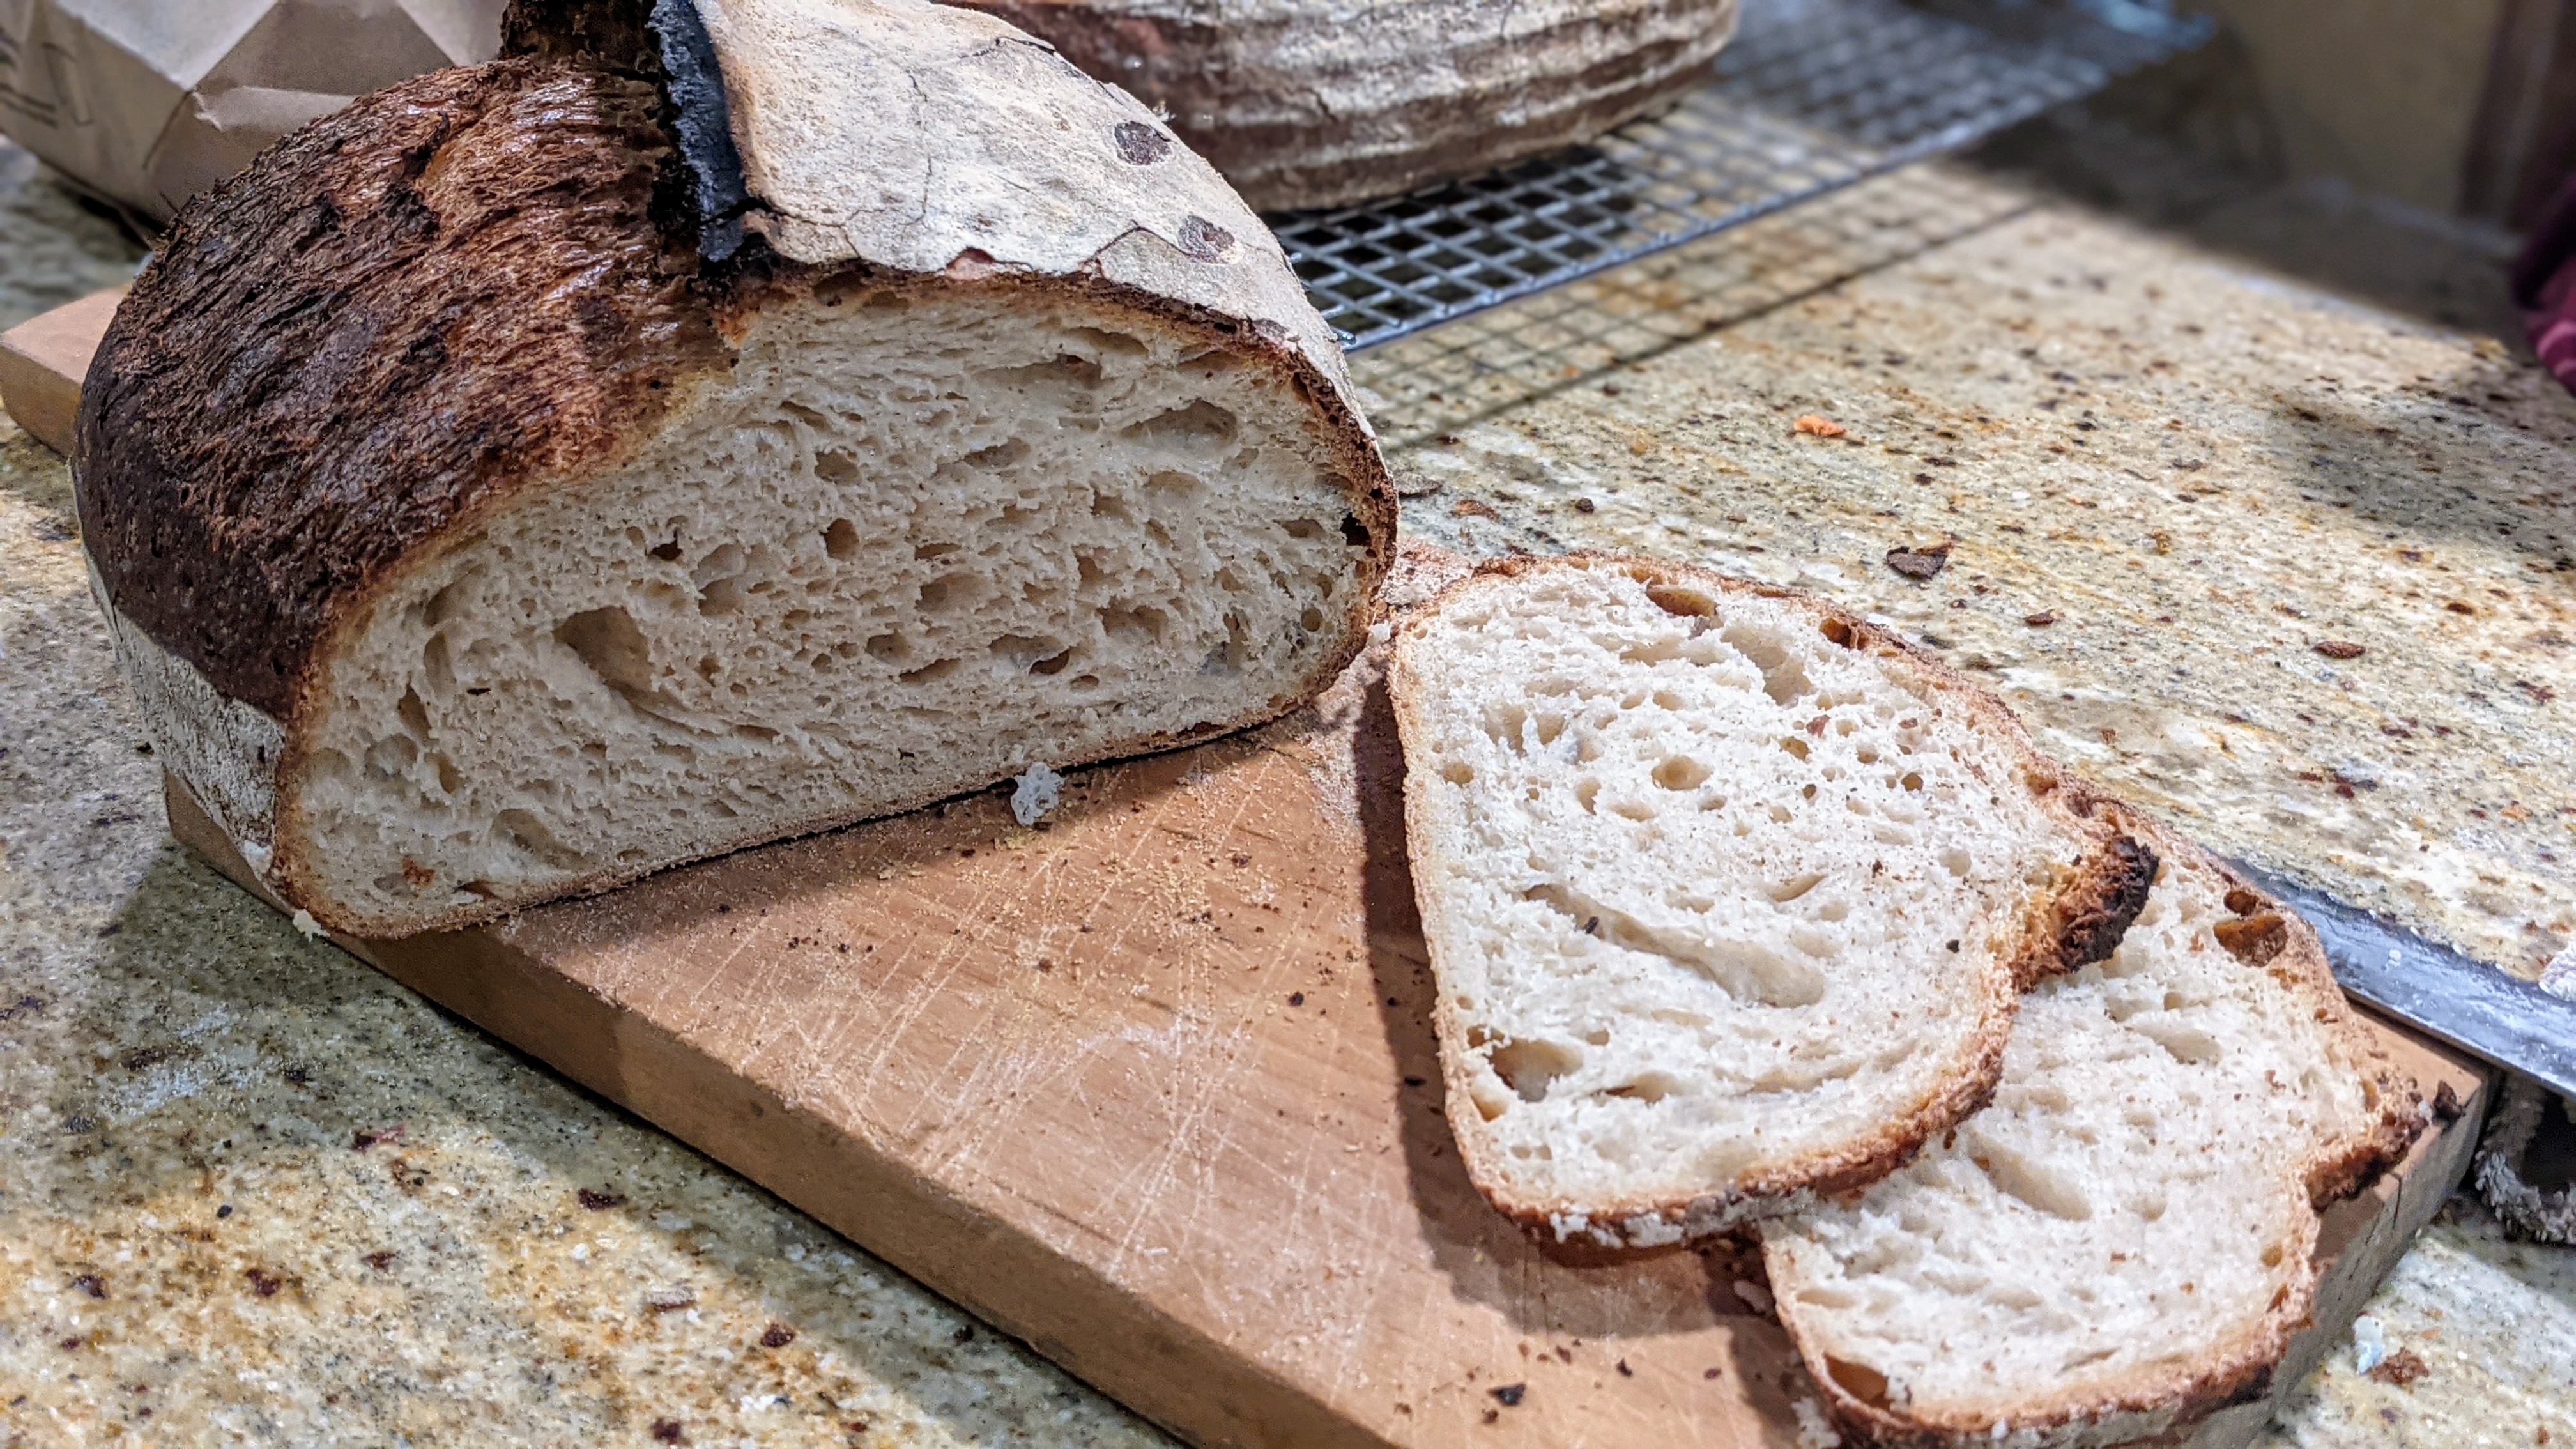
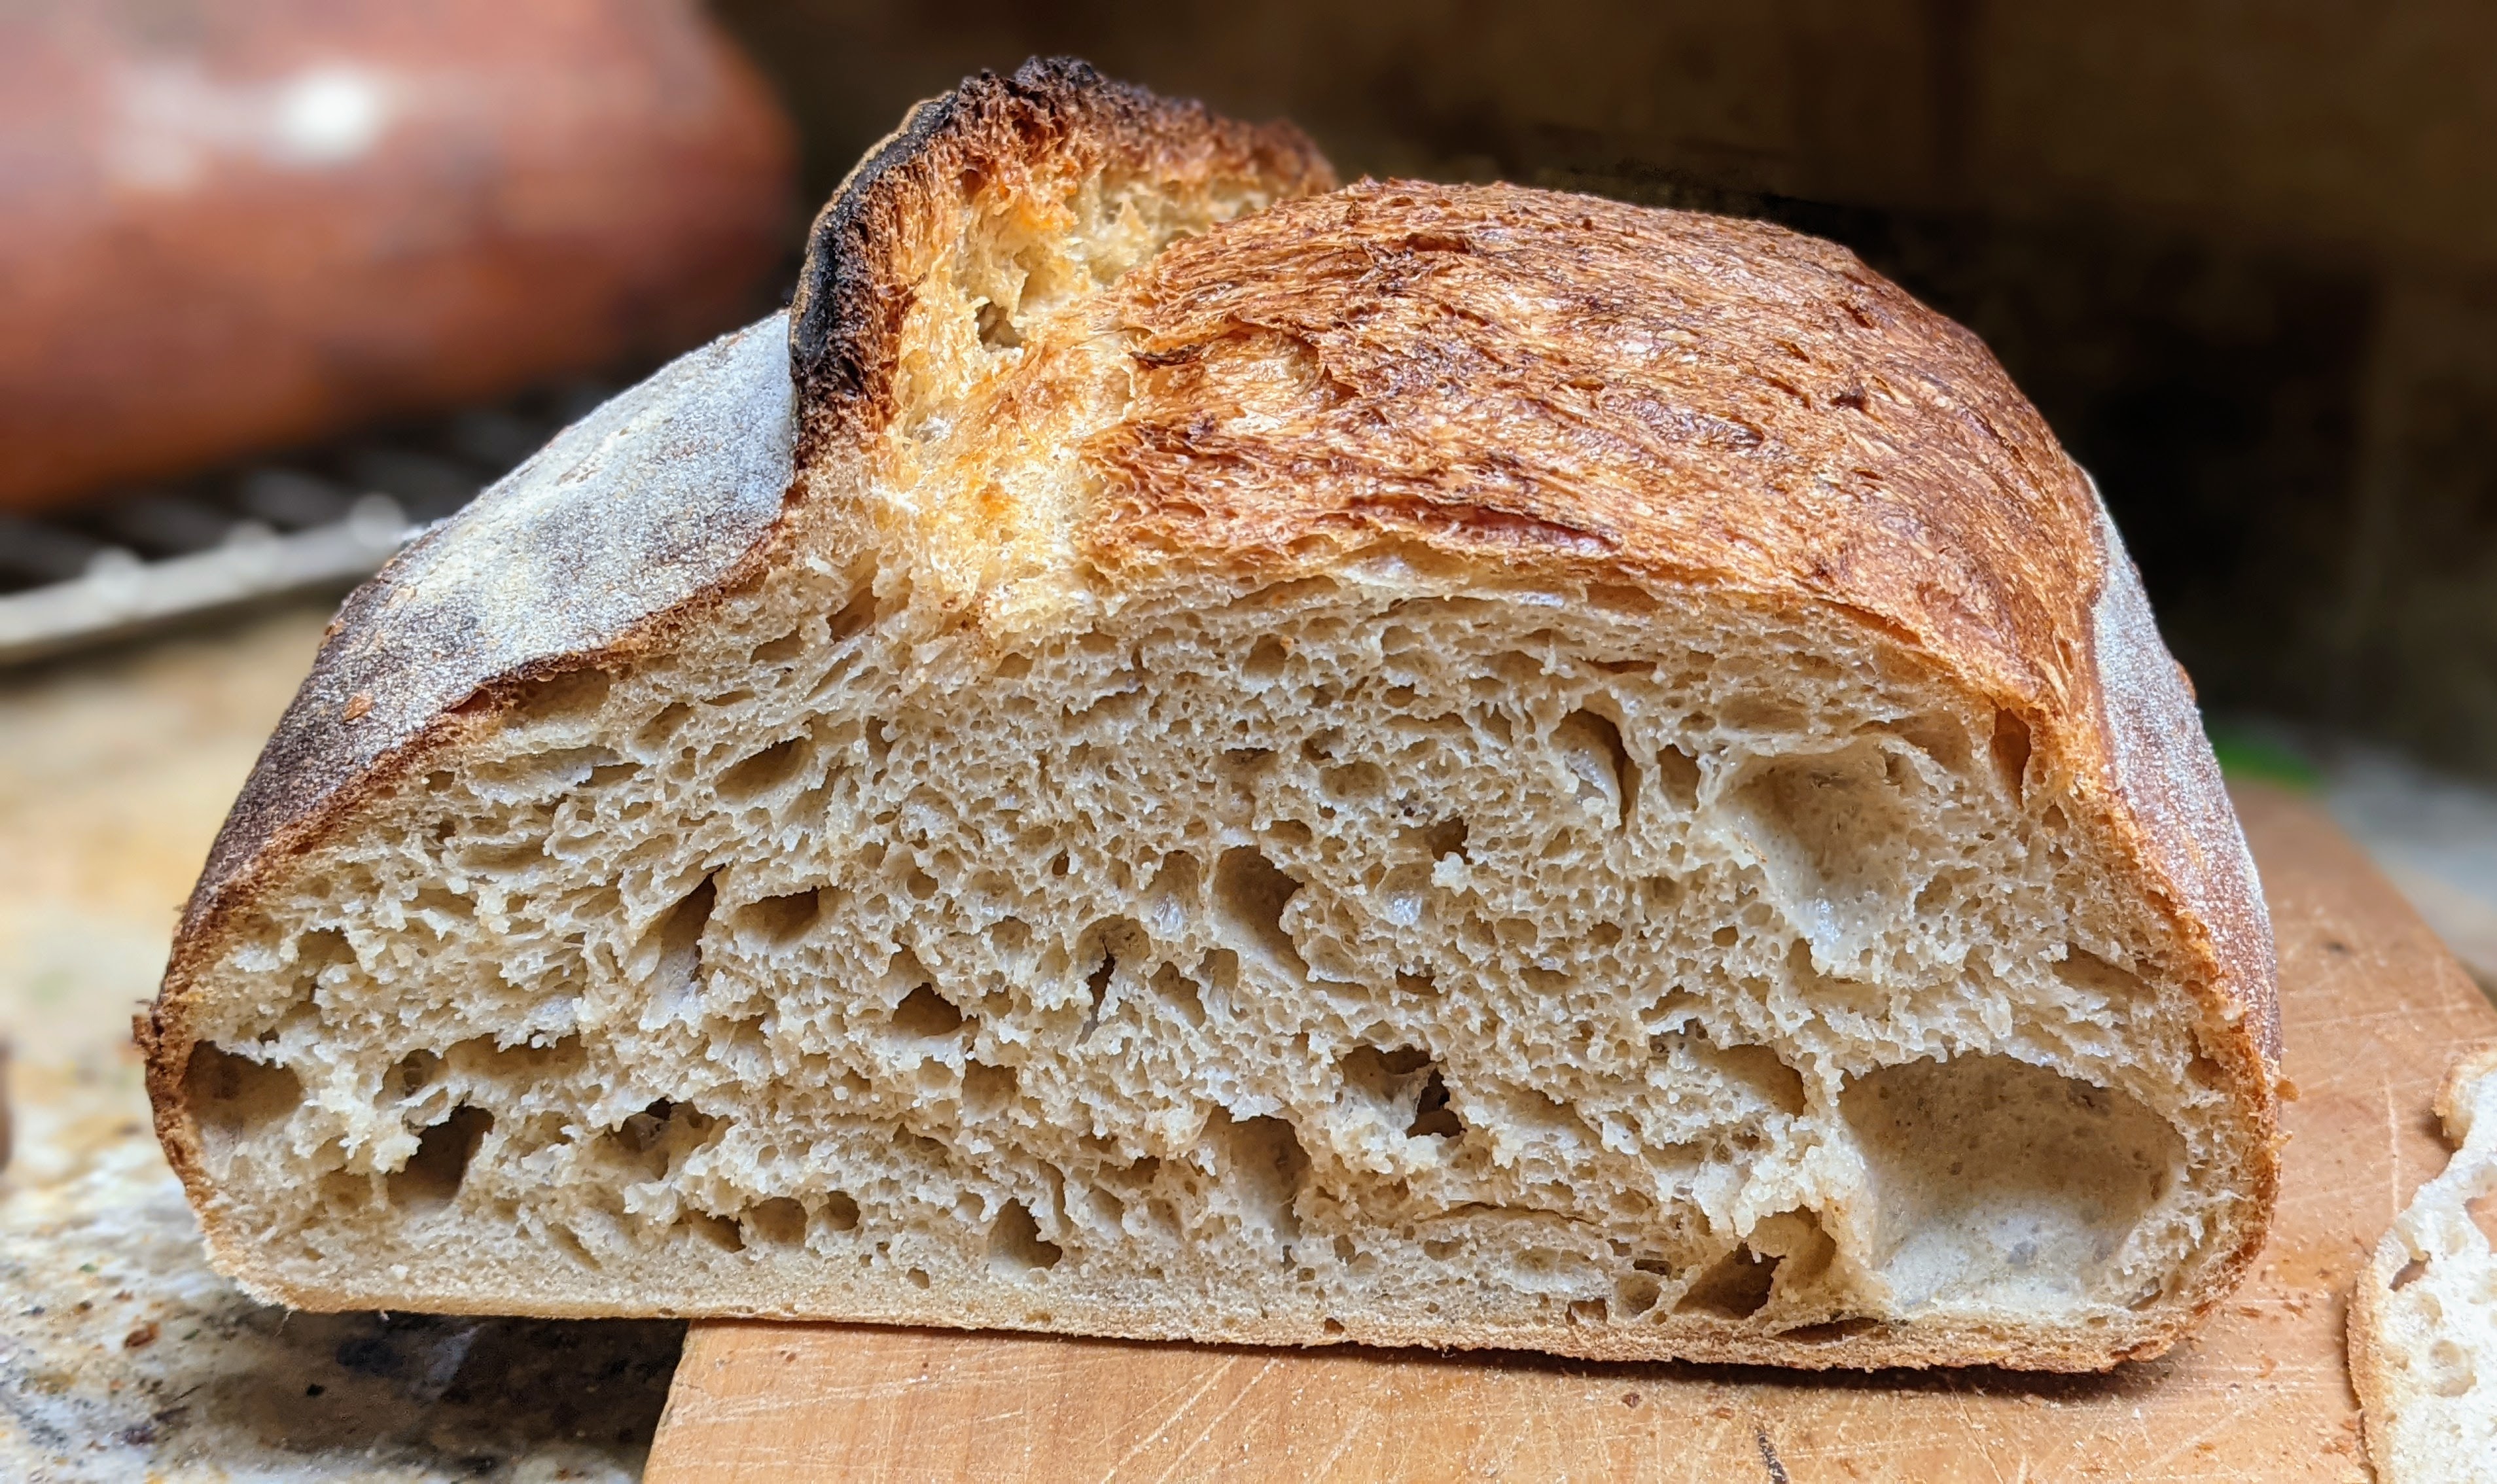
After I finished baking them, I got the feeling that I dodged a bullet. That is never a good feeling. I didn’t have the confidence that I normally have after a good bake. I knew there were problems and though the end result turned out reasonably good, I knew I could do so much better. I needed to up my game. But instead of trying to make drastic changes in my methods and processes, I instead decided to go back to basics. And that meant going back to the Tartine Basic Country Bread.

So, a couple of evenings ago, I opened up the “Tartine Bread” book, and re-read (probably for the 100th time) the section on Basic Country Bread (aka Pain de Campagne). To me, that section isn’t just a step-by-step guide. It’s a repeatable process that all of Tartine’s bread are based. Chad Robertson often refers back to the Basic Country Bread throughout the book, emphasizing that his recipes are merely riffs on the original process.
Every time I read it, it puts me in the proper mindset for baking sourdough, bringing me back to and reminding me of the fundamentals and especially the things I need to be aware of and watch for. And even though I’ve internalized that knowledge over the years, doing that review helps me re-organize my thoughts.
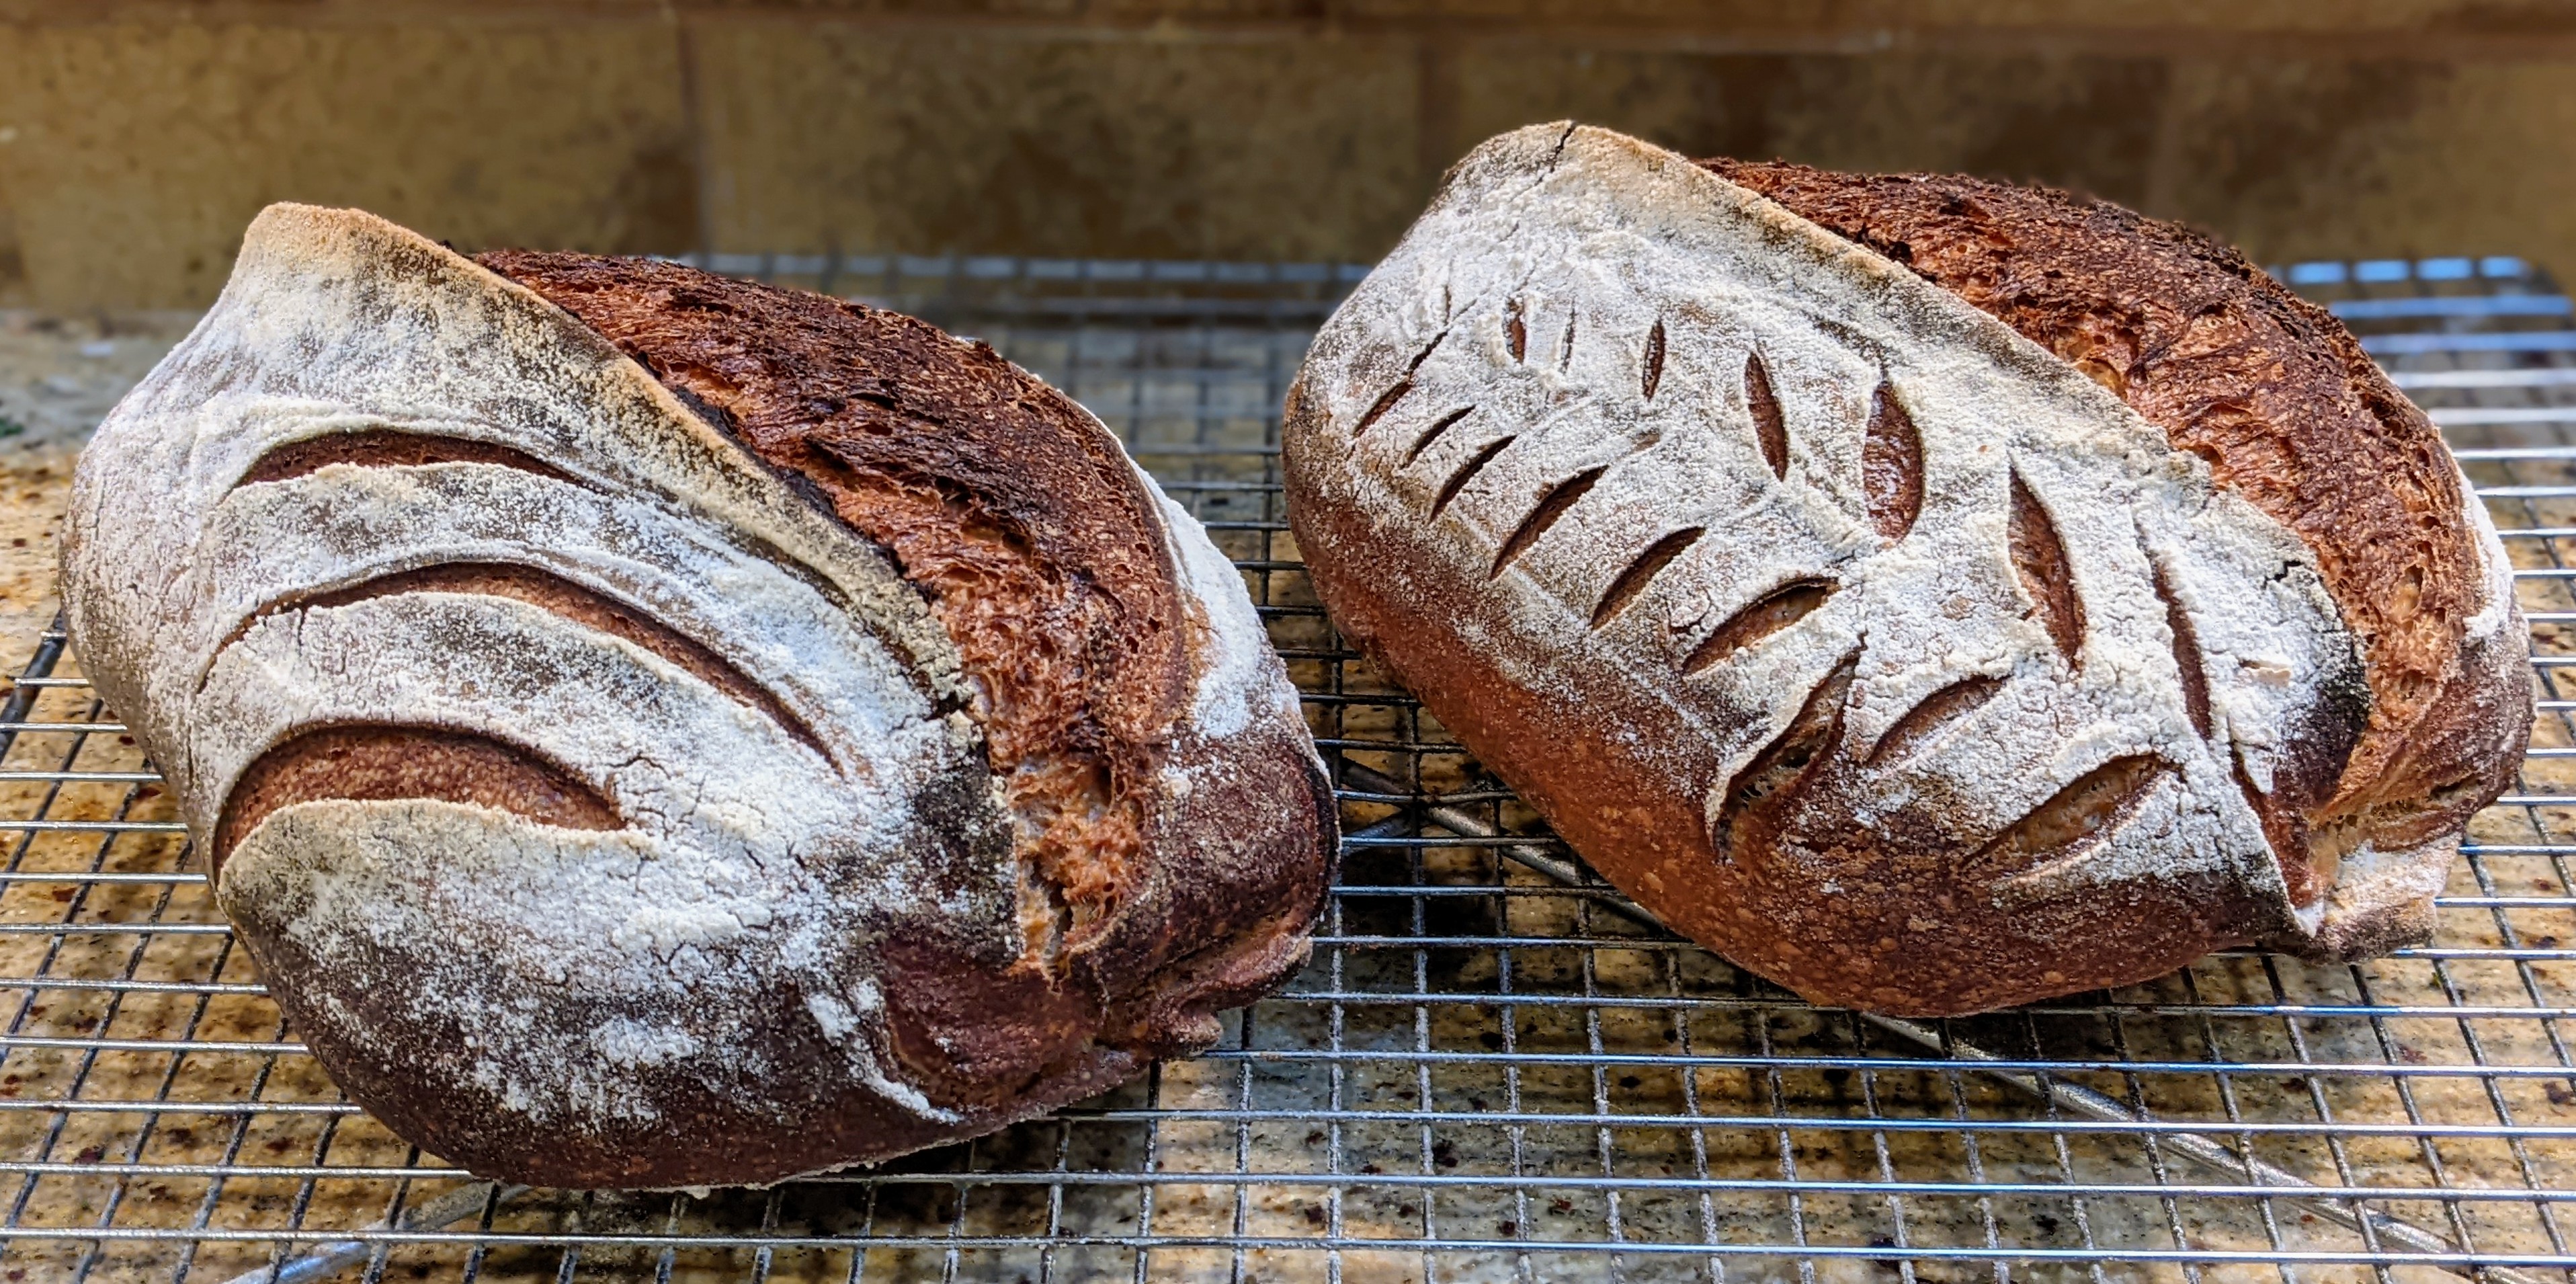
What I found myself doing in my previous bakes was overthinking the process and second-guessing myself. I had so many conflicting thoughts bouncing around in my head! Did I shape it properly? Was bulk fermentation long enough? Was my hydration too much? Quite frankly, it was rather unsettling. But in going back to the basics, I slowed down and focused on methodically executing the steps. And lo and behold, my loaves turned out amazing!

And that’s the lesson I wanted to share here. In this day and age where we’re all online and practically any information we want is just a mouse click away, it’s easy to get inundated and overwhelmed by the sheer mass of information out there. And with bread, there are so many diverse types of bread recipes that it’s easy to get distracted jumping from one recipe to another. And for many home bakers I’ve met, they often get frustrated when their bread doesn’t turn out as they expect. Some have shared with me that they gave up baking entirely.
For instance, I once worked with a friend who was discouraged with her baking. She shared with me that all the bread she makes never comes out how it looks in the pictures. I told her to take a step back and master just one type of bread and to learn the ins and outs of the process for that single bread.
I shared that when I started baking seriously, I only did yeasted loaves; not because I didn’t know how to make sourdough. I wanted to learn how to work with dough and to develop a feel for it. This is because so much of working with dough is tactile by nature. I figured that no matter what type of leavening agent I used, dough is dough.
And though I shared my recent experience here, it’s not the first time I’ve gone back to basics. I’ve done this very thing several times over the years. So, as the title says, when in doubt, go back to the basics!
Happy Baking!