
Ever since I learned Jeffrey Hamelman’s Roasted Garlic Levain bread, I’ve used roasted garlic in a number of recipes. But up until now, I didn’t think about using it in ciabatta. There is nothing like the smell of garlic roasting in the oven, and when incorporated into the dough and baked, the result is a luxurious and delectable bread that you’ll want to make all the time!

Since I go on long airplane trips several times a year, I’ve learned to bring my own food as opposed to buying the crappy food they now serve – and you have to purchase – on the plane. Tomorrow, my family is traveling to New York City to attend our daughter’s graduation from Fordham University this weekend, so true to form, I made sure to have sandwiches for the trip.
Normally, I make fat baguettes, but this time I wanted to make ciabatta. But to put a twist on it, I thought I’d add roasted garlic and give the bread a little kick. The formula and recipe are below:
Formula
| Flour | 100.00% |
| Water | 81.00% |
| Cream | 0.80% |
| Salt | 2.00% |
| Yeast | 1.00% |
| Olive Oil | 4.00% |
| Garlic | 6.00% |
| Total Percentage | 194.80% |
Final Dough
| Flour My blend: 30% Kamut Flour, 30% Bread Flour, 40% AP Flour | 622g |
| Warm Water (about 100°F) | 504g |
| Cream or Half & Half | 5g |
| Salt | 12g |
| Yeast | 6g |
| Olive Oil | 25g |
| Garlic (peeled) | 37g |
| Total Yield | 1,212.00 2 X 600g loaves (+1% due to process loss) |
Process
Because this is such a super-wet dough, I highly recommend using a stand mixer.
Roast the garlic. Weigh out the garlic you need then place the cloves in a square of foil with a little olive oil (don’t worry if you have too much garlic – personally, I usually exceed the required amount by a few grams). Cinch up the foil, the roast at 400°F for 30 minutes. The garlic should be slightly brown and mashable. Transfer to a small bowl, and mash up the garlic with the oil. Don’t worry if there are harder bits. Just break them up.
Mix. If you’re using a flour blend, thoroughly mix the different flour types together first (the mixer paddle is perfect for this). Add the salt and yeast, then continue mixing for several seconds until all the ingredients are evenly incorporated.
By the way, it’s a myth that salt kills yeast. It doesn’t, at least not at this low concentration, and especially if both are dry. Besides, if salt did kill yeast, once you add salt to a yeasted dough, it shouldn’t rise!
In a separate container, combine all the liquids. Attach the dough hook, then turn on your mixer to slow, then slowly add about 75% of the liquid. Allow the dough to form. Once the dough starts climbing up the hook, slowly add the rest of the liquid until all the ingredients are combined (make sure to use a spatula to get all the oil out of the container). Once the liquid is incorporated, add the roasted garlic. Turn the mixer up to medium-low and mix until the dough is smooth (it’s more like a batter at this stage).
At this stage, you can transfer the dough to a standard mixing bowl or just keep it in the mixer’s bowl.
First Fermentation. Let the dough rest for 30 minutes. Then using a wet hand, do a series of stretches and folds. The dough at this point will still be quite wet. But using hand like a spoon, scoop under the dough and pull up. Eventually you will feel the dough strengthening a bit.
Second Fermentation. Again, let the dough rest for 30 minutes. Then pour it out onto a well-floured surface. You have to be pretty generous with the flour. Letter fold the dough. Once you’ve finished the pattern, pat the dough down, then letter fold it again. Once you’re done, roll it over onto its seams, then transfer it into a well-oiled bowl.
I’d start preheating my oven at this point – my oven is slow to come to temp, so I start preheating after the first fermentation.
Third Fermentation. Finally, let the dough rest 20 minutes. You should see some expansion of the dough mass with bubbles starting to form on the surface. Pour the dough out oil-side-up onto a well-floured surface. Divide the dough into two pieces. Personally, I eyeball it, but still scale out one of the pieces to 600 grams. At this point, handle the dough gently. You don’t want to degas it too much!
Final Fermentation. Gently tug the two pieces into rectangles, then transfer them to a couche or well-floured dish cloth. Let the loaves rest for 20 minutes.
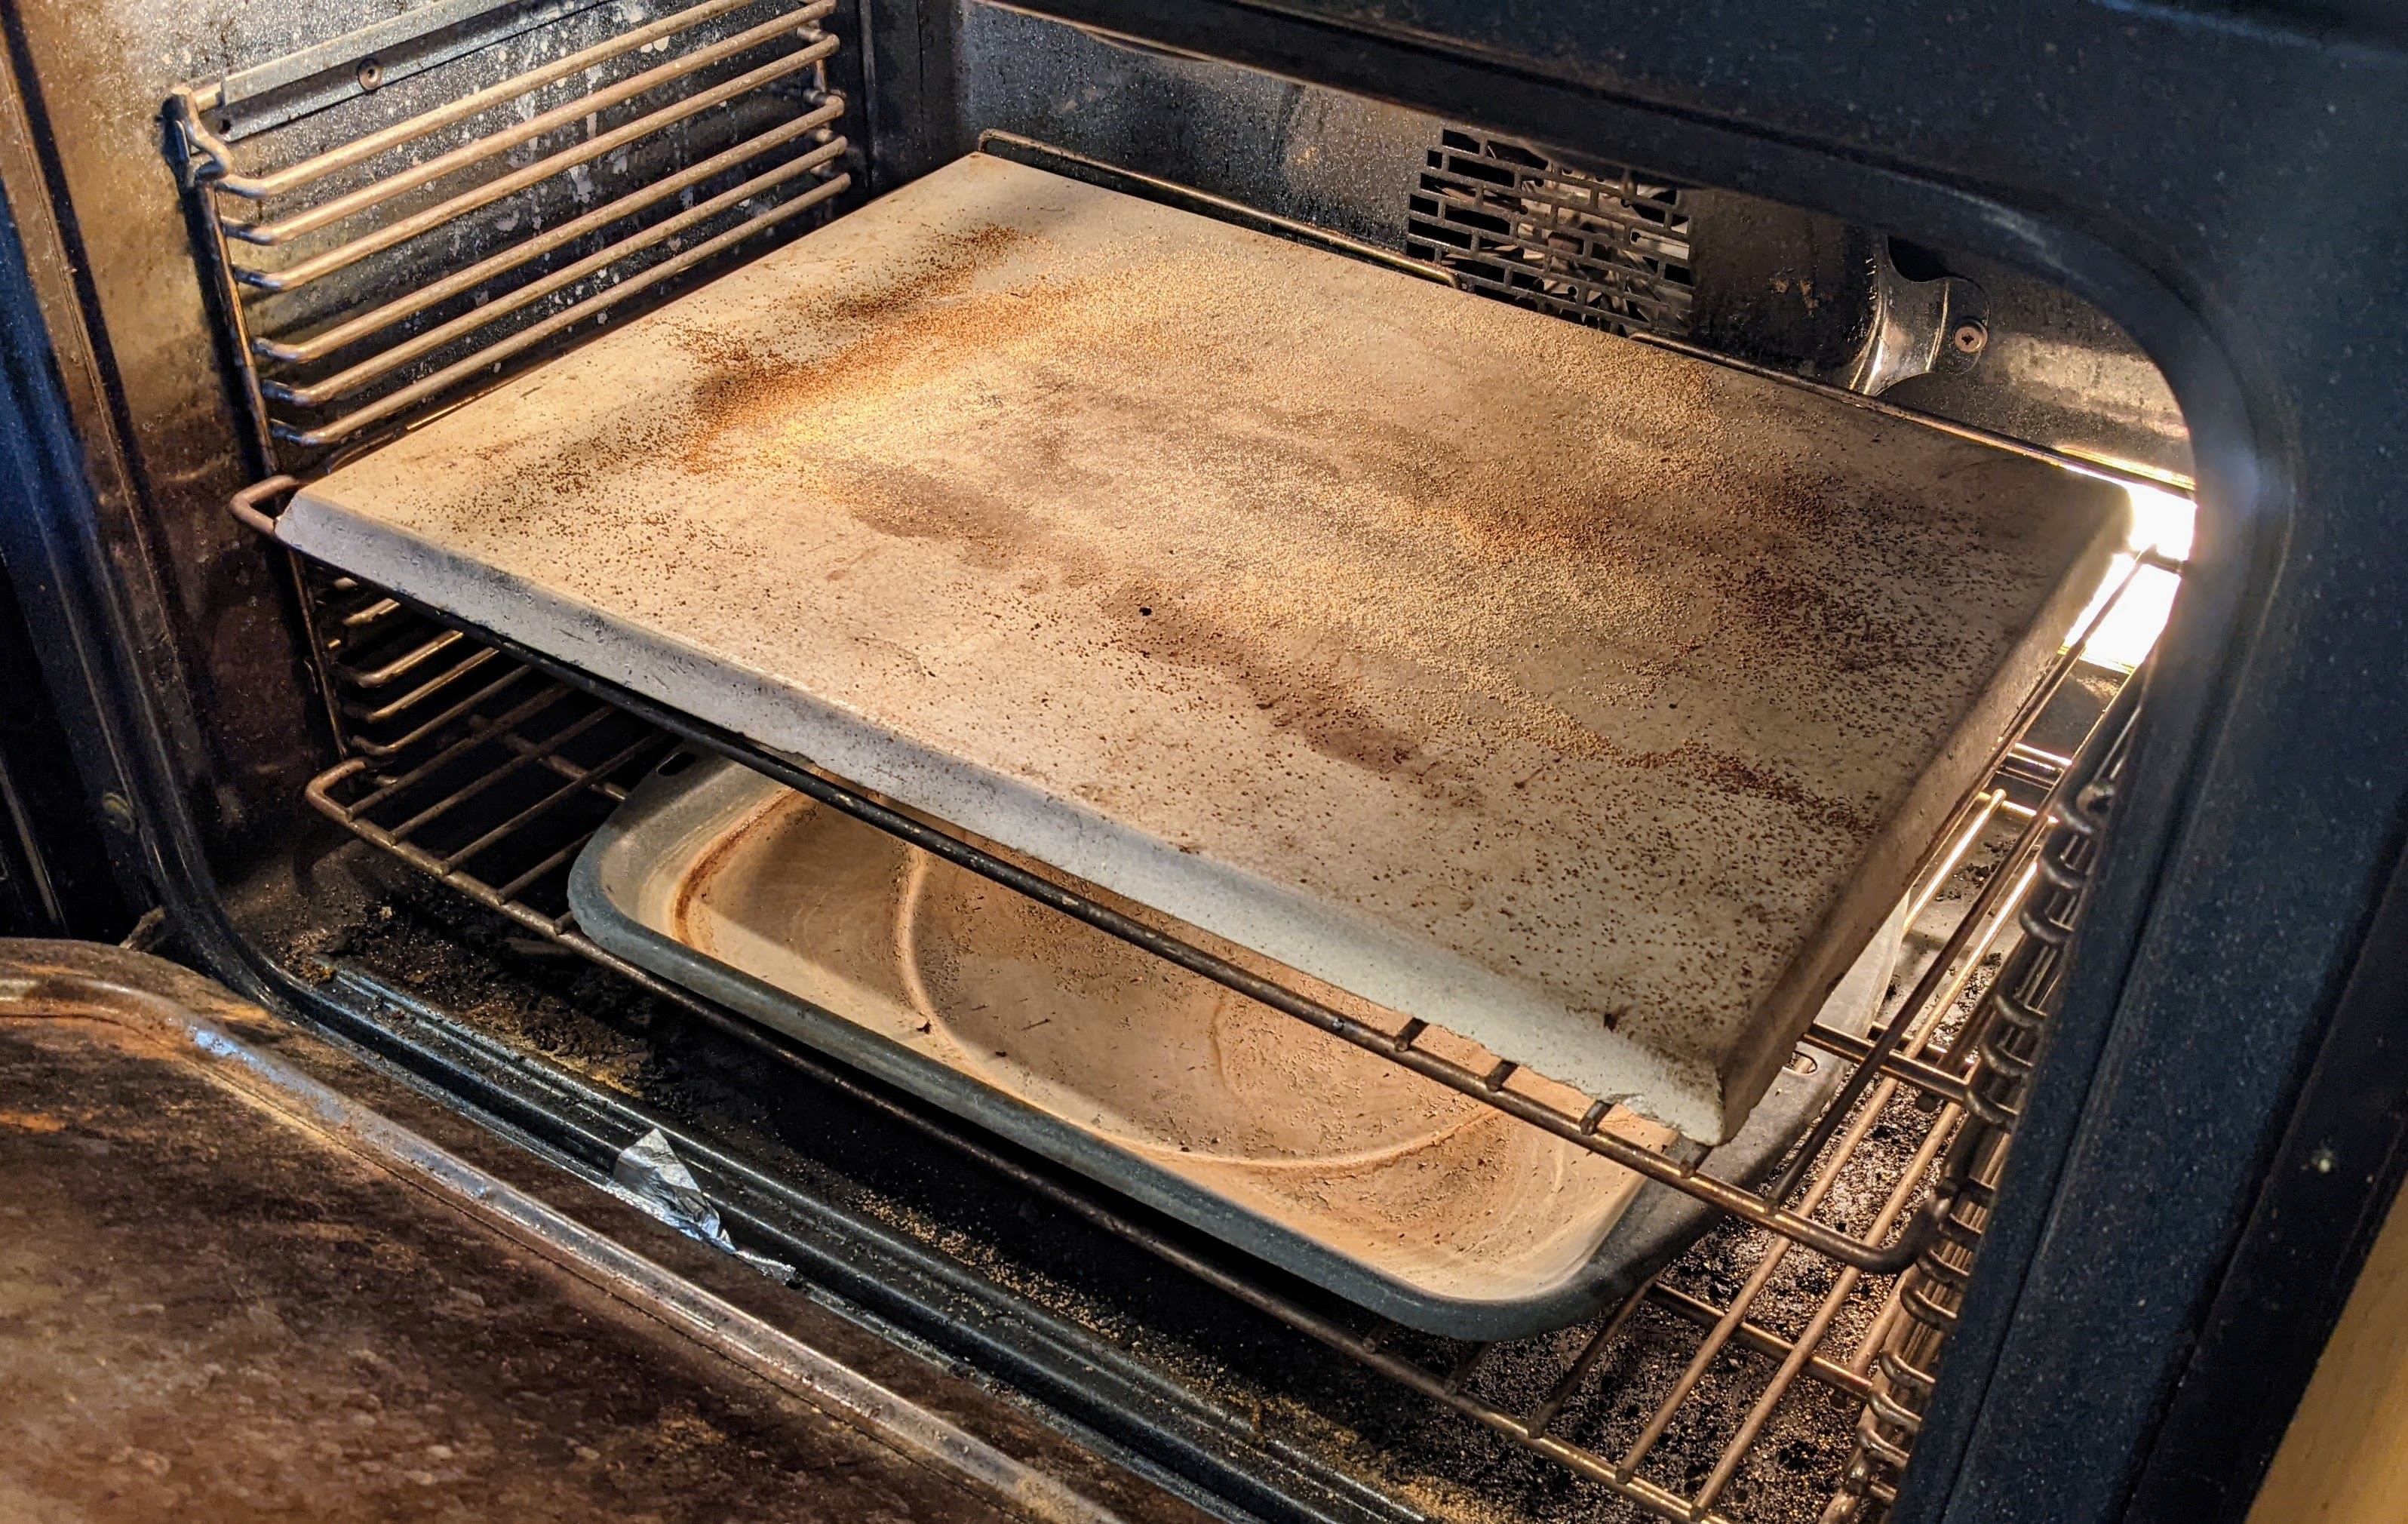
Bake. Transfer the loaves to a loading board generously covered with cornmeal. Load your oven, then bake the loaves at 460°F with steam for 15 minutes. After that, expel the steam, then finish baking at 400°F for 20 minutes.
If you don’t use a baking stone, you can bake the ciabatta on a regular baking pan.