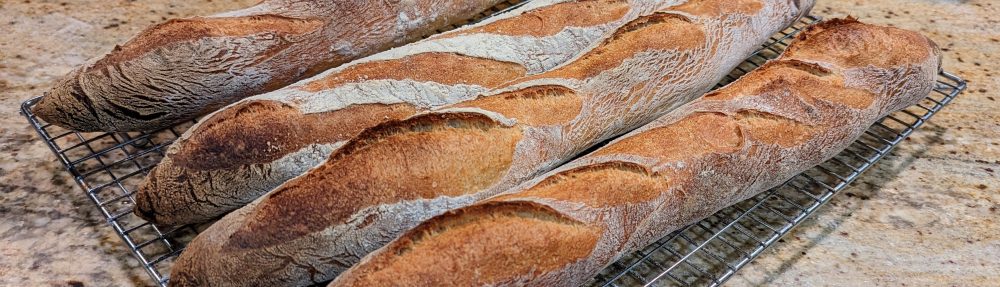


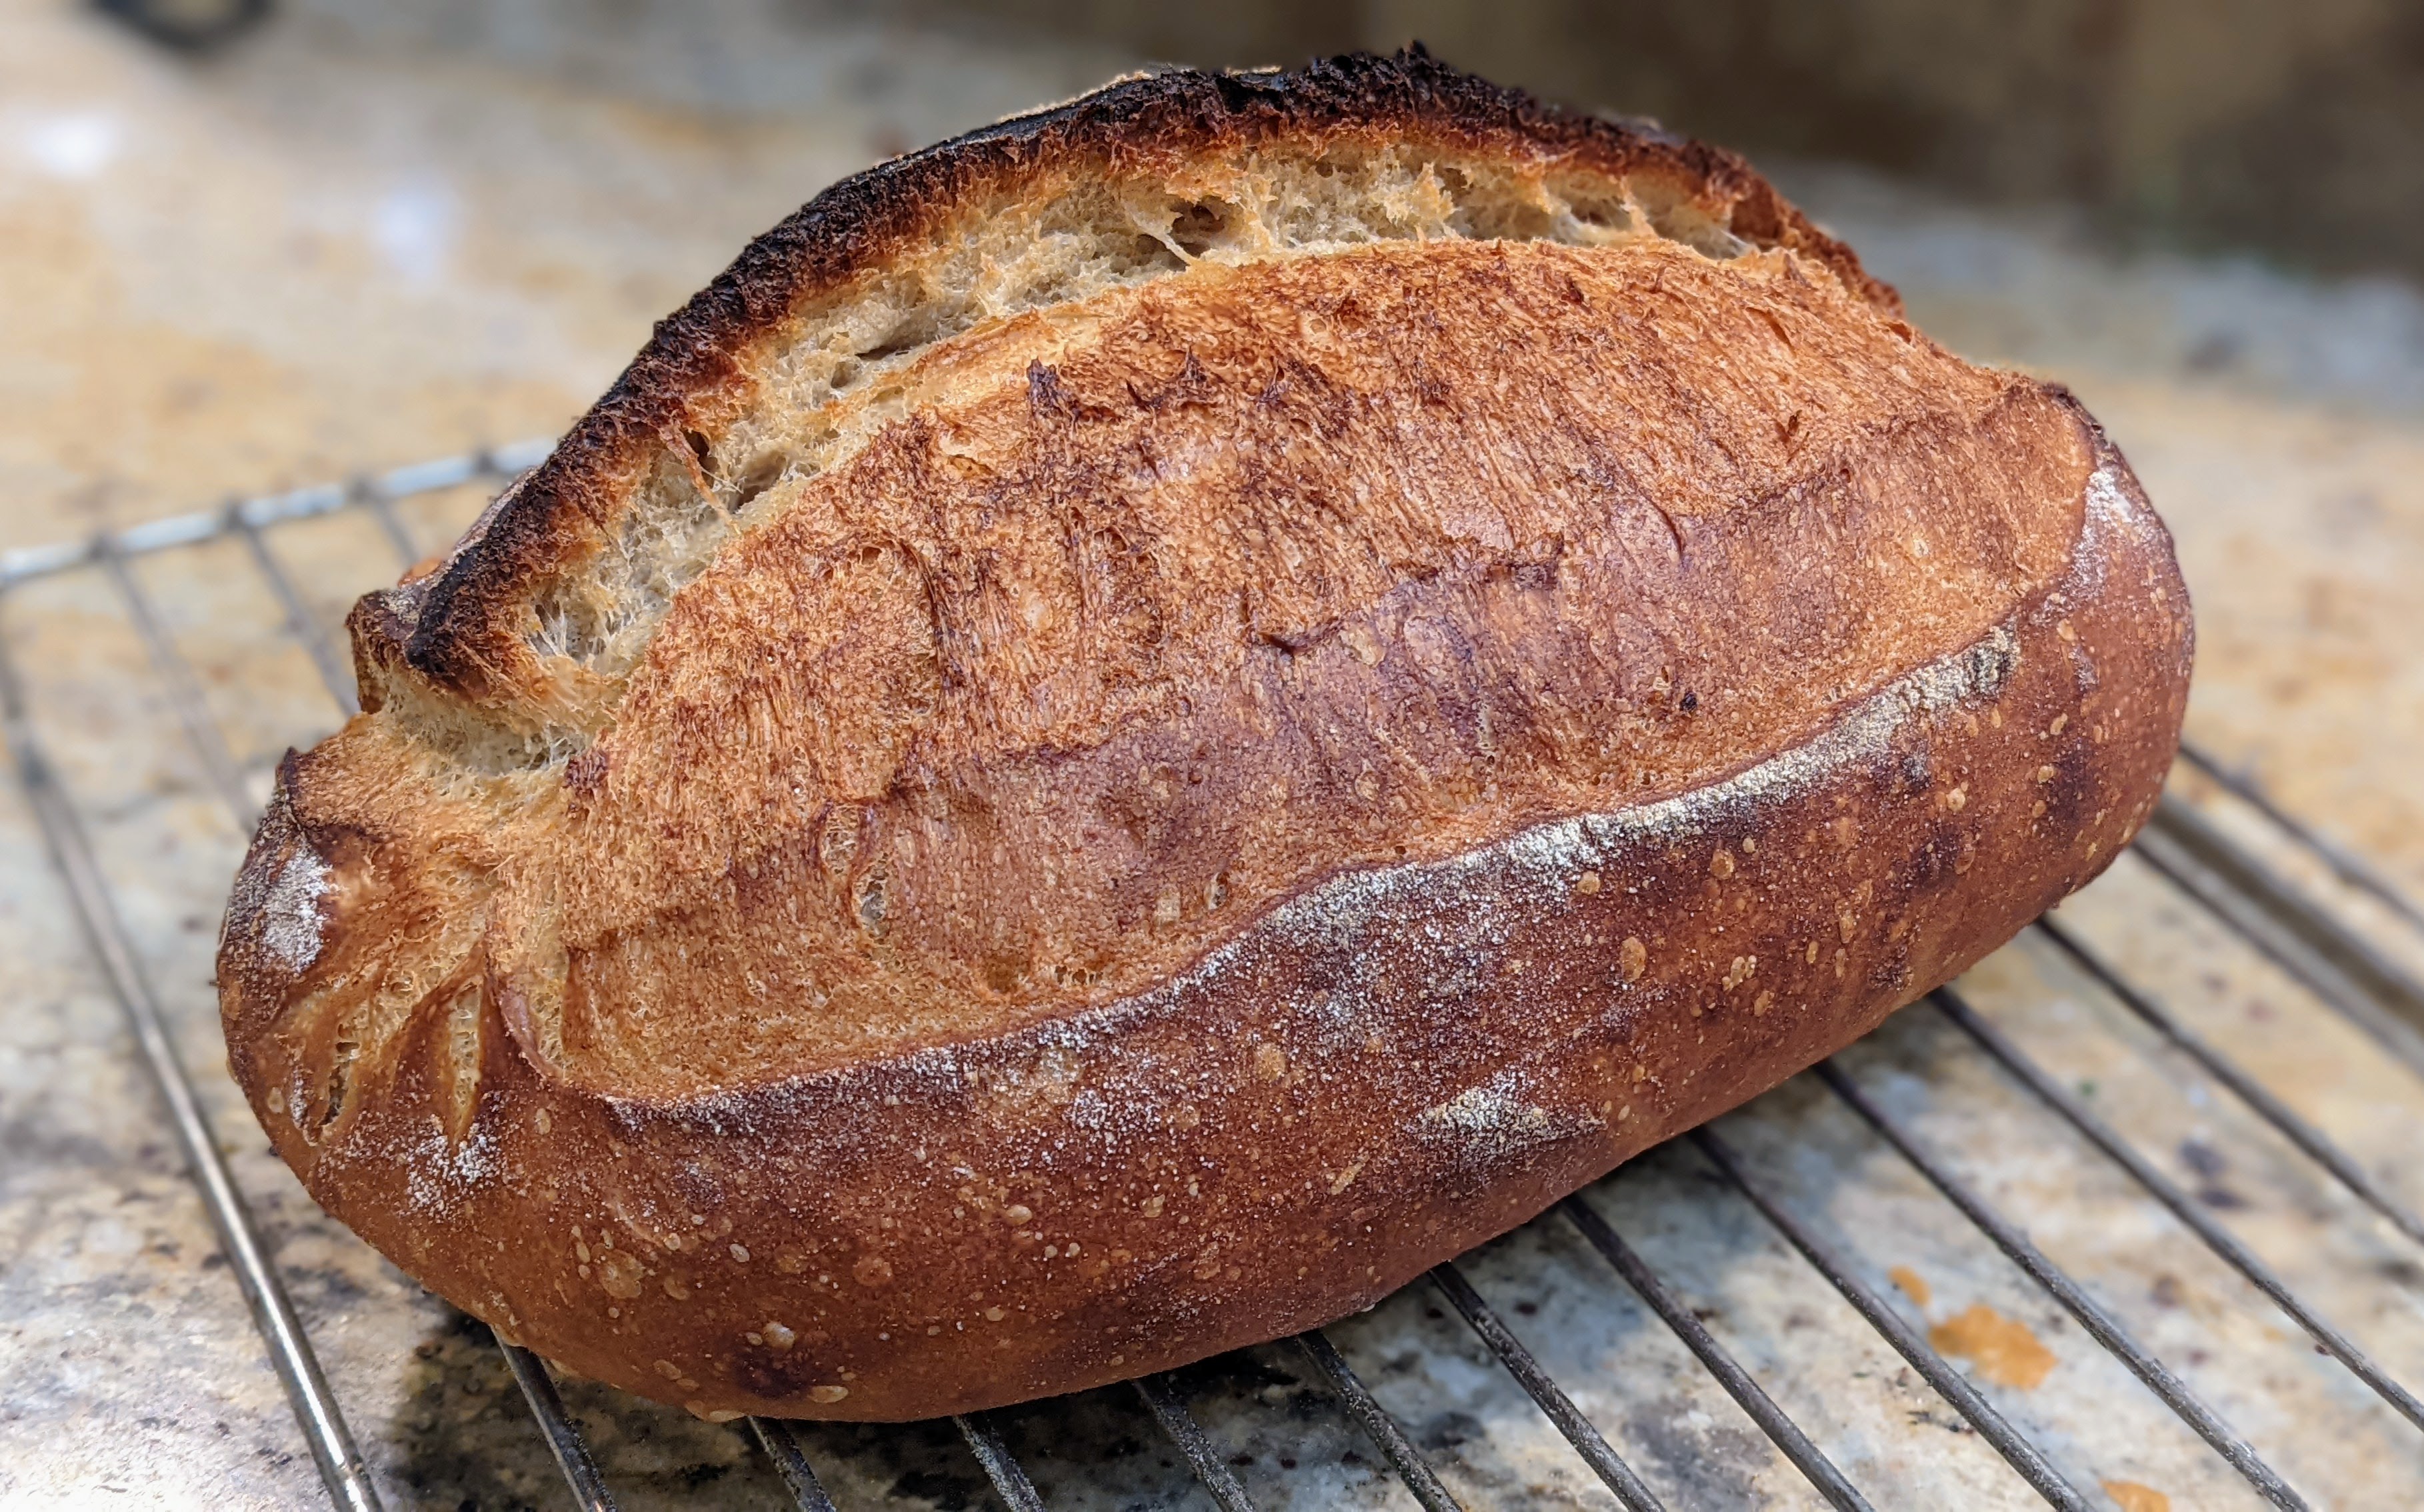
In “Tartine-Style 50% Whole Grain Sourdough: Experimenting with Extreme Hydration, First Stop 85%,” my goal was to push the limit of the flour I use to see just how far I could take it. I postulated that 85% hydration was the outer limit for my flour, but to be completely honest, I was wrong. The loaf shown in the pictures above was hydrated to just over 90% hydration. The flour blend I used was 10% Whole Wheat (from the starter), 54% Bread Flour (Bob’s Red Mill), 36% Whole-grain Kamut Flour.
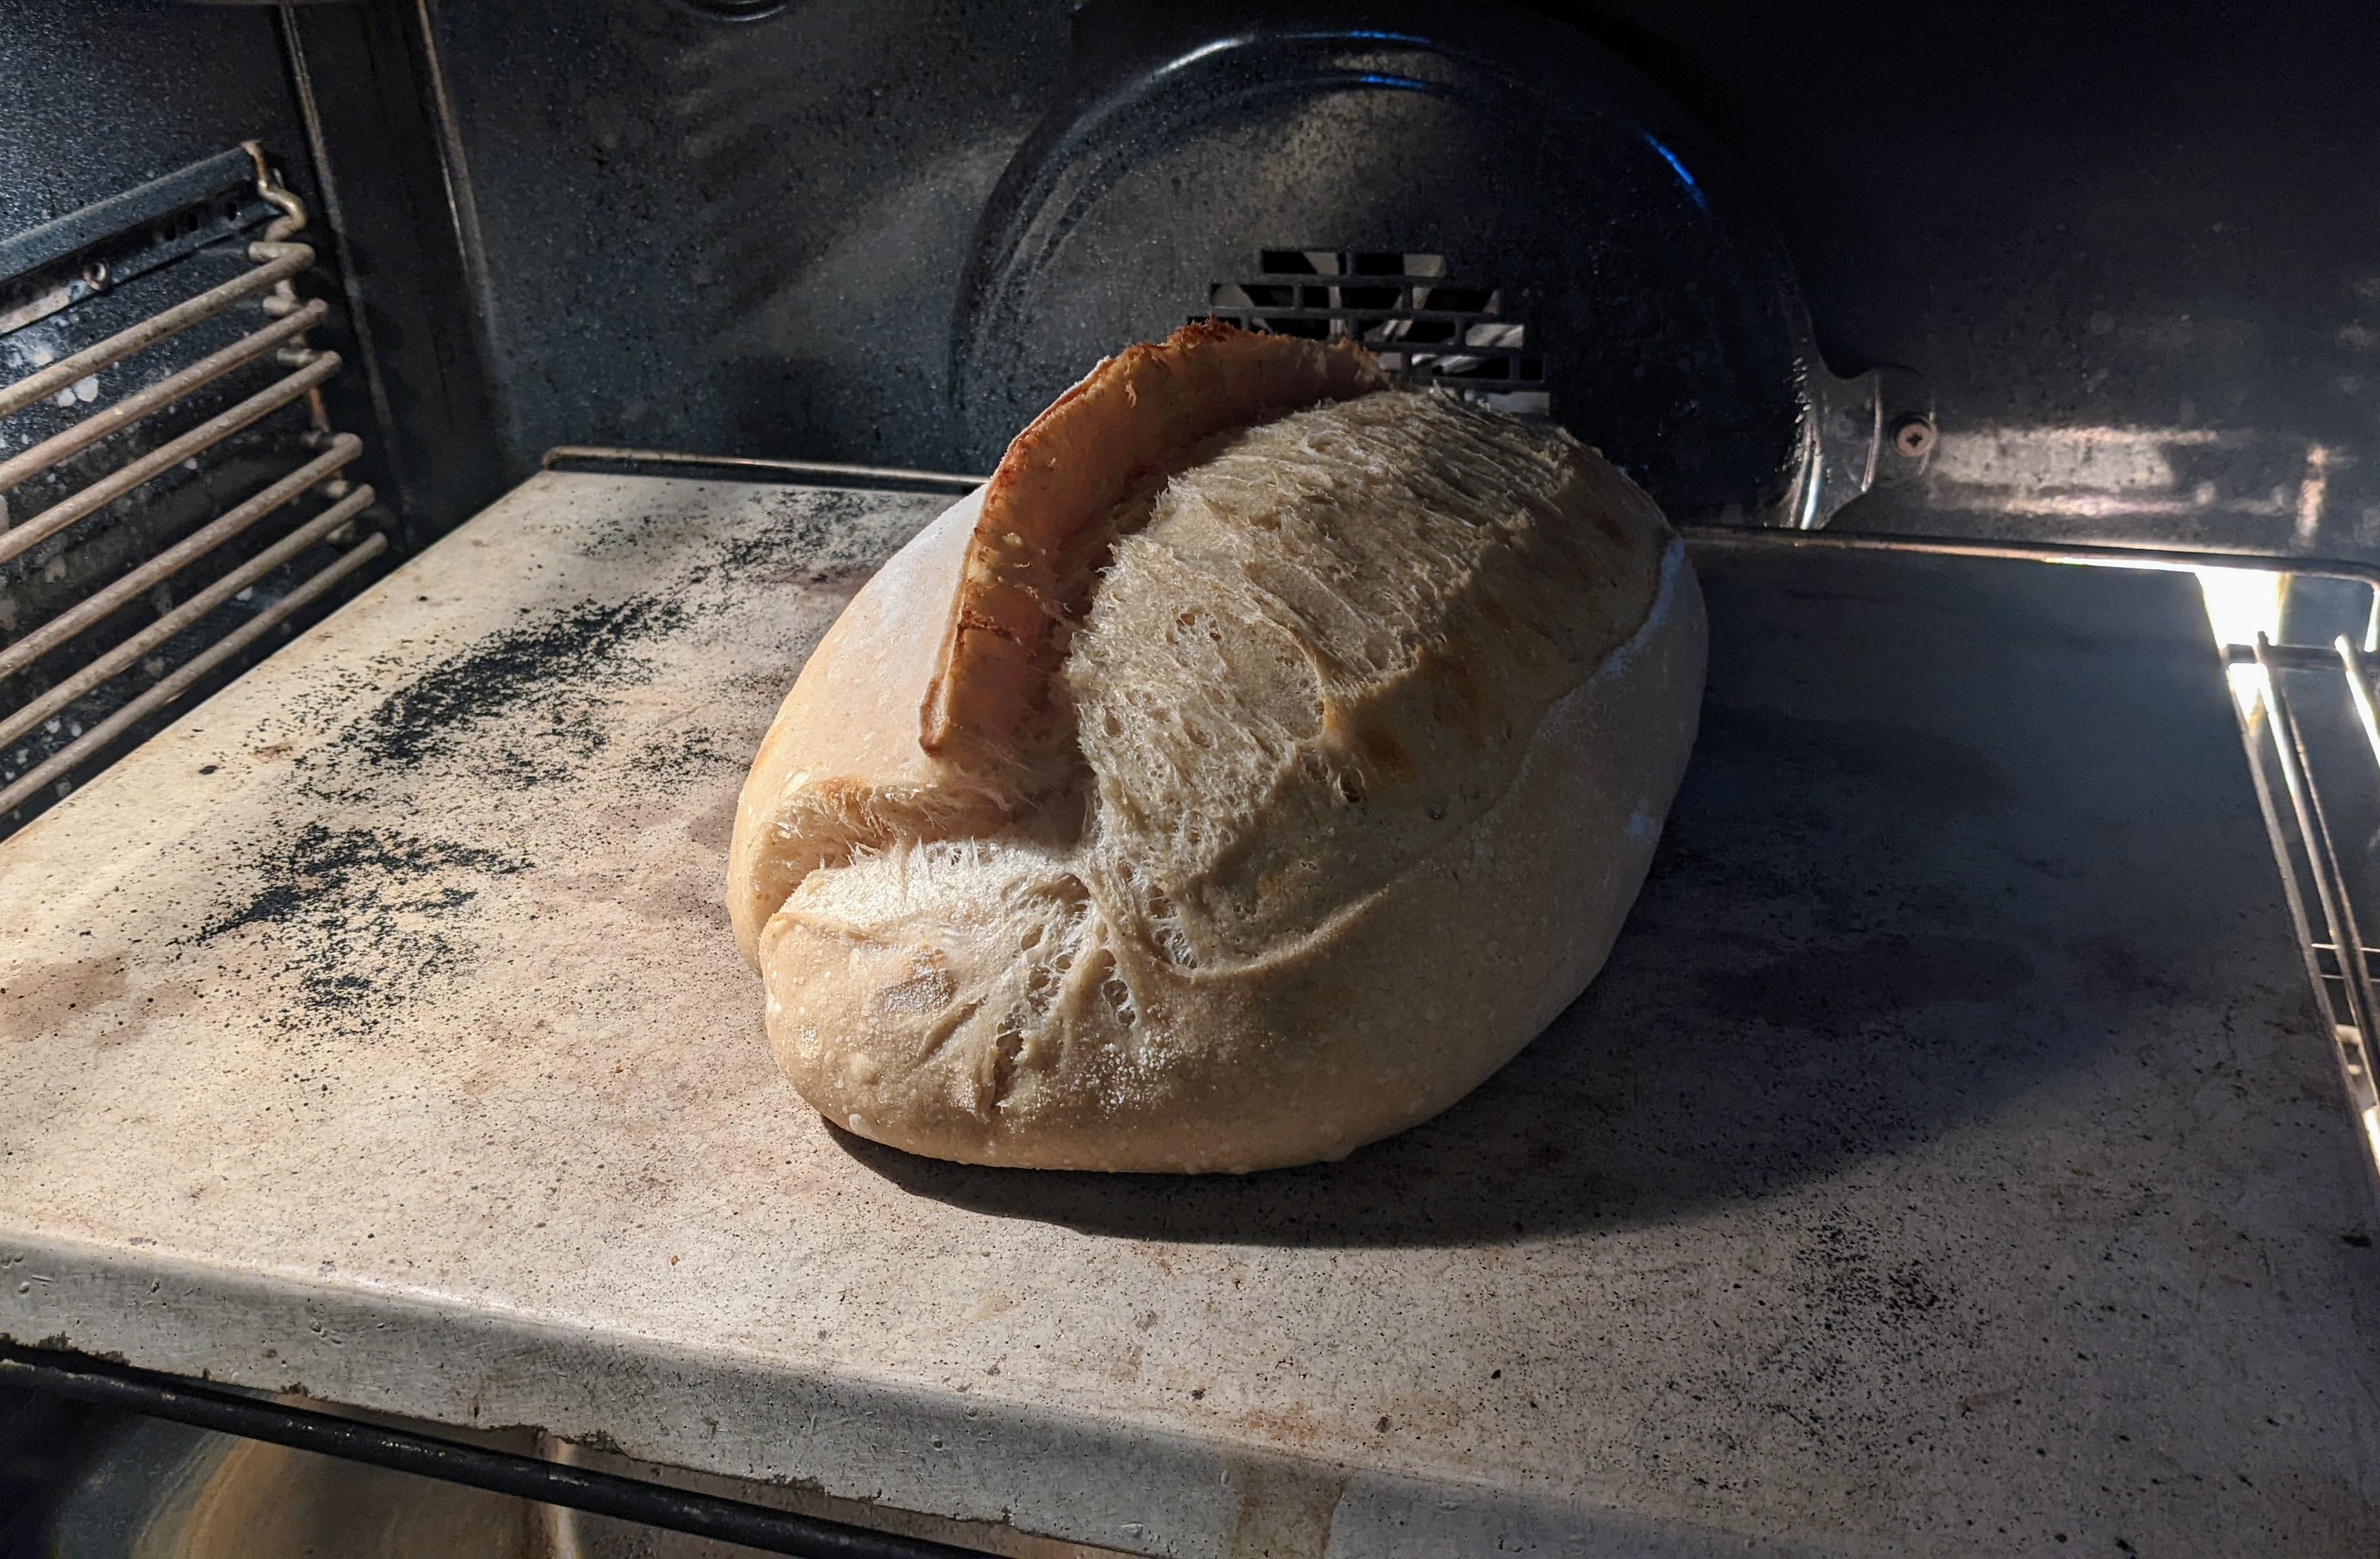
I was amazed at how the loaf maintained its structure enough to get a really great oven spring! I was a little unsure when I poured the dough out onto my loading board. It really spread out. But the important thing I noted was that despite the dough spreading out, it was still domed which meant that there was a structure to the dough. And rise up it did!
I’m going to keep pushing to find the outer limit of the hydration my flour can take, but one thing that has occurred to me in my high-hydration experiments is that the success I’ve been experiencing with the loaves I’m producing probably has a lot more to do with my technique than the flour itself. And that brings me to the crux of this post.
An important thing I’ve learned working with super-high hydration dough is to only manipulate it to accomplish what I need for a particular step and after that, leave it alone! When I’m stretching and folding the dough, I only do it enough to where I can feel the tension in the dough. And I also have learned to stretch the dough a lot slower than I normally stretch a less hydrated dough lest I degas it too much. Oh I stretch it as far it will stretch, but I don’t tug on it hard – just a slow and smooth motion.
With this batch of bread (I actually baked a few loaves with this batch of dough), I didn’t stretch and fold the Tartine method of six folds over three hours. I felt enough strength had built up after three folds. So I let the dough sit for 3 hours until it was almost doubled (my starter was a little sluggish that day).
When preshaping, I only preshape until the skin has been pulled a little taut and smooth. I don’t try to develop tight skin on the ball. And then I let it rest until it has relaxed. Depending on the weather, this could be 30 minutes or it could take an hour for the dough to relax.
With shaping, I use a stitching technique I learned from watching several videos of Chad Robertson shaping his bread at Tartine. Though it isn’t Chad Robertson, this video demonstrates the technique really well. It’s a gentle technique that creates structure but doesn’t degas the dough much and uses gravity and the natural tackiness of the dough to seal the bottom seam. Another way to get a great look at the technique is to watch John Favreau’s “The Chef Show” when he visits Chad Robertson’s Manufactory in Los Angeles.
Then finally, a long, 12-24 hour rest in the fridge for final fermentation will allow the flavors to develop and dough to perform its expanse.
Again, I want to stress that I only touched the dough when I absolutely needed to. The dough is so wet and delicate that I didn’t want to pop too many bubbles. Messing with the dough too much would undo all the hard work the yeast had done to create those wonderful gas-filled pockets!
