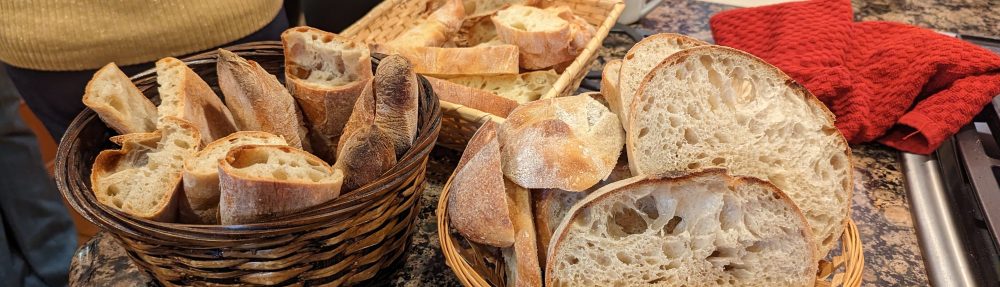

The very first bread recipe I ever learned was a whole-wheat sourdough recipe made from an offshoot of an original San Francisco sourdough starter that I got from the TA of my freshman Microbiology class in college over 40 years ago. Along with the starter, he included a recipe. And while the recipe had times listed, he stressed to all of us who got the starter that the times he listed were only approximate and he gave us telltales as to when to move on to the next phase. That was the only bread recipe I used for many years and I got pretty good at recognizing and feeling what was happening with the dough.
You see – and I know this sounds a little strange – the dough will speak to you if you’ll only listen. Unfortunately, so many folks, especially newbies to baking bread, follow recipes literally. If a recipe says to fold the dough 6 times over three hours, they’ll do it. If it says bulk fermentation will two hours, they’ll start pre-shaping it at two hours. In either of these cases, under the right circumstances, they’ll produce nice loaves. But then they’ll scratch their heads wondering why their next batches didn’t turn out the same.
As Jonathan of Proof Bread said in one of his videos, “…the dough will let you know what’s going on with it.” And it’s true. The dough will indeed let you know, but in a way, you kind of have to know its language. Luckily, its language is limited to a few words. I’m going to put a humorous spin on it.

“Look, I’m strong enough already…”
Of course, we’re talking about dough strength and gluten development here. When you’re folding your dough, or even using a mixer, your dough will tell you when it has had enough. Even with high-hydration dough, you’ll start feeling a bit of resistance from the dough; where you no longer can stretch it to the extent that you were able to a couple of sessions ago. A good telltale is how long the dough takes to relax and hit the sides of your container. If it’s a fairly slow rate and the mass generally holds its shape – like minutes – chances are it’s strong enough. You’ve built enough strength into the dough so now let bulk fermentation finish.
But what about all those recipes like the Tartine Country Loaf and its various spin-offs that say to fold the dough six times over three hours? Well, just as with rising times, how much or how little you fold your dough to build strength is dependent on a lot of different factors. That said, probably the most important factor is the flour or flour blend you use as water absorption properties vary from flour to flour, which in turn affect both the rate and the quality of gluten formation. For instance, with the flour blends I use, I’ve never done the full six folds when following the Tartine process – even if I take hydration over 80%! My flour forms gluten pretty quickly and my folding builds strength quickly.
As I write this, I’m baking two 1-kilo loaves of 75% Bob’s Red Mill Artisan Bread Flour / 25% Azure Standard Dark Rye Flour hydrated at about 81%. The bread flour forms up gluten so efficiently that even at this high hydration, I only had to fold the dough twice last night! If I used my normal Azure Standard High Extraction flour, I’d have to fold it at least 4 times as it is not nearly as good at forming gluten due to the bran particulates in the flour even though it has almost 15% protein content. See what I’m getting at?
“Feed me! Feed me!”
Let’s make one thing really clear: Your starter is part of your dough. In fact, it’s the first part of your dough. Lots of books and articles have been written about feeding your sourdough starter, but I thought I’d take a different tack on the subject and demystify it a bit. No, I’m not going to suggest a different feeding method or schedule, but bear in mind that your starter will speak to you as well and if you’re listening, you may very well change your schedule.
One of the things I often hear people talk about is the lack of activity in their starter, and I see many comments similar to this: “I’m not sure what’s happening with my starter. It’s not very active and I’ve been feeding it every 12 hours!”
There are three main factors that affect activity in a starter (not in any particular order): 1) The density of the yeast in the starter matrix, 2) The amount of acidity in your starter, and 3) the ambient temperature. You can directly affect temperature. but you have to do a bit of finagling of the starter to affect items 1) and 2), and that is through feeding.
Generally, what you hear with regards to feeding your starter is you do it to get it active enough to use for baking. But as with dough strength, you can’t be a fundamentalist about the schedule. For instance, many starter instructions say to feed your starter every twelve hours, and people will do it religiously and then wonder why their starter never bubbles up much. The probable cause for this is that the starter’s not ready to be fed and instead of increasing the density of the yeast in the starter, they’re actually decreasing it.
The starter will tell you when it’s ready to be fed. Look for telltales such as doubling in volume (usually the peak), or if there is a noticeable “ring” around the top of the starter where the starter has peaked and then receded. Or if you’re using a fairly liquid starter, look for a proliferation of bubbles on the top surface. This is the starter telling you it’s ready to be fed.
On Discarding…
A question that often gets asked is why we discard half the starter when feeding. Most people answer that we do this because if we kept on adding more and more flour and water, the sheer amount of starter we’d produce would be unmanageable. That is true, but there’s a bit more going on than just that simple explanation. In fact, two very important things are accomplished with feeding: 1) We reduce the acidity in the starter, as acid is a yeast inhibitor, and 2) We reduce competition from other microbes to allow the yeast to flourish.
Yeast exists to eat sugar and multiply. And its ability to do that requires fairly ideal conditions. Its environment can’t be too acidic, which is the other microbes’ way of keeping the yeast from taking over. And it has to have reliable and abundant access to fuel. By discarding, then adding fresh flour and water, we are providing fresh food, but also reducing the acidity in the starter and we’re creating a more favorable environment for the yeast to flourish. When yeast is able to operate optimally, it releases inhibitors of its own, thus becoming the dominant organism in the starter.
We want yeast to be the dominant organism for bulk fermentation. But for final fermentation, we want the other organisms, specifically the lactobacillus bacteria to be dominant. That is why pop our shaped loaves into the fridge to attenuate the yeast activity and allow the bacteria to hold sway. Cool stuff!
Yeast: “You’re on MY time…”
I recently ordered a couple of different starters from Sourdoughs International and yesterday (9/17/2022), I finally got the time to activate their Giza starter that was propagated from yeast captured from an ancient bakery unearthed at the foot of the Great Pyramid. This was part of a National Geographic project. Check out the link to find out more about the starter.
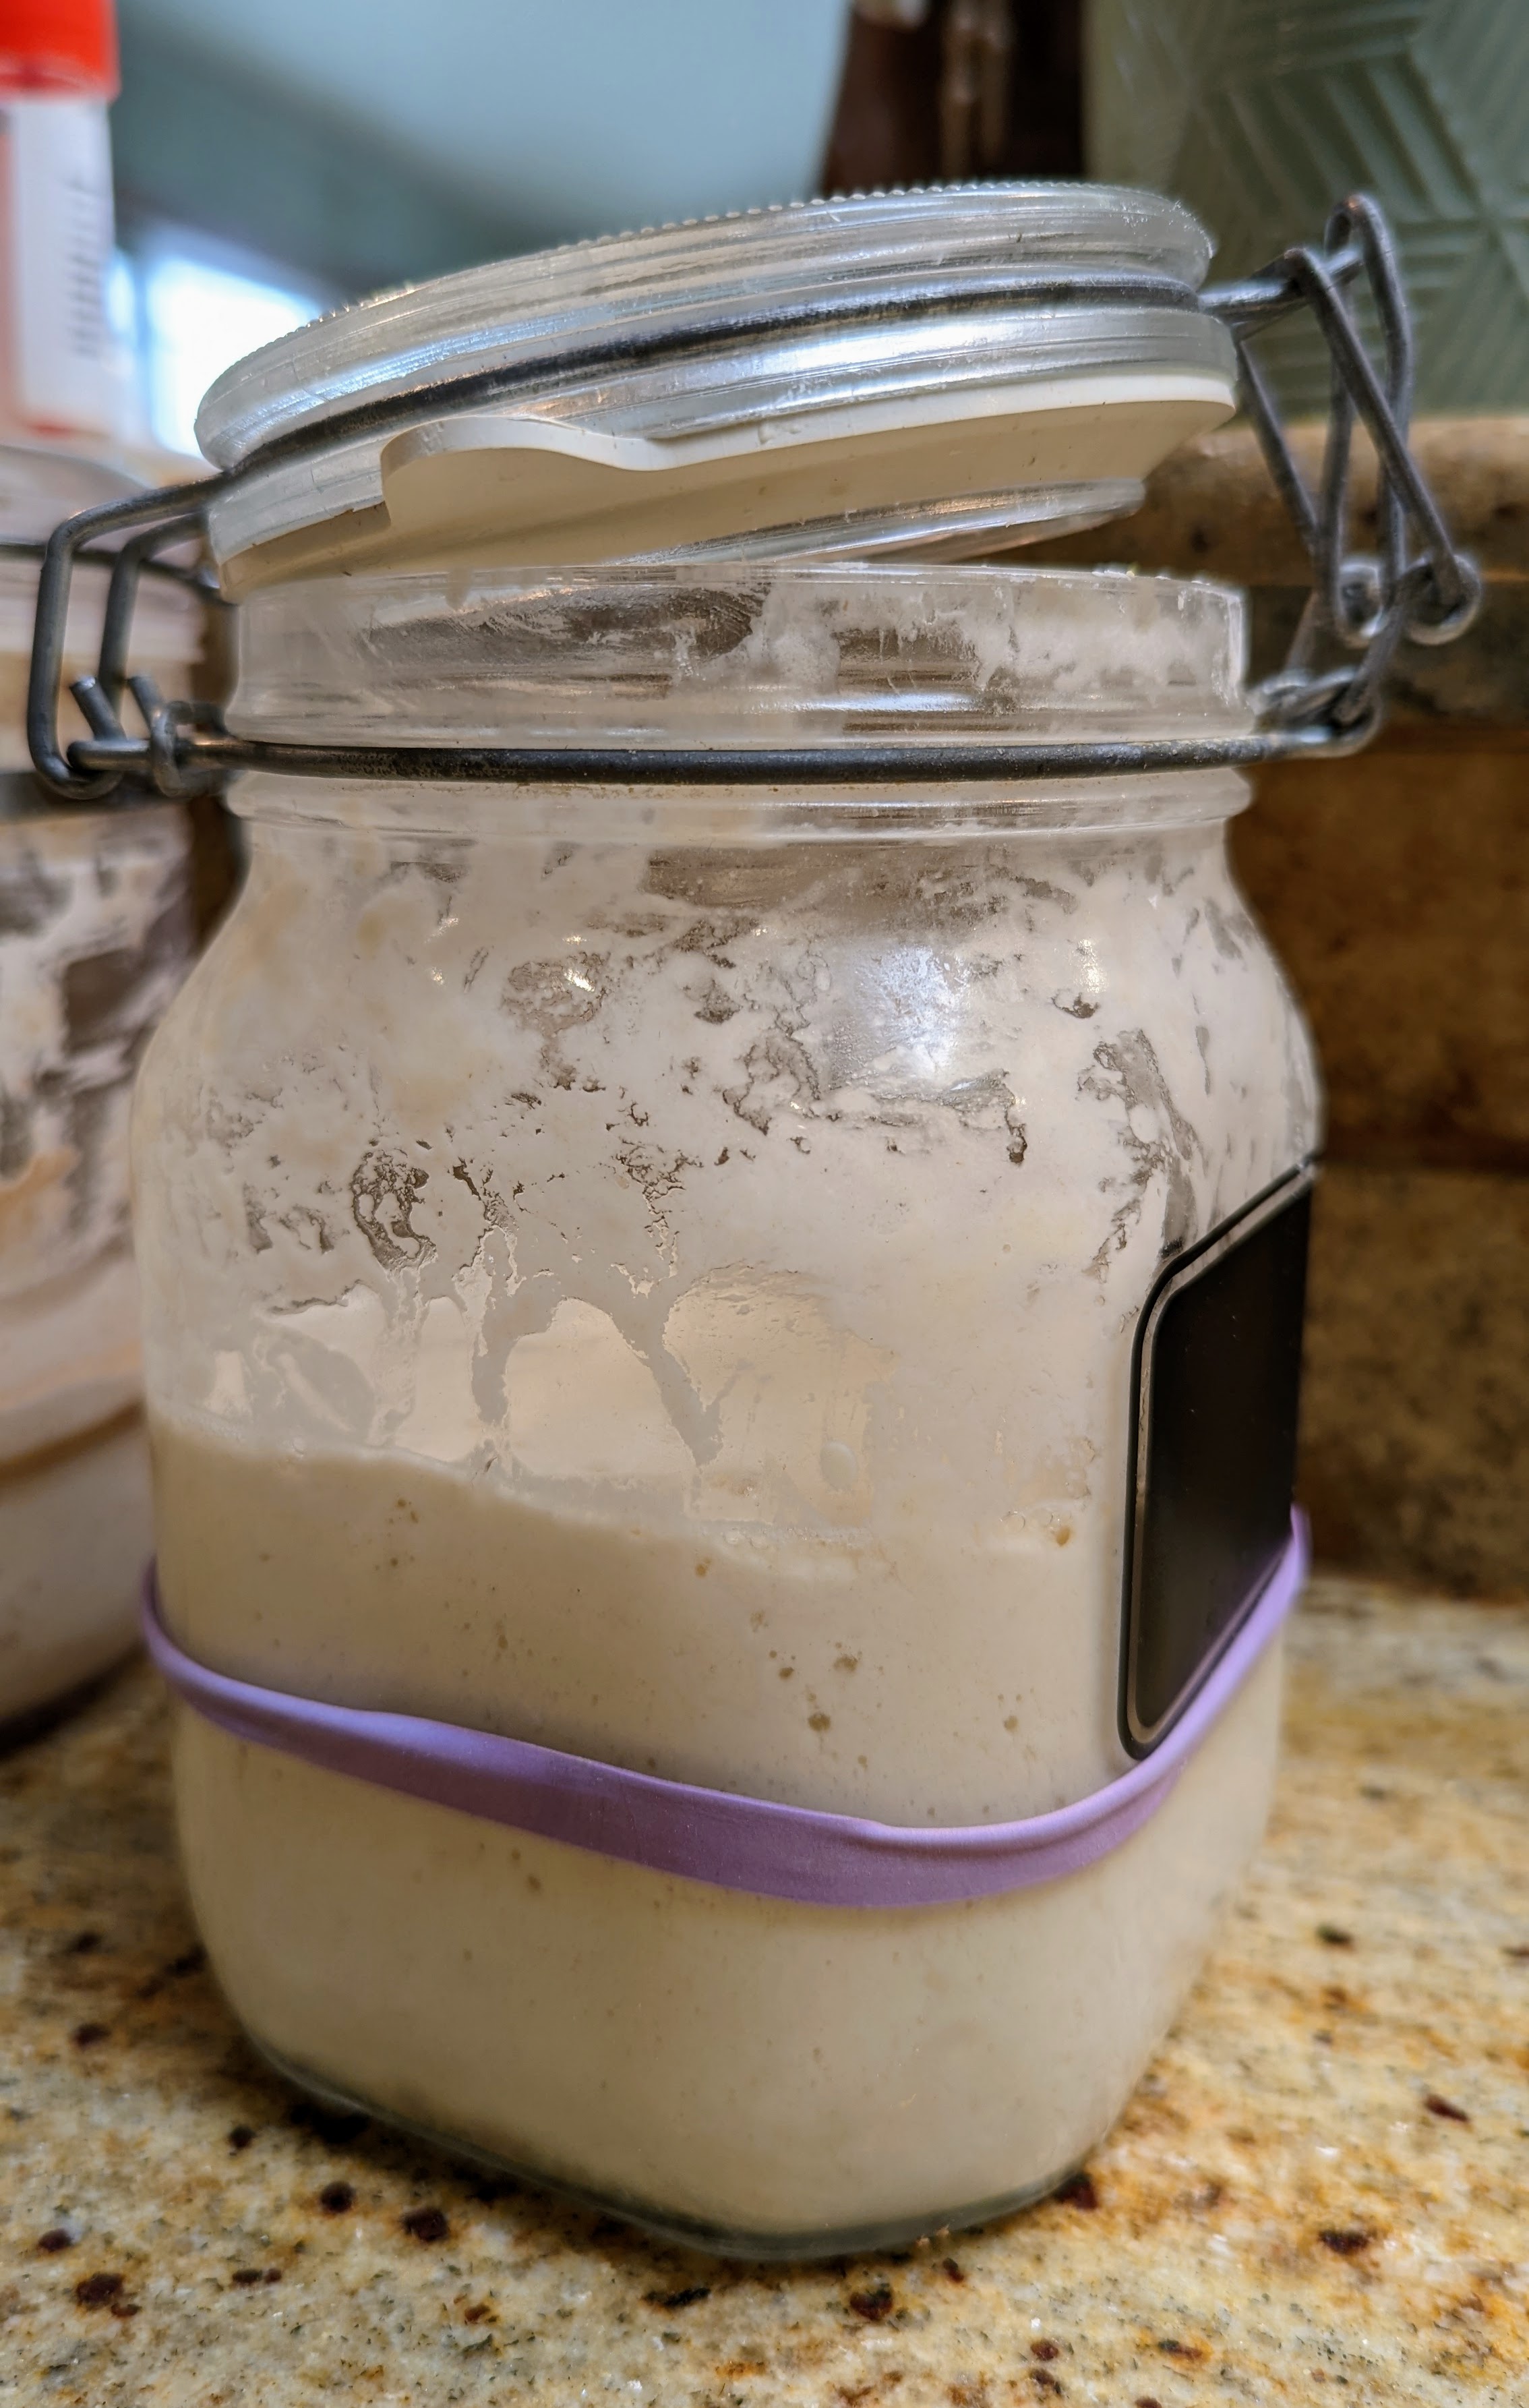
Anyway, I activated it yesterday and went to feed it this morning after letting it sit in a warm environment for 24 hours. To my utter amazement, the starter was not just bubbly, but even a bit frothy! That was totally unexpected. Before I activated the starter, I made sure to completely sterilize my container to ensure that the microbes in the starter were the predominant organisms. Well apparently, they’re not only the dominant organisms, they’re incredibly active! Then about an hour after discarding and feeding the starter, I noticed how much it was expanding. At this rate, I think it will peak after just four hours!
The activation instructions mentioned that I shouldn’t expect much activity after 24 hours and the starter shouldn’t be ready for baking for 4 to 5 days. But at this rate, I’ll probably be ready to make some dough tomorrow!
The point of this is that yeast operates on its own schedule. We can read and follow instructions all we want. But if the yeast is ready, it’s ready. On the flip side, some yeast is slower on the uptake and takes longer to get going. For instance, my original starter that I have been nurturing for the last couple of years has always been a little lazy at the start of fermentation. I’ve tried rebuilding it and refreshing it, but it still just operates on its own schedule. It has actually been ideal for long fermentation periods, and as it is pretty sensitive to a cold environment when I retard the final fermentation, there’s lots of flavor development.
With this new Giza starter, I’m going to have to work out a new baking schedule since it is so active. I reached out to Sourdoughs International to inquire about the incredible activity of the culture, and they confirmed that it is very active. This is just SO cool!

 The Dawg House!