
Sometimes I just want some basic bread; something I don’t have to work too hard at. But by the same token, I don’t want to make just plain, white bread because that’s just boring. As I wrote in a previous article, there are lots of ways to make bread more flavorful. But my primary way of accomplishing that is to use various blends of flour.
In this case, I’m using a blend of 50% Fine-ground whole grain semolina and 50% bread flour. The bread flour I’m using is Bob’s Red Mill Artisan Bread Flour. This is a wonderful flour that has a nice, high protein content of 13.7%. This is one of my favorite flours to use in conjunction with whole-grain flour as the higher protein content ensures that I can build plenty of structure in the dough. The semolina flour adds sweetness and corn-like flavor and a gorgeous, natural yellow color to the crumb that looks like an egg was added to the dough.
The best thing about this bread is that it is absolutely straightforward and easy to make! So without further ado, let’s get into the recipe.
Formula
| Flour (50% Fine-Ground Semolina, 50% Bread Flour) | 100.00% |
| Water | 80.00% |
| Salt | 2.00% |
| Yeast | 1.00% |
Final Dough
The following recipe will make 2 1-kilo loaves:
| Bread Flour | 552g |
| Fine-ground, Whole-grain Semolina Flour | 552g |
| Water | 883g |
| Salt | 22g |
| Yeast | 11g |
| Total Yield | 2020g |
If you really want to make things easy on yourself, do your mixing in a mixer, especially if you opt to use a delayed fermentation.
Mix. Combine all the dry ingredients and mix well enough so there’s even distribution. Add all the water and mix until smooth with moderate gluten development.
(optional) This recipe really lends itself to delayed fermentation. If you want to do that, use ice water to mix your dough. As recommended above, use a mixer and mix at medium-low for a few minutes to get gluten development started. Once the dough starts climbing up your hook, you will have mixed and kneaded it enough. Then put the dough in the fridge for up to 24 hours. The rest of the process is the same as below once you remove the dough from the fridge.
Bulk Fermentation. How long bulk fermentation will take depends on the ambient temperature of your kitchen. But it should generally take 1 1/2 to 2 1/2 hours. However, if you delayed fermentation, count on at least a few hours to allow the yeast to wake up. The dough will have finished bulk fermenting when it has expanded almost 35-40% of its original size.
Folding. You only need to fold this dough once, 30 minutes after mixing. If you did a delayed fermentation, there’s no need to fold.
Divide and Shape. Divide the dough into two 1-kilo pieces. Shape the loaves as you would batards, but roll them out into logs. I use 14″ bannetons for proofing but you could also just proof the loaves on a well-floured couche. Alternatively, you could just place the loaves on a large baking sheet that is covered with parchment paper. You’ll both proof and bake on the sheet.
Final Fermentation. As with bulk fermentation, final fermentation will vary based on the ambient temp of your kitchen. The loaves will be ready when they pass the poke test.
Bake. Bake at 425°F with steam for 20 minutes. Remove the steaming container after 20 minutes then bake at 400°F for 20-30 minutes to cure the loaves and reduce moisture in the crumb.
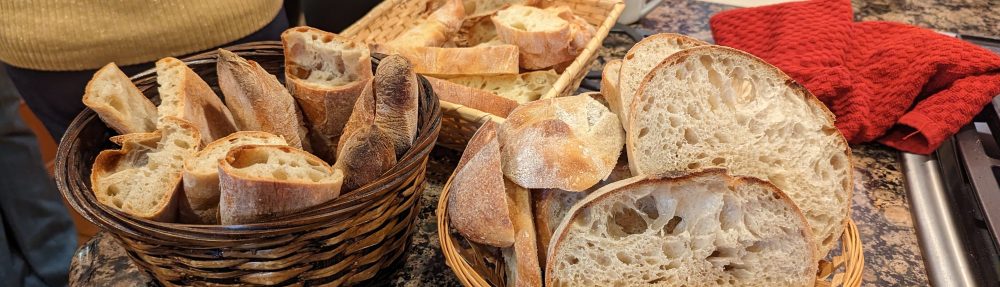
Because semolina is whole-grain flour, don’t expect large holes to form. But that’s okay. Your loaves will spring and have a wonderfully soft crumb!

Thank you for this!
I was wondering what to bake today and I have been experimenting with Rimacinata recently. Your timing is perfect and the formula looks great.
I will switch it to a cold overnight proofing though.
I didn’t know the French baked with semolina… Interesting.
Cheers
Actually, they don’t… 🙂 But this is my riff on what the Italians call Pane di Como Antico or Pane Francese. Enjoy!