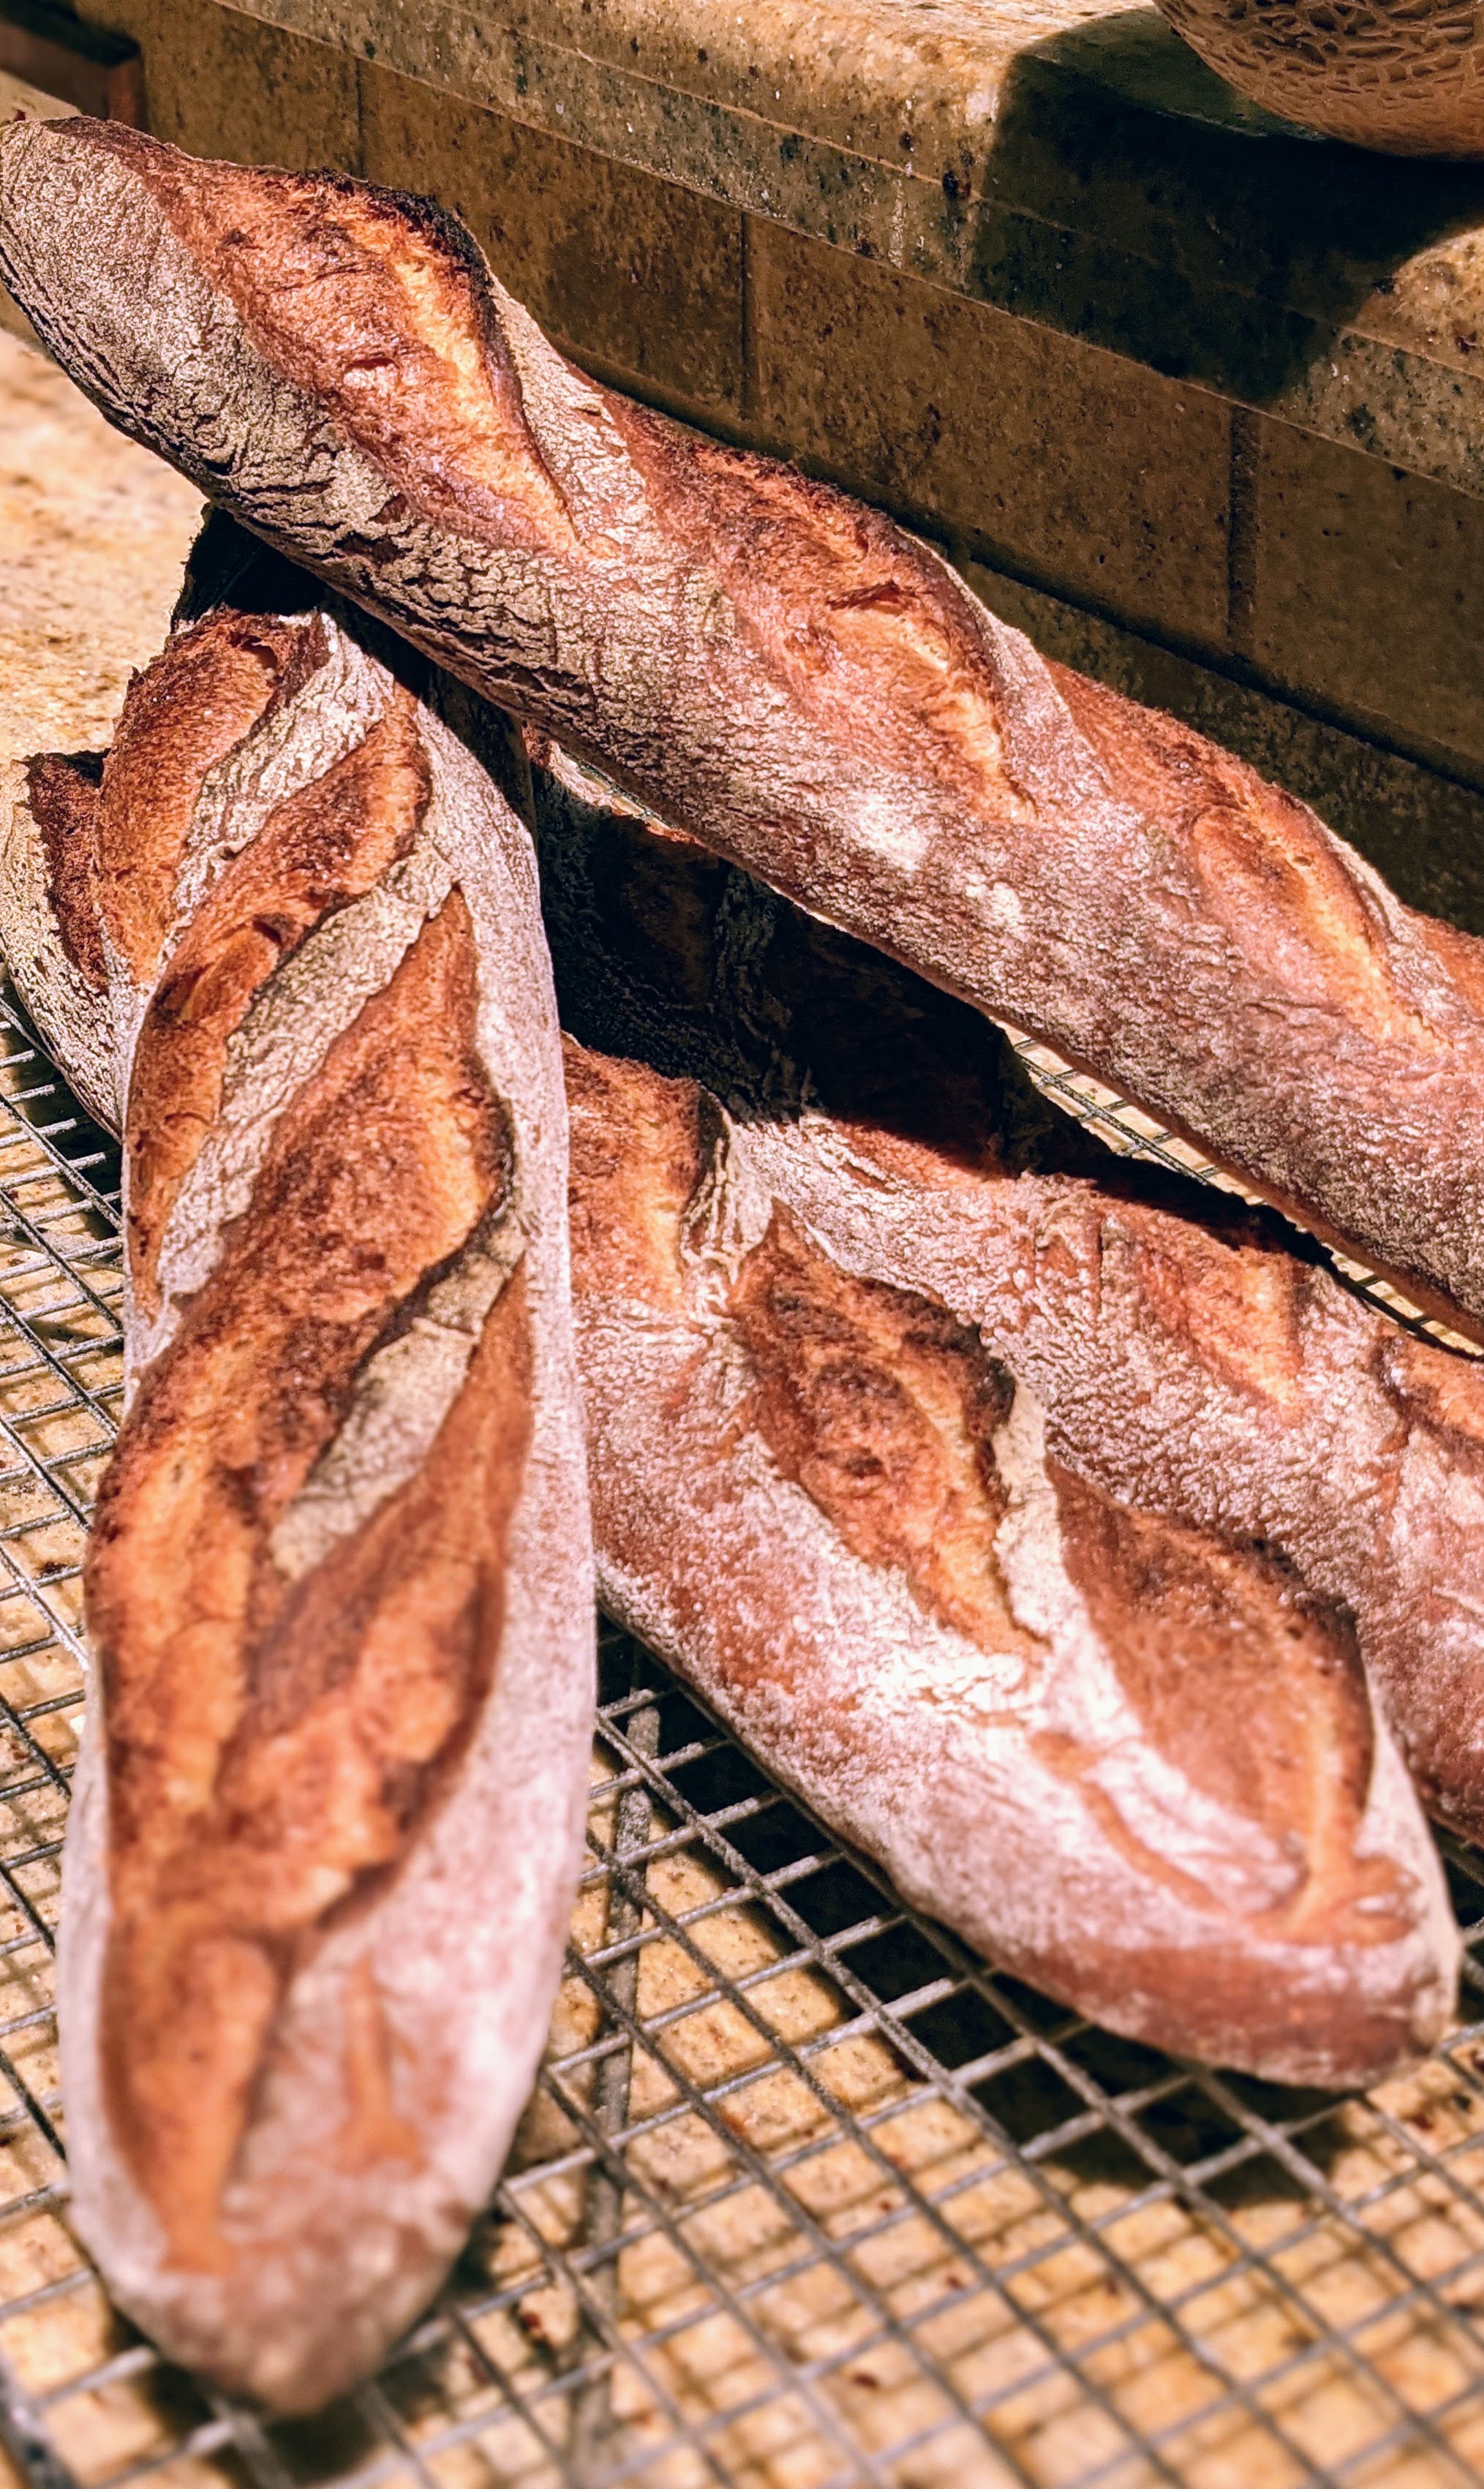
Surprisingly enough, I’m not going to provide a recipe here but talk purely about a technique I’ve been using to bake the last few batches of my baguettes. The technique has totally changed my approach to baking baguettes, let alone baking straight dough with yeast. Based on the Pain a l’Ancienne technique of using ice water at mixing time to inhibit yeast activity, the technique employs temperature to affect the dough, providing yet another means to develop flavor.
Those who bake sourdough are familiar with retarding fermentation for flavor development. But that typically occurs during final fermentation after the yeast has mostly finished its job of expanding the dough. Contrast this with the Pain a l’Ancienne technique where the yeast doesn’t get a chance to metabolize all that much from the get-go, allowing the amylase enzymes to break down the starches into sugars and letting the bacteria do their thing in producing organic acids and other by-products.
With the delayed fermentation technique, we mix with ice water; that’s right. Ice water.
The end result is that lots of sugars are released into the dough – more than the yeast can metabolize – and the result is a relatively darker crust due to the sugars caramelizing and a much more rich flavor from the organic acids released by the bacteria! So here’s the technique…
I highly recommend using a mixer for this technique. This will serve two purposes:
It will take a lot less time than mixing by hand and doesn’t give the dough a chance to warm up significantly.
It allows you to get some good gluten development before you put the dough into the fridge.
First off, mix all the dry ingredients together with the paddle attachment.
Make ice water and make sure you make enough that will meet your recipe’s requirements.
Attach the dough hook, then add all the ice water needed for your recipe to the bowl.
Starting with the slowest speed, start bringing all the ingredients together. Once the dough starts to come together, stop the mixer, then scrape down the sides of the bowl. Continue mixing until there are no dry ingredients. In some cases, you may have to scrape the bottom of the bowl and flip the dough to make sure you get everything.
Turn the mixer up another notch to work the dough. Let it run for at least two minutes or until the dough starts climbing up the hook. That should give you plenty of gluten development to start with.
Transfer the dough to a sealable container. I put my dough in a glass mixing bowl that I then place in a jumbo Ziploc bag.
Put the dough in the fridge for 8 to 24 hours. It will probably rise just a tiny bit, but nothing significant.
Remove the dough from the fridge and allow it to almost double. This can take anywhere from 2 to 4 hours.
Divide and preshape. Bench rest for 20-30 minutes until the dough has relaxed enough to be shaped.
Shape the dough into your desired shape and final ferment. This can take anywhere from 1 to 3 hours depending on the hydration and your ambient temp. My baguettes this morning took only 45 minutes for final fermentation. Poke test the dough for readiness.
Bake as normal.
Though I listed a bunch of steps, the process isn’t all that complicated. But the results are astonishing. This process is a keeper!
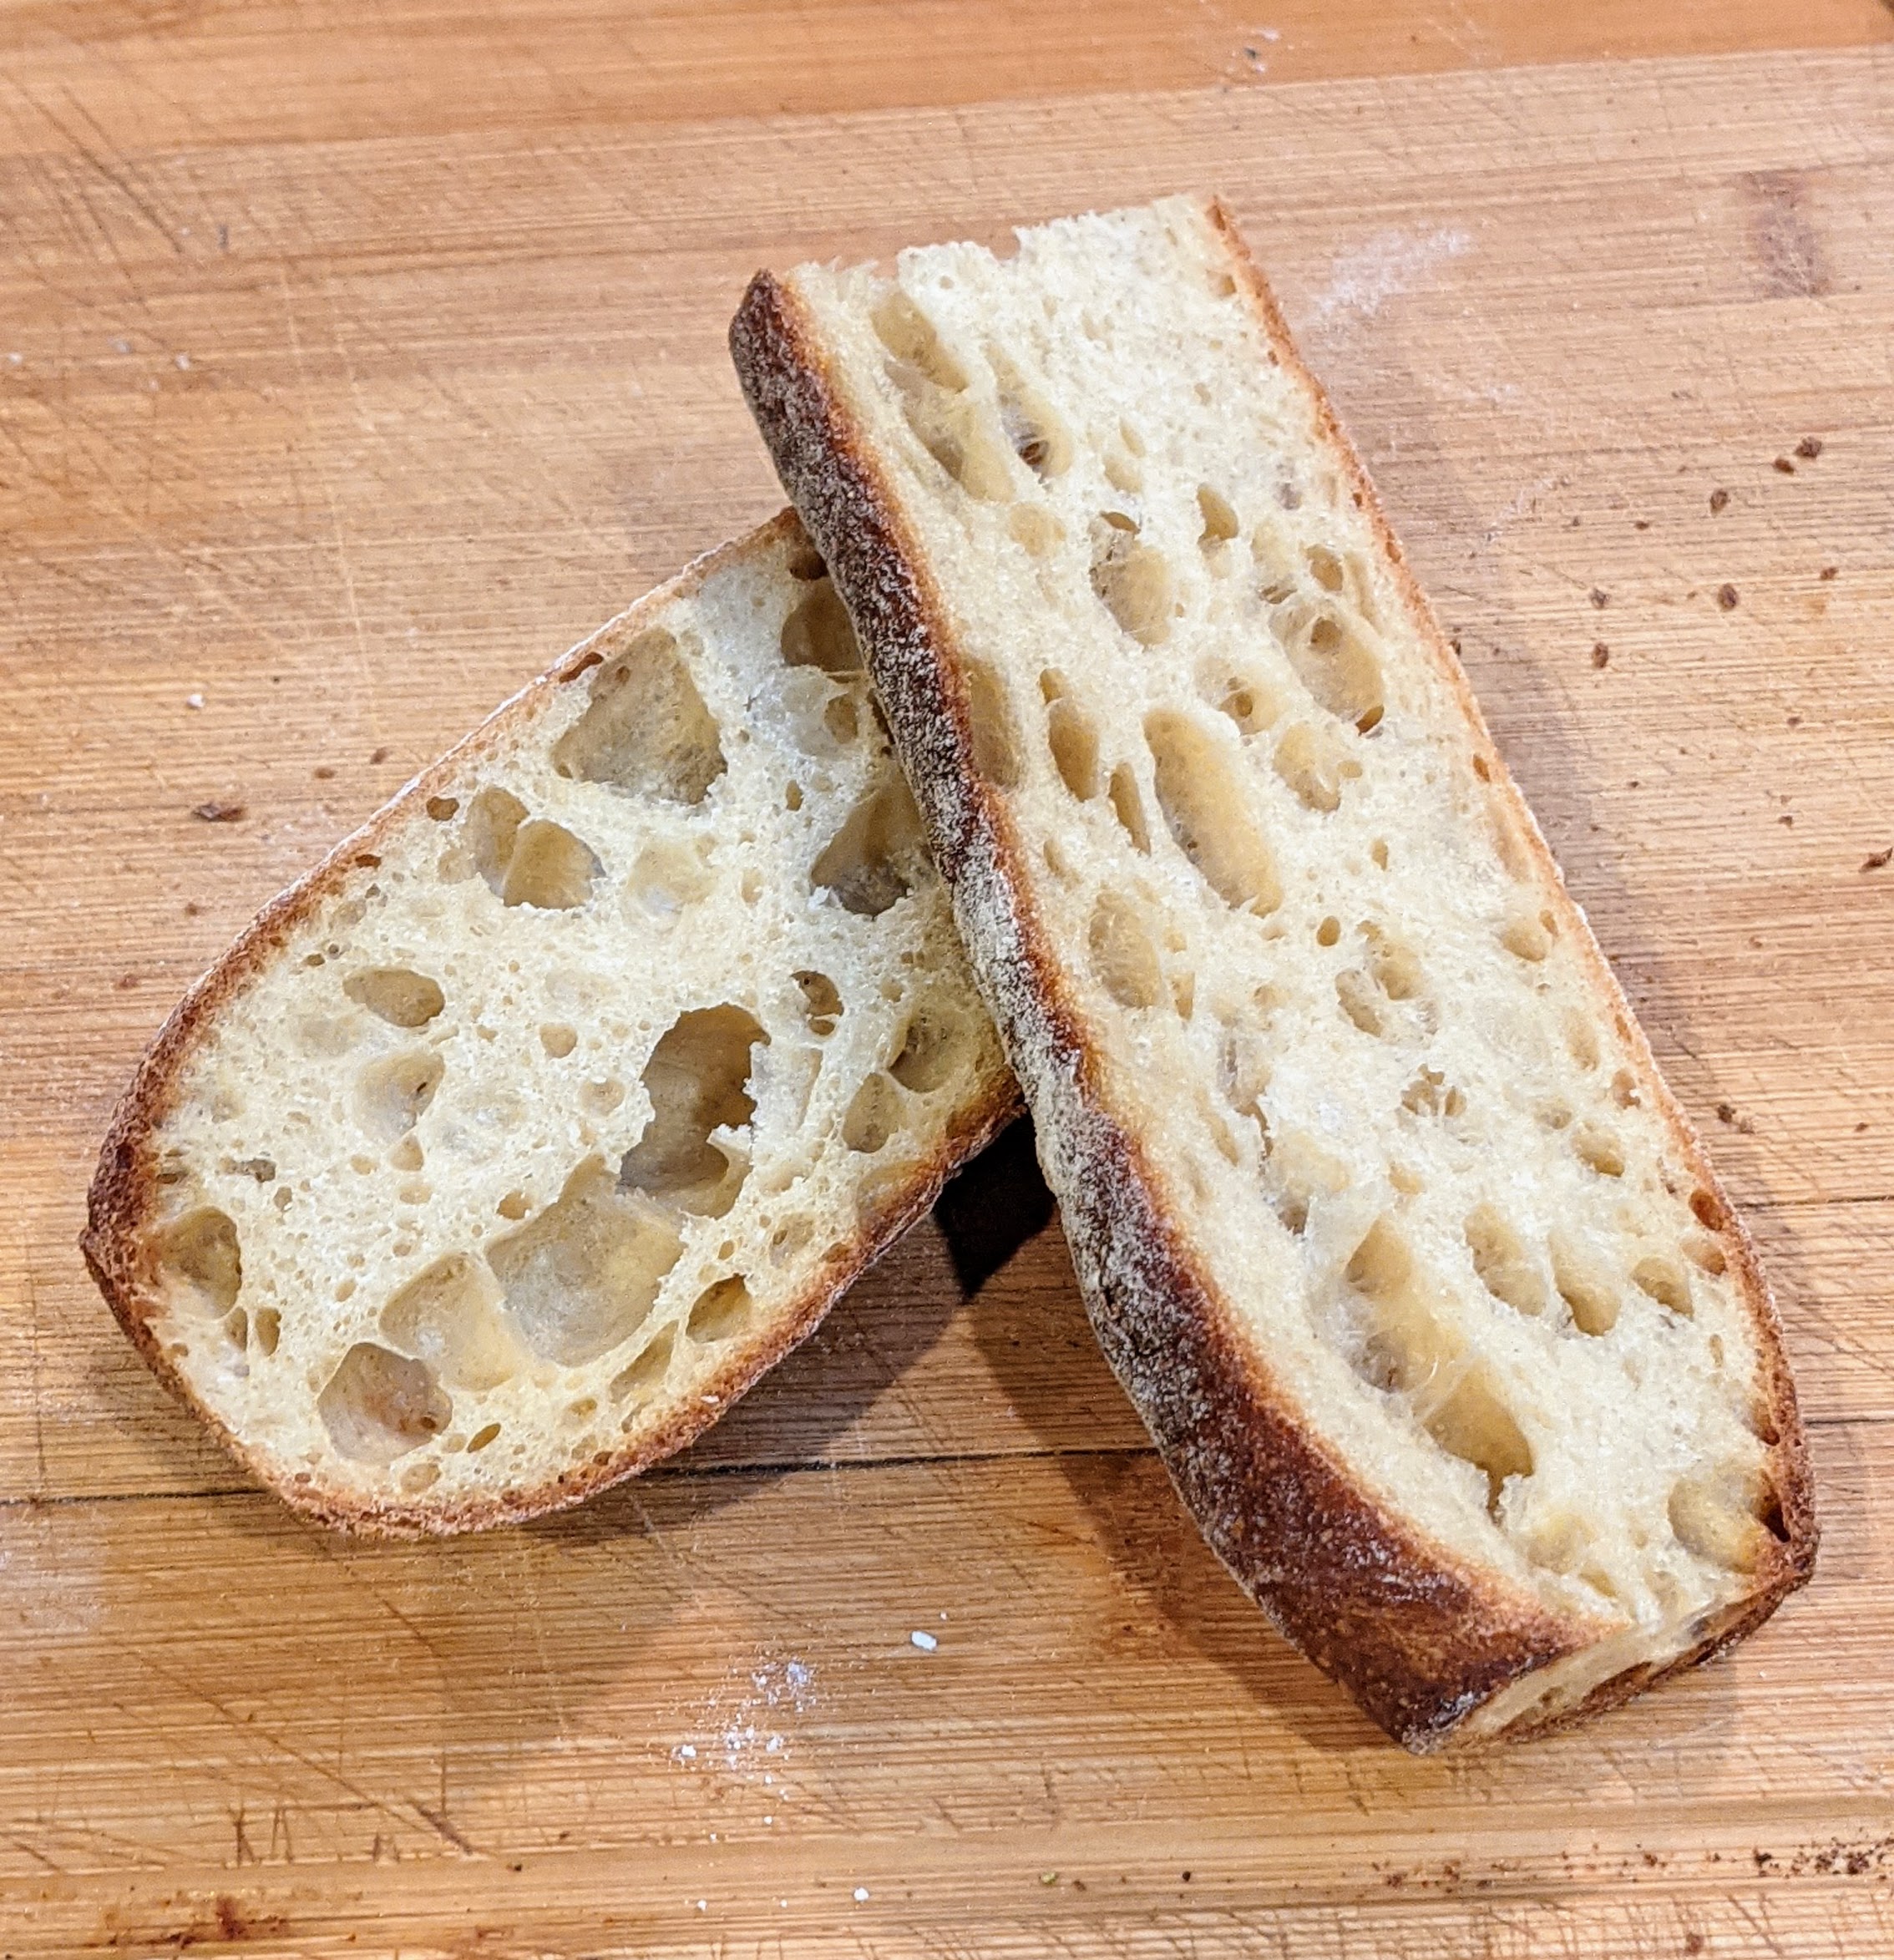
The other bread that I love to bake on a regular basis besides baguettes is ciabatta. This is yet another super-simple dough and like baguettes, requires a bit of finesse to get a good result. That good result is a loaf that feels light as a feather when you pick it up and whose crumb is open and airy.
With this version, I thought I’d change it up a bit and use a white flour blend but I also added a roasted garlic paste to the mix to give it a bit of a garlic kick.
Formula
Flour
100.00%
Water
82.00%
Salt
2.00%
Yeast
0.50%
Garlic
5.00%
Poolish
AP Flour
200g
Water
200g
Yeast
0.40g
Final Dough
AP Flour
369g
Bread Flour
185g
Warm Water (~95°F)
421g
Salt
15g
Yeast
4g
Garlic
37g
Poolish
369g
Total Yield
1400g 2 X 700g loaves
Make the Poolish. The night before, make a 400g 100% hydration poolish. Cover tightly with plastic and let it sit overnight on the counter. By morning, it should be filled with bubbles and slightly domed on top. Don’t worry if it has collapsed or you see a bit of hooch around the edges.
I highly recommend using a mixer. This is a very wet dough and while you could mix it by hand, you’ll get a more uniform consistency with a mixer.
Roast the Garlic. You can do this at any time. Just have it ready for when you mix. I use peeled garlic drizzled with olive oil then loosely wrap it in foil. I roast the garlic at 375℉ for 30-35 minutes to where it’s fork-tender. After roasting, transfer to the garlic to a bowl and mash it well.
Mix. Add all the dry ingredients to the mixing bowl. Mix on low speed with the paddle attachment. While that’s mixing, loosen the poolish from its container by pouring the water around the edges of the dough mass. Stop the mixer, then add the poolish-water mixture to the bowl. Switch to the dough hook and mix at low speed until the dough (it’s more like batter) starts coming together. Stop the mixer again and add the roasted garlic mash. At this point, mix at medium-low until smooth and the dough starts climbing up the hook a bit.
At this point, you can transfer the dough to another bowl (I like to use a glass mixing bowl going forward) or just let it rest in the bowl for 45 minutes.
Bulk Fermentation. About 2 hours at 70℉ ambient temp.
First Fold. After 45 minutes, fold the dough in the bowl. Make sure you stretch the dough adequately enough to feel the tension building in the dough. After several folds, rest for 45 minutes.
Second Fold. Generously flour your work surface (and I mean generously), then pour the dough out. With closed fingers, work your hands under the dough and shape it into a rough rectangle less than an inch thick throughout the mass. To make it easier to understand, the long side should be the East-West side. Take one of the long sides, stretch it out away from the sheet, then fold it back over almost to the end. Gently pat the dough down, then repeat with the opposite end. Do the same for the North and South sides. When you do the North-South side, you may notice that the dough fights you a little. This is a good thing! It means the gluten strands are aligning and you’ve built strength in the dough. Gently roll the dough mass onto the seams and let it rest for several seconds to seal.
Transfer the dough seam-side-down to a well-oiled bowl. You can use the same mixing bowl, but this time, you need to oil it down. Cover the bowl and let the dough double in volume. At around 70℉, this will take about 30-45 minutes.
Divide and “Shape.” At this point, I personally like to scale my dough, but you can eyeball it as well. As with the second fold above, transfer the dough seam-side-up onto a generously floured surface. Work the mass into a rectangle with even thickness, then cut the dough in half. With ciabatta, there’s really no shaping. What I like to do is take a piece, gently work it into a slightly long rectangle, then transfer it to a generously-floured couche. Once on the couche, I’ll tug it into the final rectangle shape I want.
Final Fermentation. This can take as little as 15 minutes or up to 30 minutes depending on your ambient temperature and yeast activity. The purpose of this step isn’t for more expansion, but to let the dough relax before baking to ensure that the bubbles will expand in the oven.
Bake. Bake at 475℉ with steam for 12 minutes. Remove steam/steaming container, then bake for 12-15 minutes at 425℉.
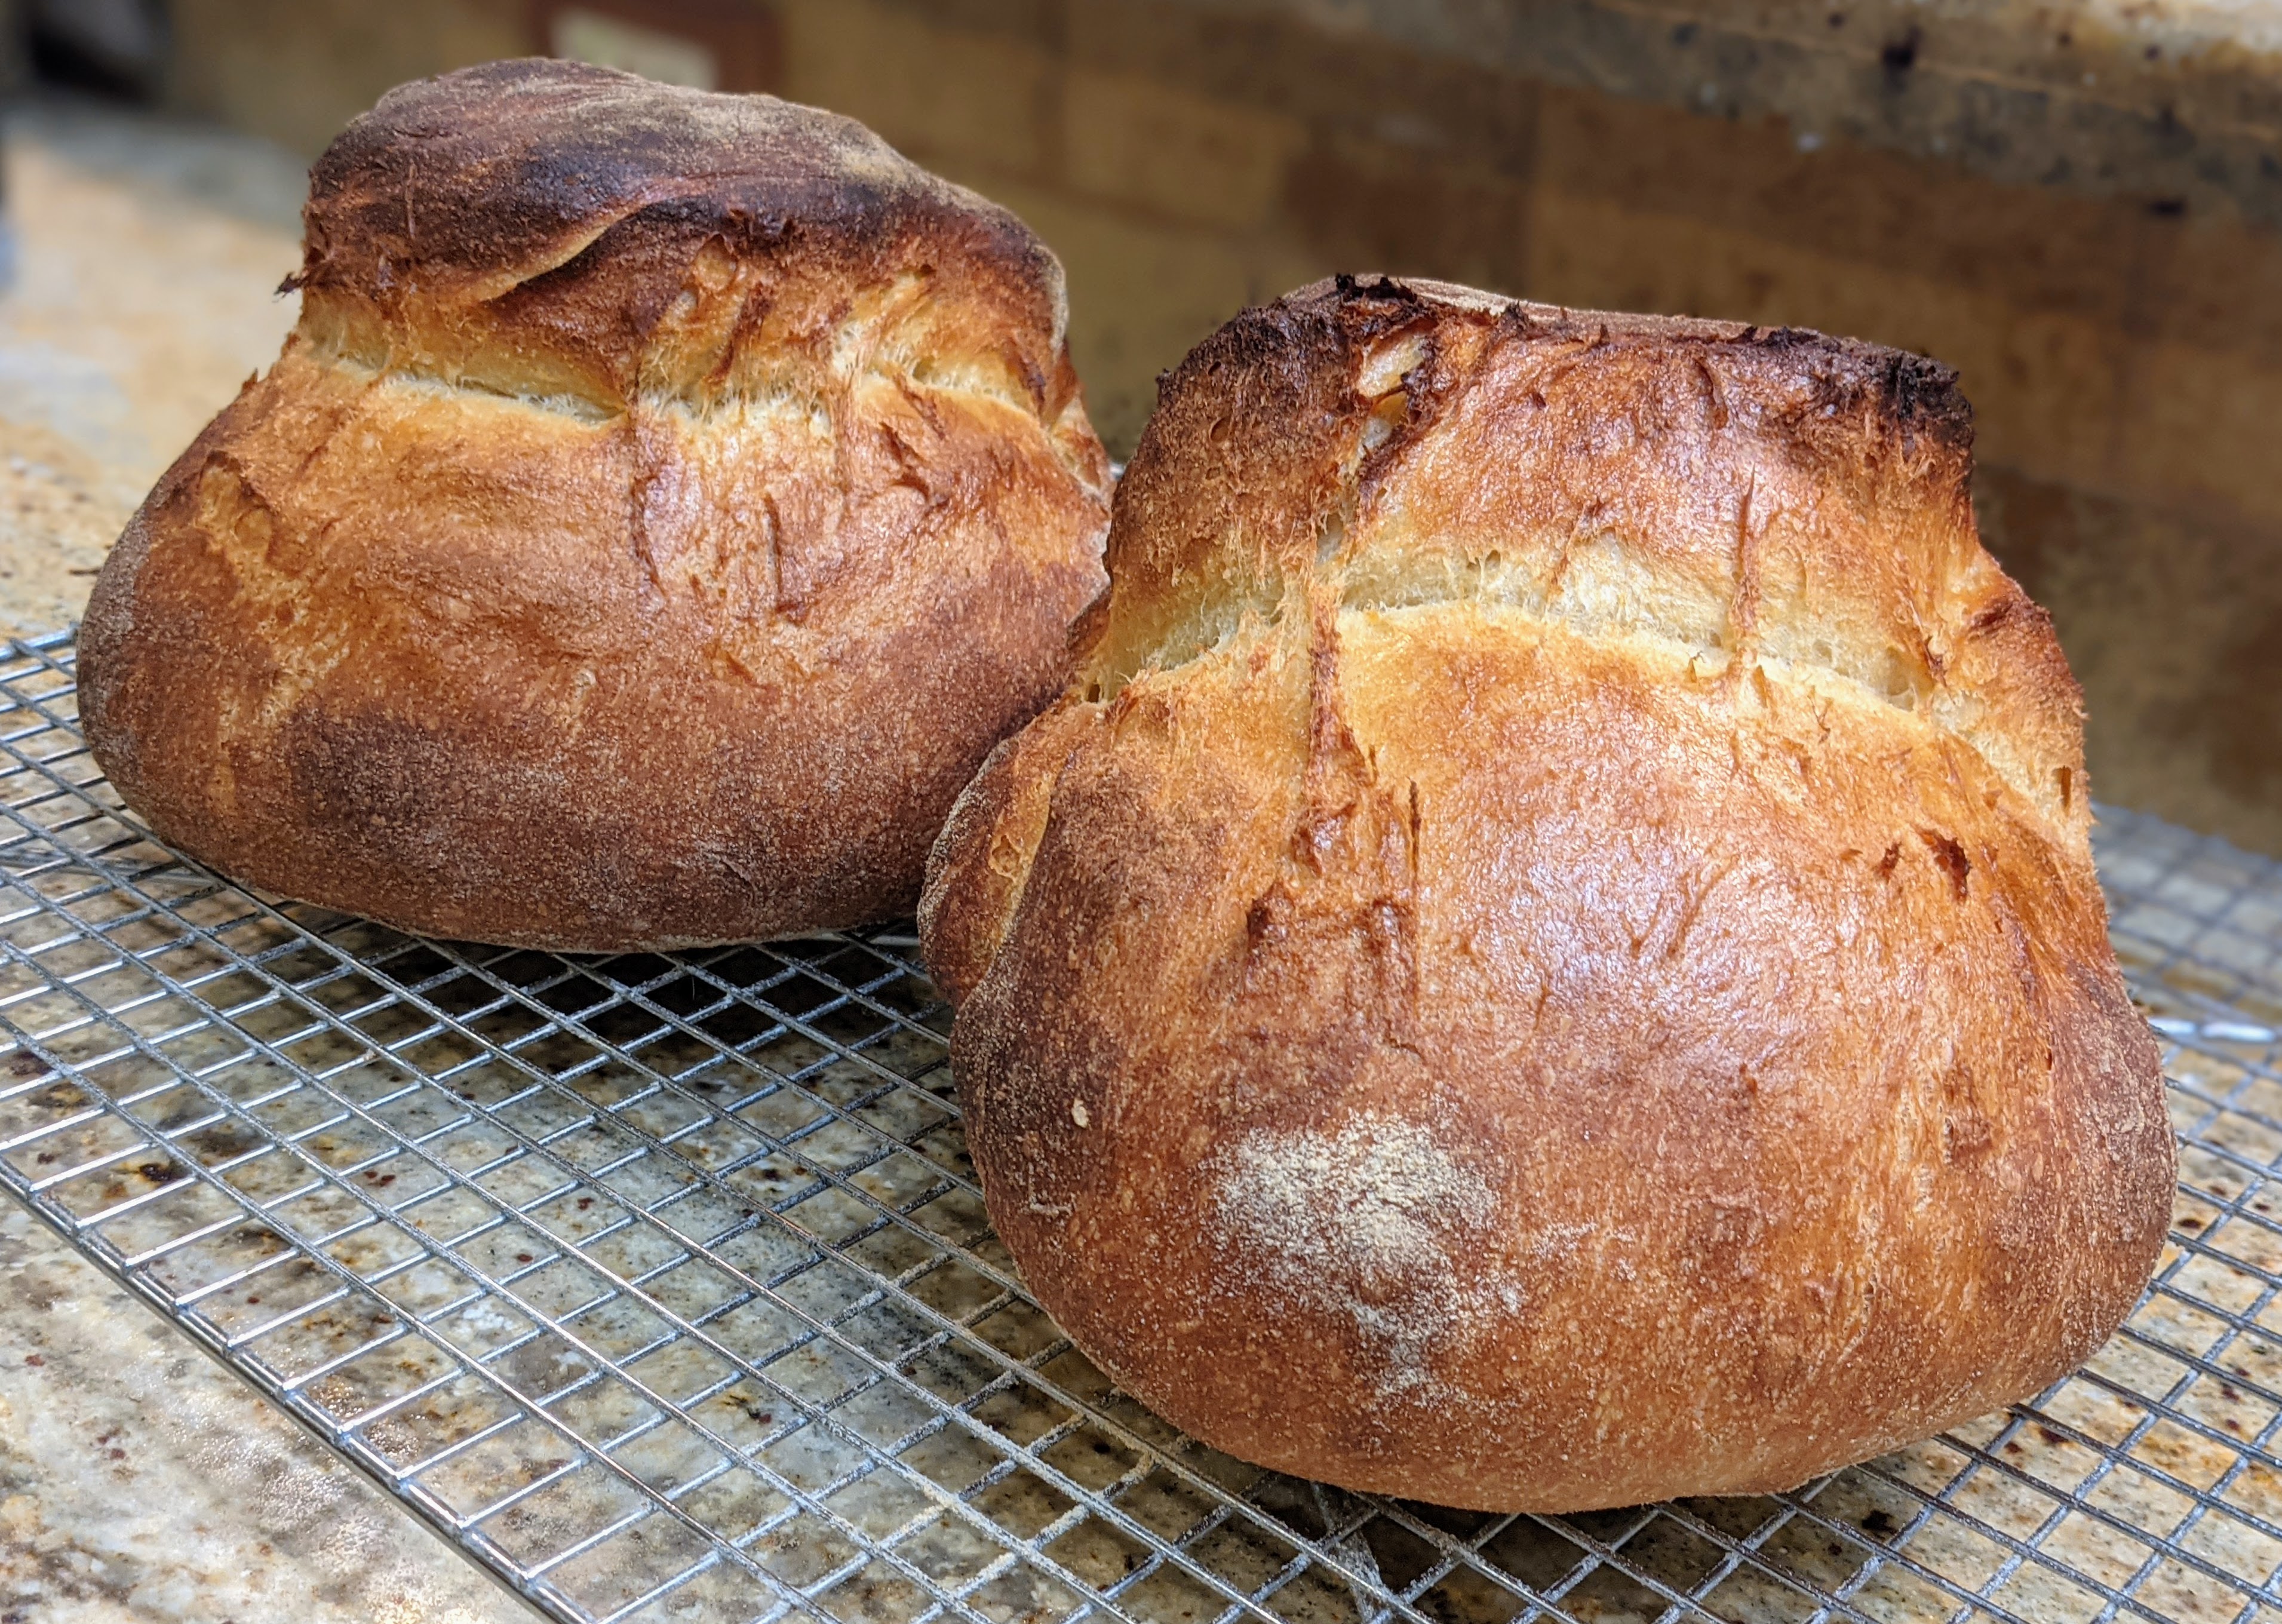
Ever since I got Carol Fields’ book, “The Italian Baker,” I’ve been wanting to make this bread. It is a truly ancient bread from the Puglia region of Italy and documented by Horatio as far back as the first century BC. The most notable loaf shape has a bit of a pompadour on the top (not sure about the history behind the shape). But that said, the DOP doesn’t certify the bread by shape, but rather by ingredients and structure (e.g. the crust must be 3 mm thick).
Now truth be told, this recipe is technically NOT true Pane di Altamura because it is a “protected” bread under the Denominazione di Origine Protetta, which specifies that the flour must come from the Puglia region. Plus, the high mineral content water of that area apparently contributes to the distinctive taste of the bread. But even still, I believe we can get pretty close to the original. All I know is that the two loaves I made today are gone. My family ate one loaf, and the family to whom I gave the other loaf demolished the bread! This will definitely be a regular part of my repertoire from here on out!
Durum Flour
I get my durum flour from Azure Standard (and no, this isn’t an affiliate link). This is certified organic and milled using the Unifine method, which creates a finer texture while retaining the nutrients as it uses no water that could leach off the nutrients. Note that you can’t just use any “semolina” flour. Most semolina flour is too coarse to make bread. You have to make sure the grind is extra-fine.
Update 9/16/2025:I realized after looking at the formula and final dough numbers last night that everything was way off, so I reviewed Ms. Fields’ recipe and found that she didn’t make a 72% hydration biga, but a 96% hydration biga. That makes sense considering the high absorption of the durum flour. Then I re-ran the numbers through my dough calculator and now everything checks off.
Overall Formula
Flour
100.00%
Water
90.00%
Salt
2.00%
Yeast
0.25%
Total %
192.25%
Biga Formula
Durum Wheat Flour
100%
Water
96%
Yeast
0.5%
Biga
Durum Flour
276g
Water
265g
Yeast Required
1.4g
Total Weight
542.4g
Final Dough
Durum Flour
505g
Water
440g
Salt
15g
Yeast
1.6g
Biga
491g
Total Yield
1453g
This is a least a two-day process! In my experience, the biga alone takes a full day to mature because of the small amount of yeast used. Note that technically you could dispense with the rest of the yeast in the final dough since the biga will have plenty of yeast in it. But it’s there to help boost rising.
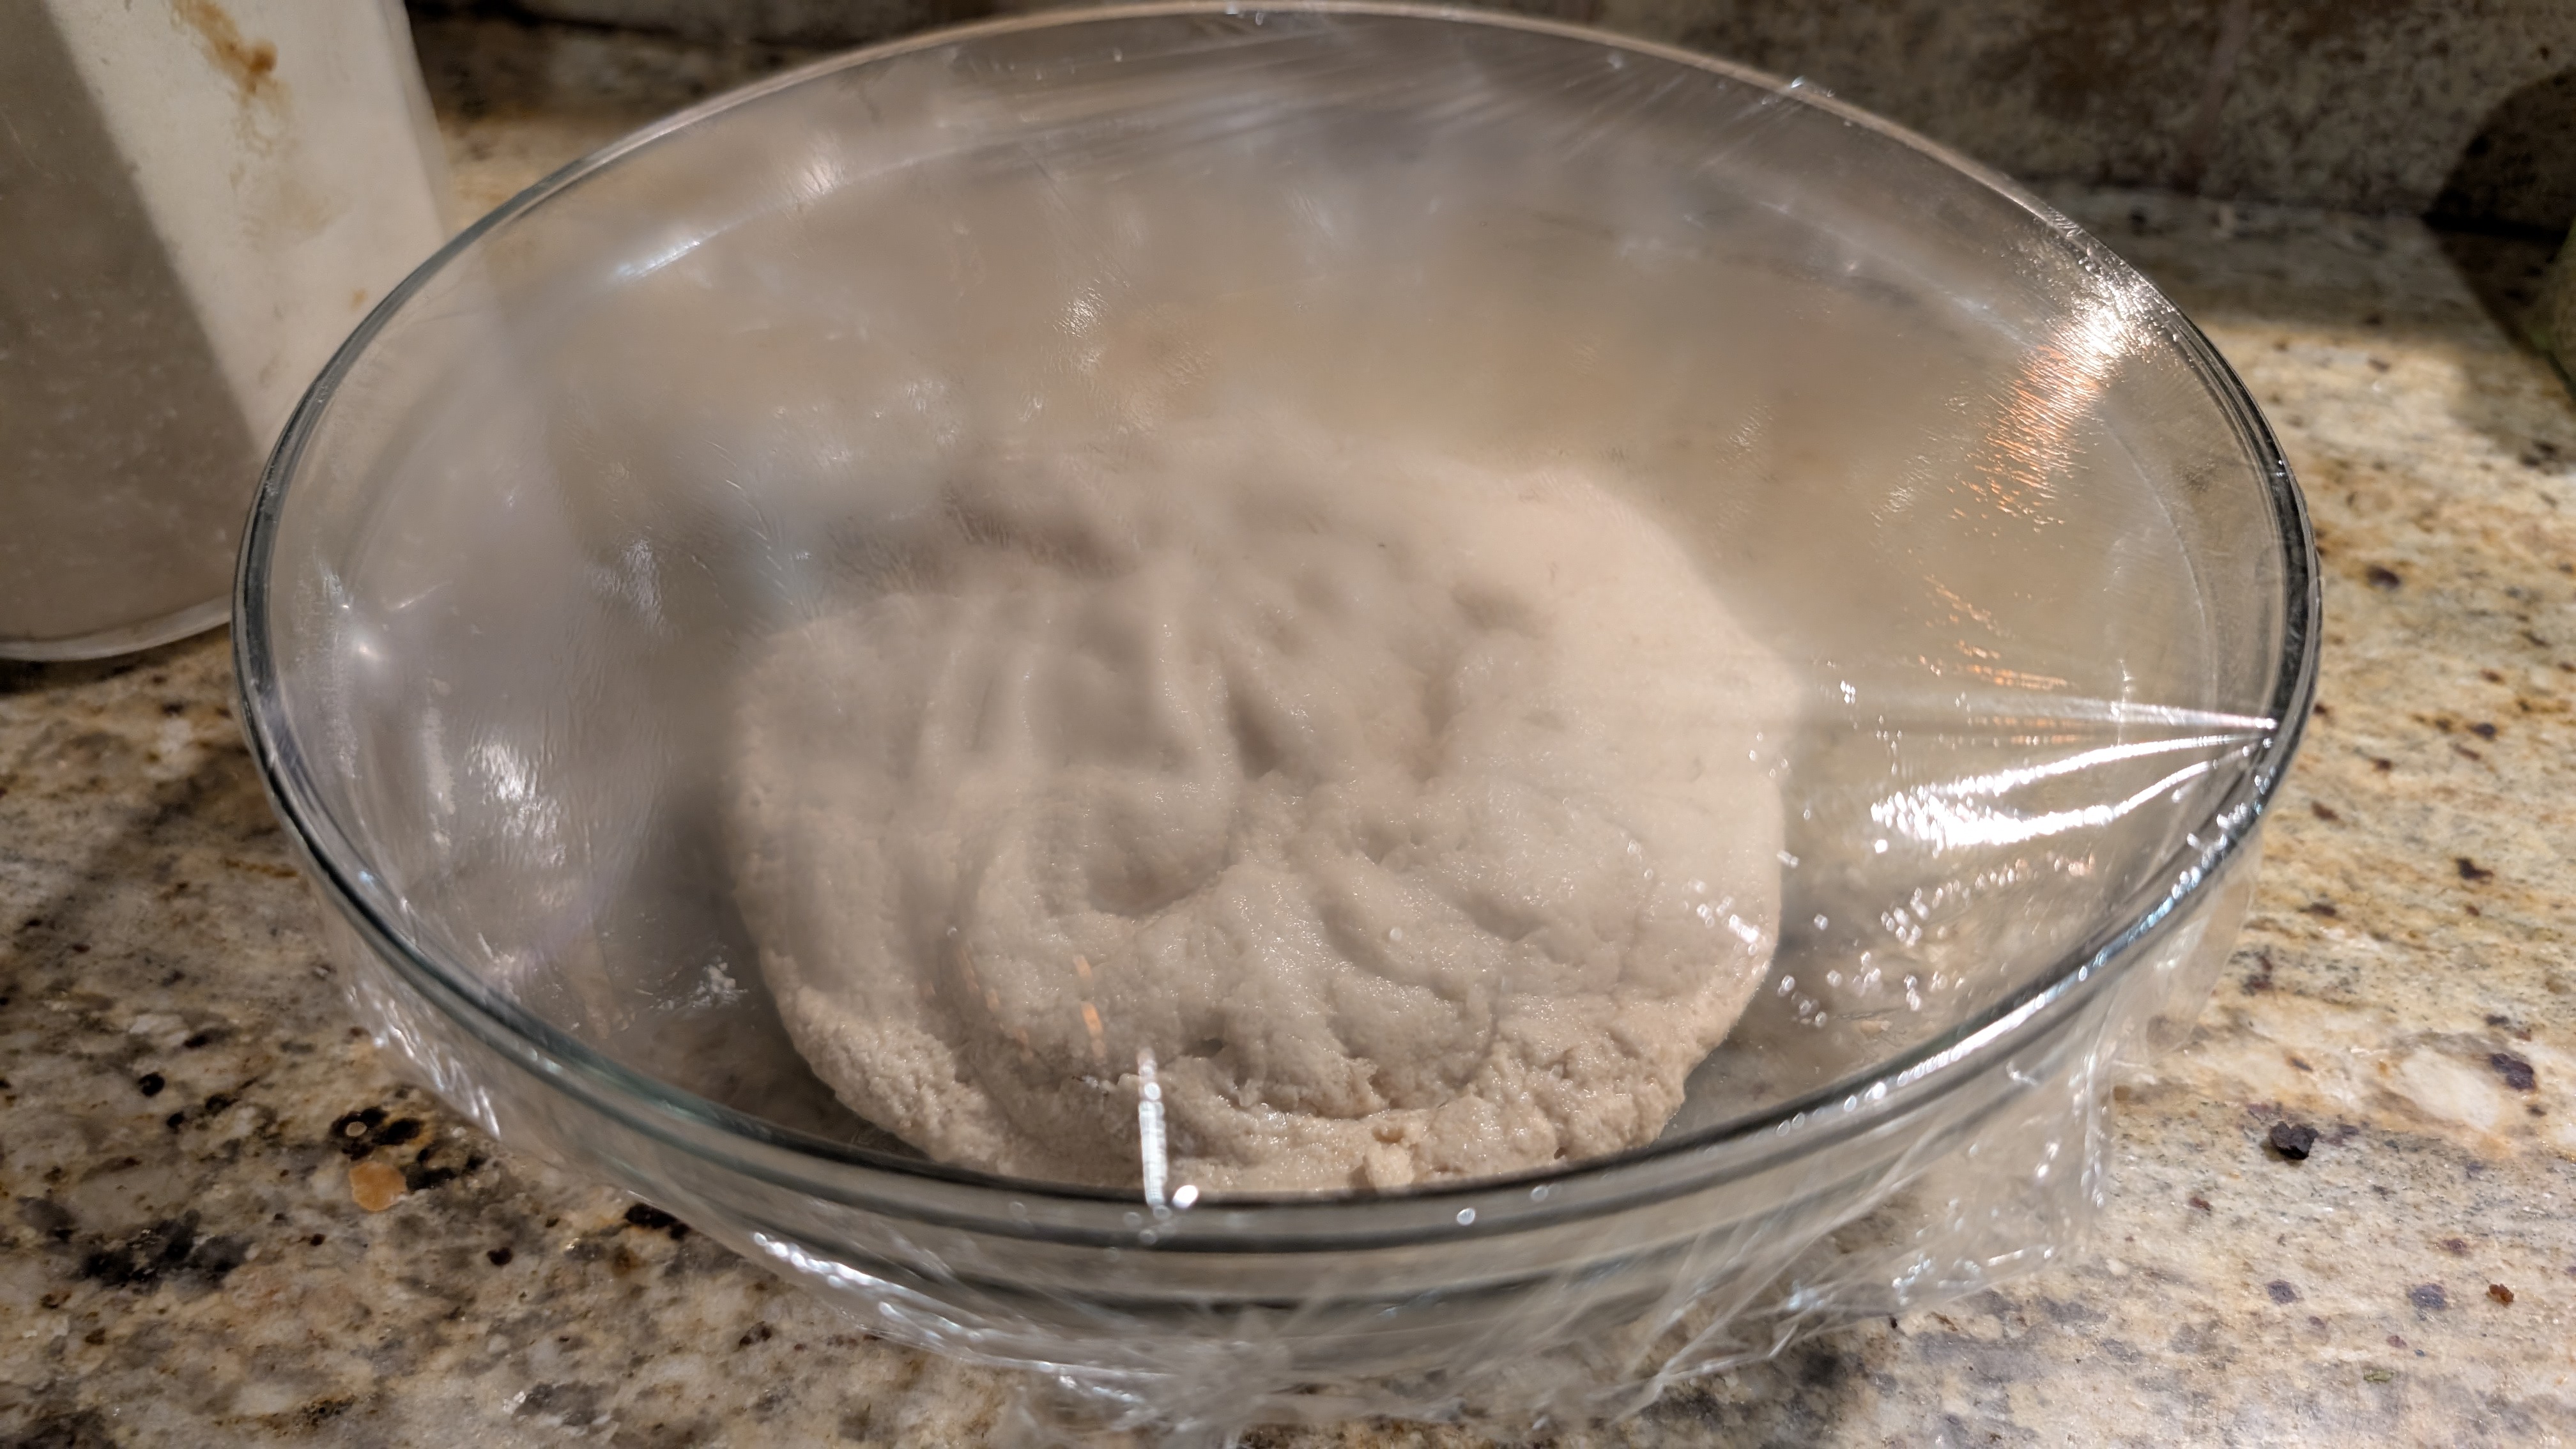
Fresh-mixed biga. Even at 96% hydration, the dough feels like a 75% hydration dough! Look at how it stands up. And this was taken a few minutes after mixing!
Make the Biga. The night before you bake, make a 96% hydration biga. Use room temperature water, then let it rise in a cool place for 6-24 hours. You’ll know the biga is ready when it is nicely domed at the top and is filled with bubbles and according to Carol Fields, it should be triple in volume. If it’s done before you’re ready to bake, just pop it in the fridge. It’ll keep for up to a week.
Biga Pro Tips:
One trick I’ve used in the past is to treat the biga like pizza dough. Once I mix it, I’ll let it stand at room temperature for a couple of hours, then I’ll retard it in my fridge for 48-72 hours. When I’m ready to bake with it, the biga is pungent with yeasty, acidic goodness. I use what I need then feed what’s left, let it sit on the counter for a couple of hours, then pop it into the fridge.
Another thing you might try is to make a levain with 50g of mature starter and 250g of durum flour and 240g water, respectively, then let that triple in volume. When I do this method, because the durum is such a hard wheat, I use about 1% diastatic malt powder to help the natural yeast metabolize. This also has a nice effect on the crumb, making it soft and fluffy.
Either of these methods creates what Carol Fields calls “Biga Naturale.”
If you REALLY want to get traditional, from what I’ve been able to gather in my research, Italian bakers use a pâte fermentée method in that they use part of the previous bake’s mixed dough as the preferment for the coming bake. Once they’ve mixed the new dough, they break off part of that batch, then set it aside to be used as the leavening agent for the next bake. They call this the “mother” and in one video I saw, a baker said his “mother” was over 100 years old!
If you want to apply that to this recipe, make the biga as instructed, but immediately add the rest of the final dougn ingredients to create one big dough. Mix it thoroughly, then break off 500g of that dough then put it aside in the fridge to ferment and use for later. To maintain the 90% hydration going forward, adjust the flour to 500g, the water to 450g, the salt to 10g and yeast to 1g in the final dough.
Initial Mix. Measure out the necessary amount of biga that you’ll need into your mixing bowl. Add all but 50 grams of the water to the biga, then break up the biga. When the water turns milky white, start adding the flour in a few batches. As with many of the Italian breads I’ve learned to make, I use a mixer for this step. Mix until all the ingredients are incorporated and the dough starts coming together. Don’t freak if you see that the dough is a bit crumbly. It will come together, and gluten strands will eventually form.
Autolyse. Durum is hard wheat and semolina flour takes a while to absorb the water, so it benefits from an autolyse. Autolyse for 30-60 minutes (use the longer time in cold weather). BTW, we’re doing a fermentolyse here because we mixed in the biga. For those unfamiliar with the term, it just means to let the dough rest to give the flour time to hydrate and start forming gluten.
Final Mix. Dissolve the salt into the reserved water. Add the yeast to the dough, then lightly incorporate. Finally, add the salt and work it into the dough until all the liquid is absorbed. If using a mixer, mix on low speed (but I recommend working the saltwater into the dough by hand first).
Knead. Lightly knead the dough in the bowl or turned out onto an unfloured work surface. This is done simply to ensure that all the ingredients are distributed evenly with moderate gluten development. Get the dough to a smooth, even consistency. If using a mixer, the dough should easily pull away from the sides of the mixing bowl. Knead until you feel the dough has developed good strength.
Alternatively, you can mix to a shaggy mass, then fold the dough a few times during bulk fermentation. But unlike sourdough, we’re not looking for an open, lacy crumb. This bread’s crumb is somewhat dense and moist. From what I’ve been able to gather, most Italian bakers – professional and home bakers both – just knead the dough to a smooth consistency with ample gluten development.
Bulk Fermentation. Allow the dough to double, yes, double. This will take up to 3 hours or more with the small amount of yeast that’s used. But that’s a good thing as it helps develop the flavor!
Divide and Pre-Shape. For this recipe, divide the dough into two 720g pieces (or you can eyeball halfing the dough). Pre-shape into rounds, then bench rest for 45-minutes to an hour to fully relax the dough and let it puff up a little. In warmer weather, this will be shorter – maybe 30 minutes.
Final Shape and Fermentation. As I mentioned, while there is no standard for the shape, traditional Pane di Altamura is best recognized for its pompadour or high form. Study this video clip to shape the loaves. Of course, that baker makes it look easy. And having made this several times, I’ve finally gotten it down. But it does take practice. Here’s another approach. This is quite a bit easier. The only thing I’d do differently is to press down the fold as the baker does in the first video. This will give a more pronounced shape to the pompadour by steepening the backside of the loaf. Place in a warm place and allow the dough to expand about 25%-30%.
Bake. Bake at 485ºF/250ºC for 50-60 minutes. Use steam for the first 15 minutes to promote oven rise. I’ve never baked this bread in a Dutch oven, but it technically could be done. Start with the lid on for the first 15-20 minutes of the bake, then remove the lid and finish the bake. Note that at least with my oven, baking at full temp like that for that long will burn the bread. So, once I remove my steaming containers, I turn the oven down to 425ºF/200ºC to finish the bake. The crust should be chestnut brown, with little to no black.
NOTE: If you have trouble retaining steam in your oven, spray water over the loaves right before you place them in the oven and spray again about 5 minutes later.
Step-By-Step Shaping of a Pane di Altamura Loaf
After updating the post, I decided to add a step-by-step shaping guide. This was just as much for my edification as it was for sharing what I’ve learned.
First, lightly flour your work surface, then gently flatten the pre-shaped dough. Pick it up, and gently toss it between your hands to elongate it into a long oval.
Next, fold one end about 20-25% over the end and gently seal the seam.
Pull the top down about 2/3 and overlap the dough. Use your fingertips to seal the seam.
Pull the bottom up about halfway, then gently rock the roll back and forth then seal the seam.
Gently flatten the log, then bring the two ends to the middle. Make a channel with one hand to seal the seams.
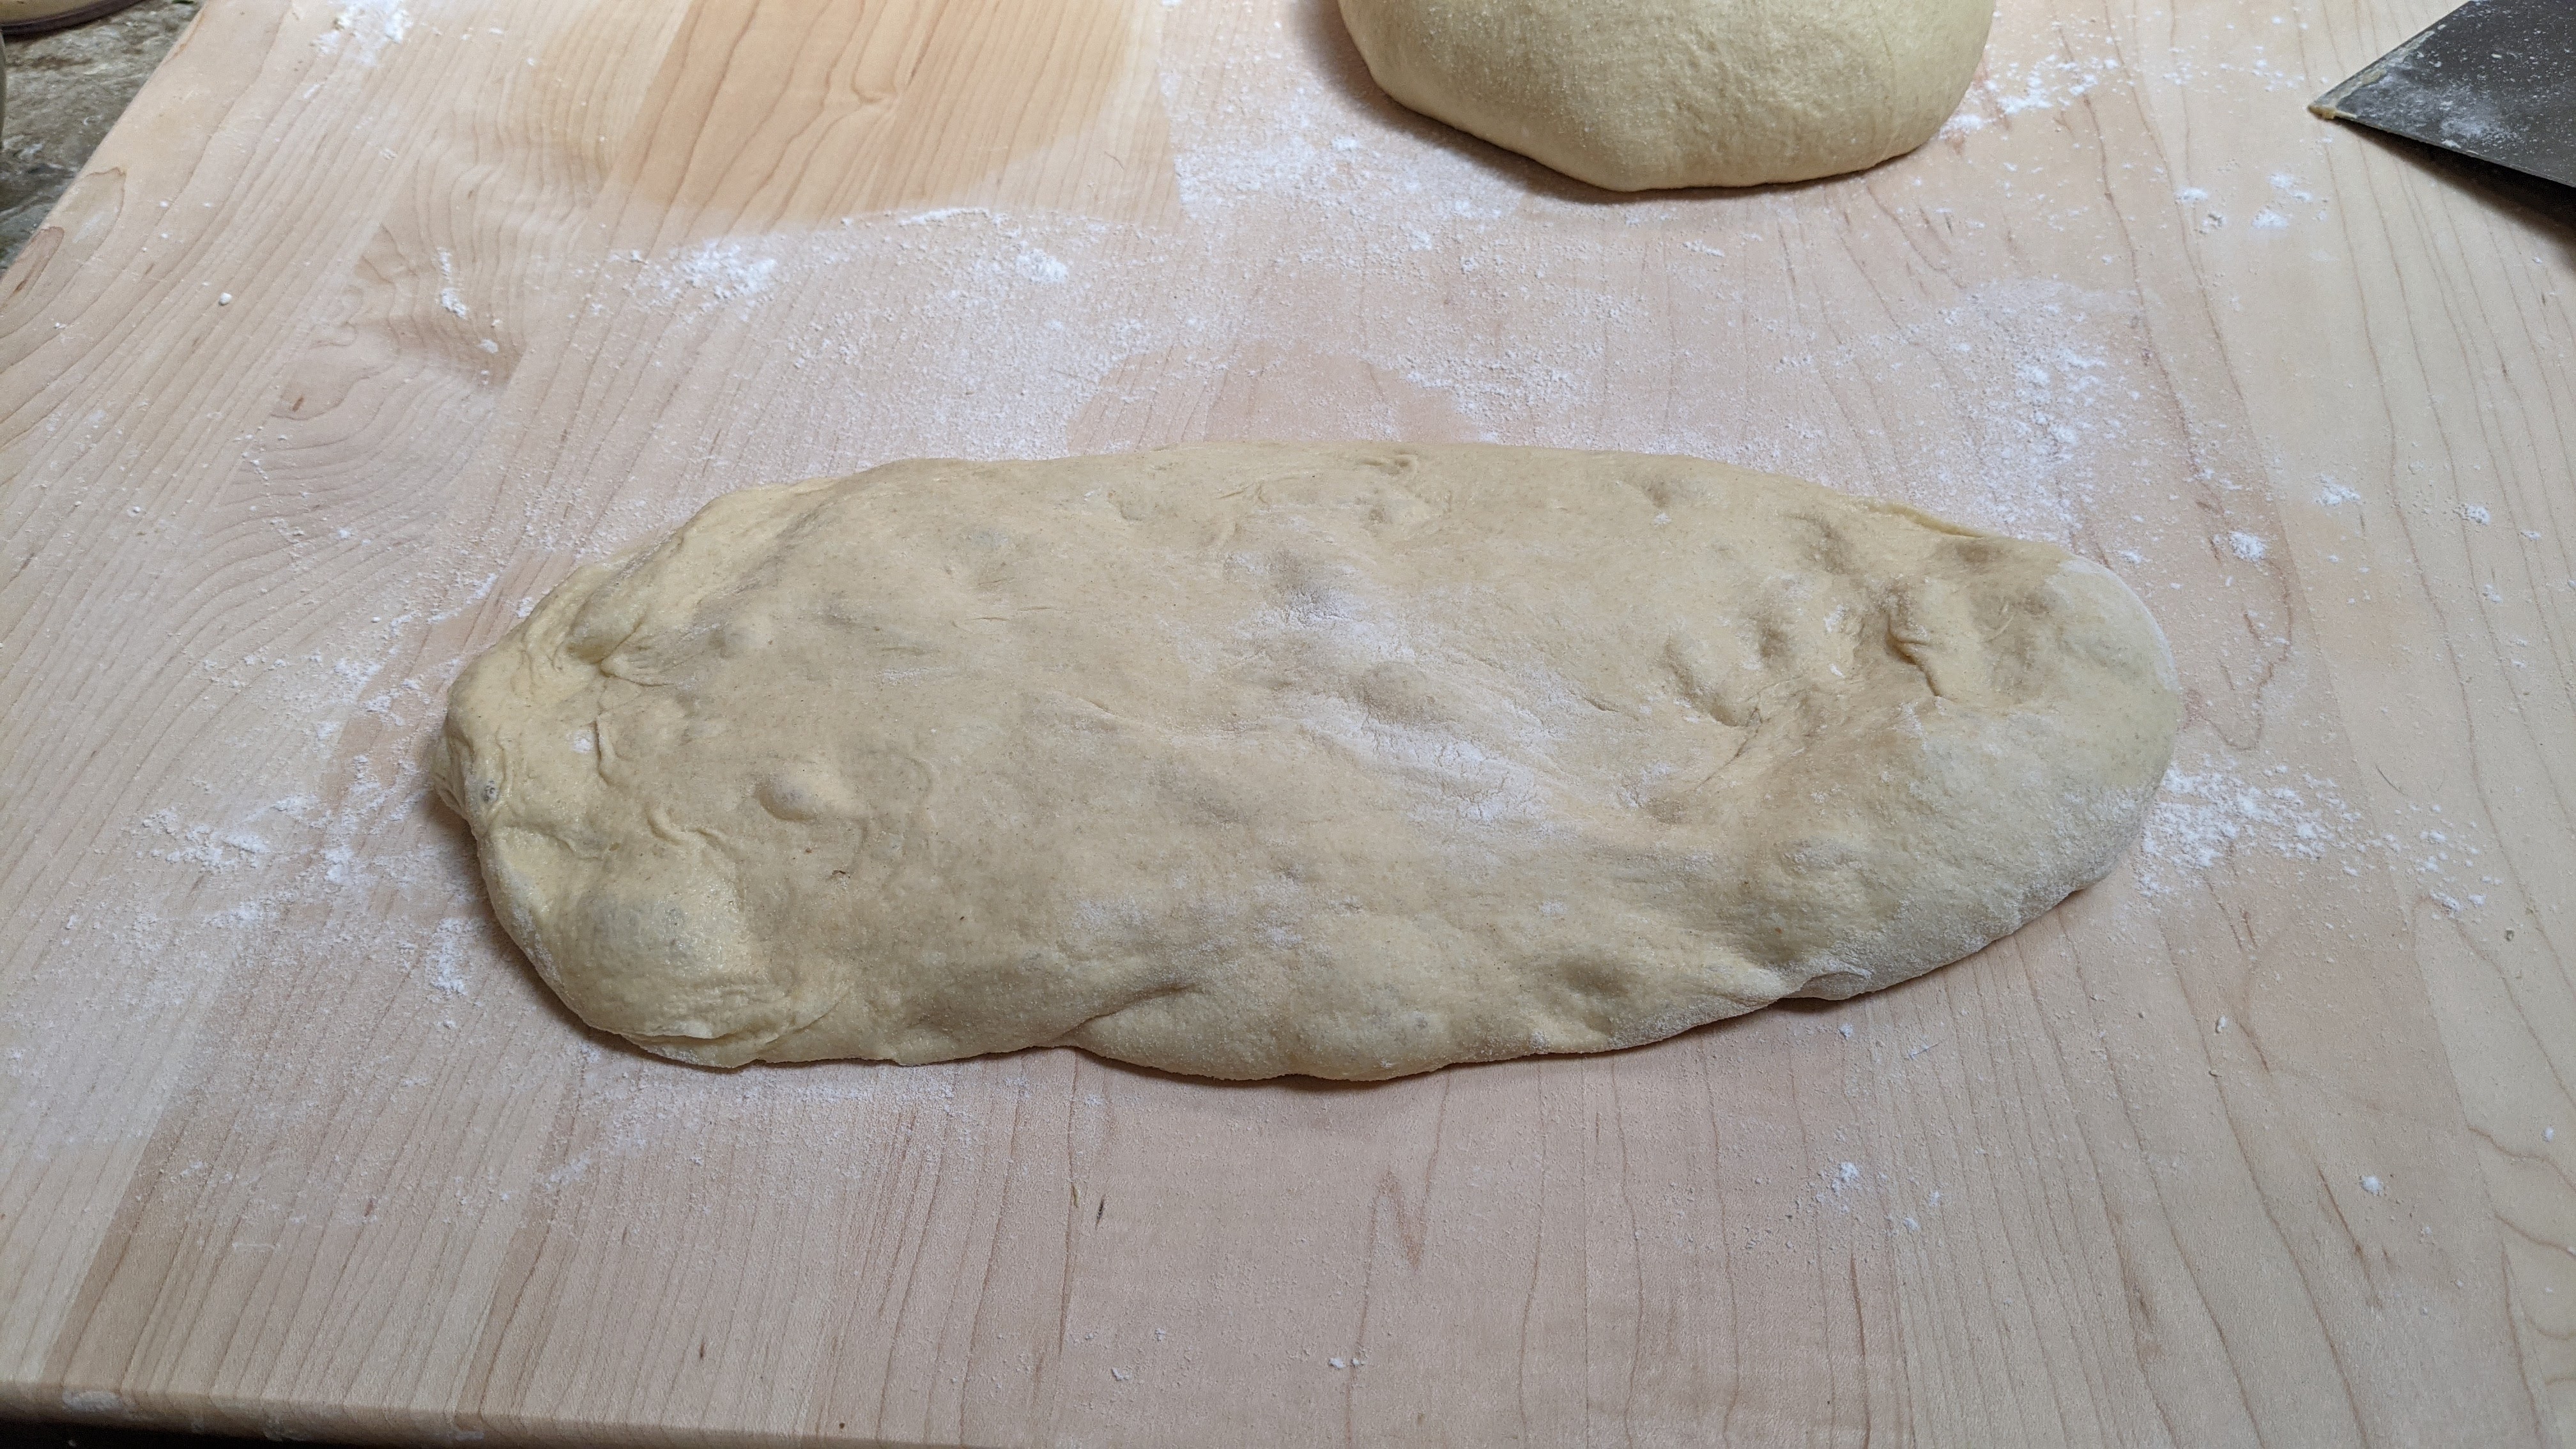
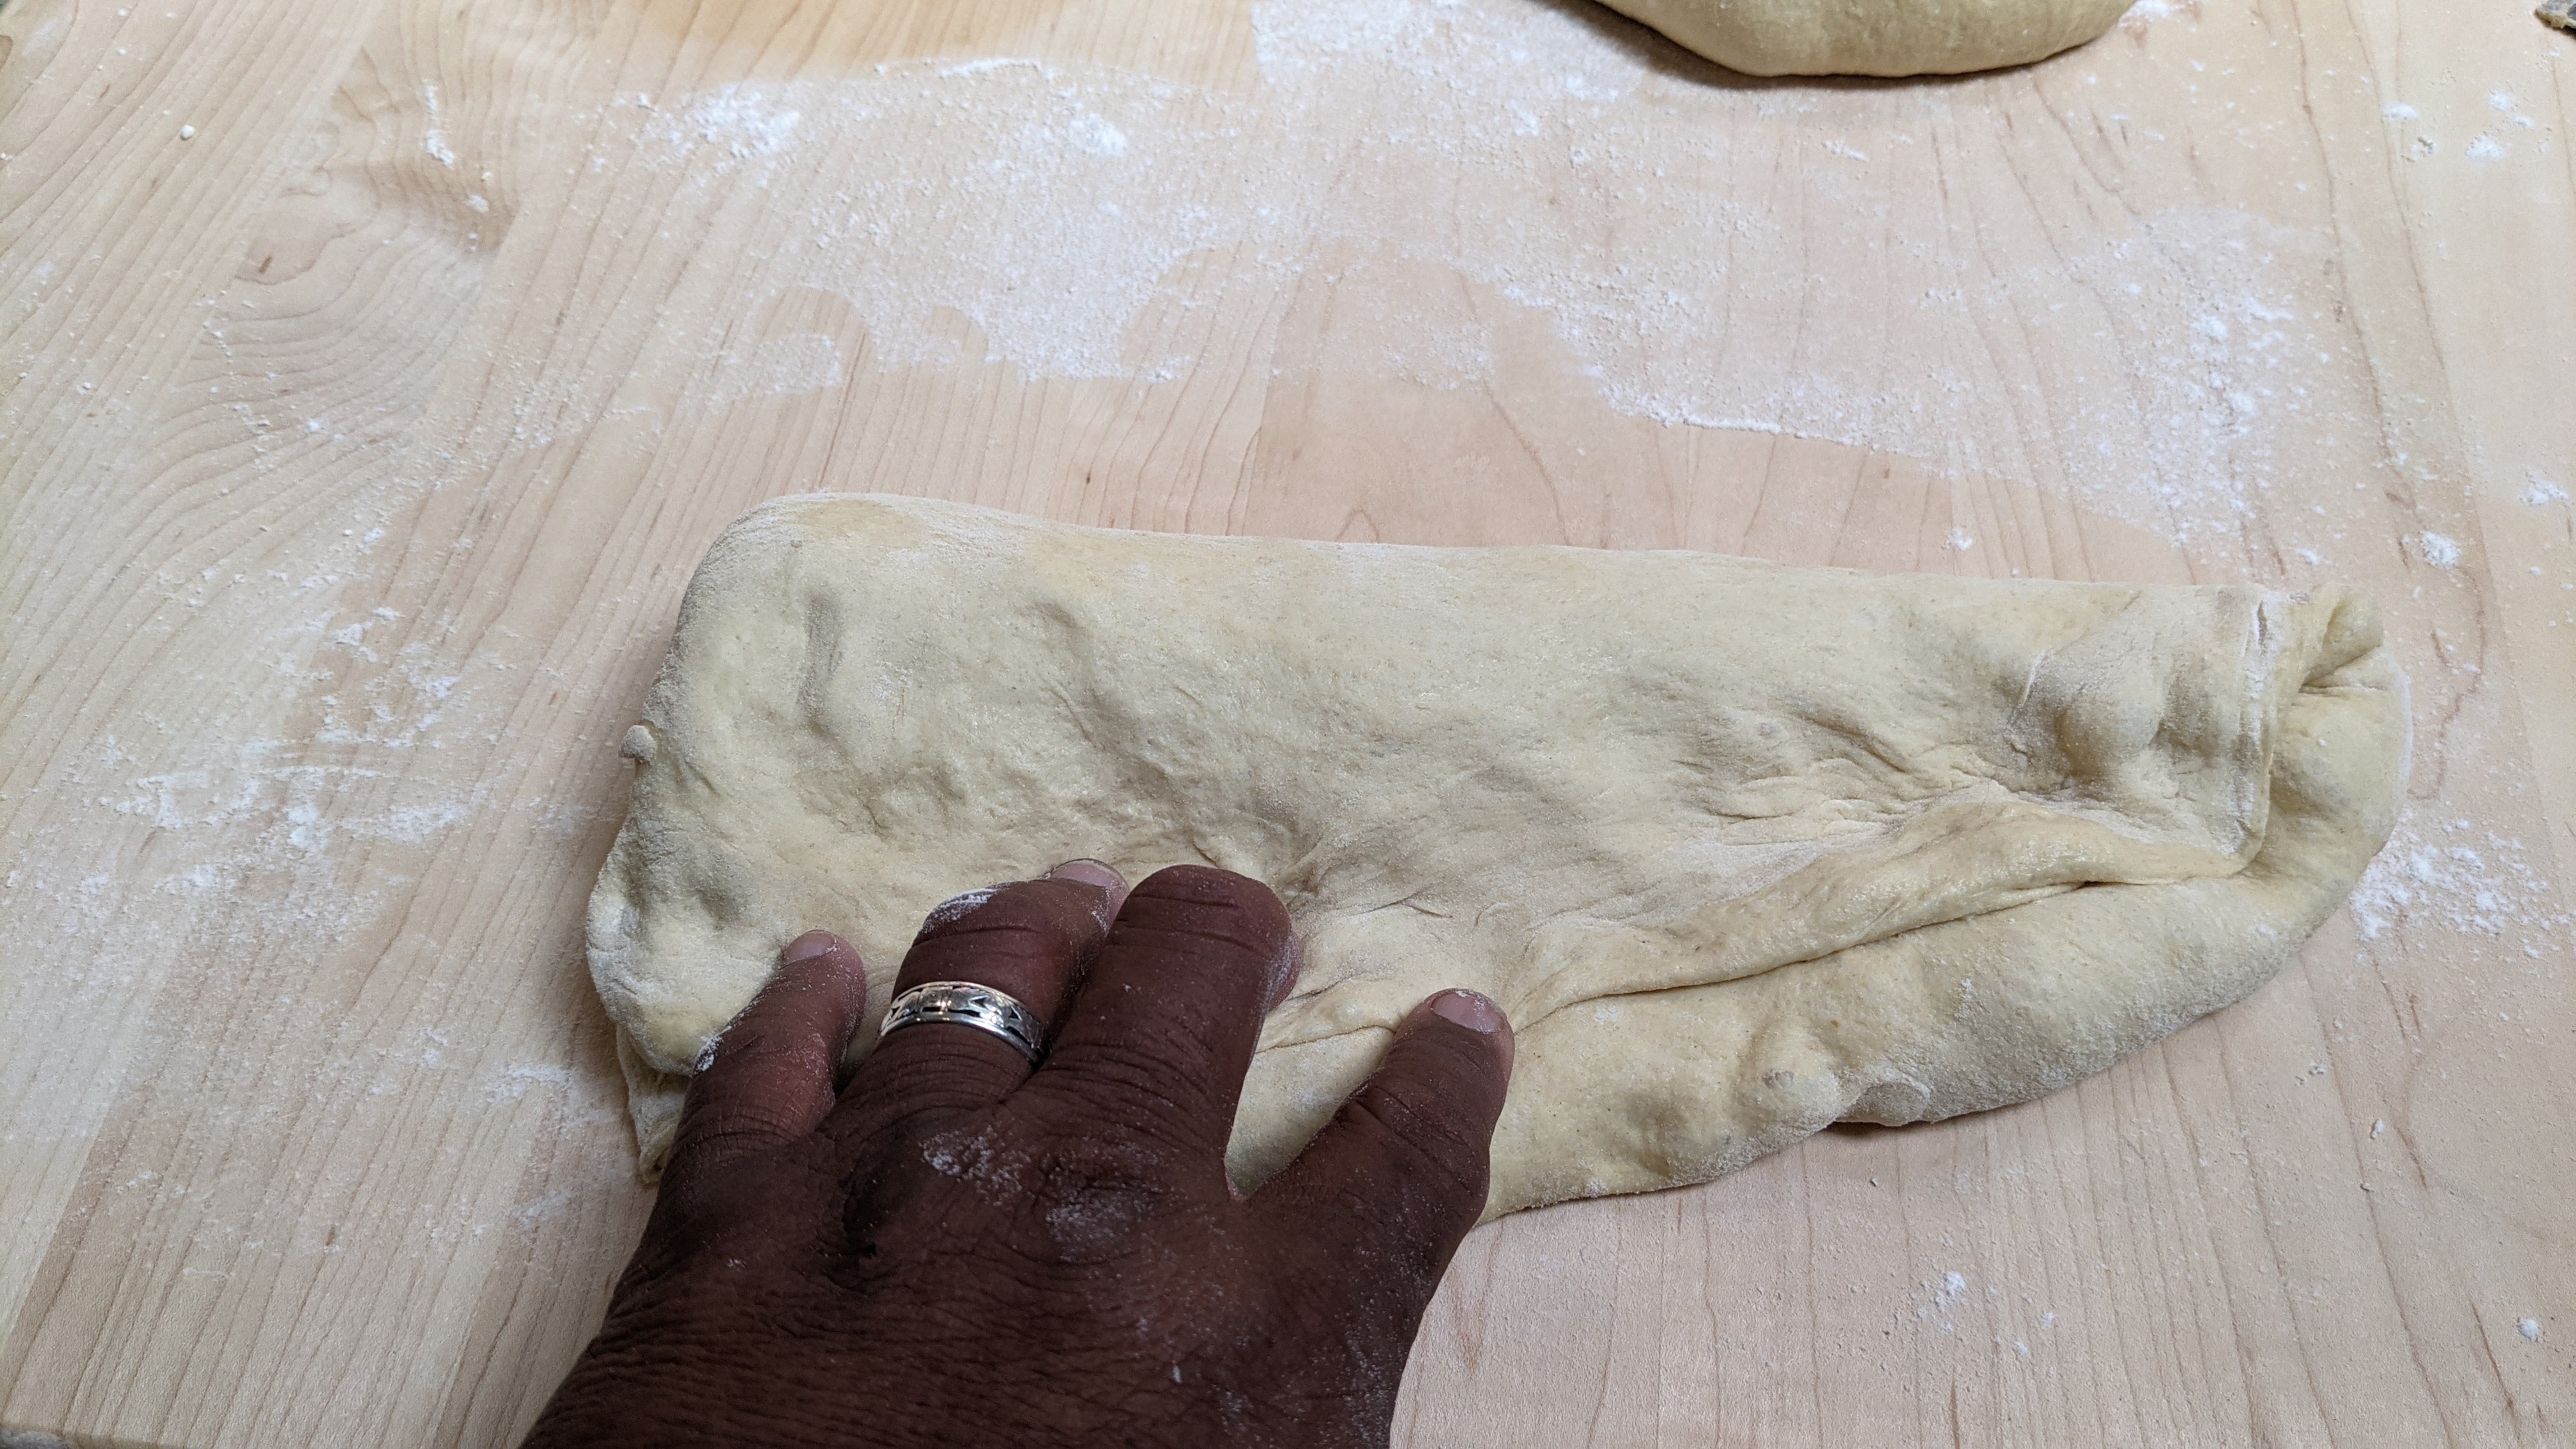
Place both palms together and place them in the channel, then pull the ends apart. Don’t worry if you tear the dough a little. Stretch out until the middle to about 1cm thick. This will help form the crease.
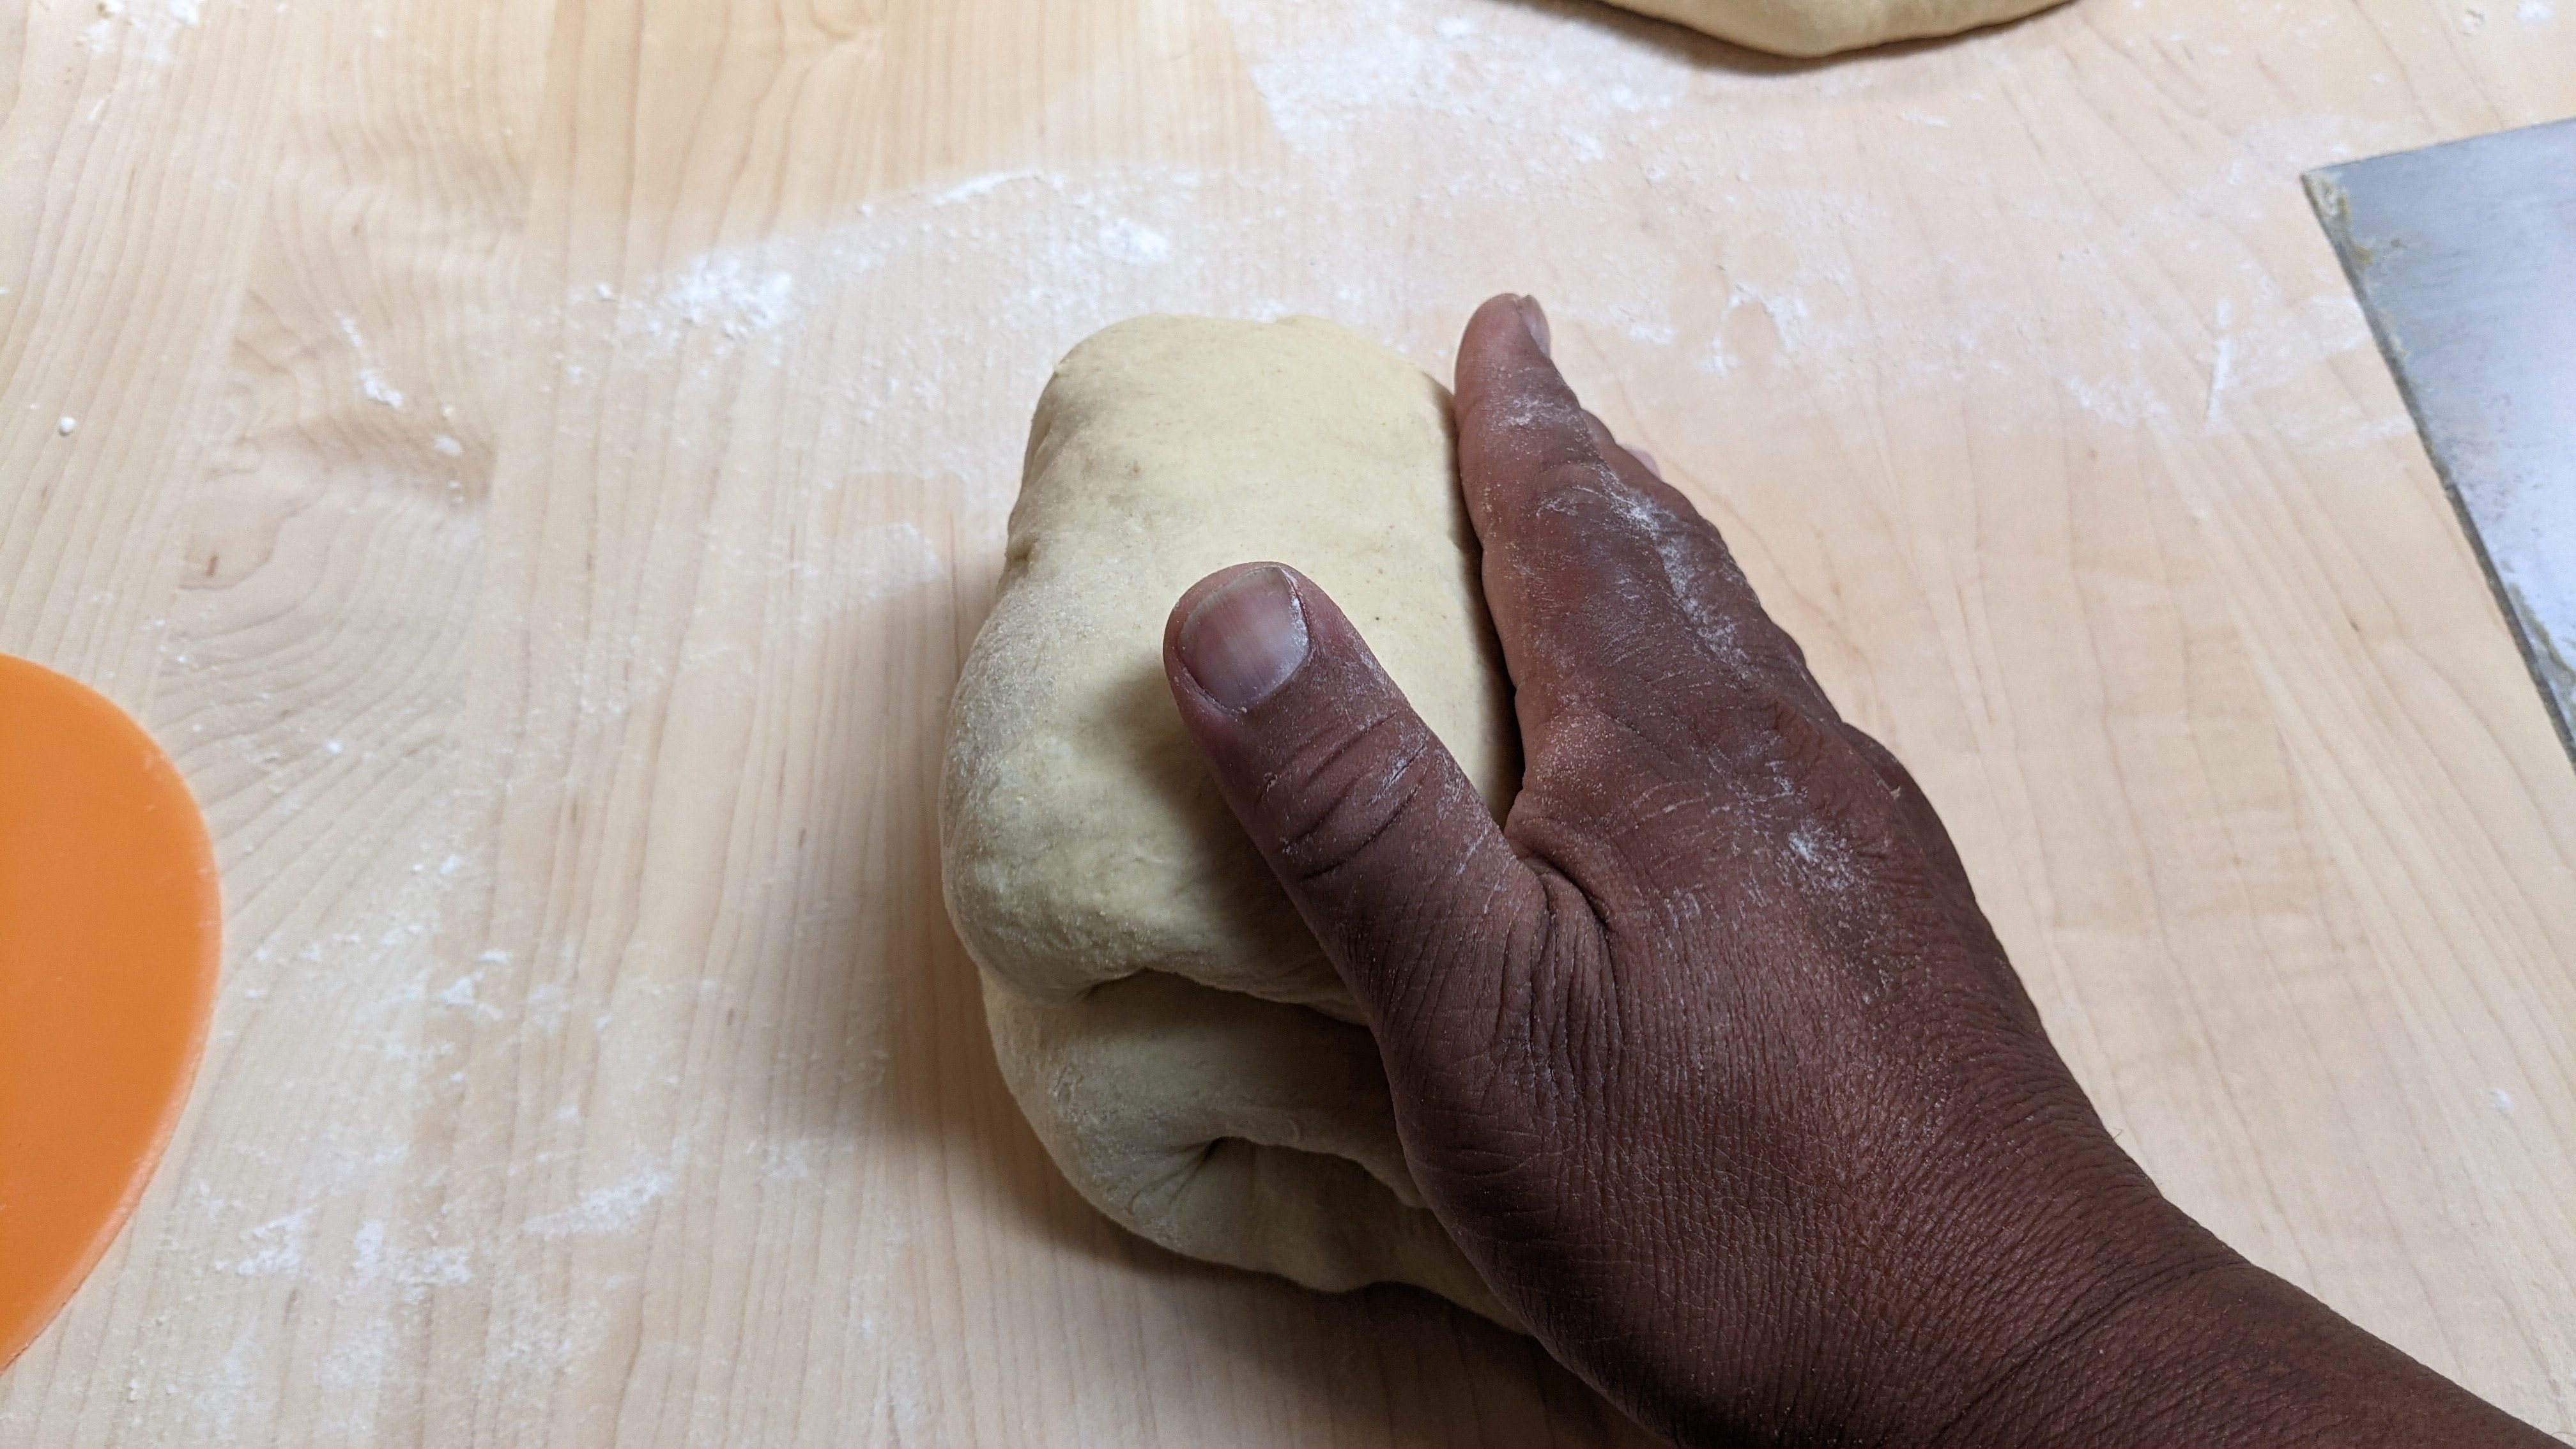
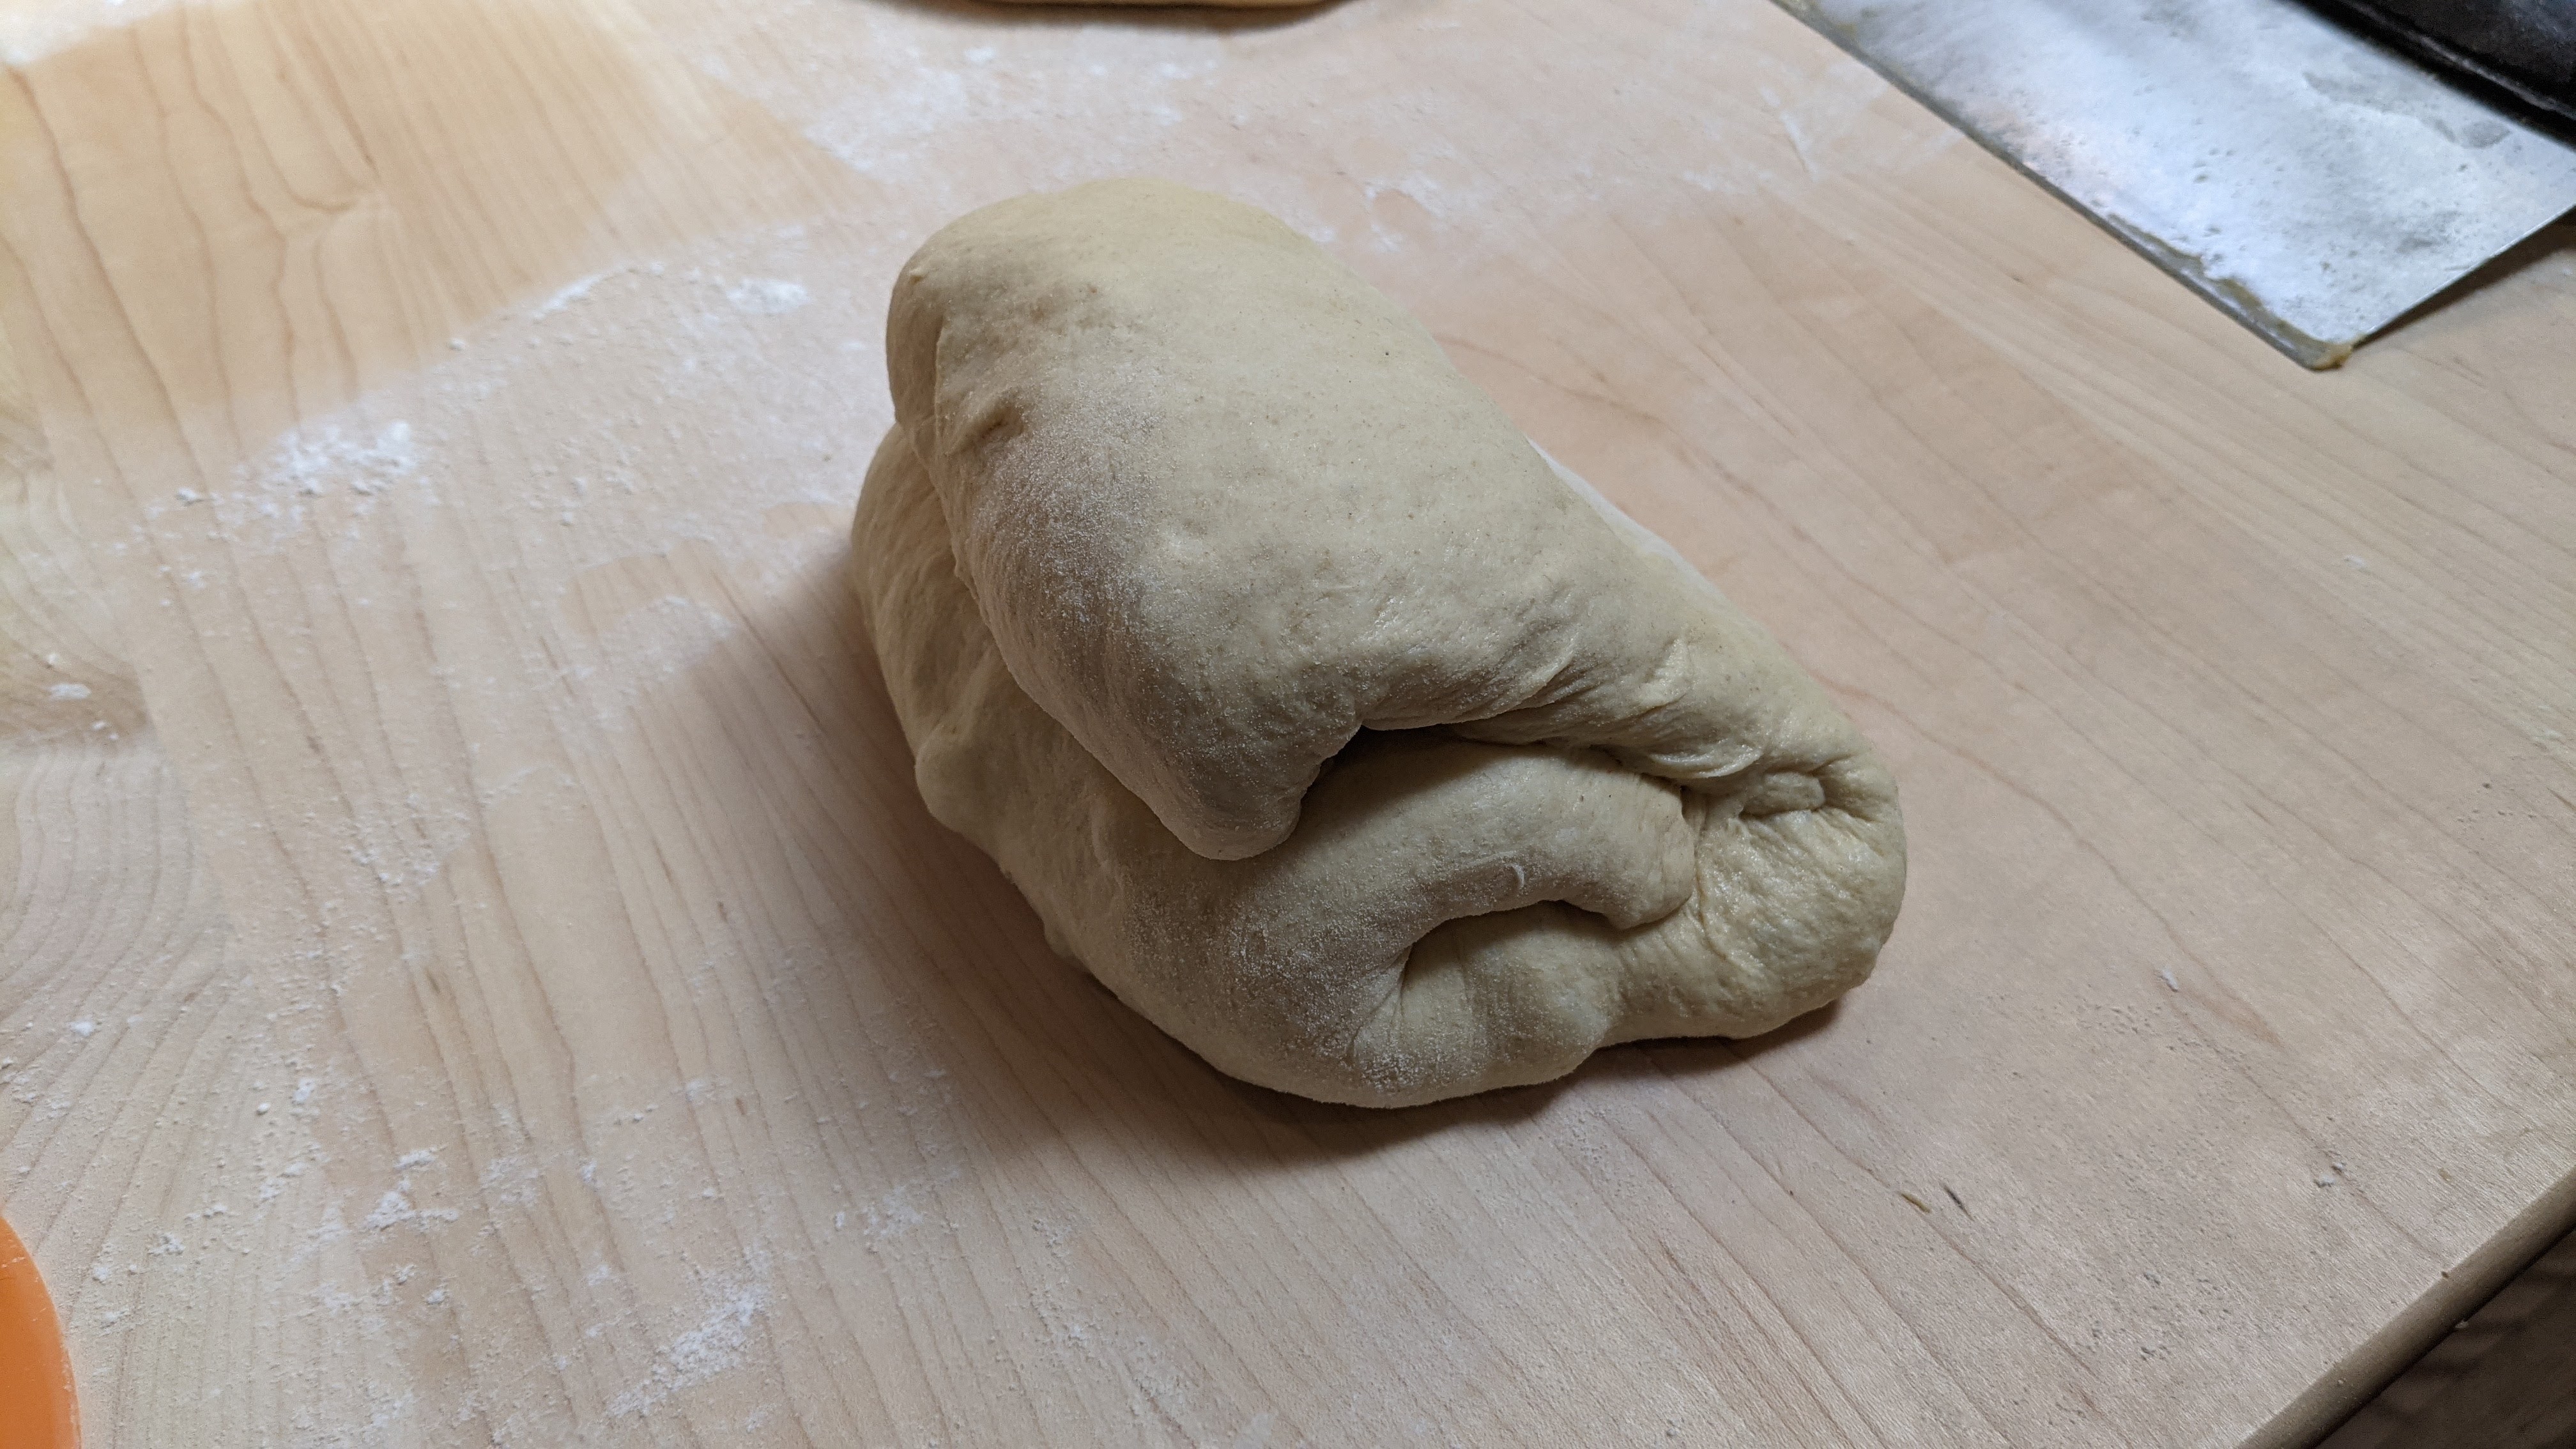
Take the smaller end and fold it over the fat end of the dough. Then press down the fold to create a bit of a crease.
The shaped loaf should have a slightly triangular shape from the side.
In the oven, the loaves will pop up with a steep side and look like the bread erupted on the top. It’s a cool effect!
You can make a much more pronounced pompadour by narrowing the top half and shaping it into a cylinder. I did this to mimic some of the pictures I had seen, but it made cutting the bread a little problematic. So, my more practical side took over and I just overlap. As long as I get a triangle cross-section, it’s all good!







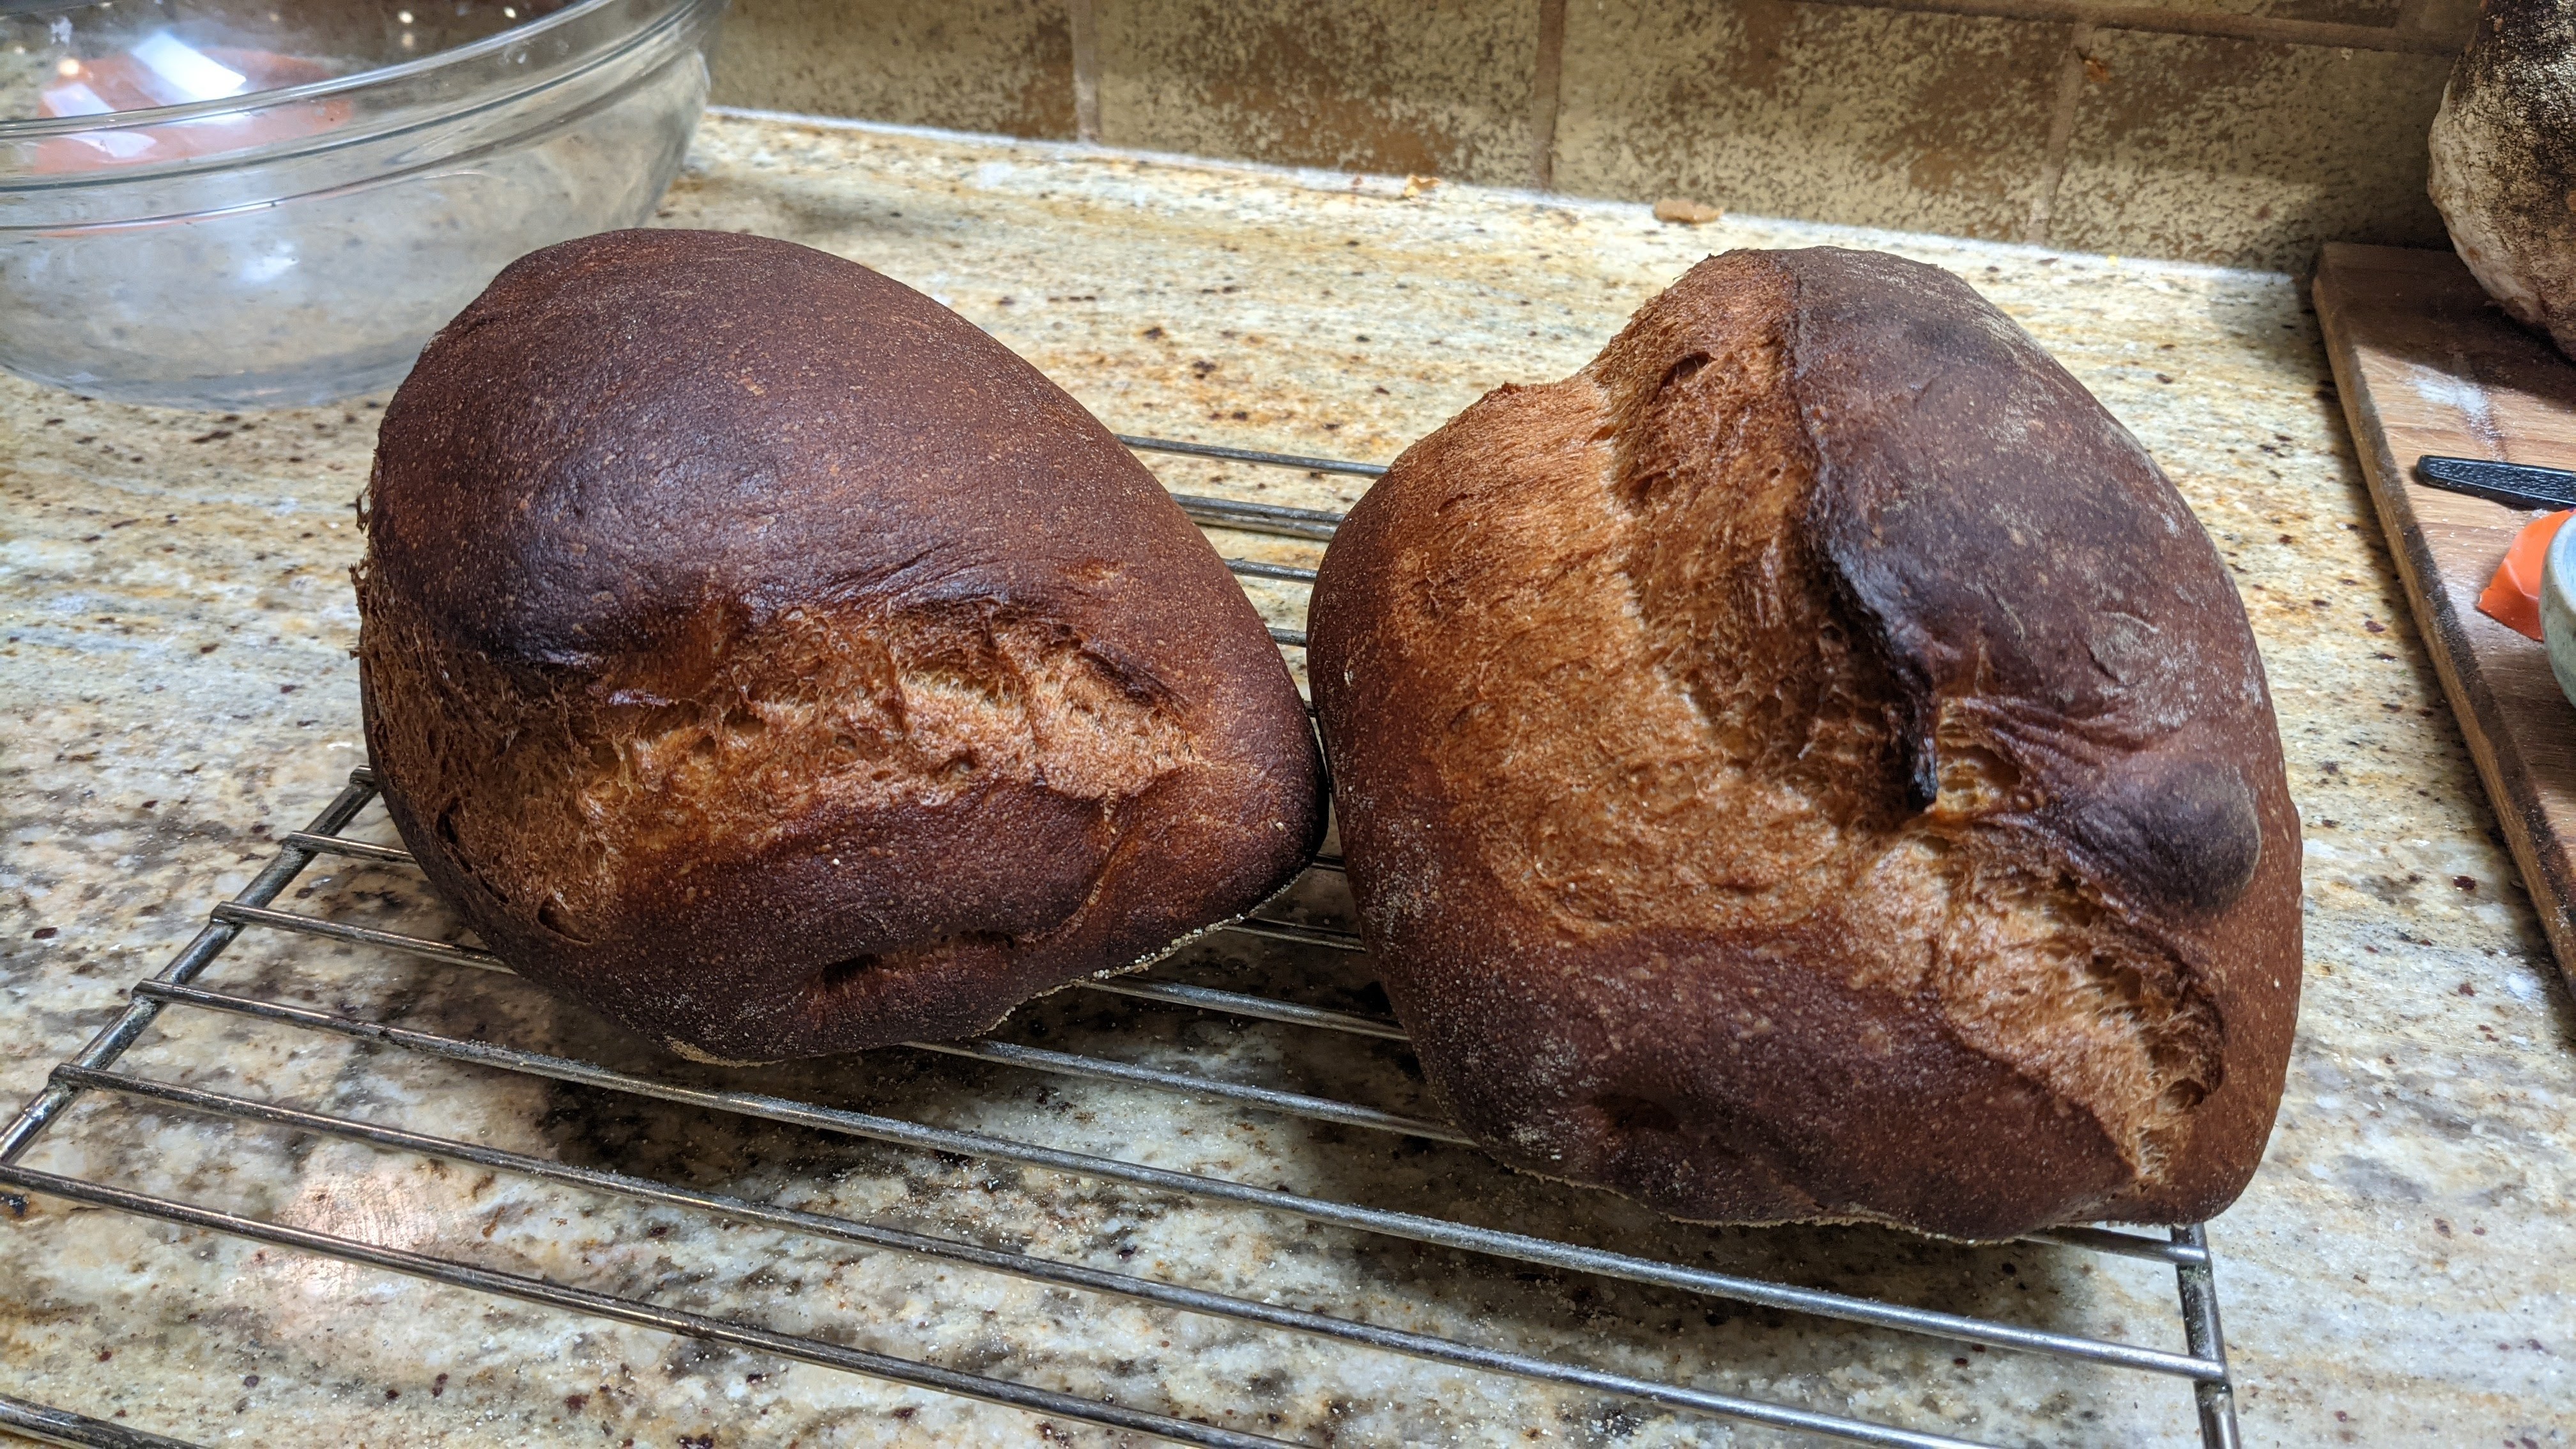
 The Dawg House!