Recipe: 25% Kamut Baguettes With Kamut Poolish

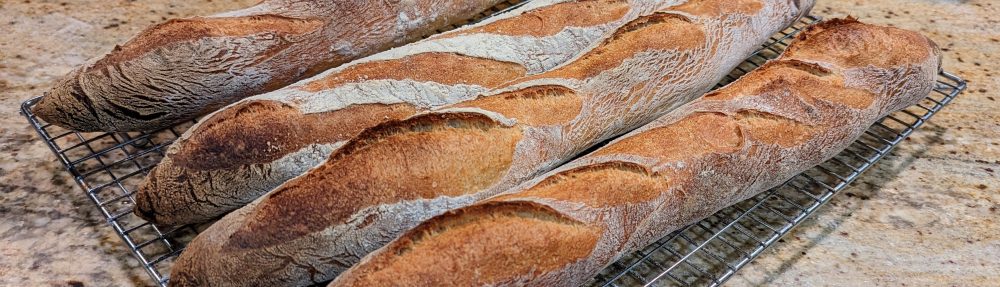
Kamut flour has become a staple in my flour blends. It adds a nuttiness to the flavor of the bread and as it has a different kind of gluten than wheat gluten, provides a softness to the crumb that is very pleasing. You don’t get a really open crumb with Kamut since it is a whole-grain flour, but as it has under 12% protein, you’ll still get some very nice oven spring and expansion.

For baguettes, my flour blend is as follows: 50% AP Flour, 25% Bread Flour, and 25% Kamut. I use half of the Kamut (unsifted) to make a poolish and I sift the other half for the final dough. Let’s get to the recipe!

Formula

Flour100.00%
Water75.00%
Salt2.00%
Yeast0.38%
Total %177.38%

Poolish

Kamut Flour (unsifted)105g
Water105g
Yeast @ 0.3%0.31g
Note: This is more than what’s needed just to make sure there’s enough.

Final Dough

Kamut95g
Bread Flour191g
AP Flour381g
Water @ 95°-100°F477g
Salt15g
Yeast (instant)3g
Poolish @ 25% of Total Flour191g
Total Yield1353
4 X 335g loaves
Total Flour763
Total Water572

Make the Poolish. Combine the ingredients and mix well, then cover and set aside, until poolish about doubles. It’ll be ready when it passes the float test. This can take up to 6 hours on cool days. With a Kamut poolish, you won’t see a lot of bubbles on top, but you will see lots of bubbles on the sides and bottom of your container.

You can also make the poolish the day before and stick it in the fridge. This will allow the organic acids to really develop. Not only will you get lots of flavor from this, but it will also add extensibility to the dough.

Mix. In a separate bowl, combine all the dry ingredients (yes, even the yeast and salt) and mix well until everything is nicely distributed. Add all but about 50g of water and make a shaggy mass that has no dry ingredients. Cover and rest for 15 minutes, add the reserved water, and work it into the mass. Once all the reserved water has been incorporated, mix until you have no large lumps in the dough.

Bulk Fermentation. About 1 1/2 – 2 hours. Look for about 50-75% expansion (not doubling)

Folding. Fold the dough twice within the first hour.

Divide and Preshape. Scale-out 335g pieces. Shape either into taut balls or roll into jelly rolls, then set aside on a well-floured couche. Rest for 20 minutes.

Preheat your oven to 500°F

Shape and Final Fermentation. Shape into baguettes and place onto a well-floured couche. Check the loaves at 45 minutes. When you poke test, the hole should fill in slowly.

Bake. Bake with steam at 460°F for 12 minutes. Remove the steaming container, and reduce oven temp to 400°F. Bake for 15-20 minutes to harden the crust and bake out most of the water from the crumb.

Recipe: Roasted Garlic Kamut Ciabatta

Ever since I learned Jeffrey Hamelman’s Roasted Garlic Levain bread, I’ve used roasted garlic in a number of recipes. But up until now, I didn’t think about using it in ciabatta. There is nothing like the smell of garlic roasting in the oven, and when incorporated into the dough and baked, the result is a luxurious and delectable bread that you’ll want to make all the time!

Since I go on long airplane trips several times a year, I’ve learned to bring my own food as opposed to buying the crappy food they now serve – and you have to purchase – on the plane. Tomorrow, my family is traveling to New York City to attend our daughter’s graduation from Fordham University this weekend, so true to form, I made sure to have sandwiches for the trip.

Normally, I make fat baguettes, but this time I wanted to make ciabatta. But to put a twist on it, I thought I’d add roasted garlic and give the bread a little kick. The formula and recipe are below:

Formula

Flour100.00%
Water81.00%
Cream0.80%
Salt2.00%
Yeast1.00%
Olive Oil4.00%
Garlic6.00%
Total Percentage194.80%

Final Dough

Flour
My blend: 30% Kamut Flour, 30% Bread Flour, 40% AP Flour
622g
Warm Water (about 100°F)504g
Cream or Half & Half5g
Salt12g
Yeast6g
Olive Oil25g
Garlic (peeled)37g
Total Yield1,212.00
2 X 600g loaves
(+1% due to process loss)

Process

Because this is such a super-wet dough, I highly recommend using a stand mixer.

Roast the garlic. Weigh out the garlic you need then place the cloves in a square of foil with a little olive oil (don’t worry if you have too much garlic – personally, I usually exceed the required amount by a few grams). Cinch up the foil, the roast at 400°F for 30 minutes. The garlic should be slightly brown and mashable. Transfer to a small bowl, and mash up the garlic with the oil. Don’t worry if there are harder bits. Just break them up.

Mix. If you’re using a flour blend, thoroughly mix the different flour types together first (the mixer paddle is perfect for this). Add the salt and yeast, then continue mixing for several seconds until all the ingredients are evenly incorporated.

By the way, it’s a myth that salt kills yeast. It doesn’t, at least not at this low concentration, and especially if both are dry. Besides, if salt did kill yeast, once you add salt to a yeasted dough, it shouldn’t rise!

In a separate container, combine all the liquids. Attach the dough hook, then turn on your mixer to slow, then slowly add about 75% of the liquid. Allow the dough to form. Once the dough starts climbing up the hook, slowly add the rest of the liquid until all the ingredients are combined (make sure to use a spatula to get all the oil out of the container). Once the liquid is incorporated, add the roasted garlic. Turn the mixer up to medium-low and mix until the dough is smooth (it’s more like a batter at this stage).

At this stage, you can transfer the dough to a standard mixing bowl or just keep it in the mixer’s bowl.

First Fermentation. Let the dough rest for 30 minutes. Then using a wet hand, do a series of stretches and folds. The dough at this point will still be quite wet. But using hand like a spoon, scoop under the dough and pull up. Eventually you will feel the dough strengthening a bit.

Second Fermentation. Again, let the dough rest for 30 minutes. Then pour it out onto a well-floured surface. You have to be pretty generous with the flour. Letter fold the dough. Once you’ve finished the pattern, pat the dough down, then letter fold it again. Once you’re done, roll it over onto its seams, then transfer it into a well-oiled bowl.

I’d start preheating my oven at this point – my oven is slow to come to temp, so I start preheating after the first fermentation.

Third Fermentation. Finally, let the dough rest 20 minutes. You should see some expansion of the dough mass with bubbles starting to form on the surface. Pour the dough out oil-side-up onto a well-floured surface. Divide the dough into two pieces. Personally, I eyeball it, but still scale out one of the pieces to 600 grams. At this point, handle the dough gently. You don’t want to degas it too much!

Final Fermentation. Gently tug the two pieces into rectangles, then transfer them to a couche or well-floured dish cloth. Let the loaves rest for 20 minutes.

Bake. Transfer the loaves to a loading board generously covered with cornmeal. Load your oven, then bake the loaves at 460°F with steam for 15 minutes. After that, expel the steam, then finish baking at 400°F for 20 minutes.

If you don’t use a baking stone, you can bake the ciabatta on a regular baking pan.

Baking with Steam

Almost all the recipes I post here say “bake with steam” for X amount of minutes. For commercial bakers that have steam-injected ovens, that’s a no-brainer. But most home ovens don’t have a steam injection function (unless you have a Miele). For those of us who don’t have that, our only alternative is to use a vessel of some sort to hold water that will evaporate in the high temperature of the oven.

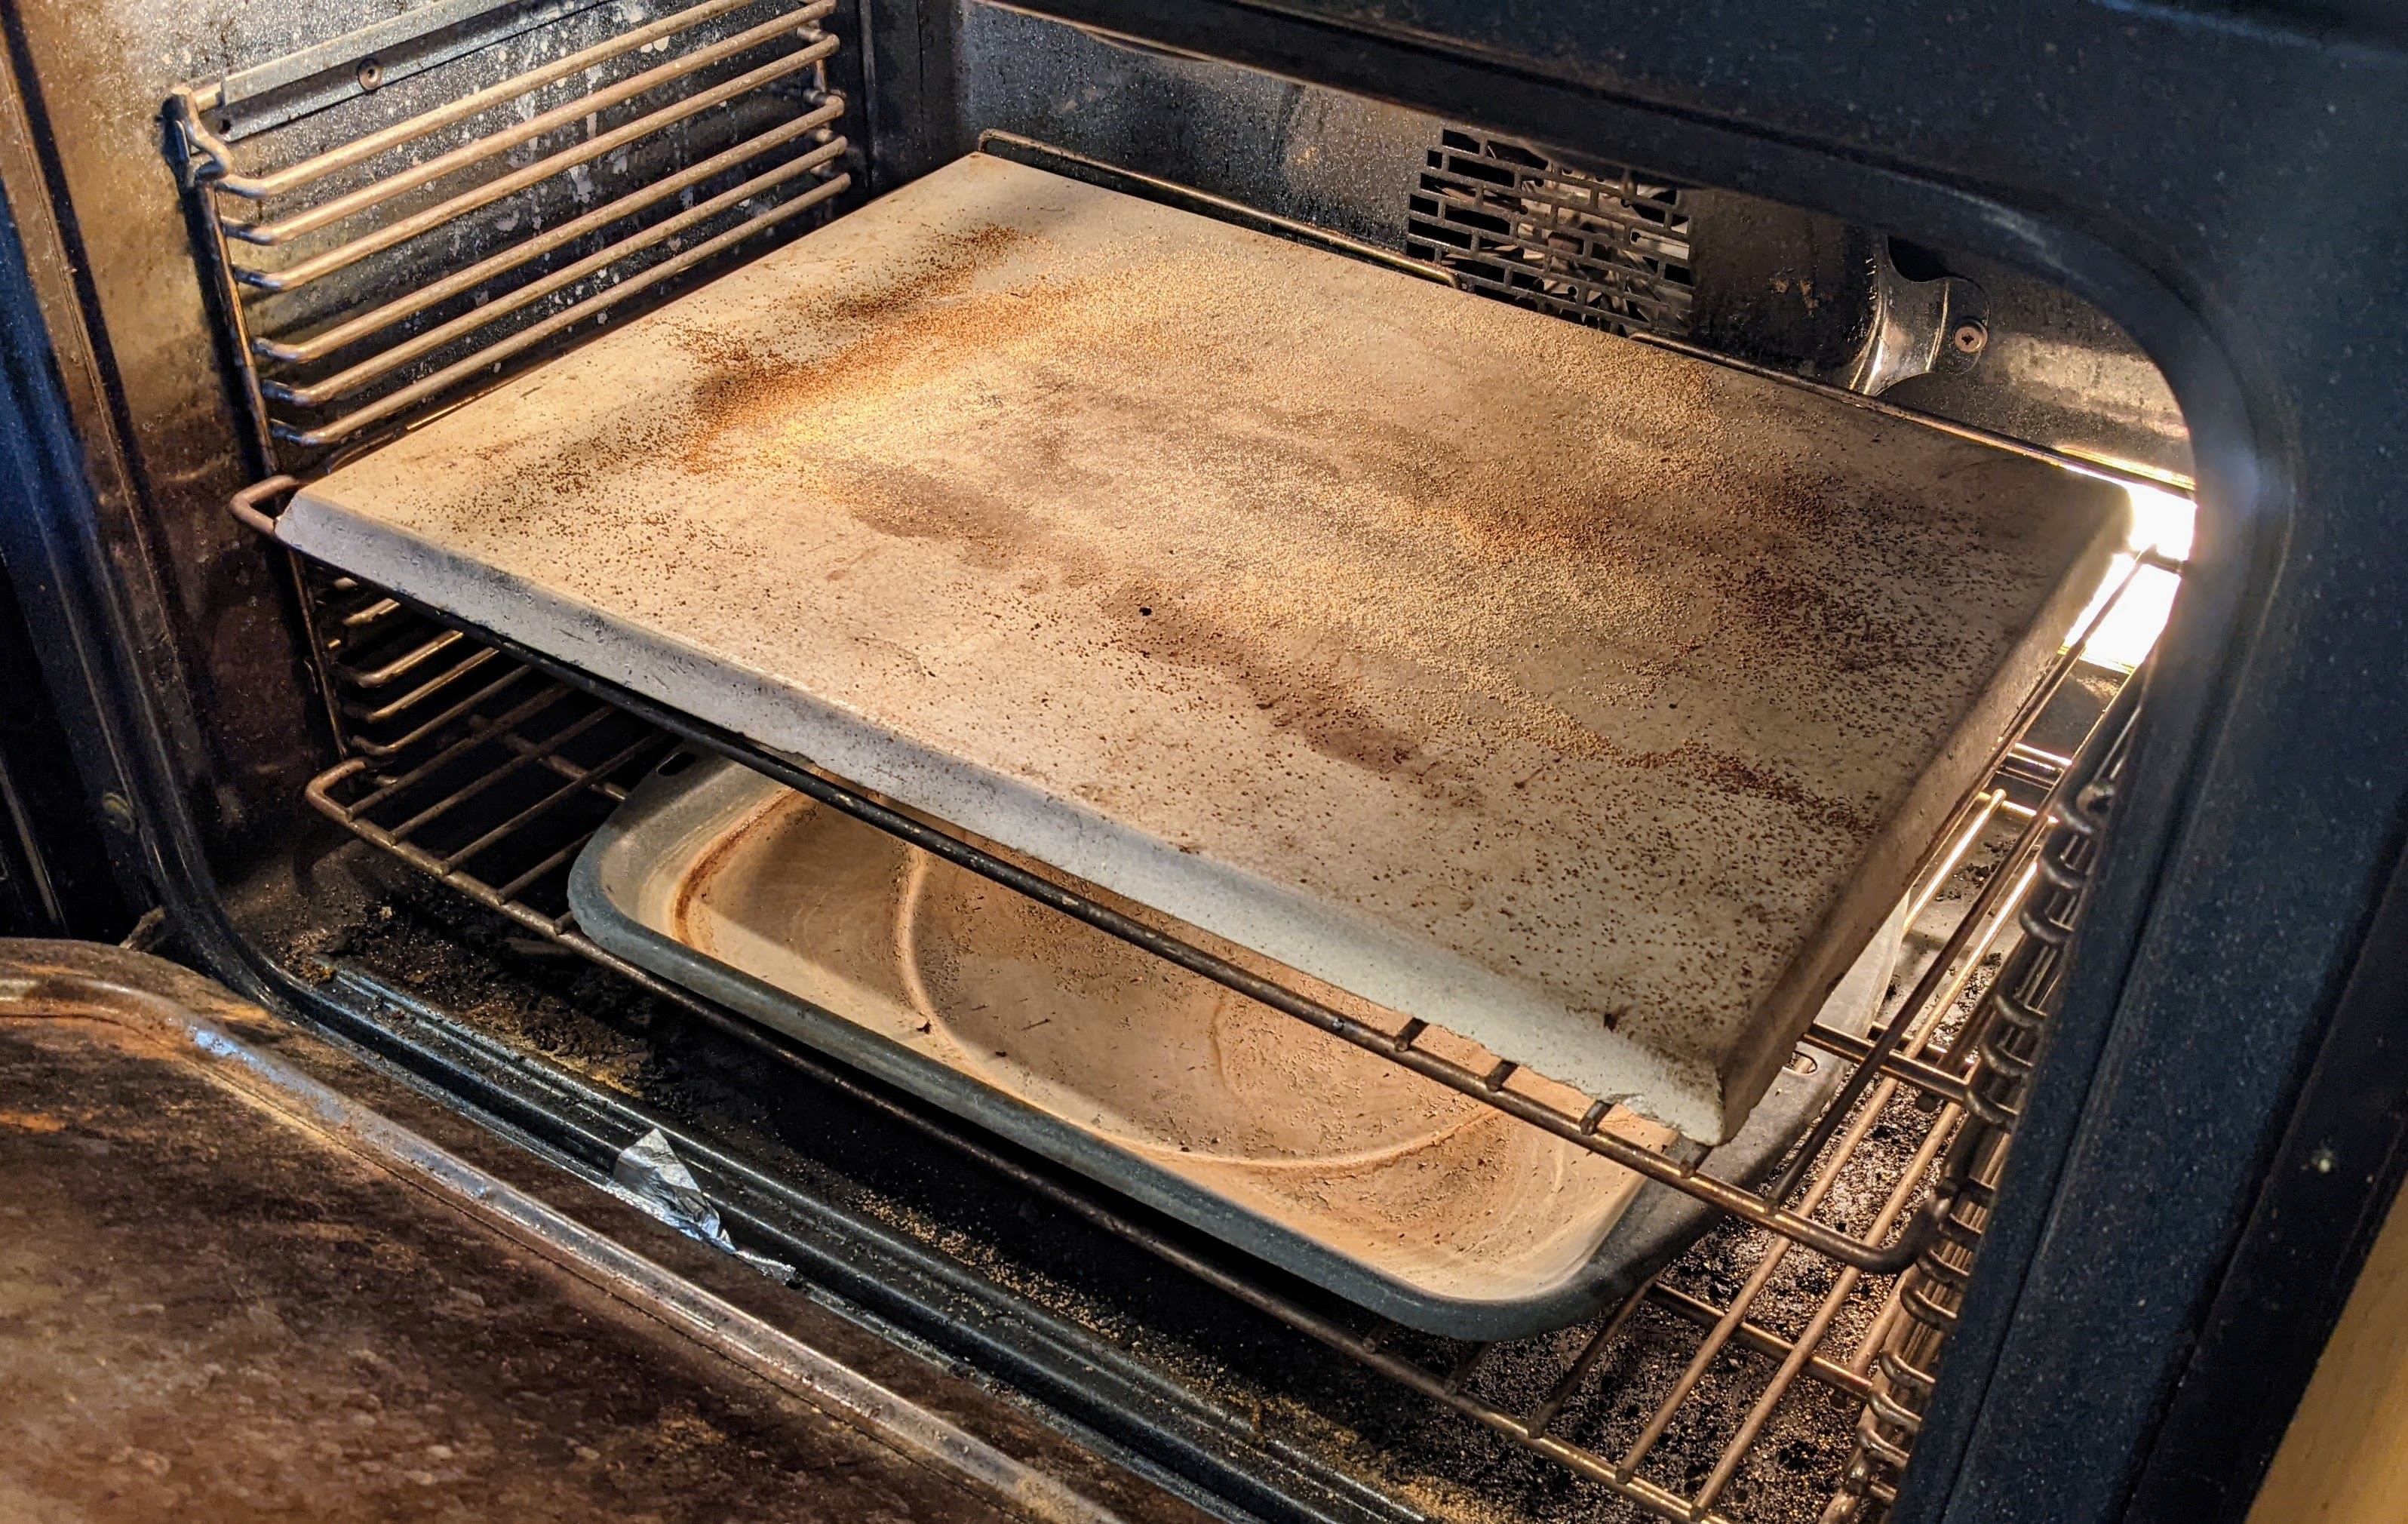
I use the bottom tray of my broiler pan as my vessel. Others use a cast-iron skillet. I actually prefer the broiler pan as a cast-iron skillet requires preheating. No matter what you use, it should be able to hold at least 1-2 cups of hot water.

Here’s how I “bake with steam”:

  1. About 3-5 minutes before I place the loaves in the oven, I pour about 1-2 cups of hot water into my pan. This gives the water a bit of time to heat up and creates a steamy environment for when the bread gets loaded.
  2. Immediately after placing the loaves, I splash a few tablespoons of water near the outer rim of the pan to create a cloud of steam to make up for the steam I lost when I loaded my loves.
  3. When the time comes to vent the steam, I simply remove the pan from the oven and then finish baking dry.

Note that to avoid losing too much oven temperature. You have to be real quick because you don’t want to leave the door open too long. Also, some books, like “Flour Water Salt Yeast” will say to use just a single cup of water. That’s never enough for my oven because it has a built-in fan that will quickly evaporate the water. So I almost always use twice as much water as listed in the recipe. You’ll have to experiment with your own oven.

In the words of the great Jacques Pepin, “That’s it!” It’s not perfect. Most ovens like mine are built to naturally vent moisture. When I’m baking, I actually plug the vents using some foil and Gorilla tape. This serves to both retain the steam and helps maintain my oven temp.

Recipe: Easy Ciabatta by Scott Megee of the Artisan Crust

Like many baking enthusiasts, during the pandemic lockdown, I watched A LOT of baking videos to learn different bread baking techniques. I started out watching regular YouTubers. Some are great like Sune, the Foodgeek, but as with any social media platform, the real good stuff takes some searching. So eventually, I found pros like Markus Farbinger, Jeffrey Hamelman, and Chad Robertson (I read the latter two’ book as well). But then I discovered and also followed Scott Megee, Master Baker of Australia and owner/proprietor of The Artisan Crust in Victoria, Australia. And I tried out his easy version of ciabatta.

In short, this bread rocks! Not only is it easy to make, but despite not using a preferment at all, it’s delicious! The trick is using really good olive oil – first cold-pressed is the best. Don’t make the mistake of using “first pressed” or “cold-pressed” olive oil. It has to be “first cold-pressed” as that is the real deal extra virgin olive oil. Of course, there’s lots of chicanery in the olive oil business, so it’s never entirely clear.

For me, I use California extra virgin olive oil produced by the Sciabica family. I originally became familiar with them through the Dominican Sisters. Each year, they have the olives harvested from the grounds of their convent in Mission San Jose, and the Sciabica family presses and processes their olive oil.

As for the Sciabica family olive oil, though I usually purchase 1.5-liter boxes directly from them, in California, you can also find their oil in grocery stores under the “Mission Trail” brand. This is a very nice oil made from olive trees in Northern California. It’s wonderfully fruity with a peppery finish.

Okay, let’s get to the important stuff!

Overall Formula

Flour
AP Flour: 50%
Bread Flour: 25%
Kamut Flour: 25%
100.00%
Water76.00%
Salt2.00%
Yeast0.50%
Olive Oil3.00%
Total %181.50%

Final Dough

Flour*
AP Flour: 501g
Kamut Flour: 167g
668g
Water508g
Salt13g
Yeast3g
Olive Oil20g
Total Yield1212g
2 X 600g loaves
Optimal Dough Temp82°F (28°C)
*You can use your own blend or just use AP flour. I wouldn’t recommend 100% high-protein bread flour as it would make the crumb chewy.

Mix: Mix all the dry ingredients together thoroughly. Reserve 20% of the water and combine it with the oil. Then mix the dry ingredients together with 80% of the water. Mix until smooth and you achieve a bit of gluten development. Once the initial mix has come together, slowly add the oil and water mixture and work it into the dough (this is known as bassinage). Mix until smooth, then transfer to a lightly oiled bowl. Cover the container, then let the dough rest for 45 minutes.

Note: I recommend using a mixer for ciabatta (Hey! The Italians do!), but you can certainly mix the dough by hand.

Process. At this point, it’s a lot easier to learn Scott Megee’s technique by watching his video:

Note that where I started the video, Scott is measuring the temperature of the dough and it reads 23°C. But his recipe actually lists the optimal dough temp to be 28°C.

Bake. Bake with steam for 20 minutes at 450°F. Then finish baking for another 20 minutes without steam. If the crust color seems a little dark after the first 20 minutes, reduce oven temp to 400°F. Internal dough temp should be 200°F to ensure the dough is fully cooked.