It’s Lent. Time for Bread Bowls on Fridays!

I’m a cradle Catholic and though I don’t consider myself to be particularly devout, I still do my best to observe the traditions on which I grew up. One of those traditions is not eating meat or poultry on Fridays during the season of Lent. For my family, that has meant eating soup. Normally, we go to our church as they have Friday soup days, but this Lent, we’ve been staying in and either preparing our own soup (which actually means me doing the cooking), or we buy freshly prepared soup from our local Safeway (the tomato bisque is the BOMB!).

Last week, I made a batch of clam chowder. When my son came home from lacrosse practice he asked me what was for dinner, and I said, “Clam chowder.” He immediately asked, “In a bread bowl?” When I gave him a negatory, I could see his heart sink. I think he figured since Dad was a baker, I’d naturally make bread bowls. So… lesson learned, and this week, though I bought the soup, I decided to make bread bowls to make up for not having them last week.

These are not sourdough bread bowls. I could easily do those, but it being a fairly full-scheduled week, I didn’t have the time to get a levain going. So I decided to keep it simple and make a straight dough and make little boules from that. Now, not wanting to fuss with a recipe, the best I could come up with was a riff on my standard baguette recipe, but use a good amount of yeast. I also wanted to make the bread in less than three hours, so using plenty of yeast would get me there. Yeah, it’s a quick bread, but I wasn’t too concerned about making a particularly flavorful bread because it would get all its flavor from the soup.

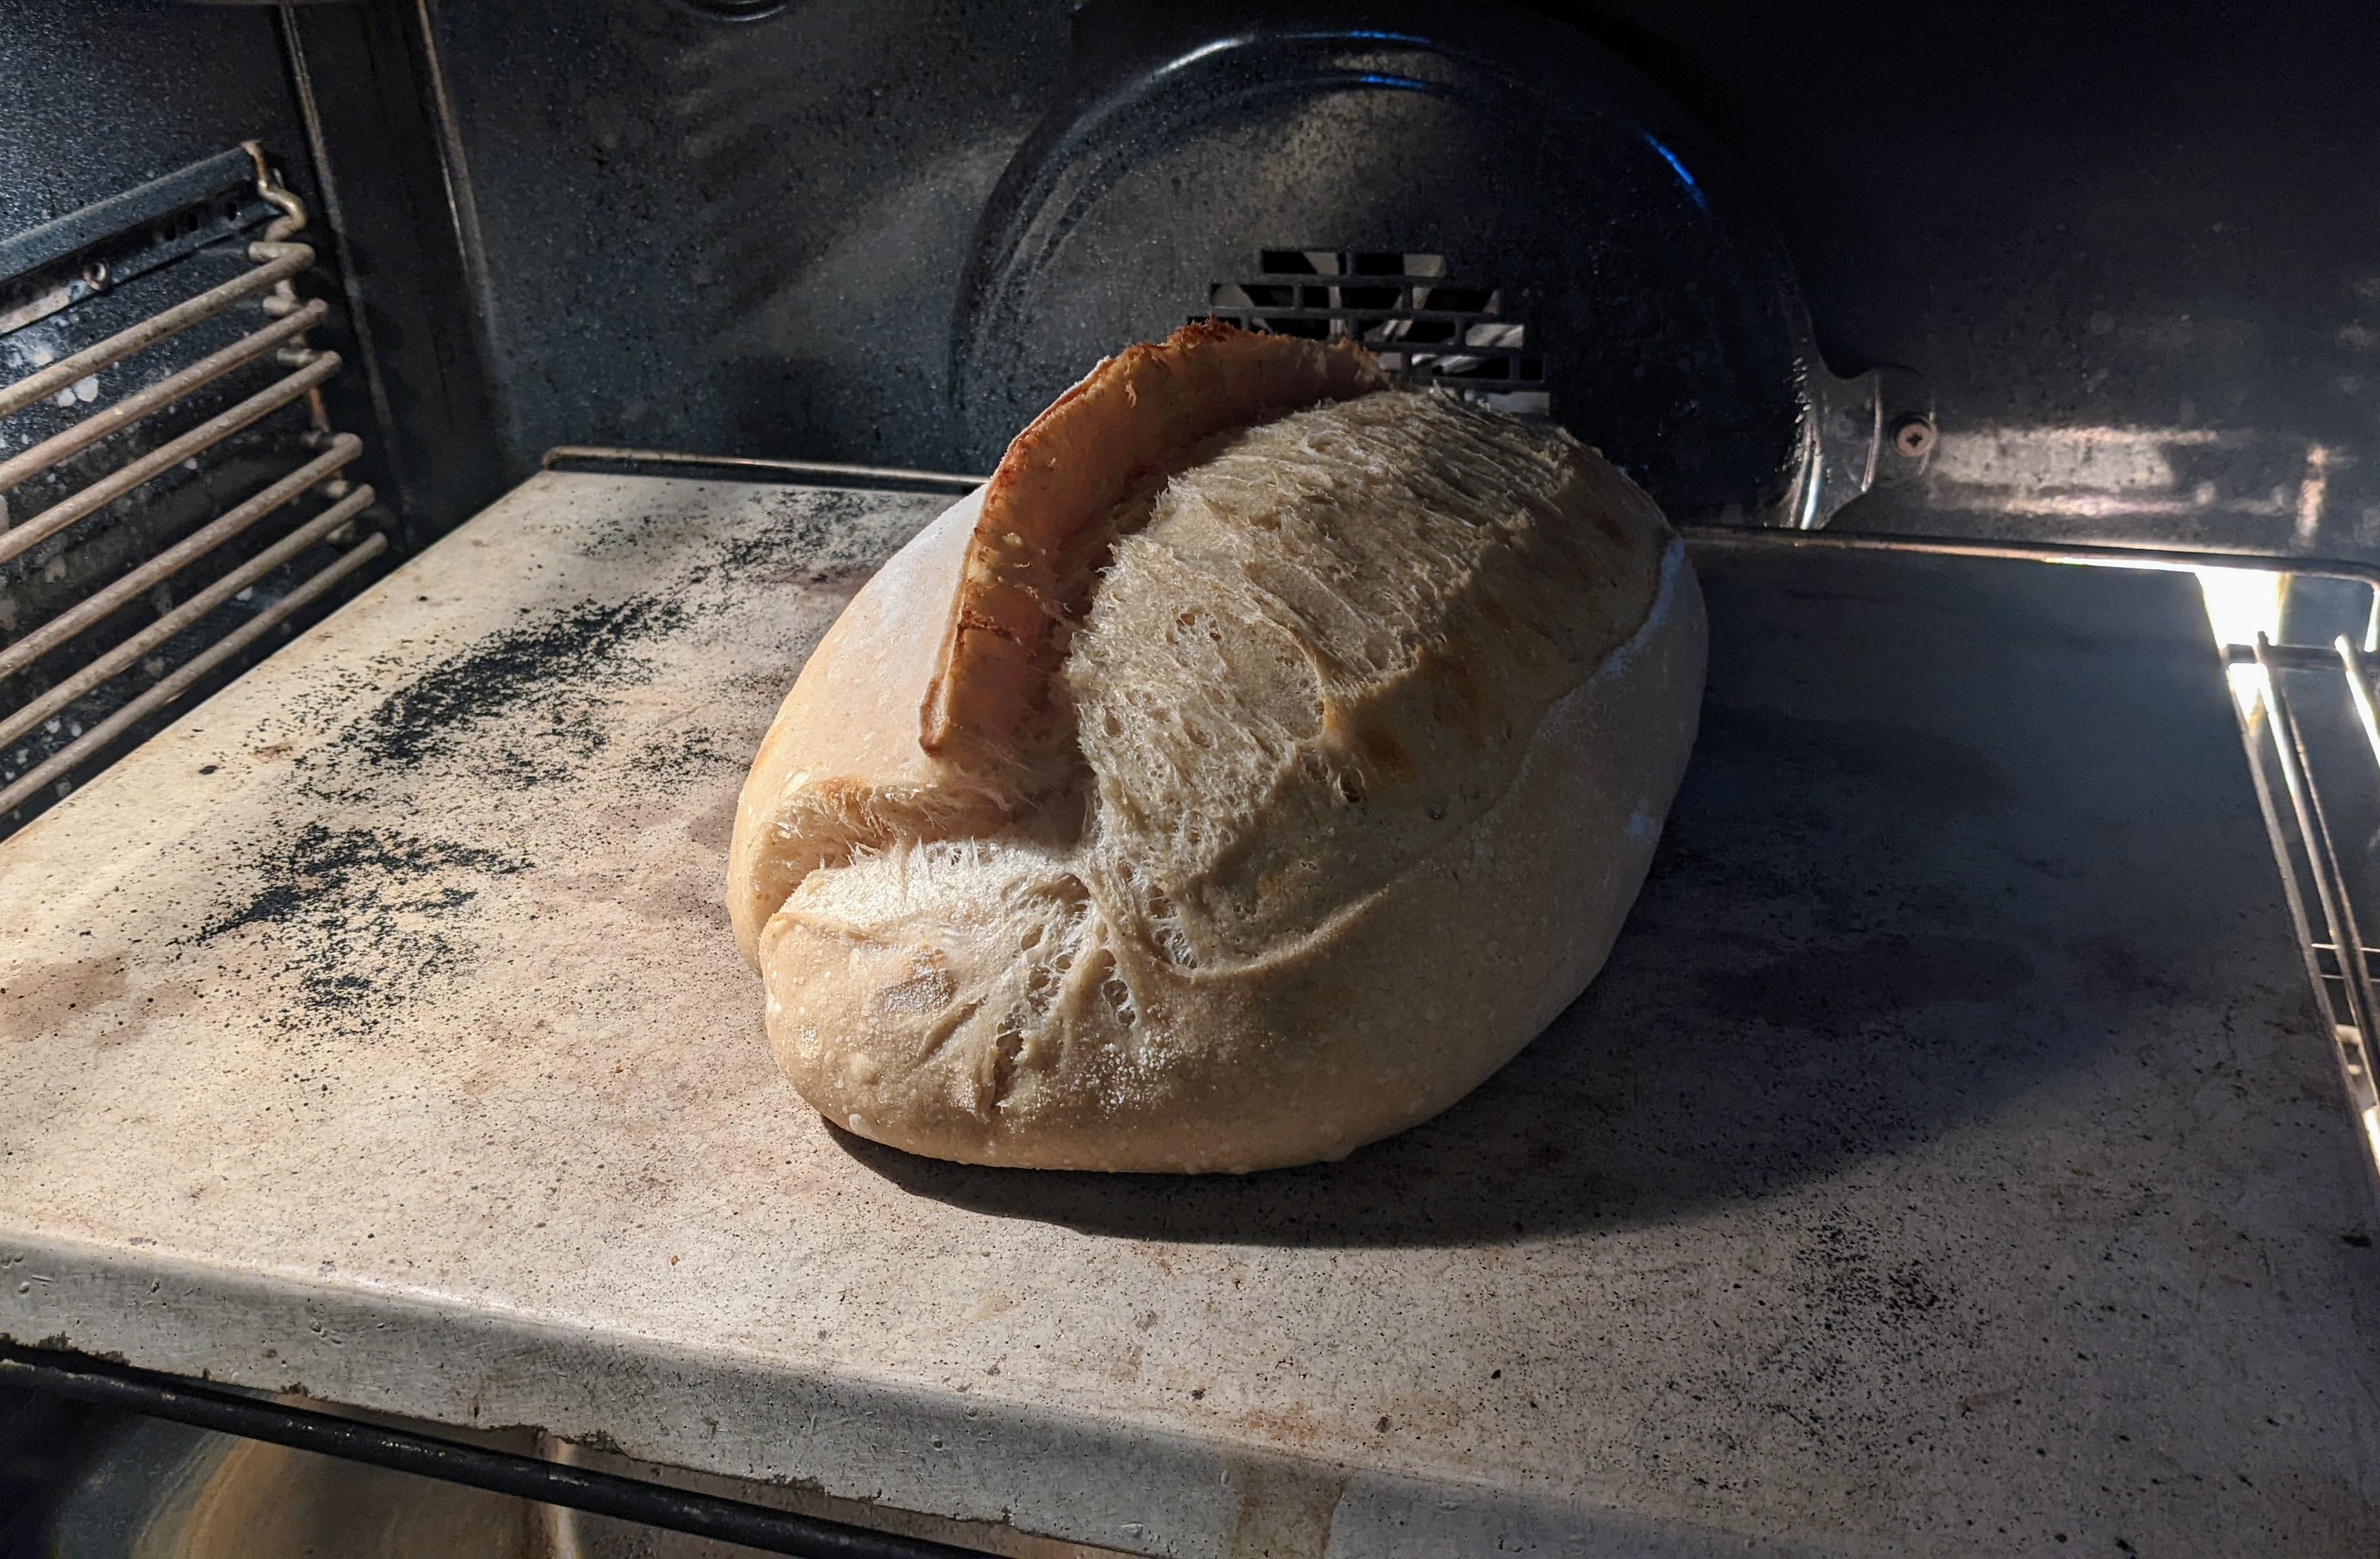
Ahhhhh! The smell of yeasty bread! As much as I love sourdough, there’s nothing quite like a nice yeasty bread. It’s pretty amazing. Here’s the recipe!

Overall Formula

Flour100.00%
Water75.00%
Salt2.00%
Yeast1.50%
Total %178.50%

Flour Blend

AP Flour (King Arthur)60.00%
High-extraction Bread Flour (Azure Standard)40.00%

For flour, a specific brand isn’t that important. But for bread flour, I’d recommend using a fairly strong flour that has more than 12% protein content as this dough is pretty high in hydration at 75%.

Final Dough

AP Flour458g
High-extraction Bread Flour306g
Water ~90°-95°F573g
Salt15g
Yeast11g
Total Yield1364g
6 X 225g loaves

Mix. Sift the flour into a large bowl. Add all the salt and yeast, then mix all the dry ingredients until everything is evenly distributed. Make a crater in the middle of the dry ingredients, then pour all the water into the bowl. Using a Danish dough whisk or your hand, using a circular motion in the water, work the flour and water together, grabbing a little flour off the sides as you make circles. This is a lot like mixing pasta dough by hand. Once you’ve pulled all the flour off the sides of the bowl, use a rounded bowl scraper to scrape under the dough and turn the dry ingredients at the bottom into the dough mass. Once there are no dry ingredients left, cover your bowl with a cloth and place it in a warm place to rise.

Bulk Fermentation. 1.5 – 2 hours.

Fold. This dough only requires a single stretch and fold session after 45 minutes. There’s so much yeast, that after the first 45 minutes, the dough will be close to doubled. Using gentle motions, stretch and fold the dough until the entire mass lifts off the bottom of the bowl. Your dough will have developed all the strength it needs. After that, cover the bowl again with a towel, then let it sit in a warm place for another 45 minutes or until the mass is close to double in size.

Before dividing, preheat your oven to 475°F.

Divide and Preshape. Pour out the dough onto an unfloured work surface. Scale-out 225g pieces, then using your scraper, shape the pieces into rounds. No need to create a super-taut skin. Once preshaped, let the loaves bench rest uncovered for 15 minutes. The dough will spread out, but will still be nicely domed on top.

Shape. Lightly sprinkle the tops of the pieces with dusting flour (I use a 50/50 rice/AP flour mixture). Turn each piece onto the floured side then shape it into a boule. With dough at this hydration, I prefer to use a stitching technique similar to the Tartine shaping method to create a good internal structure, then use my bench scraper to form it into a round, making sure to tuck all the seams from stitching under the round.

Final Fermentation. Line a large baking sheet with parchment paper, then evenly space the rounds on the baking sheet. Once placed, you can optionally dust the tops with dusting flour, then cover the rounds with a towel and let rise for 30-45 minutes. But poke test after 30 minutes! Because it was warm in my kitchen today, I was bake-ready in just less than 30 minutes!

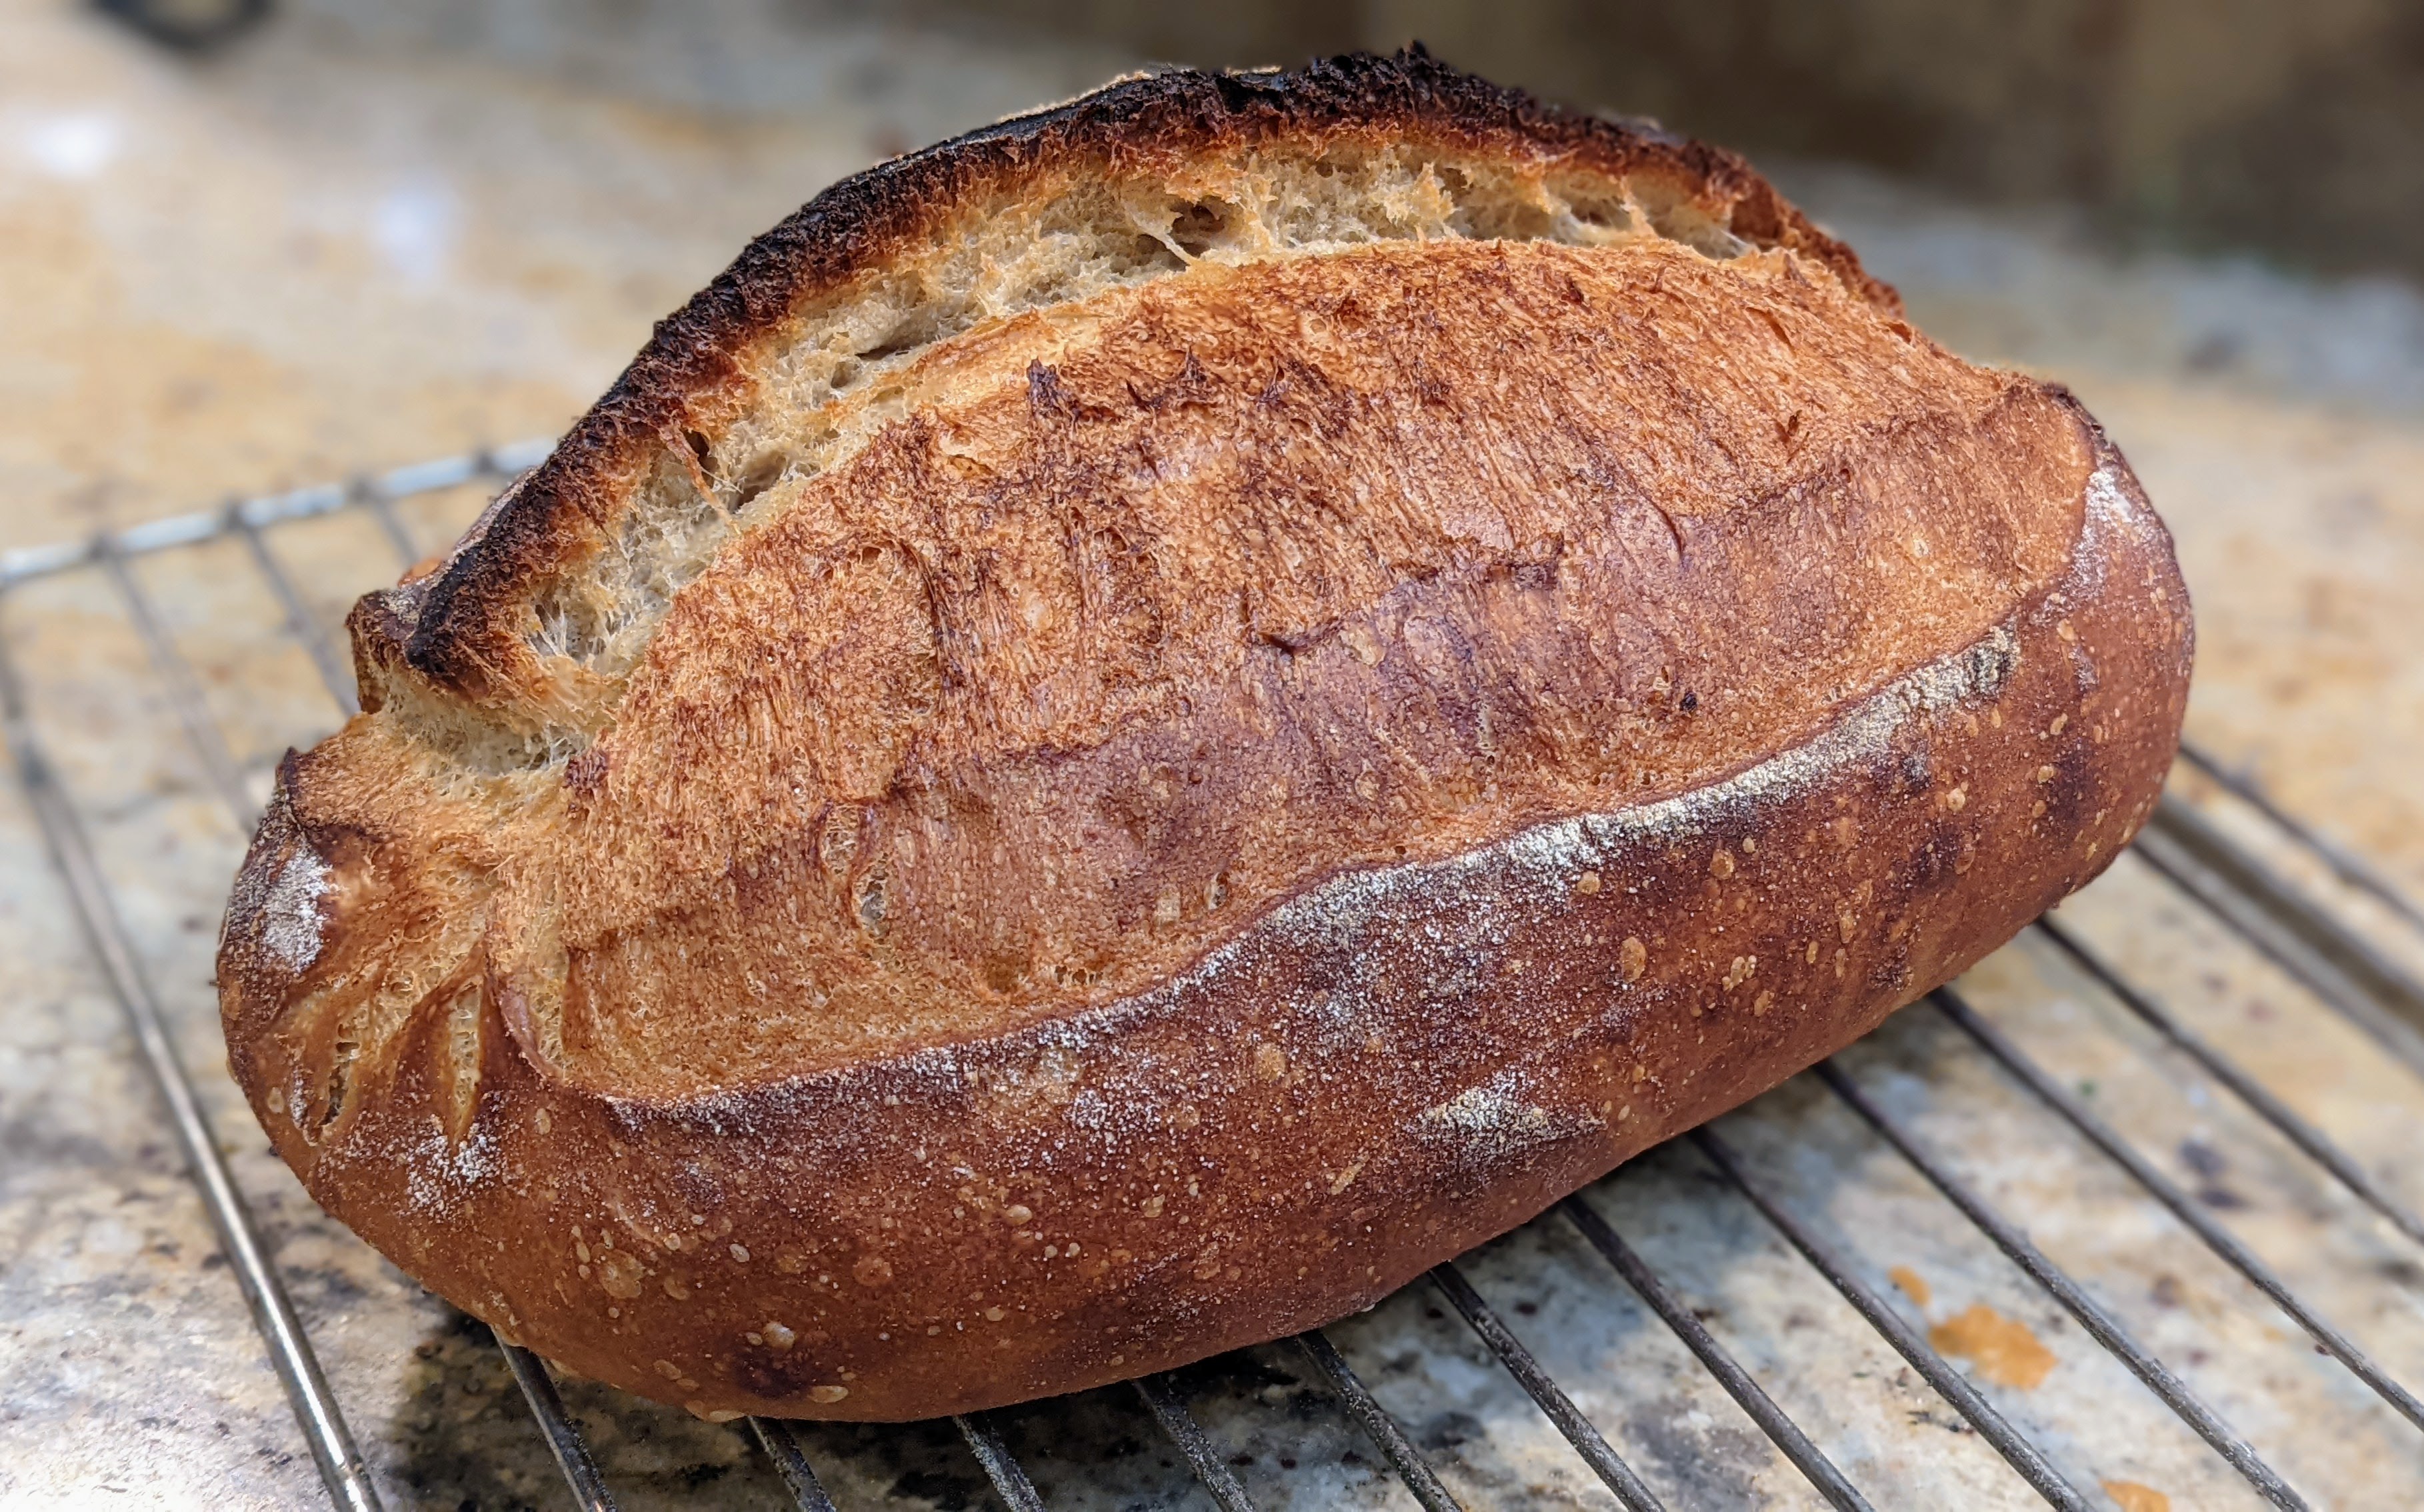
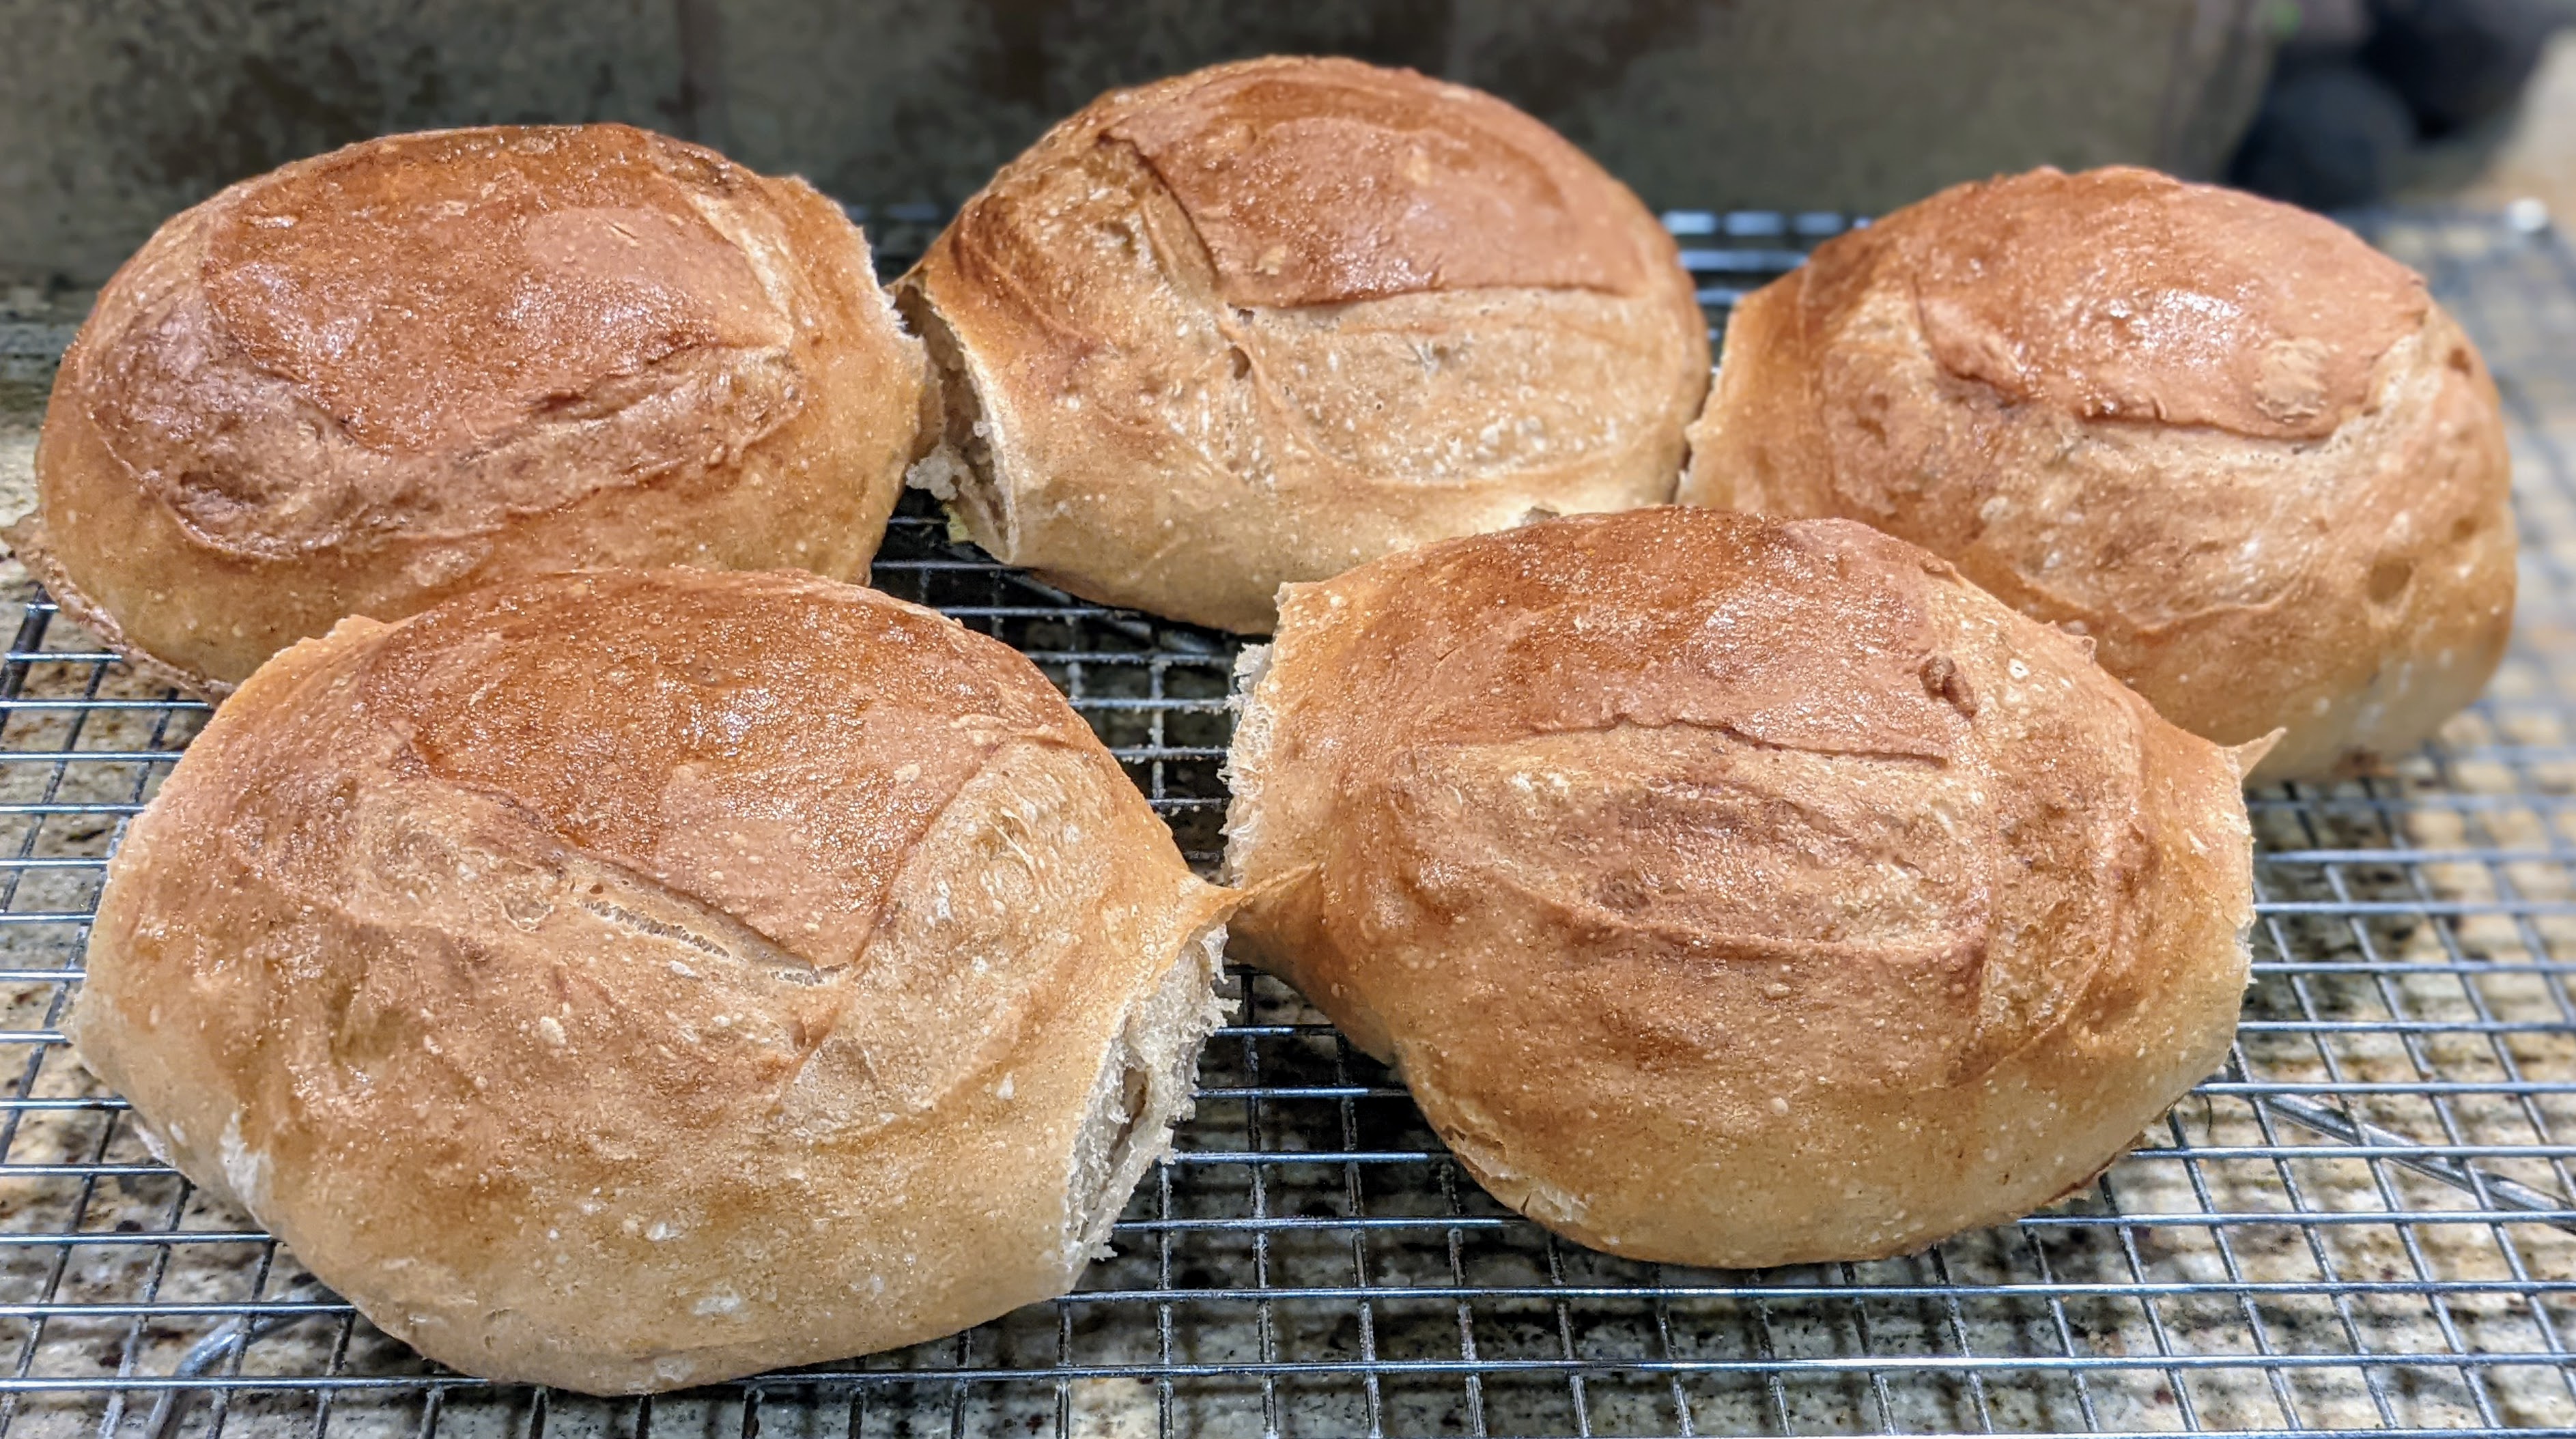
Bake. Bake with steam for 12 minutes at 475°F. After 12 minutes, remove the steaming container, then turn down your oven to 425°F. Bake for another 15-20 minutes until the loaves are nice, golden-brown.

Serve. Let the loaves cool for 15-20 minutes (they’ll still be nice and warm), then take a loaf and cut a large circle on the top. Using either a spoon or your fingers, gently hollow out the loaf. Fill it with your soup!

An “Easy” Dough Calculator

Here’s the link to the spreadsheet. You can’t edit it, but you can copy it to your own Google Sheets.

Several people have requested edit access to the spreadsheet. I will not give that level of access and requests will be ignored (sorry). As I stated immediately above, please copy the entire spreadsheet, then paste it into your own Google sheet. Thanks!

Being a software engineer by trade, I have a penchant for using technology to aid in automating manual tasks and baking is no exception. One thing I did early on was to create spreadsheets for calculating ingredient amounts based on my desired yield and a baker’s formula. I actually created a bunch over time, but there’s one dough calculator I created in particular that I seem to use the most. It’s displayed a the top. If you’re interested, click on the link above and copy it!

The calculator is split into 5 major sections:

  1. Loaf Calculation
  2. Formula
  3. Preferment
  4. Flour Blend
  5. Final Dough

One of the reasons I started building my dough calculators was that I wanted to bake bread to a certain, specific yield like 4 loaves at 335g apiece, then calculate the ingredients I’d need based on the target yield and the baker’s formula. This is in contrast to recipes you’d normally find in books and online where the ingredients are listed out and you have no idea about the yield other than, “Divide the dough into two equal pieces.”

That has always rubbed the more exacting side of my personality the wrong way. And especially when I started baking at higher volumes, I needed to know how much I was going to bake first. Then I’d figure out ingredient amounts based on that. Thus, I started creating dough calculators.

I use this calculator when I’m experimenting with different flour blends or different kinds of preferments. It takes all the guesswork out of figuring out what I need. Note that it is specifically meant for basic loaves that have no inclusions. This accounts for about 95% of what I bake such as sourdough boules and batards and baguettes.

Let’s step through the various sections:

The first two sections of the spreadsheet deal with the yield I’m after and the base baker’s formula. Just these two elements can drive all the ingredient amount calculations as the total flour can be obtained by simply dividing the target dough weight by the Total %. The Process Loss % field is a fudge factor for the total yield. There will always be some dough weight loss in processing, so adding a 1% or 2% fudge factor ensures that you can create all the loaves based on the dough weight.

Note that Yeast is included as an entry. If you’re making naturally leavened bread, this should be set to “0.”

The next section deals specifically with the preferment. You will provide the percentage of the total flour you’d like your starter to be, then set the hydration of your starter. A typical liquid starter is 100% hydration. A biga, on the other hand, will be around 75% to 80% hydration. Once you enter those things, the flour and water you’ll need to produce the starter, along with mature starter OR yeast will be calculated. Note that these calculations will produce more starter than you actually need for the recipe, but this is something that should be done anyway to account for process loss or starter sticking to the container.

The starter amount is meant to create a 1:5 ratio starter, the starter weight being 20% of the combined weight of the flour and water. But note that this is merely a guideline. If you’d rather do a 1:3:3 or whatever, that’s entirely up to you. You’ll just have to provide the amount of starter required in the ingredients list.

If you’re creating a poolish, the yeast you’d use is listed. I personally base the amount of instant yeast I’ll use for a poolish to 0.3%. You can change this in the cell formula if you use a different amount.

The last two sections of the calculator deal with the flour blend and the ingredients which really go hand-in-hand. This provides an easy way to figure out how much of a particular flour you want contributing the flour blend as a function of percentage. The grey line labeled “Preferment” is the percentage of the total flour that is already spoken for by the preferment. All the numbers should add up to 100%. The cell will be colored red if there is any variance.

Finally, we have the Final Dough ingredient list and the amounts required. The flour blend amounts are provided. The Total Yield is provided as an accounting measure to ensure everything adds up to what we expect. Though not shown, Total Flour and Total Water are displayed below the ingredient list and yet another check.

I invite you to copy the calculator. It has proven an invaluable tool for me!

How the Calculations Work

The First Rule of 90%+ Hydration Dough: Don’t Mess With It! Part II of Working with Extreme Hydration

In “Tartine-Style 50% Whole Grain Sourdough: Experimenting with Extreme Hydration, First Stop 85%,” my goal was to push the limit of the flour I use to see just how far I could take it. I postulated that 85% hydration was the outer limit for my flour, but to be completely honest, I was wrong. The loaf shown in the pictures above was hydrated to just over 90% hydration. The flour blend I used was 10% Whole Wheat (from the starter), 54% Bread Flour (Bob’s Red Mill), 36% Whole-grain Kamut Flour.

I was amazed at how the loaf maintained its structure enough to get a really great oven spring! I was a little unsure when I poured the dough out onto my loading board. It really spread out. But the important thing I noted was that despite the dough spreading out, it was still domed which meant that there was a structure to the dough. And rise up it did!

I’m going to keep pushing to find the outer limit of the hydration my flour can take, but one thing that has occurred to me in my high-hydration experiments is that the success I’ve been experiencing with the loaves I’m producing probably has a lot more to do with my technique than the flour itself. And that brings me to the crux of this post.

An important thing I’ve learned working with super-high hydration dough is to only manipulate it to accomplish what I need for a particular step and after that, leave it alone! When I’m stretching and folding the dough, I only do it enough to where I can feel the tension in the dough. And I also have learned to stretch the dough a lot slower than I normally stretch a less hydrated dough lest I degas it too much. Oh I stretch it as far it will stretch, but I don’t tug on it hard – just a slow and smooth motion.

With this batch of bread (I actually baked a few loaves with this batch of dough), I didn’t stretch and fold the Tartine method of six folds over three hours. I felt enough strength had built up after three folds. So I let the dough sit for 3 hours until it was almost doubled (my starter was a little sluggish that day).

When preshaping, I only preshape until the skin has been pulled a little taut and smooth. I don’t try to develop tight skin on the ball. And then I let it rest until it has relaxed. Depending on the weather, this could be 30 minutes or it could take an hour for the dough to relax.

With shaping, I use a stitching technique I learned from watching several videos of Chad Robertson shaping his bread at Tartine. Though it isn’t Chad Robertson, this video demonstrates the technique really well. It’s a gentle technique that creates structure but doesn’t degas the dough much and uses gravity and the natural tackiness of the dough to seal the bottom seam. Another way to get a great look at the technique is to watch John Favreau’s “The Chef Show” when he visits Chad Robertson’s Manufactory in Los Angeles.

Then finally, a long, 12-24 hour rest in the fridge for final fermentation will allow the flavors to develop and dough to perform its expanse.

Again, I want to stress that I only touched the dough when I absolutely needed to. The dough is so wet and delicate that I didn’t want to pop too many bubbles. Messing with the dough too much would undo all the hard work the yeast had done to create those wonderful gas-filled pockets!

Calculating Dough Yield – You Have to Work BACKWARDS!

I’ve touched upon this before that I’ve always had issues with recipes because they always list out the ingredients like 1000g of flour, then say, “Divide the dough into two equal pieces.” I suppose that’s fine if you’re just baking for your family and you don’t really care about things being truly equal. But when I started baking a lot and especially when I started Dawg House Bakery, dough yields and loaf weights became VERY important to me.

With regular recipes, even though they might include the baker’s formula, oftentimes they simply say, “Use this much of this and this much of that, etc.” It makes it incredibly difficult to calculate yields based on that approach, especially if you’re baking a dozen or more loaves. So I’ve taken to working backward. And by that I mean I figure out what I want to bake first, like 8 loaves @ 800 grams apiece, then work backward from there. And THAT is where the baker’s formula comes into play.

Now, most people look at a formula and only look at it from the perspective of calculating the non-flour ingredients, for instance, salt is 2% of the total flour. But the real secret of a formula lies in the sum of all the percentages. Let’s look at a basic sourdough baguette formula that I use:

Flour100.00%
Water80.00%
Salt2.00%
Total %182.00%

When I first started using formulas, I didn’t understand that Total % figure. Like most, I just looked at the non-flour ingredients. But once I learned that if you divide the total dough weight by that Total %, you get the flour amount that you need, it was a total game-changer!

For instance, let’s say I want to make 4 baguettes at 335g apiece before baking. The total dough weight would be 1340g. Now, if divide that by the 182% total percentage, the total flour in my recipe would be:

1340 / 182% = 736g

From there, it’s easy to calculate the rest of the ingredients!

If we were doing a straight dough, the numbers would look like this:

Flour736g
Water589g
Salt15g

For this amount, I just know from experience to use about 6-7 grams of yeast, so I don’t really factor that into my calculations, but typically it’s around 1% or less depending on the weather (the warmer it is, the less yeast I use).

But What About Using a Preferment or Sourdough Starter?

This is where it gets a little tricky because the preferment is technically part of the total flour and water, not a separate component. You will hear some bakers say that a preferment is the early stage of the dough. You still calculate the total amount of the preferment based on the total flour, but you have to subtract the flour and water of the preferment from the total flour and water when figuring out what you’ll need in the final dough. Otherwise, you’ll throw off your total dough weight.

For my sourdough baguettes, I want my starter to be 25% of the total flour. As my starter is 100% hydration, here are the calculations:

Preferment % of Total Flour25%
Preferment Total Weight184g
Preferment Hydration100%
Preferment Flour92g
Preferment Water92g

Based on that, here’s what the final dough ingredients will look like:

Flour736g – 92g = 644g
Water589g – 92g = 497g
Salt736g * 2% = 15g
Preferment736g * 25% = 184g
Total Yield1340g

For your convenience, I’ve created a Google Spreadsheet that you can use to calculate your ingredients. You won’t be able to edit the document, but you can copy it to your own spreadsheet, then edit it as you see fit. BTW, the calculations in the spreadsheet that you will first see are for creating 2 X 1000g Tartine-style 40% Kamut loaves. If you’re new to baking, I don’t recommend this recipe! At 90% hydration, the dough is VERY tricky!

To be honest, I have about 30 different sheets for the different kinds of bread that I bake. When I’m developing a new recipe, I always use a spreadsheet like this. It takes the guesswork out