Recipe: Easy-Yeasty Pan Bread!

I know there’s this general obsession over sourdough this and sourdough that. And while making – and eating – fresh, sourdough bread is certainly satisfying, sometimes I get a real hankering for simple, yeasty bread. Plus, with my now very busy schedule that doesn’t permit me to bake nearly as much as I’d like, there are times when I just need the process to be absolutely straightforward. And I couldn’t think of an easier bread to make than simple, yeasty pan loaves!

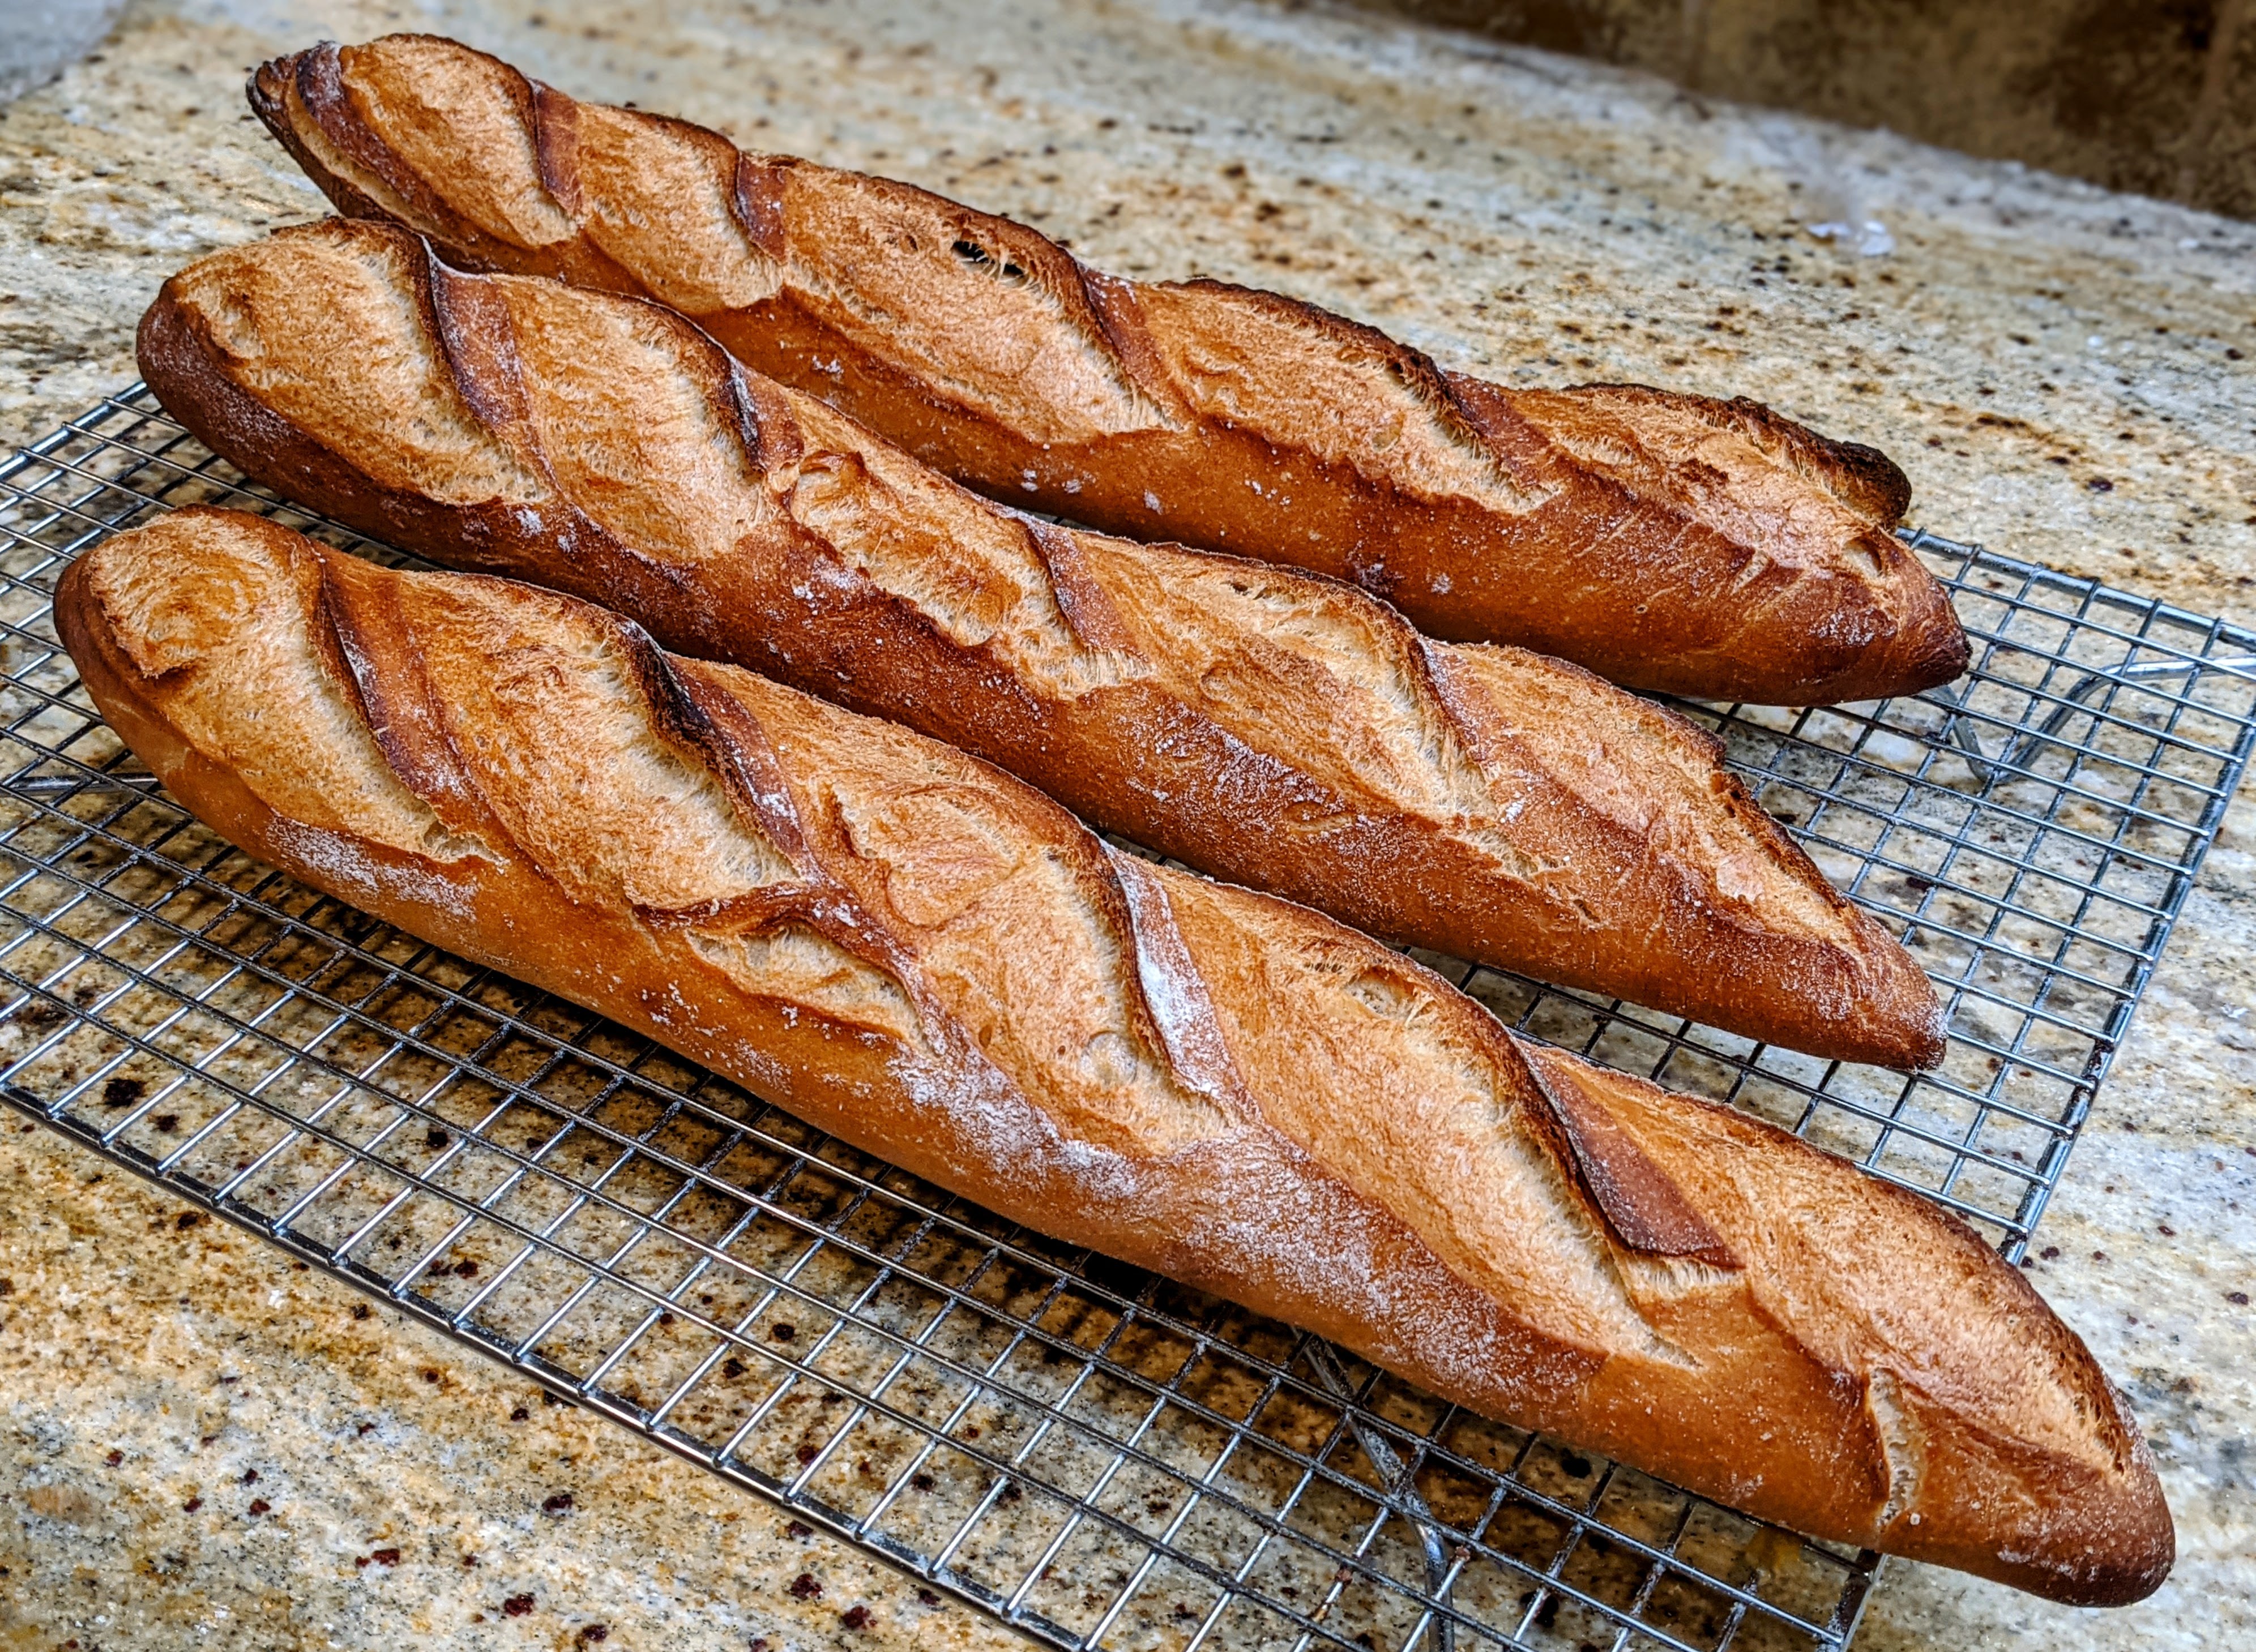
I just pulled the loaves pictured above out of the oven about 20 minutes ago and the wonderful aroma of yeasty bread pervades my entire house! As with any bread, these take a few hours to prepare and bake, but the process is as straightforward as can be. These are perfect for those “work from home” days!

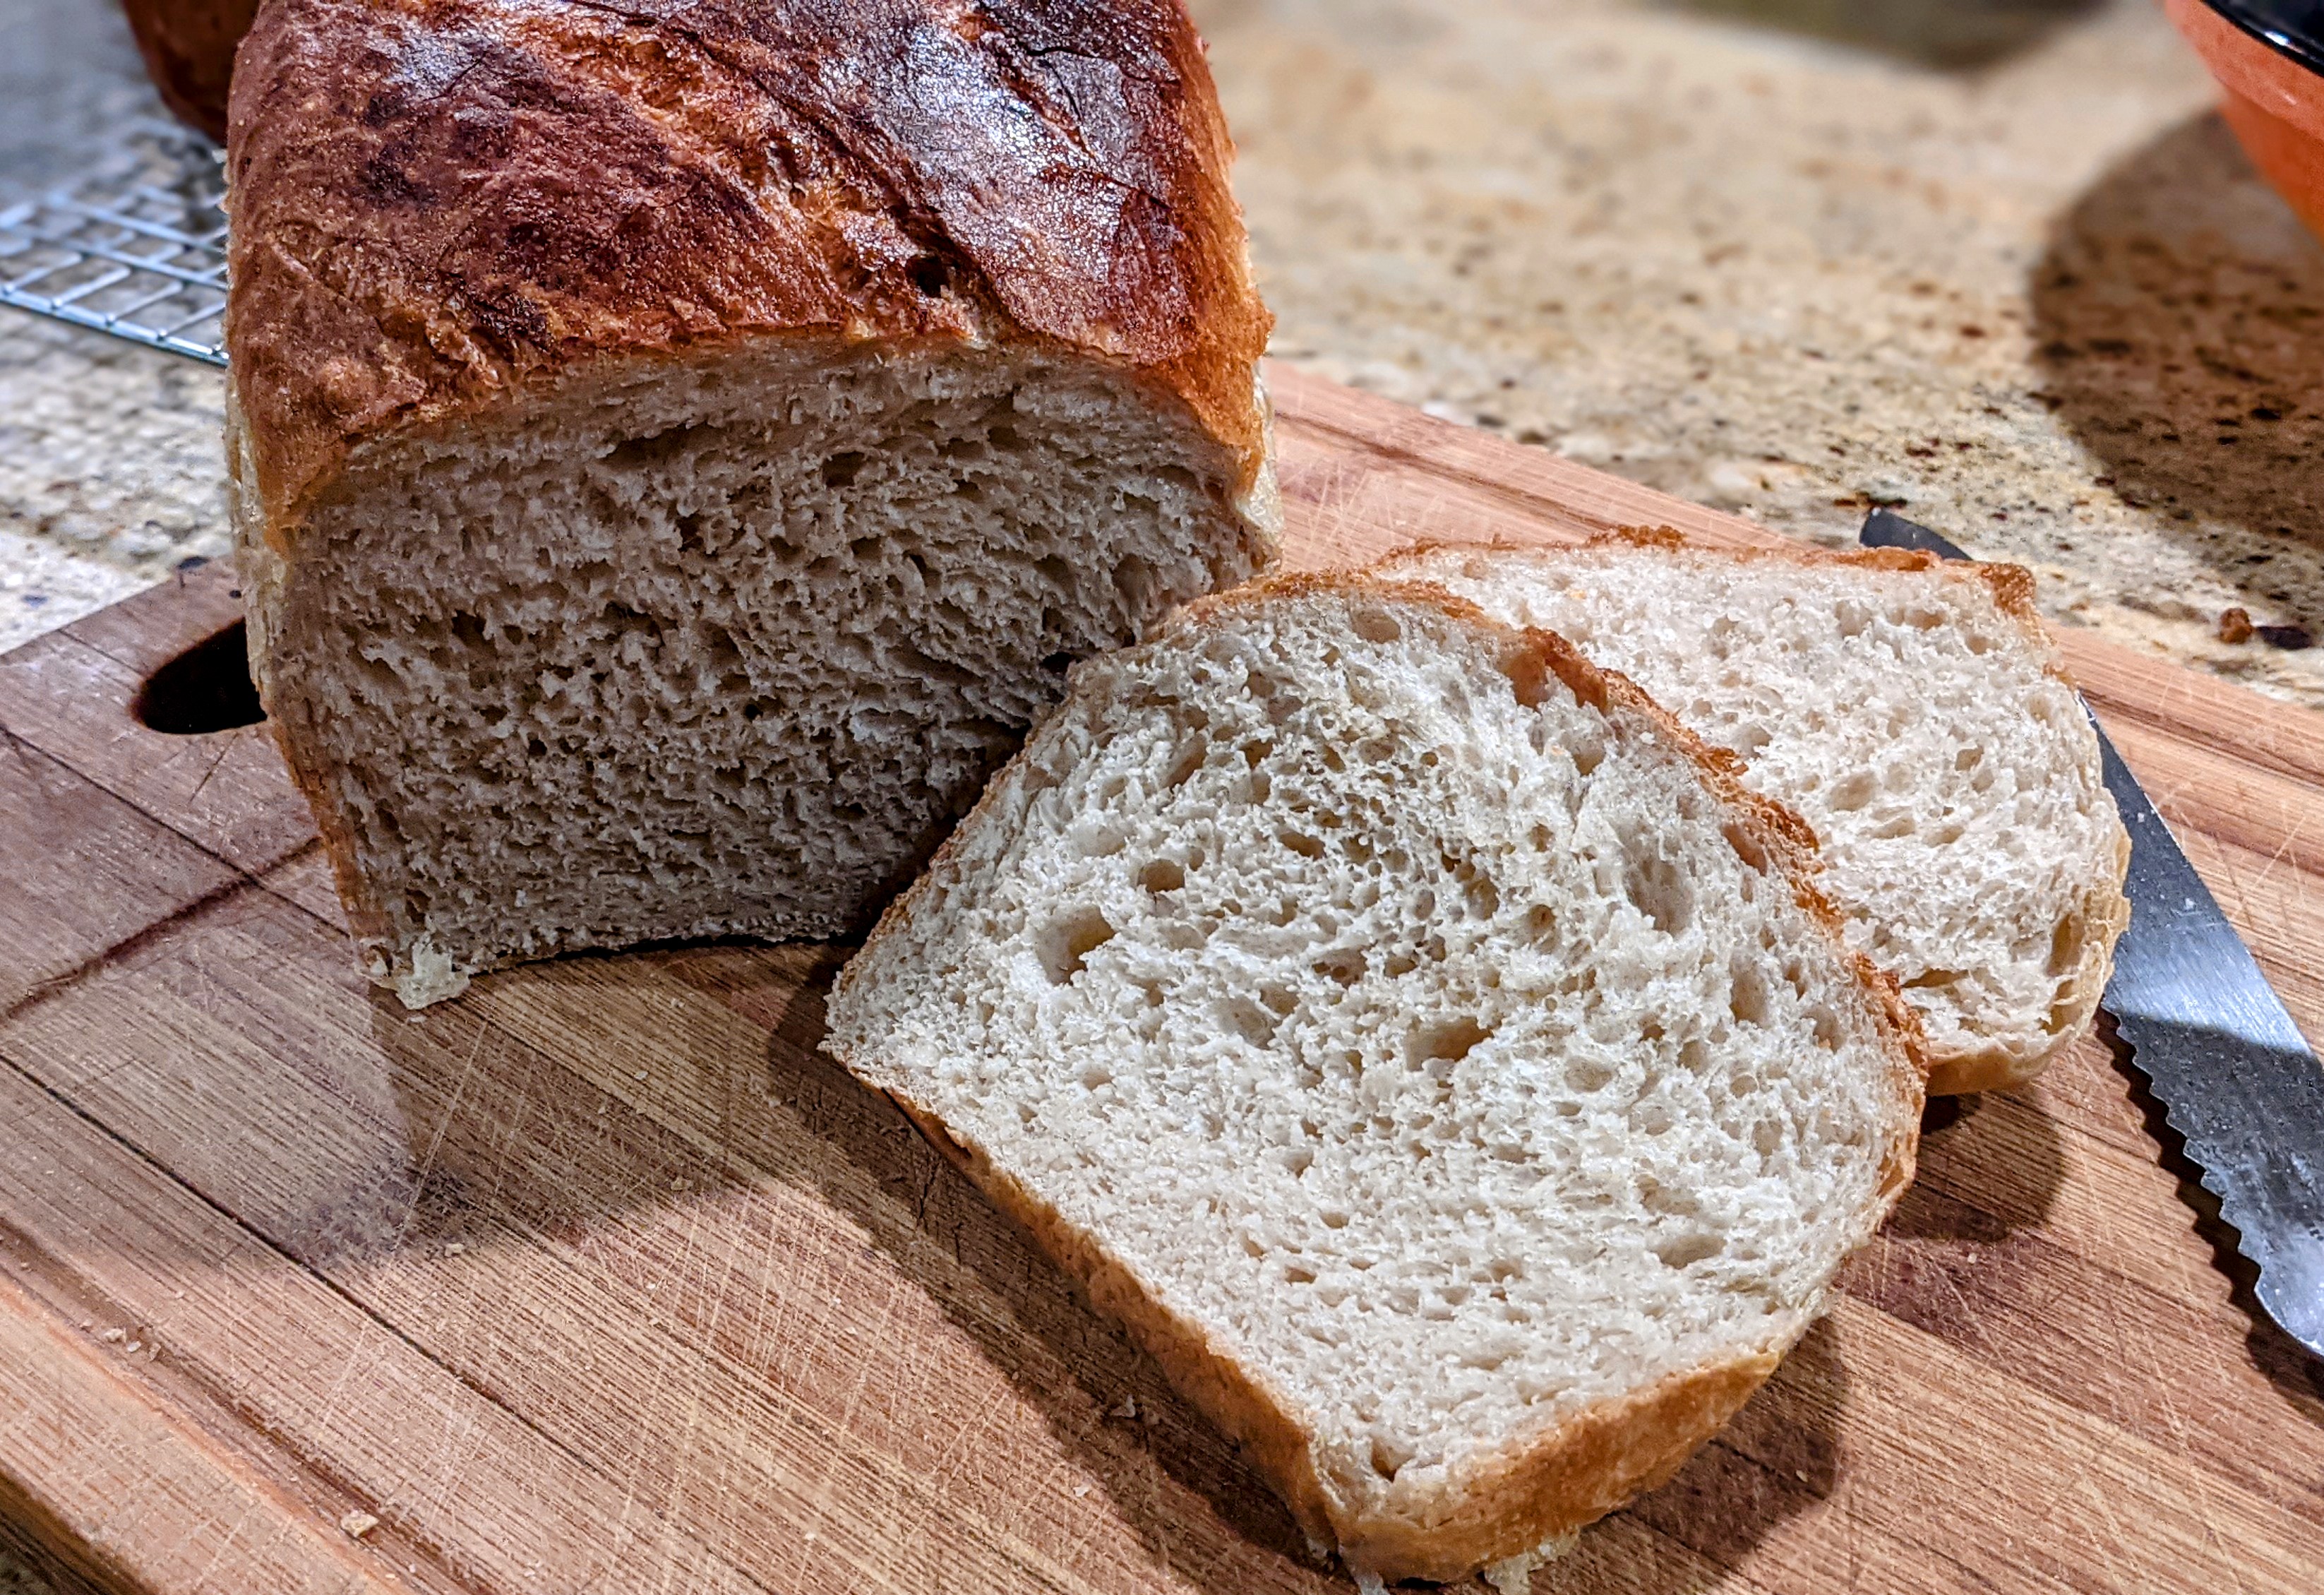
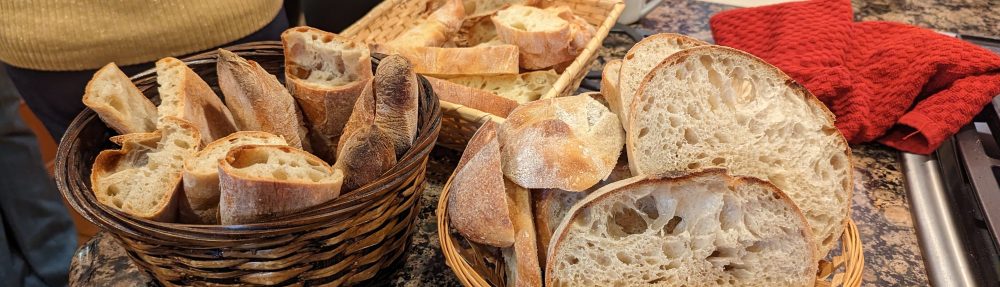
And the results! These have a light, thin, and crispy crust with a light, airy, and chewy crumb. Talk about a versatile bread! I just had some with butter and honey, but these make GREAT sandwiches!

Overall Formula

Bread Flour*100.00%
Water71.00%
Salt2.00%
Yeast1.25%
I used a 70%/30% blend of King Arthur Bread flour (12.7% protein) and Azure Standard Ultra-Unifine Bread Flour (14.7% protein but it’s also high-extraction)

Final Dough

Flour933g
Water (~90ºF)663g
Salt19g
Yeast12g
Total Yield2 X 800g loaves
Optimal Dough Temp~80ºF

Initial Mix/Autolyse. In a large bowl or container (I use an 8qt Cambro), mix all of the flour and all but 50g of the water until no dry flour remains. Once mixed, let it rest for 30 minutes to autolyse.

Final Mix. Sprinkle the salt and yeast evenly over the top of the dough mass, then pour the reserved water over the salt and yeast. Using a squeezing motion, work the water, salt, and yeast into the dough until fully incorporated. The dough will still be a little shaggy but that’s okay.

For both bulk and final fermentation steps, I place the dough and loaves into an oven with a slightly cracked door. The oven light will provide a little heat that will maintain the 80ºF dough temp I want.

Bulk Fermentation. About 1 1/2 to 2 hours or until the dough has expanded about 2 1/2 times in volume.

Normally, I recommend about 25% to 30% expansion. But we’re using a lot of yeast and it acts quickly and vigorously! Don’t worry, final fermentation is relatively short so we won’t be over-fermenting the dough.

Folding. Fold the dough 2 times in the first hour.

Divide and Preshape. Divide the dough into two 800g pieces. Shape into rounds, then let them rest for 15 minutes.

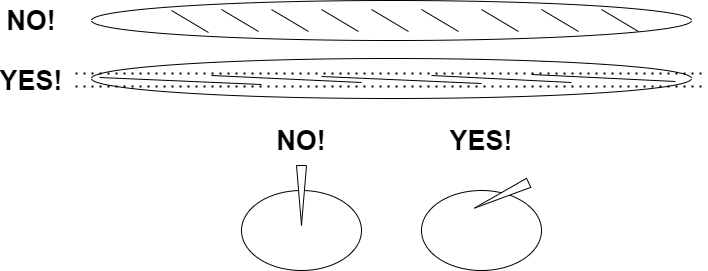
Shape. Shape tightly into logs that will fit into a 9″ X 5″ loaf pan. I use my batard shaping method that essentially creates an oval and I rely on the rising action to expand the dough in the pans. Once shaped, place each loaf into a 9″ X 5″ loaf pan.

Final Fermentation. 45 minutes.

Bake. Bake at 460ºF for 30 minutes. Use steam for the first 15 minutes. Brush with melted butter as soon as they’re out of the oven.

I told ya! This is as simple and straightforward as can be!

Recipe: Traditional Poolish Baguettes

I’m surprised I haven’t posted a recipe for my poolish baguettes after all this time! I suppose I’ve been making pointage en bac baguettes for so long I completely forgot about these. But this evening after dinner I thought about what I’d like to bake and it occurred to me that I hadn’t made poolish baguettes in a long time. So I prepared a poolish for a nice 10-12 hour ferment. I can’t wait to bake them tomorrow morning!

What’s so special about using a poolish? The standard answer is that it adds flavor as the long fermentation time of 6-18 hours allows longer enzymatic activity adding to the complexity of the flavors of the dough. Plus, with the very small amount of yeast used, the bacteria have some time to do their thing and release organic acids into the dough. That adds flavor, but the acid also helps in making the dough more extensible. Cool stuff!

With these baguettes, the flour of the poolish represents 25% of the total flour of the recipe. Or put in simpler terms, the poolish weight is 50% of the total flour.

Overall Formula

Flour100.00%
Water75.00%
Salt2.00%
Yeast0.43%

Poolish

AP Flour200g
Water200g
Yeast0.2g

Final Dough

Flour – You can use different flour blends. It doesn’t have to be only bread and AP flour.571g
Water381g
Salt15g
Yeast1g (cold ferment)
3g (room temp)
Preferment381g
Total Yield1353g
4 X 335g 55-60cm loaves
6 X 225g 40cm loaves
Optimal Dough Temp78°-80°F

Make the Poolish. Though the recipe only calls for 381g of poolish, I recommend making 400g, as there will always be some loss in the process. Combine all ingredients in a bowl, cover with plastic and let sit overnight at least 6-8 hours. The poolish will be ready when it’s nicely bubbled on top and passes the float test (it could be doubled, but don’t necessarily rely on that). Note that in cooler weather, the poolish will take longer to mature, sometimes up to 18 hours.

Please see my Baguette Dough Development Process for a more in-depth discussion on developing baguette dough.

Mix. Mix all the ingredients together to form a shaggy mass.

Bulk Fermentation. 1 1/2 to 2 hours or 6-18 hours in the fridge. Bulk fermentation is finished when the dough has expanded about 50%.

***If you want to do a long, cold bulk fermentation, I recommend using no more than 1 gram of yeast. Technically, you could forego the yeast altogether as the poolish will be full of yeast.***

Folding. Whether doing a cold bulk fermentation or not, stretch and fold the dough every 20 minutes in the first hour. By the third fold, the dough should be smooth and luxurious and will be highly extensible.

Divide and Pre-Shape. Divide the dough into 4 pieces at 335g or 6 pieces at 225g. Once divided, letter fold each piece by stretching one side, then folding it to the center, then stretching the other side and folding it over the body of the piece. Then roll the piece up like a jelly roll perpendicular to the folds, seal the seam, then place the piece seam-side-up on a well-floured couche.

Shape. I use Master Chef Markus Farbinger’s shaping technique. There are others out there, but this is the one I know. Feel free to use one with which you’re familiar.

At this point, it’s probably a good idea to preheat your oven to 475°F.

Final Fermentation: Depending on the ambient temp of your kitchen, final fermentation can take anywhere from 30 minutes to 2 hours. To determine when the loaves are ready for the oven, poke a floured or wet finger about a half to three-quarters of an inch into a loaf, then pull your finger back quickly. Observe the rate at which the indentation comes back. If it doesn’t come back at all, pop the loaves into the oven immediately – you’re extremely close to over-fermenting the dough. If it comes back quickly, and almost fills the indentation back up, give it a bit more time. If it comes back quickly, but immediately slows down, then you’re ready to bake!

Score. See below…

Make sure your cuts overlap 1/3 of the previous cut!

The important thing to note with scoring (and unfortunately Chef Markus doesn’t mention this) is that you have to make sure that the angle of your blade is extremely shallow (almost flat) because you want to create a flap. Also, your cut doesn’t have to be deep – no more than 1/2 inch. So, as the chef says, your cuts need to be as parallel as possible down the loaf, and your blade angle needs to be as shallow as possible to create a flap.

Bake. Transfer the loaves to a transfer board and score (see below). Bake at 475ºF with steam for 12-15 minutes or until the loaves start taking on color. Vent the steam and remove your steaming container, then bake for 12-15 minutes at 425ºF or until the loaves turn a nice, deep, golden brown.

NOTE: The bake times are approximate! The temperatures I listed work for my home oven. They may not work for yours. The important thing to note is that within the first 10-15 minutes while the loaves are on steam, the baguettes take on just a little bit of color. If they’re golden-brown to dark in that short period of time, your oven is too hot, or you need to lower your rack a little the next bake. It takes a few times to get the sweet spot.

Alternate Baking Technique. I just started experimenting with a gentler baking temp: 400ºF. 15 minutes with steam, 20 minutes dry. This will produce a slightly thick, crunchy crust and a light, airy and creamy crumb. It’s pretty awesome! And the oven spring is pretty amazing!

Recipe: 60% Durum Wheat Flour (Semolina) Ciabatta Sandwich Rolls

Ciabatt-ahhhhhhhh! Those pillows of airy goodness. I make basic ciabatta (just AP flour) almost as much as I make baguettes. They’re so light with a crispy crust. You can eat them plain, or with some butter, or dip them in good olive oil… Just puts a smile on my face. But despite loving to make them so much, I wanted to see what they’d be like with a flour blend.

Then it hit me that the other Italian bread I love to make is Pane di Altamura. That recipe uses an 80/20 Durum/AP Flour blend that’s absolutely delicious. So I decided to do a version of ciabatta that uses Durum wheat flour.

About Semolina…

Durum wheat ground up into flour is commonly called Semolina. But you can’t just use any semolina flour off the shelf as that is typically too coarse for making dough. You have to be sure that it’s ground fine to extra-fine. I get my Durum from Azure Standard. This is actually a high-extraction version of their Semolina that has a lot of the sharp bits of bran sifted out after milling. I use it for making bread and pasta!

Overall Formula

Flour
Semolina
AP Flour
100.00%
60%
40%
Water90.00%
Salt2.00%
Yeast1.10%
193.10%

Final Dough

AP Flour377g
Semolina251g
Water565g
Salt13g
Yeast7g
Total Yield1212g
6 X ~200g loaves
Optimal Dough Temp80ºF

Initial Mix/Autolyse. Mix all the flour and all but 50g of the water together in a large bowl. Autolyse for an hour. Semolina is a very hard wheat and benefits from an autolyse.

Final Mix. Sprinkle the yeast and salt over the dough, then add the reserved water. Work the water, salt, and yeast into the dough until fully incorporated.

Bulk Fermentation. 1 1/2 to 2 hours.

NOTE: You’ll do two folds in the first hour, separated by 30 minutes.

First Folding. After 30 minutes, stretch and fold the dough using a wet hand. With a dough this wet, you need to be very gentle with the folding to ensure you don’t tear it while stretching. Stretch and fold until the dough no longer wants to be stretched.

Second Fold. Generously flour your work surface to prevent any sticking, then pour the dough out of your bowl and use your scraper if any dough sticks – you want to minimize tearing. Using quick movements, tug the dough from underneath into a rough rectangle. Then working in an N-S-E-W pattern, letter fold the dough by stretching a side, then pulling it over the dough mass. Once the pattern is complete, gently pat the dough down to flatten it, then repeat the letter folding pattern. If any side sticks, use your scraper to push flour underneath the dough. Once the second letter fold is complete, roll the dough onto the seams, then work it into a nice taut round. Transfer the round to a well-oiled bowl, seam-side-down. Allow the dough to expand about 50% of its original size after folding.

From this point on, the keyword for handling the dough is: gentle. Semolina flour-based dough is extremely delicate and will easily degas.

Divide and Shape. Slide the dough out onto a well-floured surface and gently tug it into a rough rectangle. Divide the dough into 200g pieces. You can then just tug the individual pieces into sandwich roll rectangles. Myself, I like to letter fold the pieces then using my fingertips, dimple the pieces and work them into sandwich roll rectangles. Once done with shaping a piece, transfer it to a well-floured couche or appropriate cloth for final fermentation.

Final Fermentation. 30-45 minutes. Rolls will be ready when they’re puffy and slightly billowy.

Bake. Transfer rolls to a baking sheet or transfer board, then dust lightly with flour. Bake at 460ºF for 15 minutes with steam. After 15 minutes, remove the steaming container, then bake until deep golden brown (about 10-15 minutes).