Jeffrey Hamelman’s Poolish Baguette (Adapted)

It’s no secret that I love making baguettes. In fact, I made a batch of sourdough baguettes based on Hamelman’s Baguettes de Tradition from his great book “Bread” this morning. Technically, Baguettes de Tradition is a straight dough. But I love the processing technique and it’s difficult to make because the hydration is 76%. And using a levain further exacerbates things because the acid in it makes the dough more extensible – and sticky.

But after I made them, I wondered what the chef’s poolish formula was like, so I looked it up and was a little shocked by his formula. A 66% hydration dough? That couldn’t be right. It’s commonly accepted that baguette dough is around 75% hydration, give or take a percentage point or two. It’s a fairly wet dough. But 66% is getting close to stiff!

But the kicker for this recipe is the long bulk fermentation at 2-2 1/2 hours and the long final fermentation at 1-1/2 hours. This gives the dough plenty of time to form lots of air bubbles, which is what you want with baguettes plus, the long periods of rest in the bulk fermentation give the dough plenty of time to relax. With a moderately stiff dough like this, you want to give it plenty of relaxation time if you can.

As my title indicates, this is an adapted recipe. The reason for this is that in the book, the quantities are all listed in kilos and pounds, which leads me to believe that this recipe really is geared towards a full-fledged bakery. But everything can be scaled if you work out the percentages properly. Also, the chef uses fresh yeast in his final dough, but I adapted the recipe to use regular, instant dry yeast for both the poolish and final dough. There’s no difference in what either does. You just use less granulated yeast. Here’s the formula:

PoolishFinalTotalBaker’s %
Bread Flour3306701000100.00%
Water330330*66066.00%
Salt0.0020202.00%
Yeast0.704**4.700.47%
*Target dough temp is 76-78°F so adjust water temp accordingly.
**If you have fresh yeast and want to use it in place of the granulated yeast, just divide by 0.4.

Poolish

  1. Mix all the ingredients together until smooth. I like mixing the yeast into the flour first to distribute it, then adding the water. Let ferment at room temperature for 12 to 16 hours or until the top is highly pockmarked and bubbling and ever so slightly domed.
  2. When the poolish is ready, dump everything thing into a mixing bowl and mix thoroughly. If using a mixer, incorporate ingredients at low speed for a couple of minutes, then increase speed to second speed and run for 1-2 minutes to break up any large lumps. Once the dough starts to pull cleanly off the sides, stop. If mixing by hand, thoroughly mix until moderately smooth being careful not to knead the dough too much.1
  3. Bulk ferment the dough for 2 hours, gently folding it after the first hour and being careful not to degas it too much.
  4. Divide2 the dough and lightly shape it into rounds, then bench rest (covered) on a lightly floured surface seam side up for 10 to 30 minutes depending on tightly you preshaped them. I recommend having a fairly light touch as you don’t want a skin to form.
  5. Once the dough has relaxed, shape them into long cylinders then set them on a well-floured couche or tea towel seam side up.
  6. Let the shaped loaves do a final fermentation for 1-1 1/2 hour. This is VERY important because shaping the loaves will have degassed them a bit and this long, final fermentation allows the gluten to relax and reform bubbles.
  7. Preheat oven to 460°F. When the loaves are ready, bake them for 24-26 minutes applying steam for the first 15 minutes.

Notes

  1. Whether using a machine or mixing by hand it’s important to NOT knead a baguette dough too much. You want the fermentation process to naturally form the gluten bonds and not force it by kneading. This will really tighten up the dough which you don’t want.
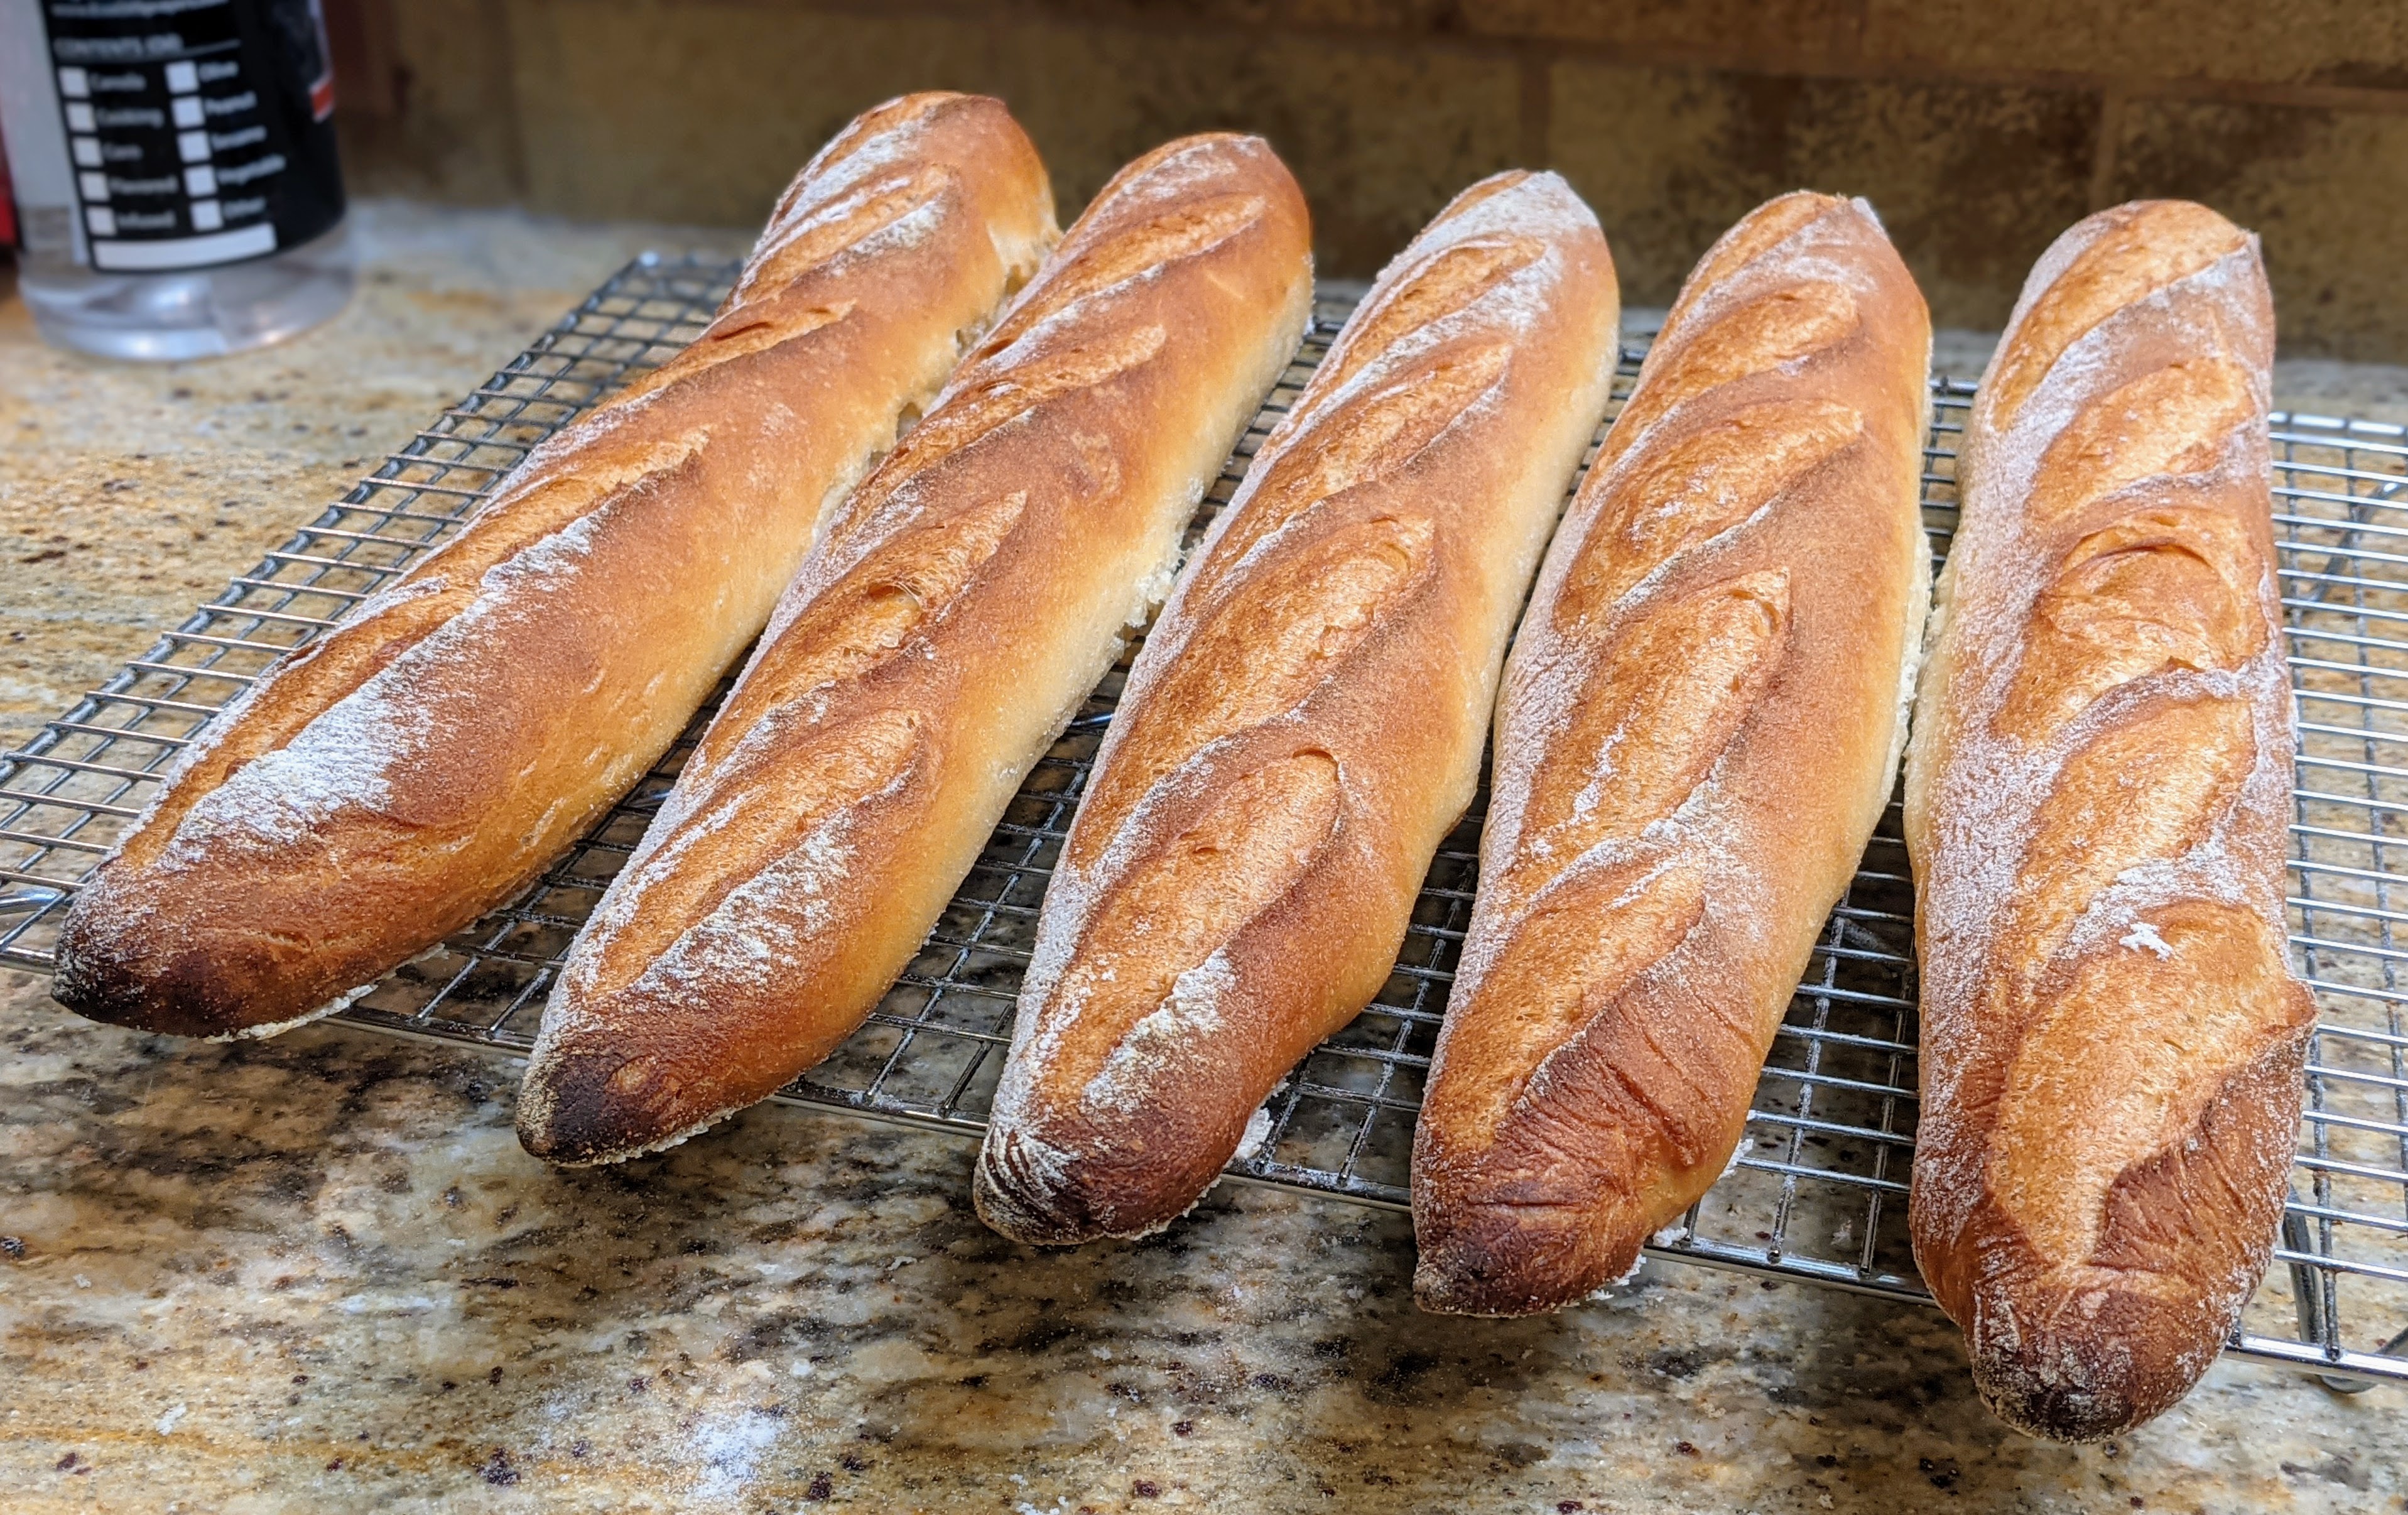
  2. Since I bake on a stone, I divide the dough into five pieces at about 336g apiece and 20″ long. You can do 8 pieces at about 14-15″ long as well to fit on a baking or baguette tray.

I’ve been writing this post while smack dab in the process of making these baguettes. I have to admit that I was really surprised at how supple the dough was when it ready to shape. It wasn’t nearly as pliable as my normal, high-hydration baguettes, but it was still pliant and luxurious.

And because it was rather cool in my kitchen, I let bulk fermentation go for almost three hours. And even at that point, it was easily less than 80% fully proofed. But that’s okay because it gave me plenty of runway for final fermentation, which I’ll probably take to a full 1 1/2 hour to ensure the loaves are close to fully proofed. This is definitely a recipe where I need to let everything that happens before baking get most of the work done on the dough!

Happy Baking!

Caveat Emptor! Where You Buy Your Flour Matters!

When I first started getting serious about baking artisan bread, I knew that I’d be eventually going through flour pretty quickly. So I researched various places in which I could purchase bulk flour in amounts equal to or greater than 25 lbs..

The obvious first choice to look was at the largest online retailer that we all know and… we all know… It’s tempting to go there because with Prime, there’s free shipping. But here’s the thing: The retailers jack up the price of the flour. How do you think they can ship for free?

For instance, to get a 50 lb bag of King Arthur Sir Galahad flour (the brand that is the bakery/restaurant equivalent to their retail AP flour), the cheapest I saw it was around $59.00 with free shipping. BUT I can get 25 lb. bags of KA AP flour at my local Smart & Final for less than $17.00! So you see, the online price has the shipping built into the price.

I had to learn this lesson the hard way. I purchased a 50-lb bag of KA Special Patent Flour which is similar to their bread flour. I paid $60 for that bag! And after spending that much I literally spent days poring over the ‘Web to find different sources of flour where I could either buy direct and pick up, or as in the case of Azure Standard (no, it’s not an affiliate link), the company has various “drop points” near me where their truck will stop and I can pick up my order.

For instance, a 50-lb bag Azure Standard unbleached organic bread flour is about $42. I pick it up at a drop point that’s 20 minutes from my home. So not only do I get my flour with not shipping, I’m getting certified organic flour. It’s amazing!

Mind you, it’s not that I mind paying shipping. But I do mind being misled by the whole “free shipping” bit. So if I can get my flour locally or all I have to do is drive no more than 30 minutes to pick it up, it’s a fair trade-off.

That said, I will pay for shipping if there’s a flour I just can’t get locally. One of those flours is the Hudson Cream brand by Stafford County Mills in Hudson, Kansas. Their white whole wheat flour is just a dream to work with and is milled to a super-fine consistency. It’s almost like working with bread flour! I’m not sure if they add any sprouted, malted barley to the flour for the amylase (which helps break down flour into sugars), but I get such great oven rise out of this flour. But King Arthur sources flour from this mill, so it’s definitely high-quality.

The reason I’m writing this entry is because we’re living in a world right now where there are lots of dishonest people taking advantage of the lockdown situation for their own personal gain. So take some time to do your research before you pull the trigger on flour with “free shipping.”

Coil Fold vs. Stretch & Fold: Which One to Use?

Before I start the discussion, let me say this: This isn’t a discussion meant to argue that one is better than the other, nor will I suggest you use one folding technique exclusively. But what I will say that at least in my experience, the folding technique you use depends on the bread you’re making, and it will affect the type of container you use for fermentation, though I realize many bakers prefer to do their folding on their bench.

So I have a rule-of-thumb with respect to the type of folding I do: If I’m using whole grain flour at or above 20%, or if my dough contains inclusions such as cheese or nuts or dried fruit, I will invariably use coil folds. The reason for this is that it is much gentler on the dough and the particles of inclusion material or bran have less of a chance of tearing the dough. Otherwise, I’ll just do regular stretch and folds.

Now that’s the kind of general rule-of-thumb I use. But the reality is that as of late, once my dough becomes pretty gassy, I tend to do coil folds for my final sets, irrespective of inclusions or whole grain. I do my best to retain the gases as much as possible especially with naturally leavened bread. I don’t want to ruin all the work the wild yeast has done.

The exception to this is when I do yeasted breads, such as baguettes. I will always do stretch and folds with a dough that uses commercial yeast. The reason for this is that it’s fast-acting and once activated very active, so I’m less concerned about degassing the dough and can be a little more assertive with it. Those little buggers will just pick up and fill the dough wtih CO2.

I realize that this is nothing groundbreaking, especially for experienced bakers. And this entry, as most of my non-recipe entries – is more of a reminder for me to practice what I just preached.

Happy Baking!

Book: Naturally Fermented Bread

Click on the book to go to Amazon (and no, it’s not an affiliate link)

This past Friday, I was in downtown Mountain View at Books, Inc. and as usual when I’d go to a bookstore nowadays, I immediately went to the cooking section to see if there were any bread baking books that I haven’t read or heard of yet.

Sure enough, I ran across “Naturallly Fermented Bread” by Paul Barker. I almost dismissed it, thinking that it was just another book on sourdough. But I since I had never heard of the book before, I decided to pull it off the shelf. I was immediately intrigued because on the cover wasn’t a picture of a sourdough culture or loaf of bread, but a watercolor of fermenting fruits and vegetables!

For those that don’t know me, I love fermenting hot peppers and other veggies and fruit, so when I saw the cover, I knew I had to take a closer look. Plus having recently created starters from grapes and – ahem – cannabis, I immediately thought that this was right up my alley! But what further intrigued me was the tag line:

Learn to use yeast water starters to bake wholesome loaves and sweet fermented buns.

When I made my wild yeast starters from grapes and pot, it was a suspension of the ingredient within a flour-water dough. But that tag line suggested that the actual fermentation liquid is used. That was a real face-palm moment for me! And I thought to myself, Of course! I’ve always used fermentation liquid from a previous fermentation to kickstart a new fermentation, so it makes sense to use it for freakin’ bread!

So what about the book? The real meat of the book where Paul Barker talks about how it all works is actually only a few pages. The rest of the book talks about breadmaking techniques that while useful, have been covered in lots of other books. That’s about the first third of the book. The rest of the book contains his recipes and how to use a botantical culture in conjuction with the yeast water to leaven dough.

The book’s not long at all, but it’s great and I highly recommend it. It’s in hardcover, but also available in digital format. Personally, I’m a bit old-school when it comes to cookbooks, so I just bought the hardcover.

How Much Flour and Water Are in My Starter?

The other day, I made a big batch of Biga Naturale which is a biga made from a sourdough starter, at 75% hydration. Once it was mostly risen – nicely domed with bubbles forming on the surface as pictured above – I divided it into 4 X 200 gram portions (for pizza/flatbread starter that I’d store in the fridge for the coming week) and a single 360 gram portion that I’d use to make a double recipe of Pane di Como Antico.

All was well. I used two of the pizza portions to make some pizza dough for dinner last night, and early this morning, I took the 360 gram biga out of the fridge to bake my Pane di Como Antico for a community service event this afternoon.

Normally, I would’ve followed the recipe exactly, but this time, I was doubling the recipe and changing the hyrdration a bit so I needed to figure out the hydration of the starter. Had my starter been a 100% starter, it would’ve been a no-brainer to figure out the formula percentage of the flour and water – they’d both be 50%. But because I was using a 75% starter, I needed to figure out the actual formula percentage that each ingredient contributed to the overall mass of the dough.

For any given hydration rate, to figure out the flour and water percentages, it’s simple math:

Flour Percentage = (1 / (1 + Hydration Rate)) * 100
Water Percentage = 100 – (Flour Percentage)

So where did I get the 1? When calculating decimal fractions, we always use 1 as the “whole.” In this case, 1 represents the total amount of flour. So when we add 1 and the hydration rate, what we’re looking at is the representation of the flour and the water together.

Then to get the mass of the flour and water, it’s again just simple math:

Flour Mass = Dough Mass * Flour Formula Percentage
Water Mass = Dough Mass * Water Formula Percentage

Here’s a simple table where I’ve done the calculations:

Hydration RateFlour Formula %Water Formula %
60%63%38%
61%62%38%
62%62%38%
63%61%39%
64%61%39%
65%61%39%
66%60%40%
67%60%40%
68%60%40%
69%59%41%
70%59%41%
71%58%42%
72%58%42%
73%58%42%
74%57%43%
75%57%43%
76%57%43%
78%56%44%
79%56%44%
80%56%44%

Mind you, this is not totally accurate. We’re not taking into account the weight of the microbes (which will be minuscule anyway) and we’re also assuming that there’s no water loss due to evaporation. But it’ll get us close enough to get the job done in calculating an overall contribution to the final dough.

Also, you’d think that you could apply this technique to figure out the weight of any ingredient in the final dough. I suppose you could if you built the dough under a tightly controlled and consistent environment. But the problem with that is that during mixing you may add a bit of flour or water, to adjust for temperature and humidity. So it throws off the actual flour and water you may have used. In this case, the best you can do is get an estimate of an ingredient. Personally, I’ve found that the margin for error is about 10%.

And even with the starter calculation, it’s not totally accurate. But we’re only dealing with a two-ingredient dough, so there’s not going to be much else to take into consideration.