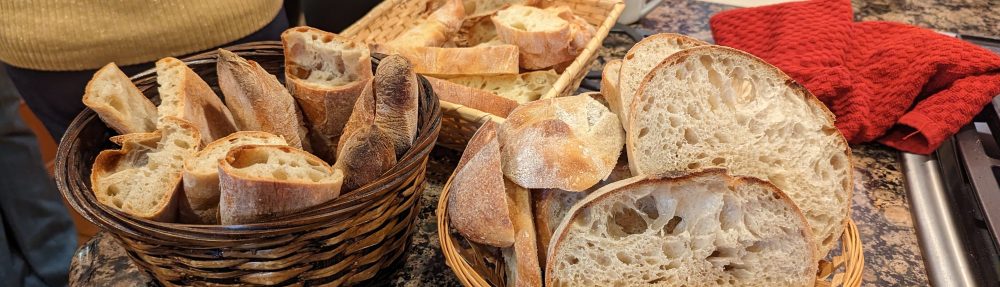


One would think that with the bread craze that has swept the world during the pandemic lockdown, that sourdough is the only bread being made and that the only bread that qualifies as artisan can only be made with a starter. That’s bullshit of course because doing something in an artisan way has less to do with the ingredients or materials and much more to do with craftsmanship.
When I make ciabatta, I typically use a biga or a poolish. But sometimes, I just want some bread. So as I do with Baguettes de Tradition, I’ll just whip up a batch of dough in early in the morning, and have fresh, hot bread for breakfast. No, it doesn’t keep, but at the small quantities I make, it’s gone in less than a day.
One might think that a straight dough can be bland and boring. But done right, a bread made from straight dough can be absolutely wondrous. And I will submit that while a same-day straight dough bread may not have the depth of flavor of one made with a preferment or employing a slow-rise, cold bulk ferment, employing great technique will go a long way toward making up for that.

That said, one way to add a little flavor complexity is to use a flour blend. Though I list using unbleached AP flour in the formula, my flour is actually a blend of 30% high-extraction flour and 70% AP flour. The high-extraction flour lends a nuttiness to the overall flavor of the bread, plus an ever-so-slight grainy texture to it making it seem much more substantial than it actually is.
Especially with ciabatta, the crisp, crackly, and crunchy crust combined with the light and airy crumb, redolent with large holes can create a magical bread. A full bake that activates the Meillard reaction (but not taking it to super-dark) can add flavors that would otherwise not be present on lightly baked loaves.
Overall Formula
| Unbleached All-Purpose Flour | 100.00% |
| Water | 75.00% |
| Salt | 2.00% |
| Yeast | 1.50% |
| Milk (optional – see below) | 10% |
| Olive Oil | 4.00% |
MILK?!!! No, I’m not kidding. It actually makes the dough fluffy and soft. This is perfect for sandwiches. You can dispense with the milk though and replace it with water. Definitely do the bassinage stage described below, so mix to an initial 75% hydration, then take it up to 85% with the reserved water.
Final Dough
| Unbleached All-Purpose Flour* | 525 |
| Water | 394 |
| Salt | 10 |
| Yeast | 8 |
| Milk** | 52 |
| Olive Oil | 21 |
| Yield | 2 X 500g loaves 4 X 250g loaves |
| Optimal Dough Temp | 76°F |
**If you don’t want to use milk, that’s okay, just use all water, but milk will help with the fluffiness of the bread.
If you use a baking stone, preheat your oven to 485°F / 250°C to ensure your stone’s hot by the time you’re ready to bake. Things happen pretty quick with this bread, and you don’t want to get to final fermentation and have to wait for your oven to warm up.
Mixing. I recommend using a stand mixer if you have one, but this can be done by hand as well – it just takes longer. Sift the dry ingredients together then add the water. If using a mixer, mix on slow speed to incorporate all the ingredients then go to the second speed until mixture is smooth and the dough climbs to the top of the dough hook as the gluten is starting to form at this point. Rest for 20 minutes.
Bassinage. Once the dough has rested (you may also notice bubbles forming), fold the milk (or water if you decide not to use milk) into the dough until it is fully incorporated. This will get it to 85% hydration. But since the gluten started developing with the thorough mixing, there’s already strength in the dough and it will not feel like a soupy mess. You can actually feel the gluten strands! Once the liquid has been fully incorporated, drizzle the olive oil over the dough, and mix it in well.
Again, I use a stand mixer for this because it’s much more effective at getting the milk and olive oil incorporated.
You want to be gentle with folding and lamination steps. What we’re trying to do is build the gas retention properties of the dough in these steps.
Folding. Once the milk and olive oil have been incorporated, rest the dough for 20 minutes then do a set of stretch and folds. Don’t just do the standard four-fold North-South-East-West. Stretch and fold until you feel the tenacity of the dough building. Rest for 20 minutes.
Laminate. Liberally flour your work surface then gently pour the dough onto it. Gently tug it into a rectangular shape that is about 1/2″ to 3/4″ thick. Letter fold the dough in an NSEW pattern 3 times, gently pressing and flattening the dough between folds. After the last letter fold, roll the dough onto the seam (no need to seal) and shape it into a round. The dough ball should hold together and not collapse too much (don’t worry, it will collapse a bit because of the hydration). Place the dough into a well-oiled bowl seam-side-down (I just wipe down my bowl then spray it with olive oil). Rest for 20-30 minutes (or more) until the dough ball has almost doubled in size.
After laminating, you can go directly to dividing or shaping after the 20-30 rest, or retard the dough in your fridge for a few hours. With this much commercial yeast though, I recommend that your fridge temp is between 36°-40°F. You really want to slow the yeast and promote the lacto- and acetobacillus activity. That said, alternatively, you could use a bit less yeast, say 4 grams and retard the dough for an even longer period of time.
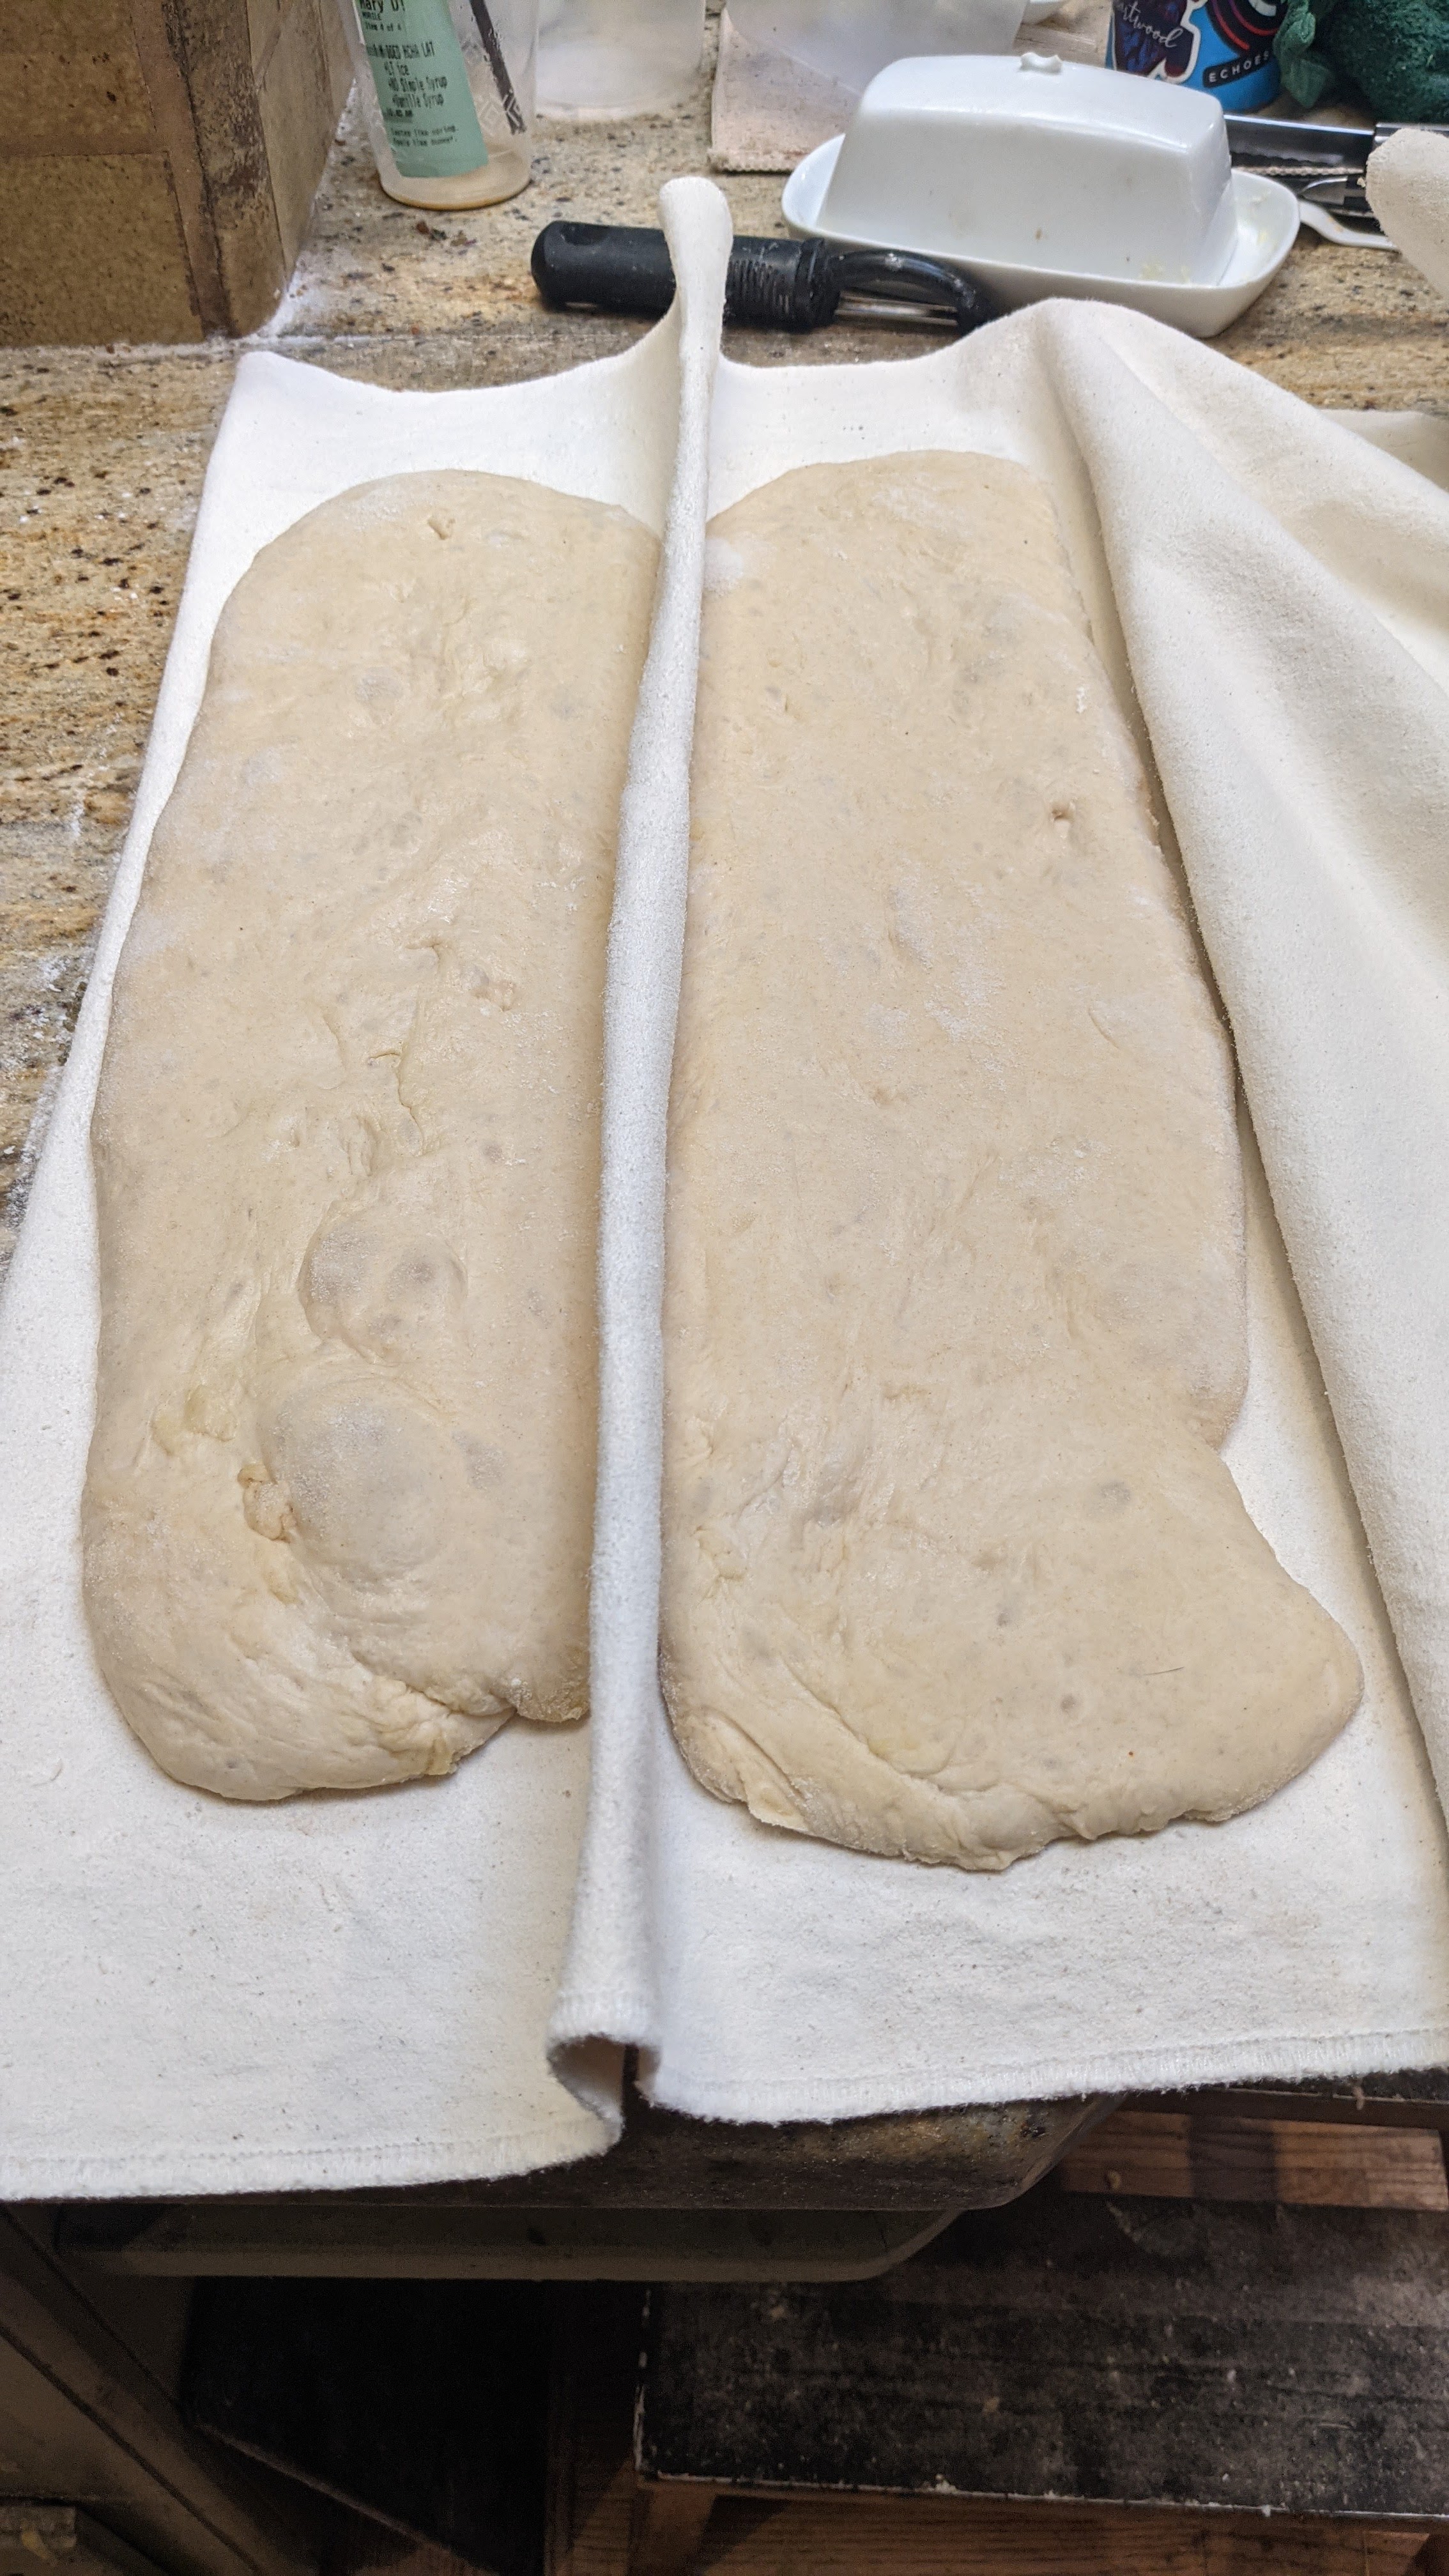
Divide and “Shape.” Again, liberally flour your work surface then pour your dough onto it. Gently tug it into a rectangle, then divide it into two equal pieces (or four if you want to make sub-sized buns). I’m kind of anal about things being even, so I actually scale out my pieces to 500 grams apiece. Gently tug each piece into long rectangles, then transfer to a well-floured couche (as shown to the right). Once you transfer them to the couche, flour your fingertips and gently dimple the loaves to promote even rising – and prevent over-rising, believe it or not – for the final ferment.
Final Fermentation. Cover the loaves and allow them to ferment for 30 minutes or until the dough is nice and relaxed and puffy.
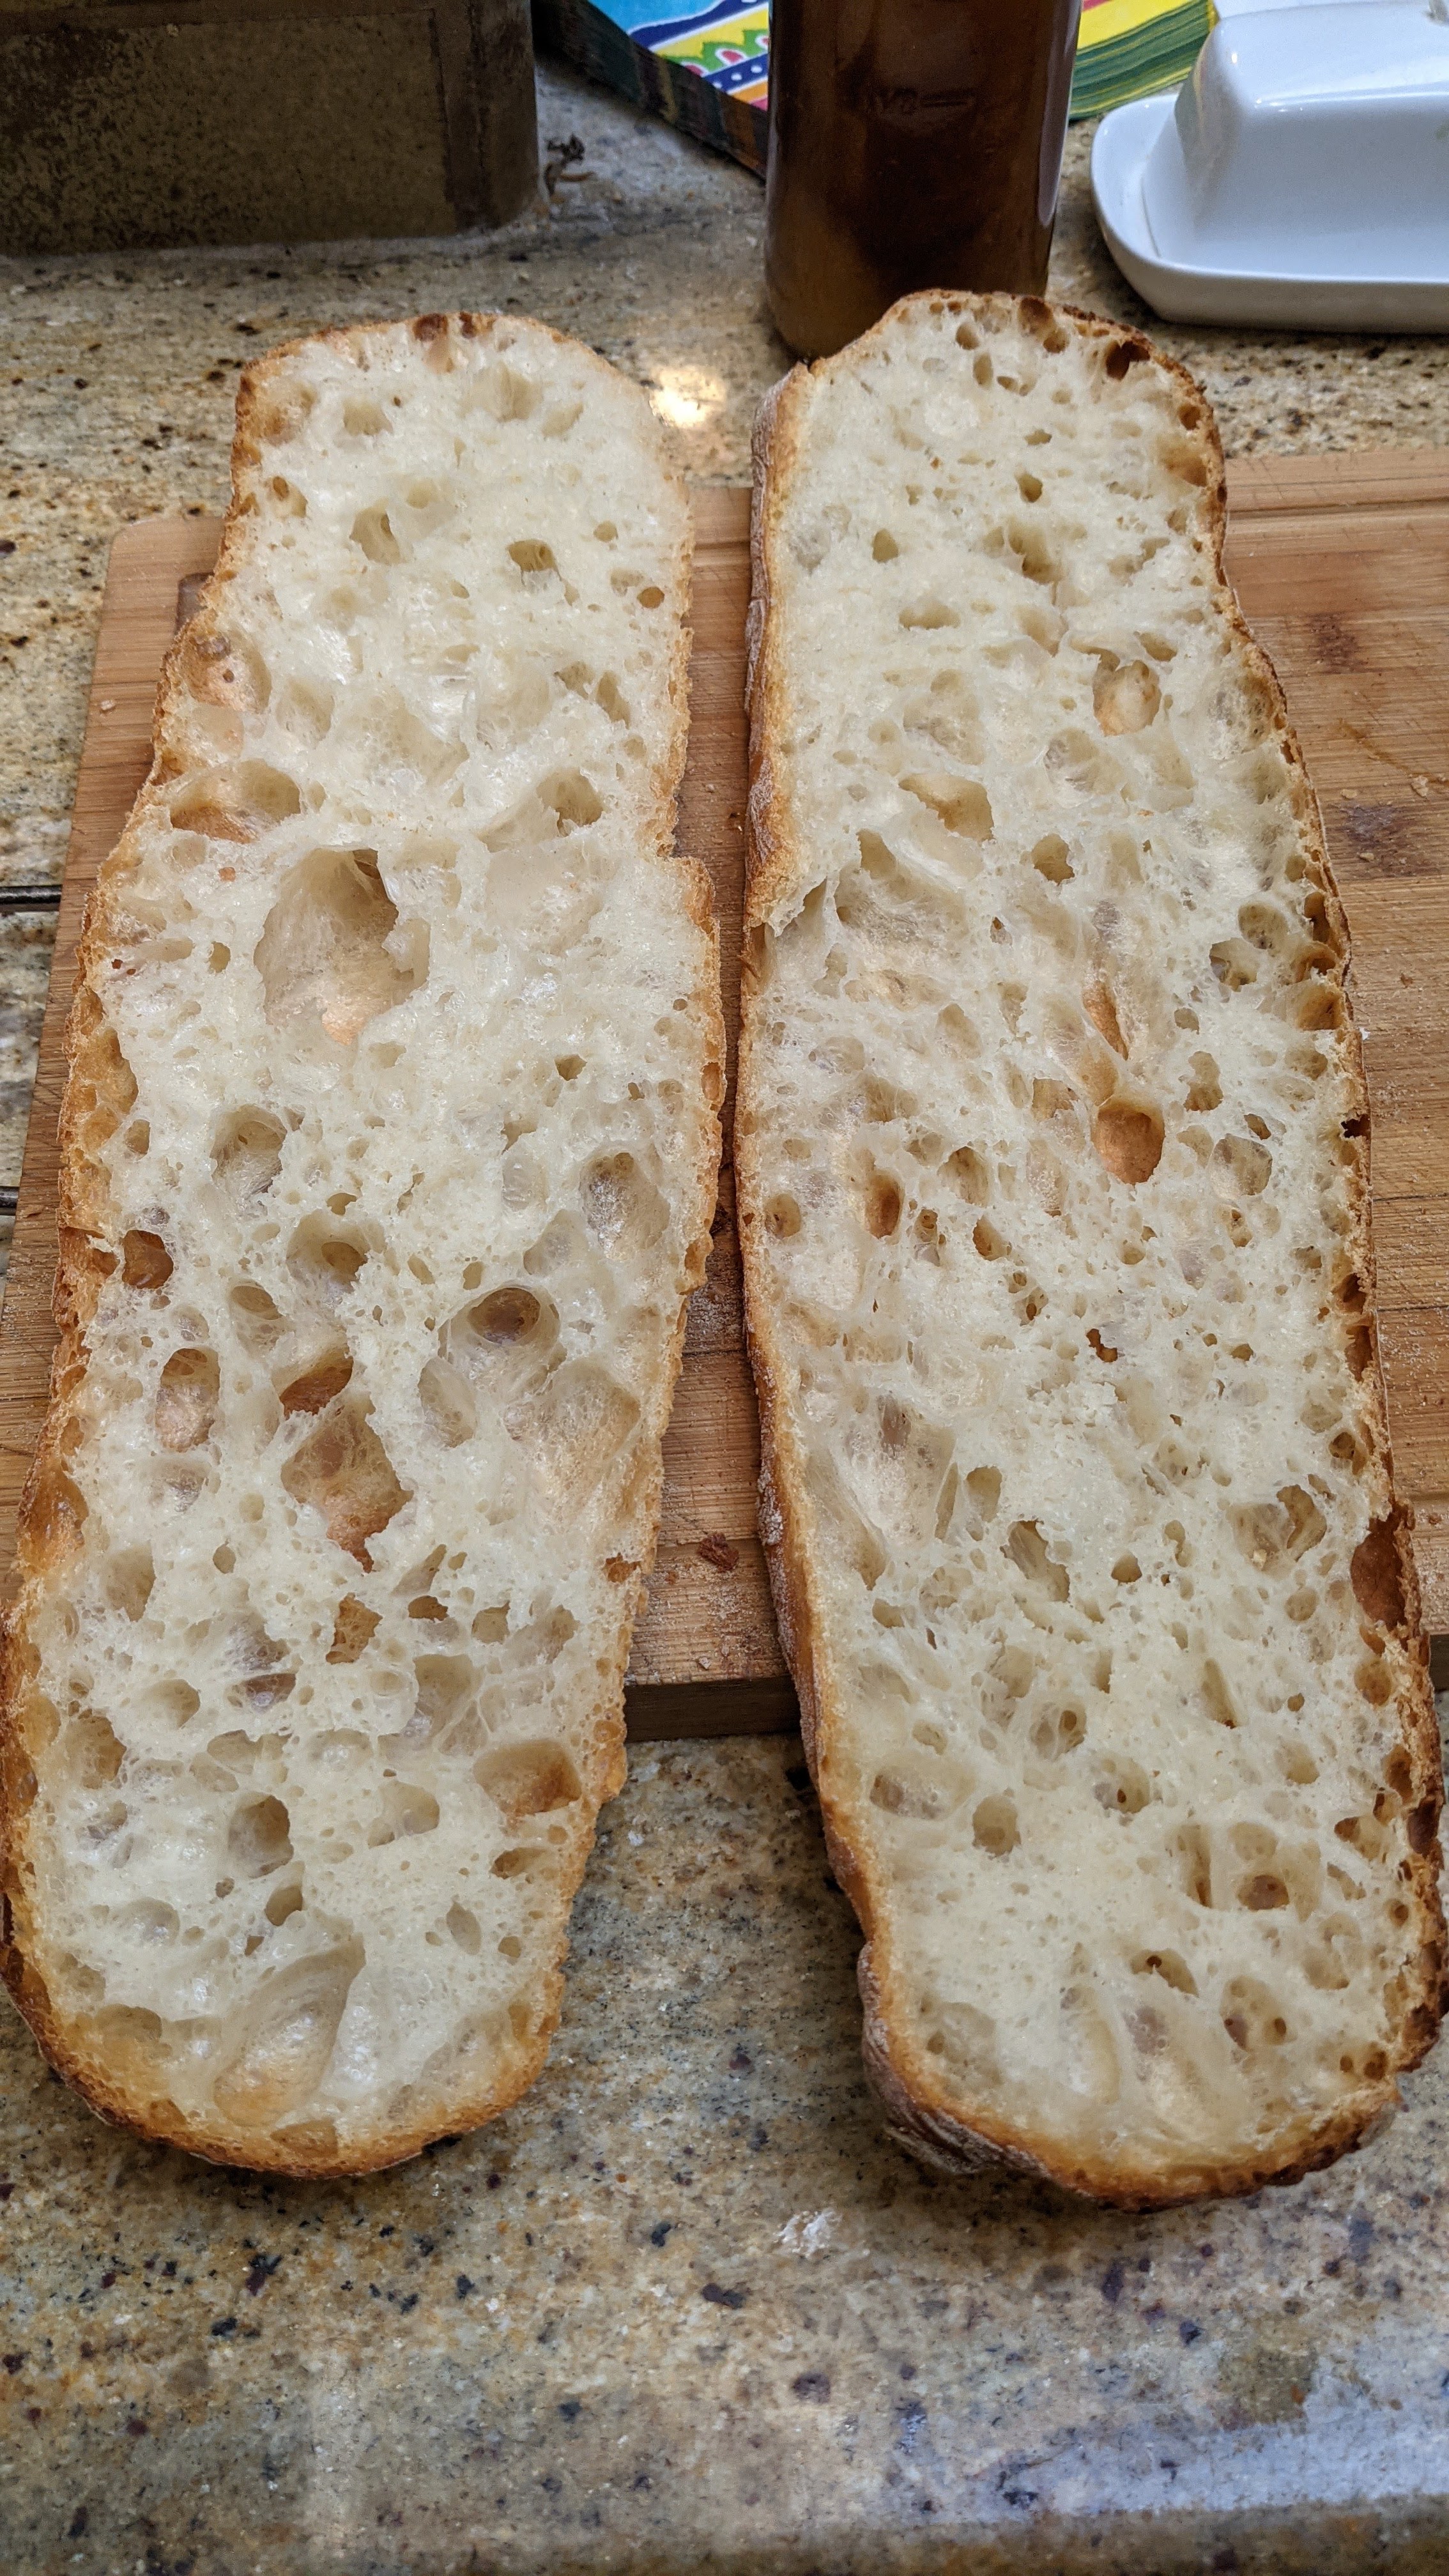
Bake. Liberally sprinkle semolina or rice flour over the loaves while they’re on the couche, then flip them onto your transfer board. Bake the loaves with steam at 485°F for 12 minutes. Remove your steaming container, turn your oven down to 435°F, then bake for 20-25 minutes or until the crusts are a deep golden brown. You don’t want to go out to dark brown/black with these as the dough doesn’t have enough complexity in flavor to compensate for a super-dark crust. That’ll be the predominant flavor and the bread will taste like burnt toast. Not good. However, a deep golden-brown crust will also be relatively thicker lending a nice, textural quality. I realize that this veers from the traditional thin crust of ciabatta, but I love the textural contrast between the crunchy crust and the soft, pillowy crumb.

These are best eaten warm, so let cool for 30 minutes, then enjoy!
I don’t really think about it because I’ve made it so much, but ciabatta’s a challenging dough with which to work because of its hydration level. You have to make quick, precise movements with a dough like this. But the handling of the dough is mitigated by the bassinage. I just can’t stress enough how important that step is!
When first mixing the dough, it’s at a workable 75%. This allows us to work it and develop the gluten and thus dough strength early on in the process. Once the milk and olive oil are added, even though dough may appear to be a smooth batter, if you pull on it, you’ll see that it actually transforms into a highly extensible dough with all the wonderful gas-retention properties we expect! (Read: big holes)
And let me re-emphasize that the craftsmanship put into making bread like this is tantamount to its quality. But be that as it may, as a straight dough, it doesn’t really have a lot of complexity in flavor. That said, done right, it becomes a canvas on which you can build wonderful dishes.
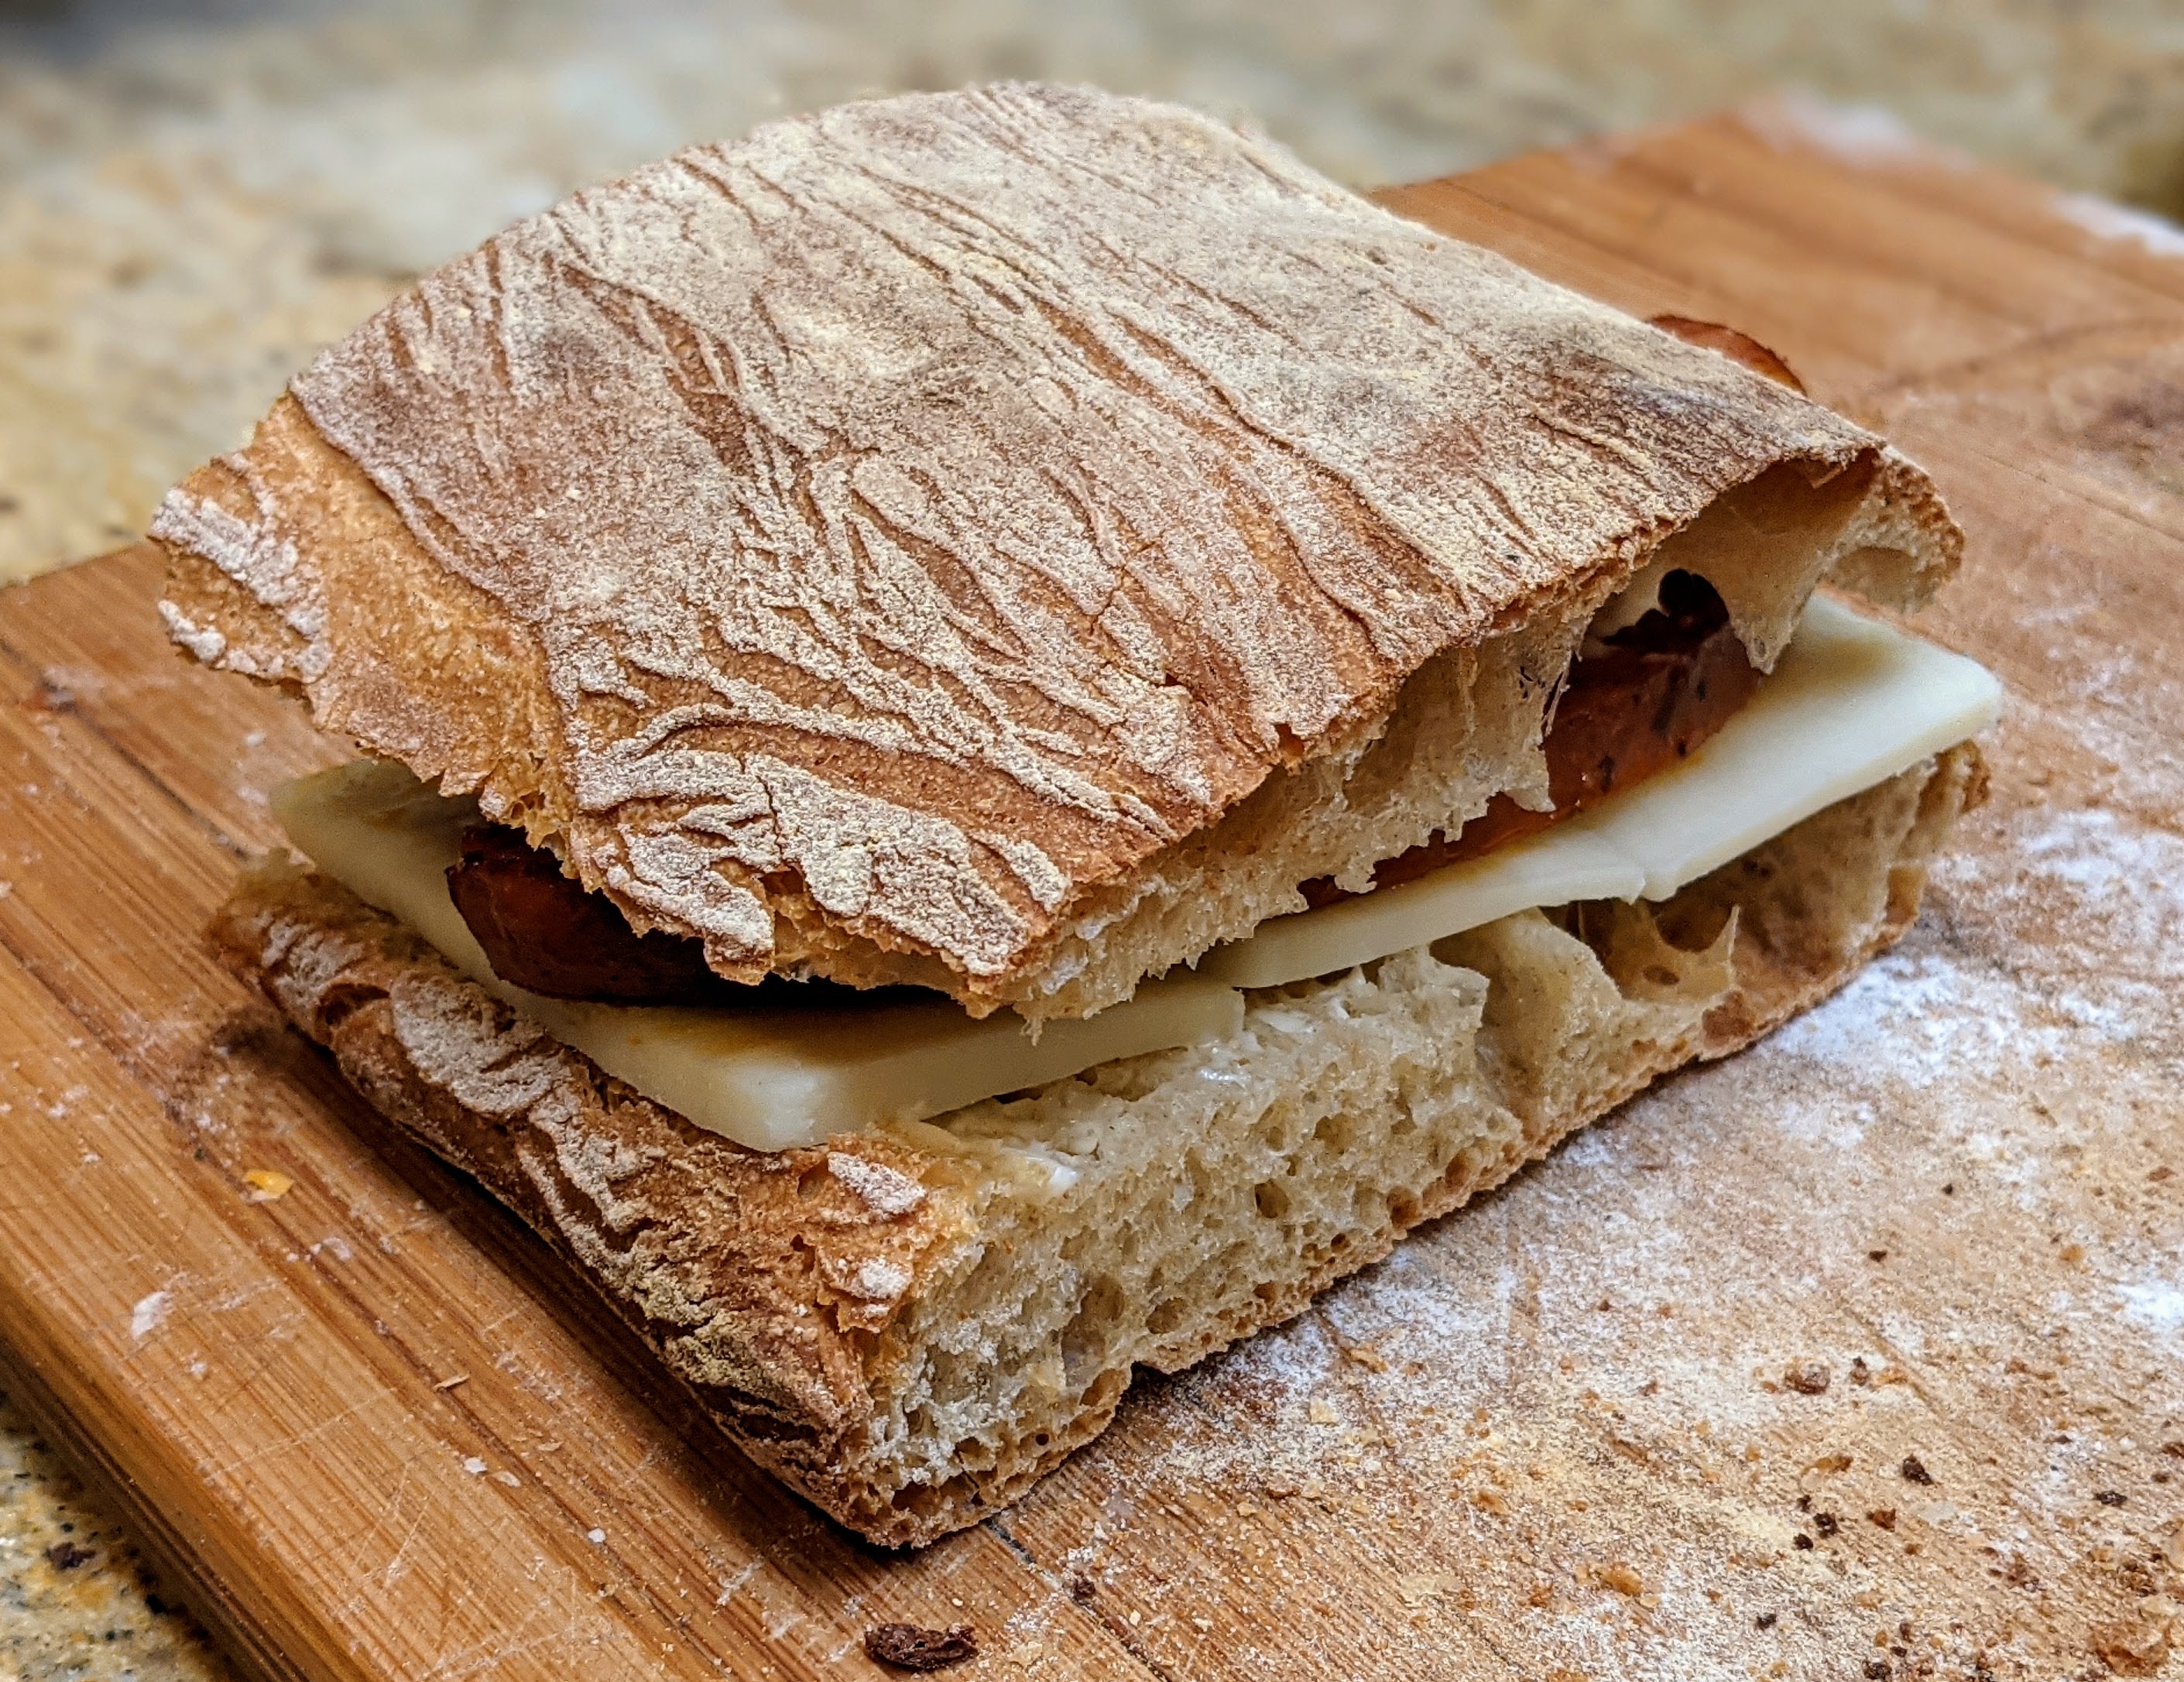
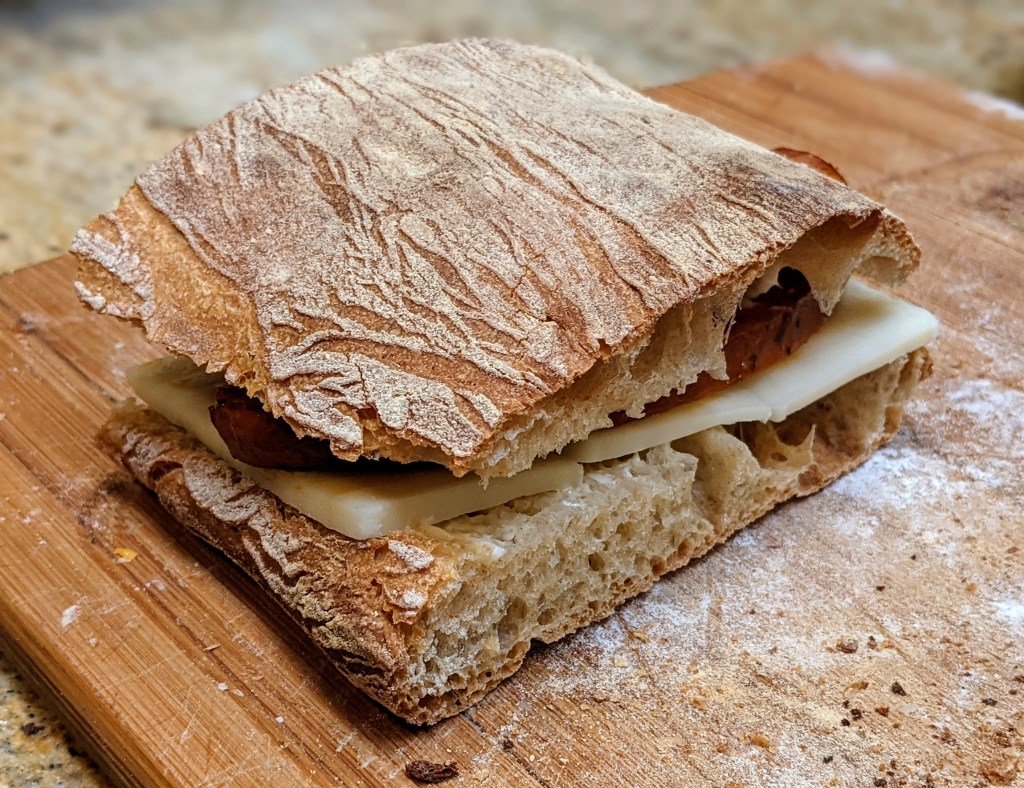
I love using this bread for dipping into a fine olive oil (my preferred brand is Segreto from Italy that I have my daughter bring from New York City) mixed with a well-aged balsamic vinegar. I’ve used this bread for bruschetta as well. And let’s not forget that its very shape lends itself for wonderful sandwiches! Gawd! I’m getting hungry just thinking about these things! 🙂
Happy Baking!

Pingback: Welcome! | The Dawg House!
These are perfect! Not sure that the lamination thing is all it’s cracked up to be, still on the fence on that one.
I learned the lamination technique from Markus Farbinger. I find that it’s a much gentler way to fold the dough. At such a high hydration, the dough is delicate. That said, this isn’t like sourdough lamination where you spread out the dough into a thin sheet. Here’s quick video of him making ciabatta:
Here’s a link to the video courses from Markus Farbinger. I bought the whole set on Vimeo for $39 years ago (it’s still the same price). https://vimeo.com/ondemand/baguettesandciabattas/225758620
Those courses completely changed the way I approach baguette and ciabatta! One of my bucket list items is to travel to South Africa and take one of his classes!
/
Quick question: if I proof in the fridge post lamination, when I’m ready to pull it out of the fridge do I wait for it to double in size, or divide and shape immediately? thanks!
I would divide it and shape immediately, then let it do its final proof at room temp.
Thanks. BTW, I replaced the milk with whole milk kefir to add a bit of acid and tang (you mentioned that it might lack the flavor intensity of a poolish). Love your site.