It has been a long time since I’ve written in this blog, at least about bread. The truth is that I’ve been so busy with my career these past few years that I gave up baking for a while. I know, right? Baking was an obsession with me for a long time, but life got in the way.
I did try to get back into it after I got new ovens and a baking steel last Christmas. But my initial results were horrible. Discouraged, I relegated my baking to simple things I could make in a pan, like focaccia and Hawaiian rolls.
Then, a few weeks ago, my daughter mentioned that she missed my sourdough. I admit that I was hesitant because of those earlier failures with the baking steel. Still, I created a new starter and made a couple of loaves.
I failed again.
They were delicious and had great oven spring, but they weren’t aesthetically pleasing. I chalked that up to being rusty with my shaping. At least I was finally beginning to understand how to bake on the steel.
Then my wife came home with a starter she had inherited from a friend who was moving back to Germany and couldn’t take it with her. She had maintained it for the three years she lived here in the US, so it was a mature, healthy starter. I threw mine out in favor of hers.
That starter would eventually lead me to the loaves in this article—and to one of the most aggressive fermentation schedules I’ve attempted in a long time. I figured I might as well go big or go home if I’m making a comeback.
And I’m back…
Three-Day Sourdough
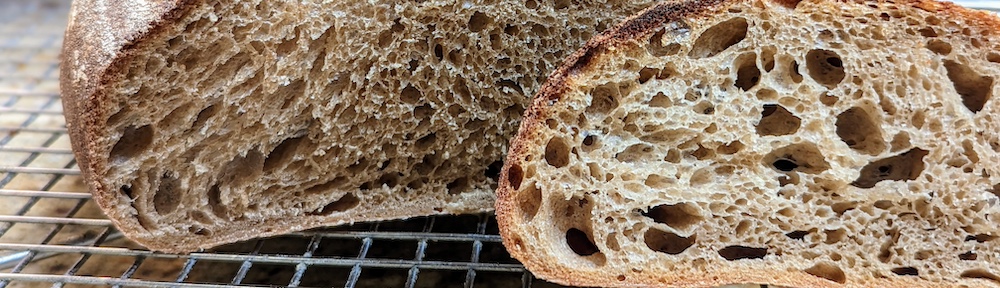
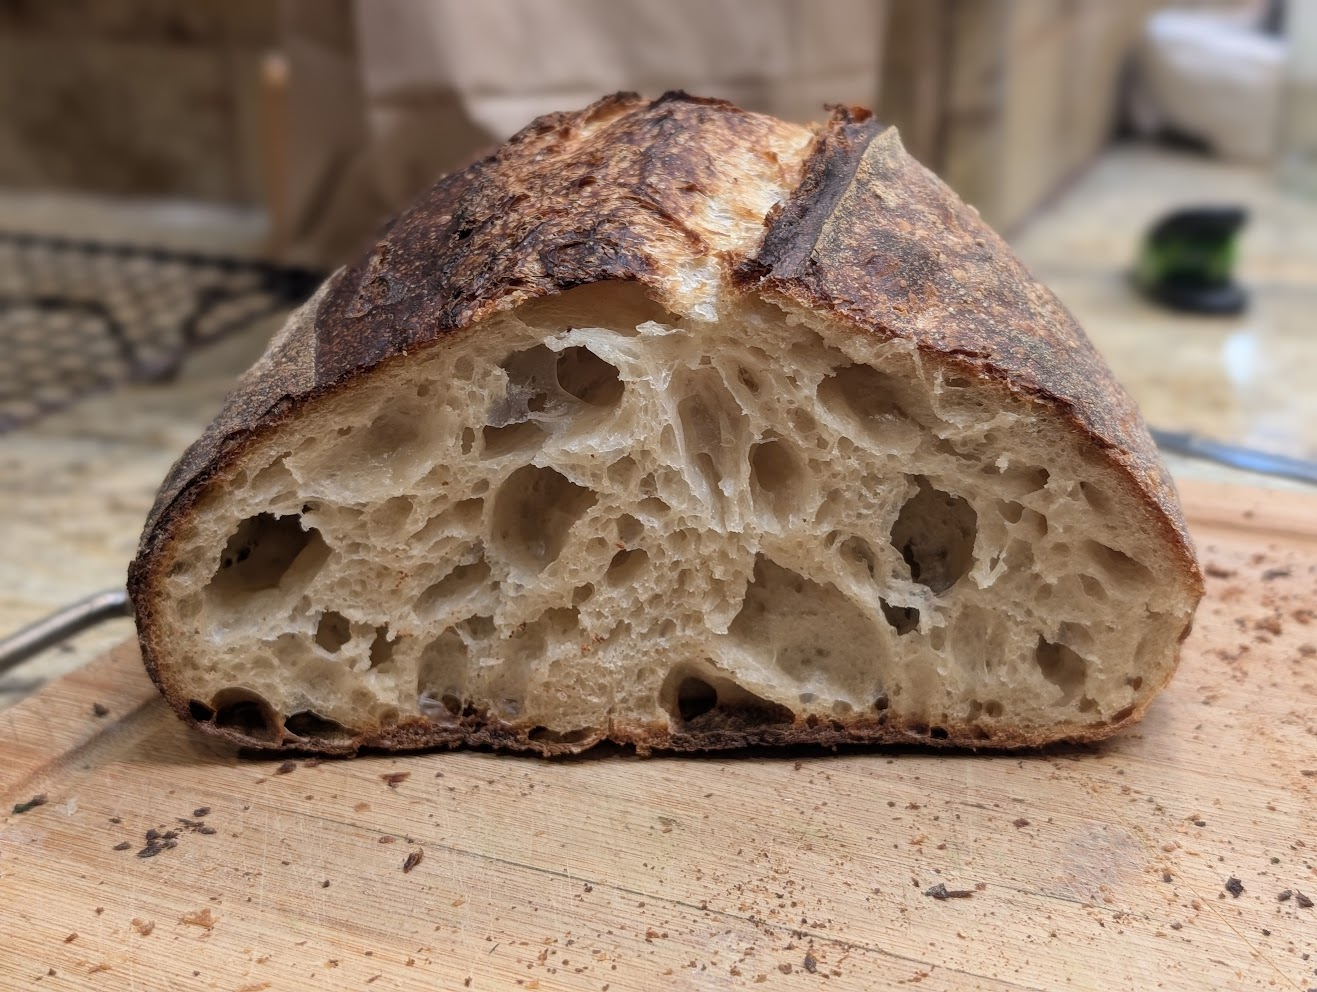
This bread is all about the slow development of flavor. The end result has a gentle sour tang, with a nutty character and a creamy texture. The aggressive bake brings out gorgeous caramel and vanilla notes in the crust.
And by slow flavor development, I mean that the dough undergoes two periods of cold retardation before baking. It’s not particularly difficult to make. But it does take patience and a watchful eye.
Let’s jump into the formula, then we’ll discuss the process below.
Baker’s Formula
| Flour | 100.00% |
| Water | 75% |
| Salt | 2.00% |
| Total % | 177.00% |
Final Dough – Creates 2 X 800g loaves
| Bread | 858g |
| Water | 630g |
| Salt | 18g |
| Mature Starter | 110g |
| Total Yield | 1616g |
Process
Prepare Your Starter. You can use your starter at its peak or just after. I prefer using it slightly past peak because of the additional acidity.
Initial Mix. Reserve about 50g of the water and dissolve the salt in it. Set that aside for later.
In a large bowl, combine the starter with the remaining water and mix until the starter is completely dissolved. Add the flour in batches, mixing as you go, until everything is thoroughly combined and you have formed a shaggy mass.
Cover the bowl and allow the dough to rest for one hour. This is essentially a fermentolyse, giving the flour time to fully hydrate while fermentation begins.
Final Mix/Bassinage. Pour the saltwater mixture over the dough and work it in thoroughly. Press and squeeze the dough with your fingers to ensure the saltwater is evenly incorporated, then perform a few stretch-and-folds to improve the distribution.
Cover the bowl and allow the dough to rest for 30 minutes.
Bulk Fermentation/Folding. Fold the dough at least four times over the next two hours, or until it has developed sufficient strength and extensibility. When stretched for a windowpane test, the dough should form a thin, translucent lamina.
After the folds are complete, allow the dough to increase in volume by about 25%. Cover the bowl and place it in the refrigerator for up to 18 hours, or until the dough has doubled in volume. I personally follow a 12-hour schedule.
Make sure your refrigerator is between 39°F and 42°F. Below that range, yeast activity will slow considerably.
Important Tip. Do not place the dough in a warm environment between folds. That will favor yeast activity too early in the process. At this stage, we want to limit yeast development and allow the cold fermentation to proceed slowly.
And do not worry if the dough seems slow to rise. That is exactly what we want.
Finish Bulk Fermentation, If Necessary. If the dough has not doubled after 12 hours in the refrigerator, do not freak out. It simply means bulk fermentation has not finished.
Place the dough in an oven with the light on, leaving the door slightly cracked to allow excess heat to escape. Keep the environment at or below 82°F, and allow the dough to continue fermenting until it has doubled in volume.
Divide and Pre-Shape. Turn the dough out onto an unfloured work surface. Divide it into 800g pieces, then pre-shape each piece into a tight round.
Cover the rounds with a tea towel and allow them to bench rest for 15 to 20 minutes, or until they have relaxed enough to shape without resisting.
Shape. Shape the rounds into boules or bâtards, then place them in bannetons. Cover and refrigerate for at least 12 hours.
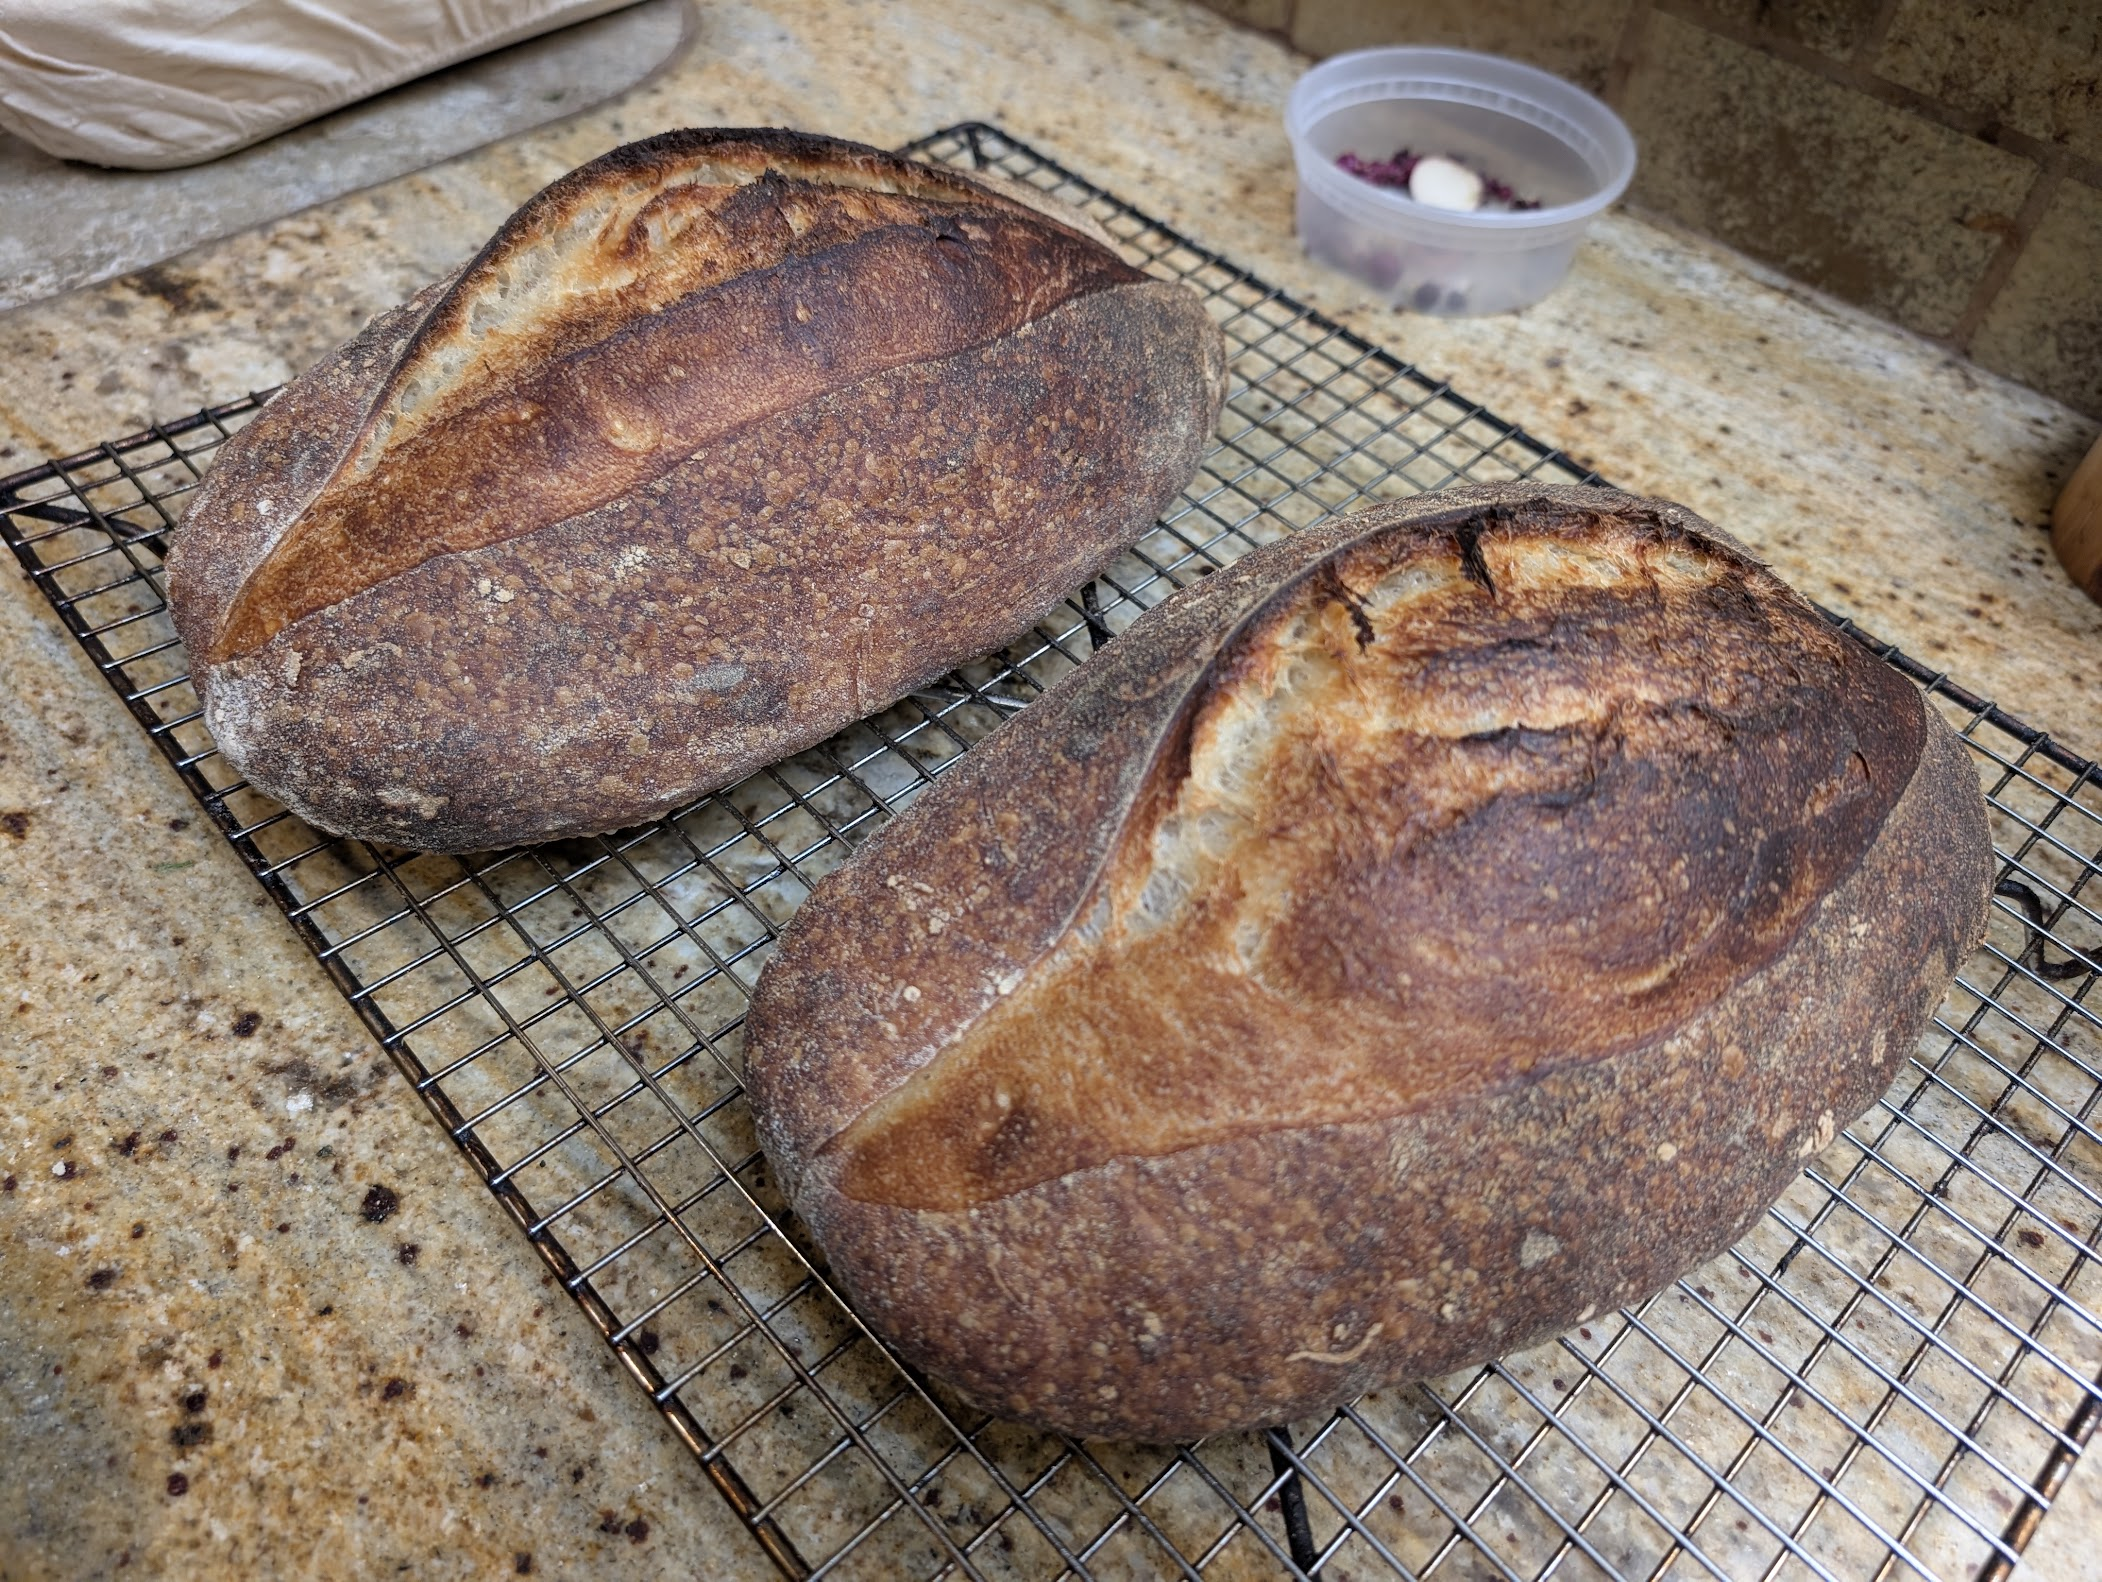
Bake. When you’re ready to bake and you remove your loaves from their bannetons, don’t freak out if they seem slack. All that means is that the gluten has relaxed. Just be careful in handling them because you will degas them. With the right-side loaf in the picture at the top, the banneton slipped and pushed the dough against the end. I still got decent oven spring, but it didn’t rise enough to break through my cut. Just make sure you’re gentle with how you handle them.
Bake the loaves as you normally would, using a Dutch oven, baking stone, baking steel, or sheet pan. For a lighter crust, remove the loaves when the internal temperature reaches about 195°F. For a darker crust like the loaves shown here, continue baking until the internal temperature reaches 203°F to 205°F.

