Pain de Campagne or literally “country bread,” originated in France going back to medieval times. Baked in communal ovens and meant to last for several days or even weeks, it was made from a blend of different flour, usually white, wheat, and rye, and always fermented with a natural starter. It was literally the daily bread of common folk.
But with the introduction of commercial yeast, the making of the traditional country bread declined in favor of the convenience commercial yeast brought with it. Baguettes and other types of bread took precedence over the lowly country bread. But in the 1970s, naturally fermented bread saw a renaissance among home bakers, not just in France, but all over the world.
Then Chad Robertson published “Tartine Bread” in 2010, and it transformed bread baking across the US, providing the inspiration for both professional and home bakers to return to their roots and rediscover the beauty of artisan bread baking. His in-depth discussion of his Basic Country Loaf (which is simpy Pain de Campagne) captured the care and passion that went into creating a finely crafted loaf of bread.
But at least for me, Tartine Bread wasn’t just a recipe book. It articulated and affirmed a belief I had formulated since I made my first loaf of bread over 40 years ago: that making bread by hand was so much more than mixing ingredients to produce a loaf. It was a lifestyle choice. Like Jeff Spicoli said in “Fast Times at Ridgemont High,” “Surfing’s not a sport, it’s a way of life, it’s no hobby.” So it goes with baking artisan bread.
Think about the time and devotion to the task that making even a single loaf requires. Think of the investment of time and resources spent on developing the skills to consistently produce bread. There’s nothing casual about it, even for someone who wants to casually make a loaf or two. I think this is where most people new to baking artisan bread get discouraged. They peruse online forums and read books like “Tartine Bread” and think, “Holy s$%t! That takes dedication. Maybe it’s more than I’m willing – or able – to commit!”
Of course, one can take a casual approach to baking and still make delicious bread. For thirty years, my only aim with baking bread was to create something delicious with little attention paid to aesthetics. My family and friends loved the taste of my bread and that was all that mattered to me. But when I started baking in earnest, I had an archetype in mind that I wanted to aspire to.
And to get to that point meant going down a lot of rabbit holes, experimenting with different techniques and ingredients, taking courses, researching the science behind yeast and bacterial metabolism, and most importantly, baking a lot of bread to hone my skills as a baker. And I realize that I’ve gone off on a tangent. But as the title of this entry says, at least for me, making Pain de Campagne is so much more than just making country bread.
Speaking of experimenting, the beauty of Pain de Campagne lies in its roots where it was produced out of necessity. As I mentioned above, different blends of flour were used, white flour for structure, wheat for taste, and rye to boost fermentation. I have no idea what the ratios were, but I imagine they varied based on what was on hand. Plus, considering that recipes and starters were handed down from generation to generation, I’d imagine that the makeup of the loaves varied considerably from bake to bake. And that variability is why country bread is such a great bread to learn to bake sourdough with. It’s easy to experiment with different things.
One thing I’m experimenting with right now is a technique I learned from a blog post called, “Don’t Be a Bread Hostage” by Martin Philip of King Arthur describing how he used unfed starter – or discard – right out of the fridge as opposed to building a levain. He learned the technique from a friend of his and in this video, says that is how he makes his sourdough at home.
I was a little incredulous about this when I first read it, but it makes a lot of sense. Even if a starter is way past its peak, it doesn’t mean that the yeast has died. It’s just dormant until it’s introduced to a new source of food. Normally we wake up the yeast in a culture by creating a levain, then using the levain at the peak of the yeast’s activity. All we’re doing with a levain is introducing a food source.
When we use a starter right out of the fridge, and mix it into a dough, all we’re doing is introducing the yeast to a new food source. So, instead of waiting for the yeast to wake up and get to peak activity, we just let it wake up within the final dough. What I found with this technique is that bulk fermentation is much slower than if I use a peaked levain – lasting from twelve to sixteen hours. But the advantage of this is that I just mix everything together, do three folds every fifteen minutes in the first forty-five minutes, then let the dough rise until it has doubled.1
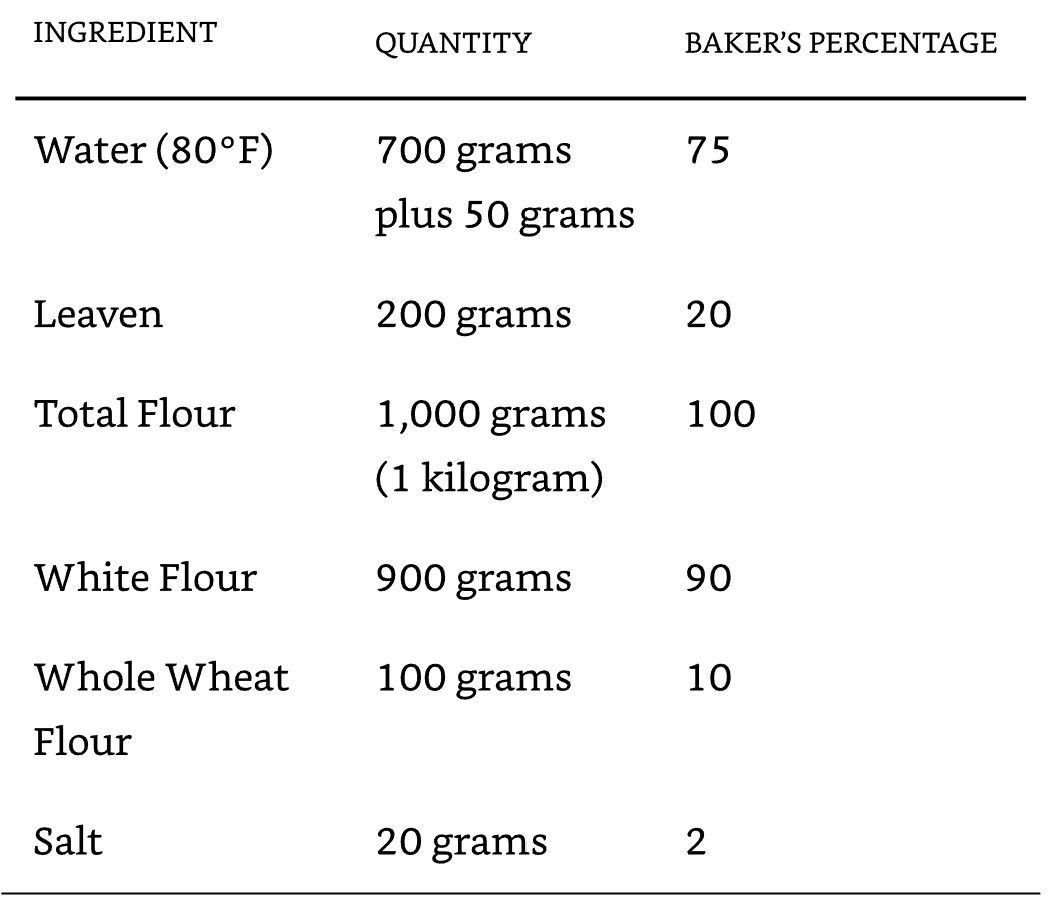
Here are the formula and final dough:
Yield: 2 X 1 kilo loaves
Formula
| Flour | 100.00% |
| Water | 80% |
| Salt | 2.00% |
Starter will be 10% of total flour
Final Dough
| Bread Flour (I recommend at least 12% protein content) | 824g |
| Whole Grain Flour (I use Kamut) | 220g |
| Water | 824g |
| Salt | 22g |
| Unfed Starter | 110g |
| Total Yield | 2000g 2 X 1000g loaves |
You can do the calculations above by copying this Google sheet into your own account.
Mix. Mix all the dry ingredients in a separate bowl, including the salt. In a separate bowl, dissolve the starter into all the water, then add to the dry ingredients and mix until you form a shaggy mass with no large lumps. If you used a stand mixer mix your dough, transfer the dough to a suitable container.
Bulk Fermentation. Overnight. In the first 45 minutes, do three sets of stretch and folds every fifteen minutes. Don’t freak out when you’re folding the dough, especially with the first set. This is a high-hydration dough. By the third fold, the dough will have developed a lot of strength – you will feel it.2
Divide and Pre-shape. Once the dough has almost doubled (see footnote below), pour it out onto a well-floured work surface. This is a high-hydration dough, so you don’t want it to be sticking. Divide into two equal pieces about a kilogram each and pre-shape into boules. Place the boules seam side down, sprinkle a little flour on top of each, then cover them with a tea towel and let them bench rest for 15-20 minutes.
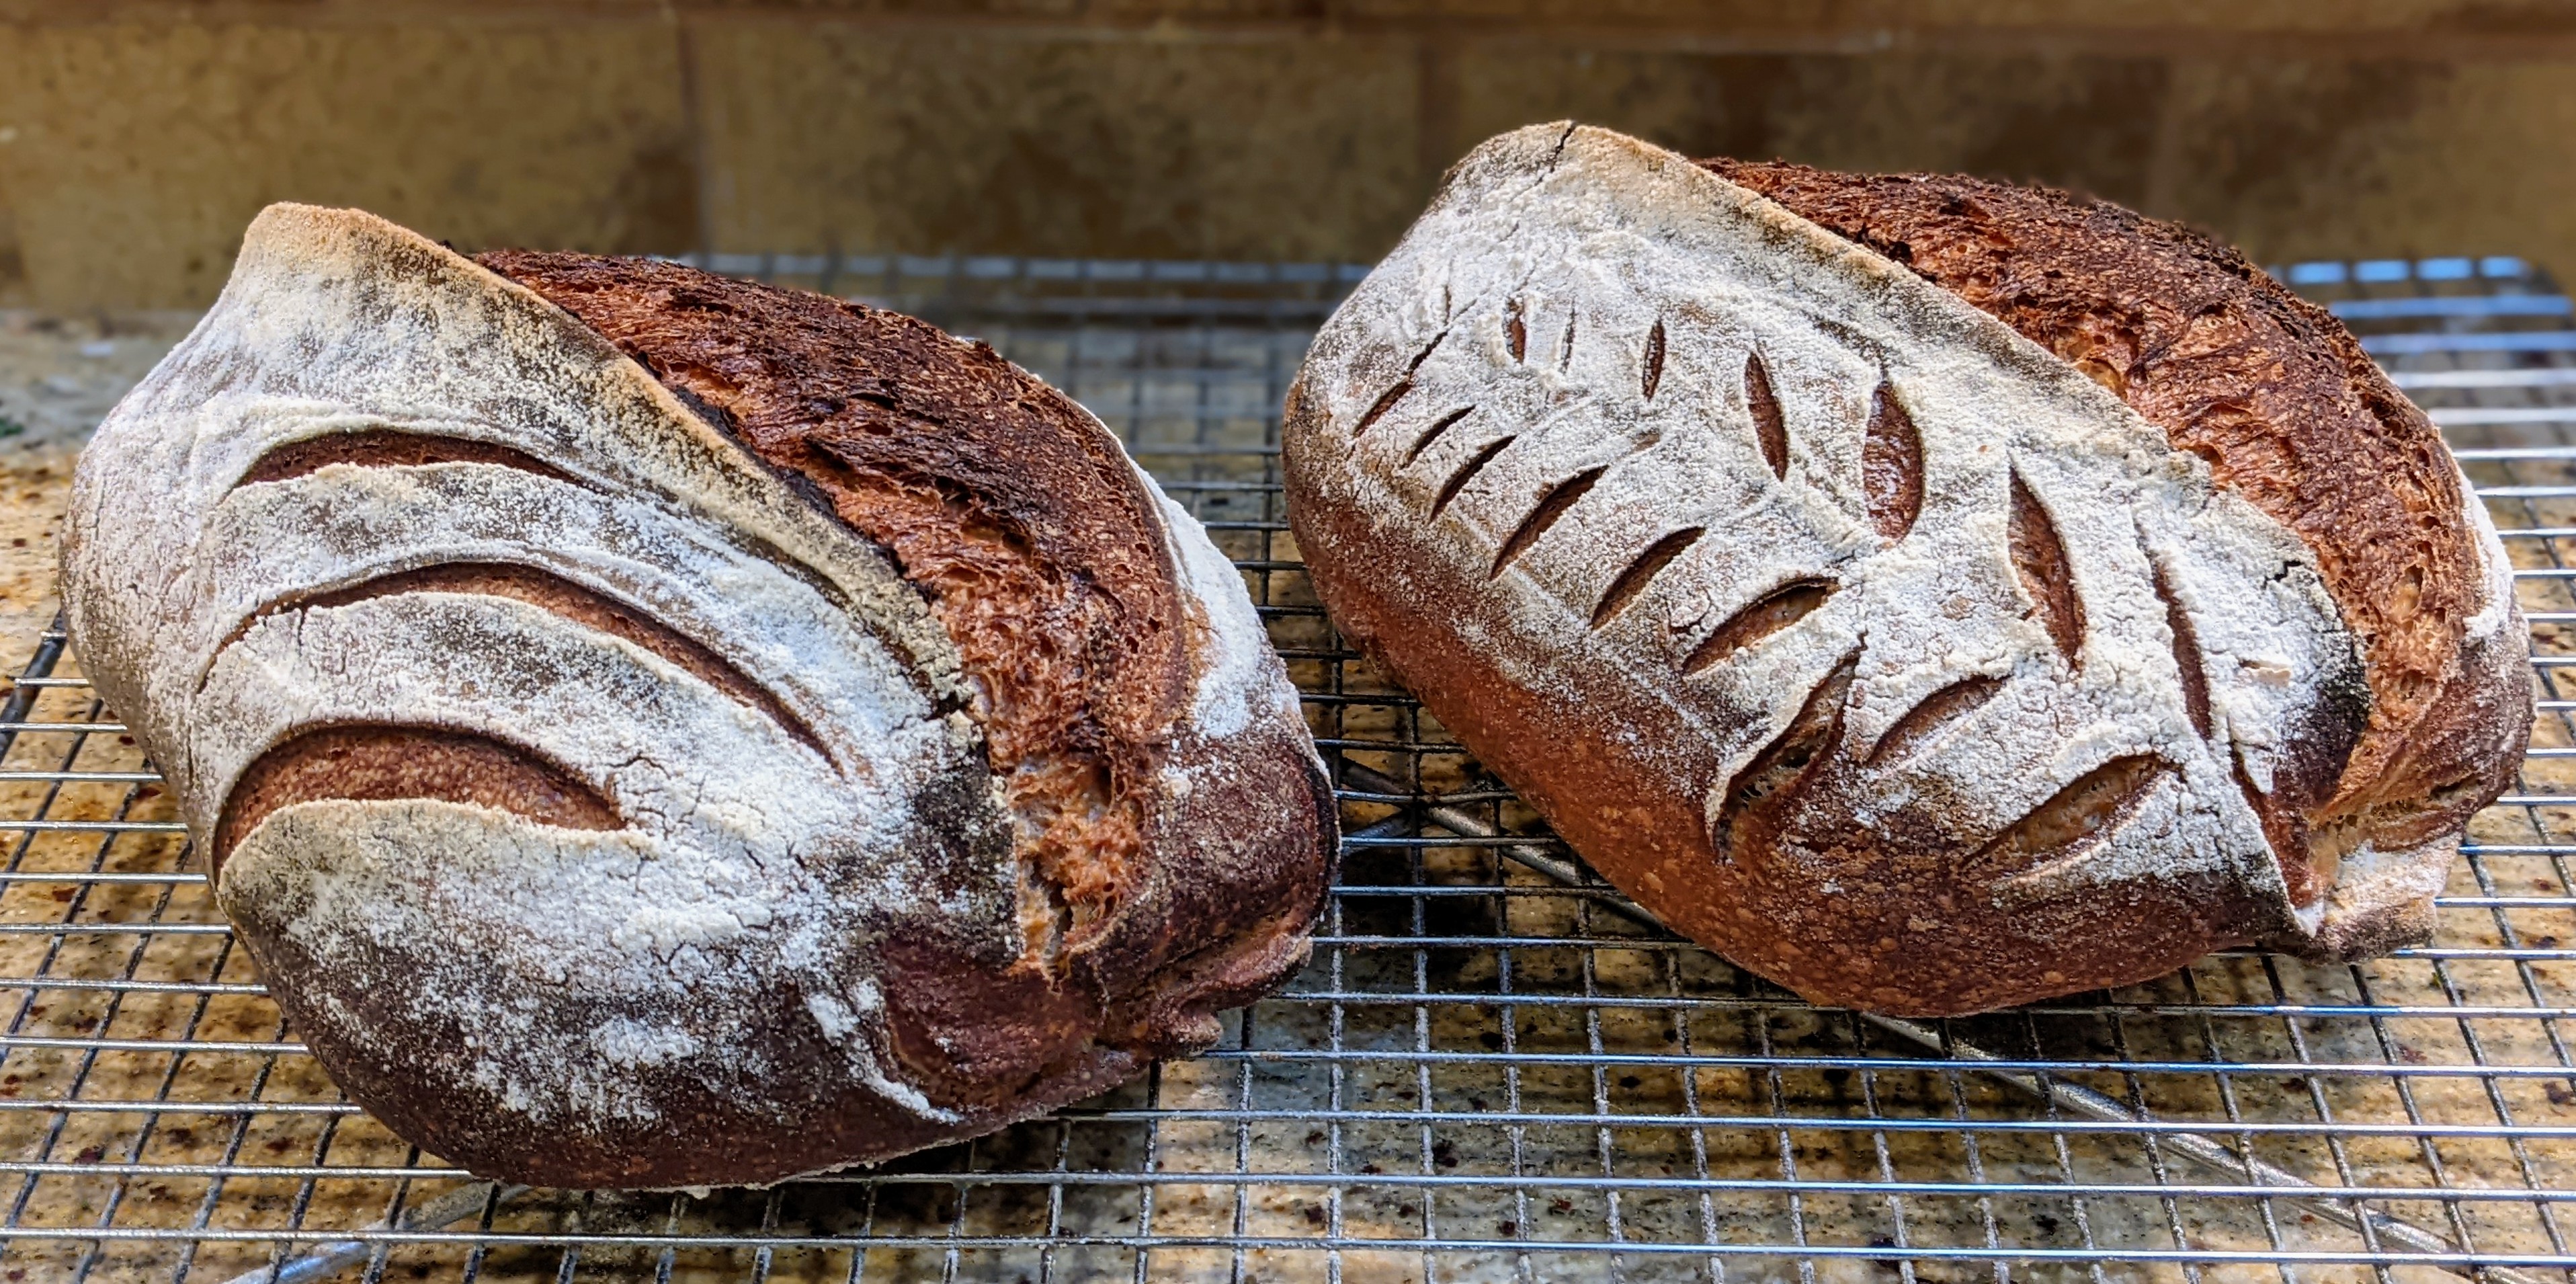
Shape and Final Fermentation. Shape the boules into whatever shape you want then place them in bannetons. Cover them and put them into the fridge for 8-12 hours. My advice is to check them at six hours to see how they’re progressing. When you do the poke test, the dough shouldn’t spring back too quickly, and the indentation shouldn’t fade all the way.
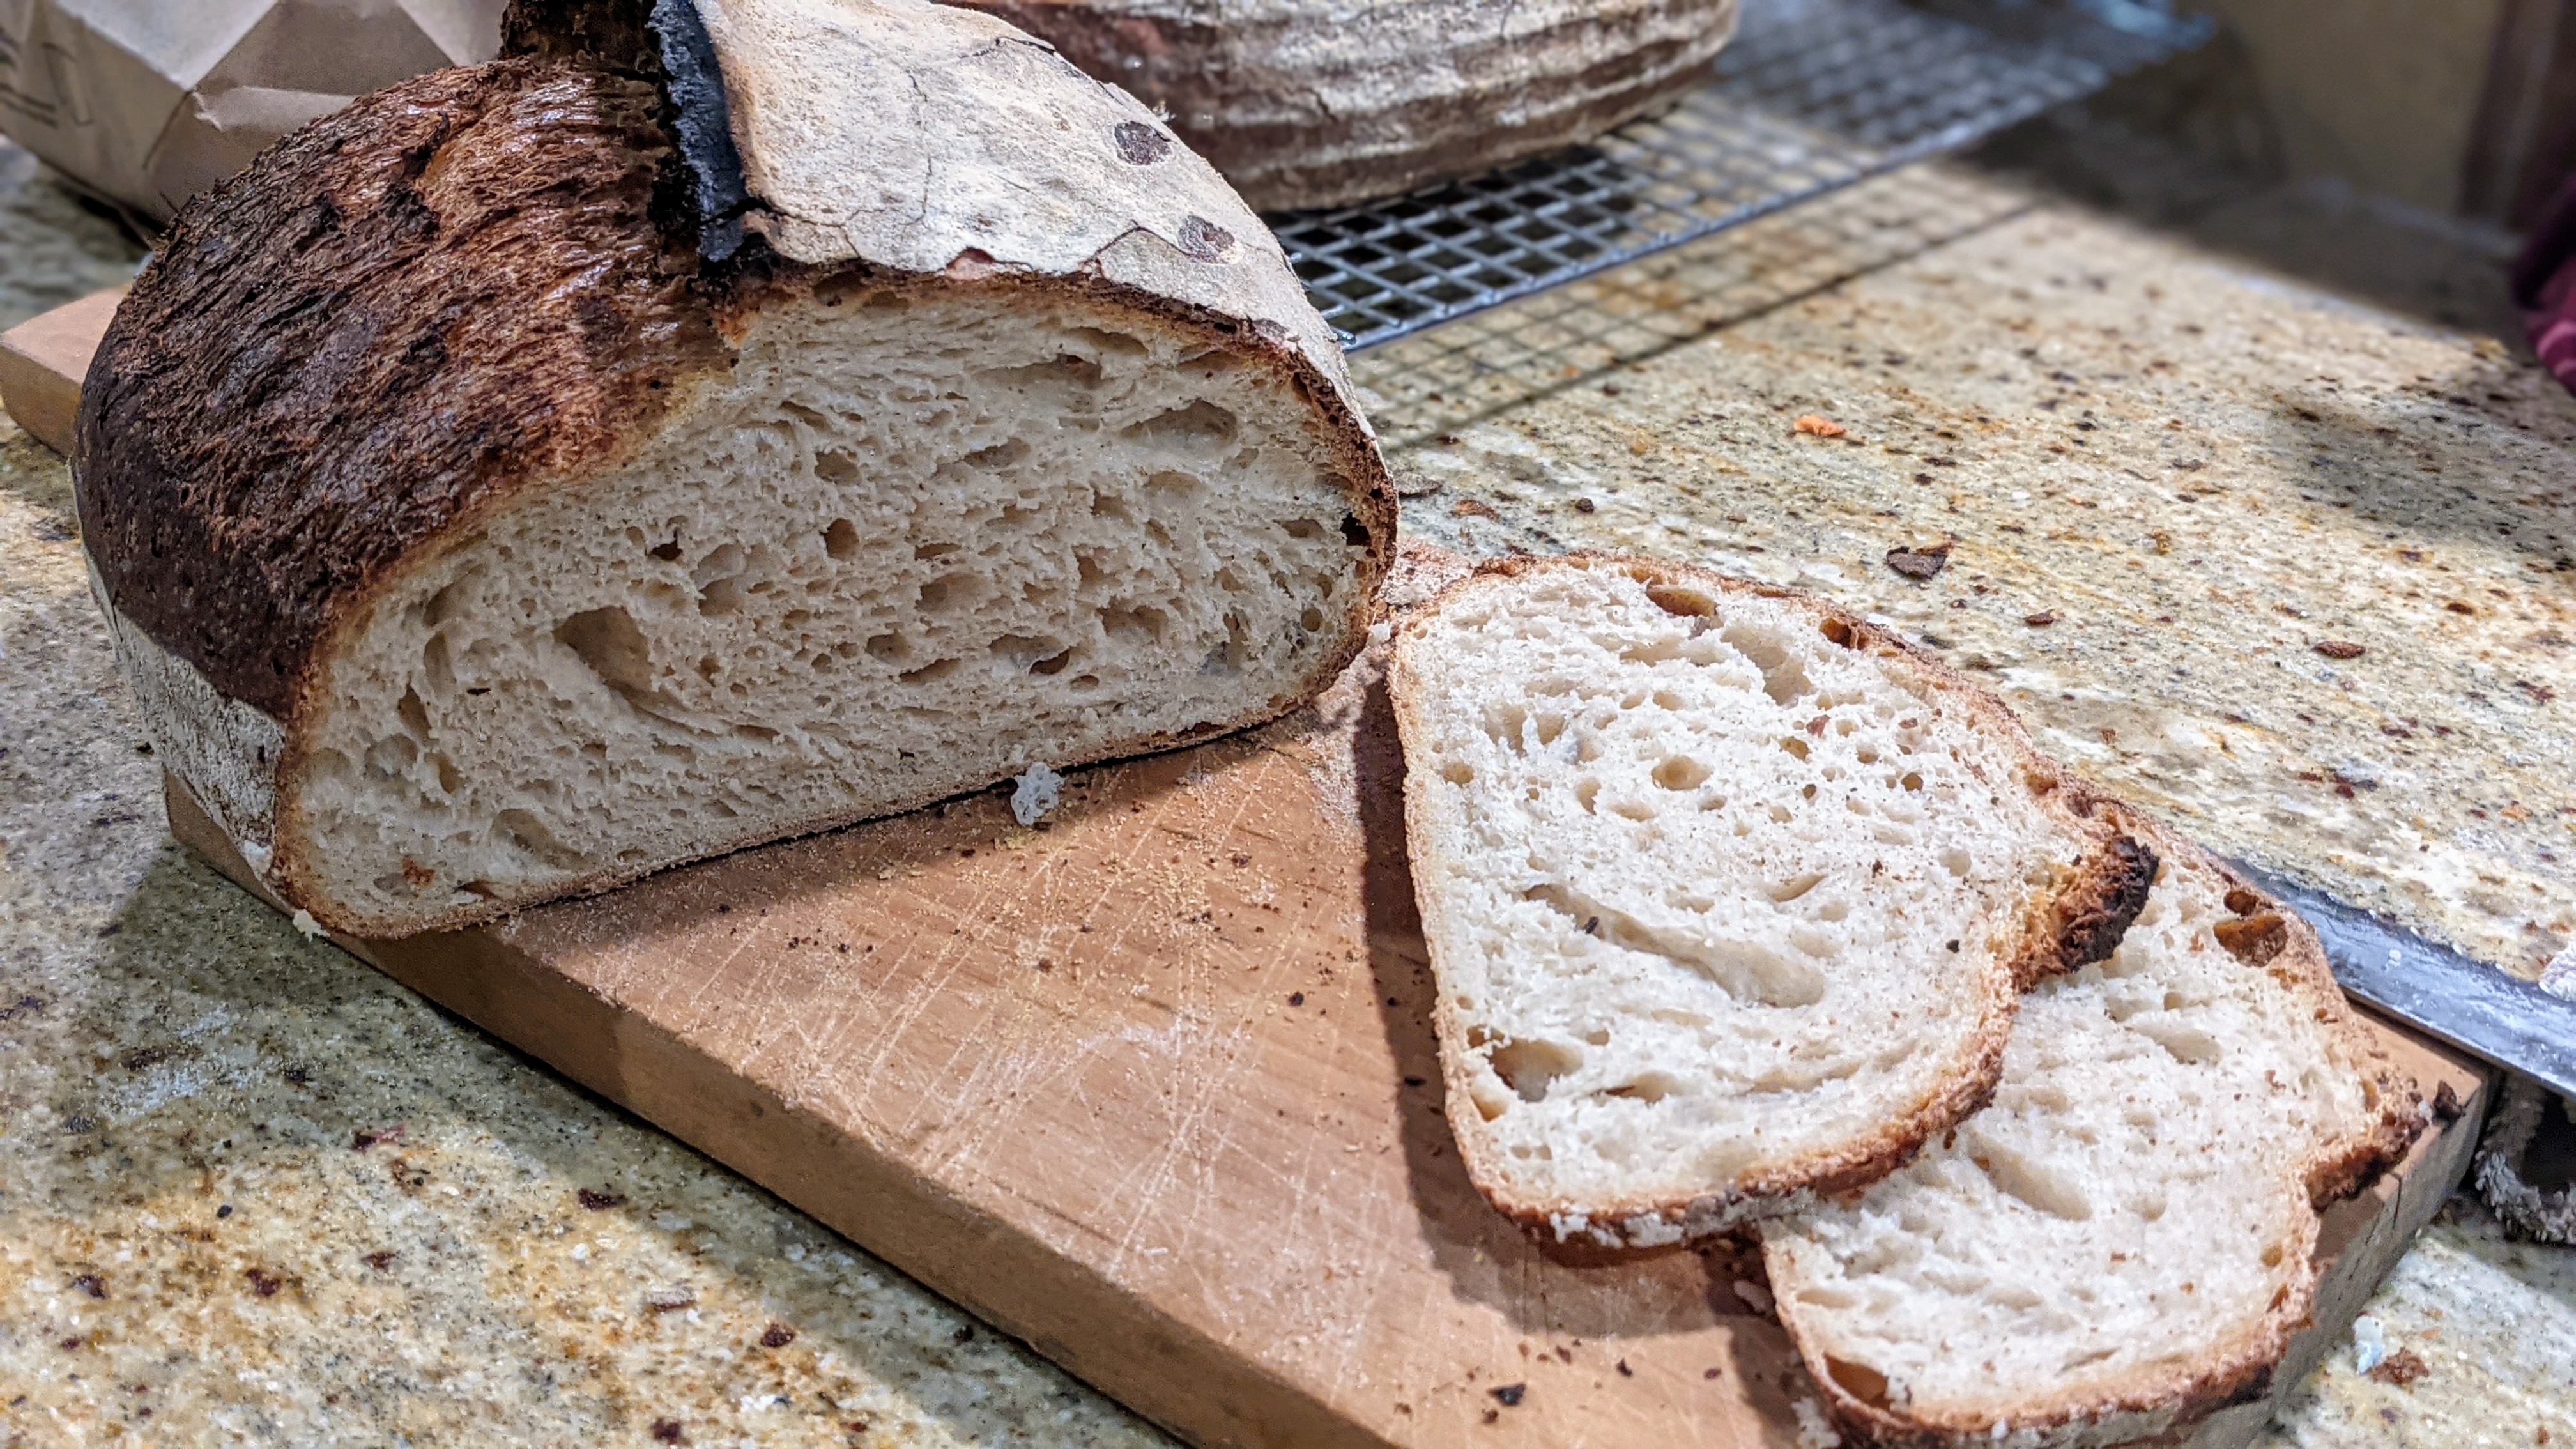
Bake. Bake at 450°F for 20 minutes with steam (if using a Dutch oven, cook covered for 20 minutes), remove steaming container or uncover if using a Dutch oven, then bake for another 20-25 minutes uncovered or until the crust is a deep golden brown. Personally, I take it to brown as I like a well-caramelized crust. Cool for at least 30 minutes before cutting (though it’s better to let the bread cool for a couple of hours.
- In Martin Philip’s video, he mentioned letting the dough double. But if you use a very mature starter, be VERY careful to monitor the progress of your dough because a mature starter is highly acidic, and acid will break down gluten. The first time I used this technique, I let the dough get to double and it was overproofed! Also, he mentioned that he let his dough go for 12 hours. Bear in mind that that’s just a guideline. Expansion is more important. I’ve learned to check at about 8 hours, and I will divide and shape when the dough reaches about 70%-75% expansion just to be safe. ↩︎
- If the dough hasn’t done much by the time you wake up, don’t worry. Give it another stretch and fold to move the yeast to a new food source. You will soon see progress. ↩︎
