

In my previous post, I talked about trusting in the process and how it takes time to develop the skills to create great bread. And in that post I mentioned that it was difficult to describe what to feel for when working with dough. So, after I wrote that I asked myself how I could effectively describe the feel of dough to someone who has no clue.
When we’re making bread, there are three times we touch the dough: During mixing, when building dough strength, and final shaping. Mixing doesn’t really count because all we’re doing is bringing the ingredients together, even if we’re doing it by hand. Though it is important because this is where we start forming gluten. But it’s the latter two stages where we directly manipulate work dough with our hands. In this first part, we’re going to cover building strength in the dough.
Before we get into techniques and developing a feel for dough, it’s important to understand the concept behind what we’re doing. I’m not going to get all sciency and will keep the discussion at a fairly high level. Here we go!
“Dough strength” is actually a bit of a misnomer. What we’re doing when we’re building strength is more akin to creating structure in the dough. Even though dough looks like a smooth, contiguous mass, it is composed of gluten strands. When we first mix the dough and the gluten strands start to form, they’re randomly arranged much like a pile of spaghetti as shown below.

When we work the dough (through kneading and folding) to build strength and structure in our dough, what we’re doing is arranging and aligning the gluten strands so they come togther in a much more organized fashion. To be clear, in the early stages with our first couple of folds, gluten strands are still forming while we are aligning the ones that have already formed. This is why we do several folds. We want to make sure that all the strands that are going to form are formed and we want them to be aligned.
Taking the spaghetti example a little further, we want to produce something like the following:

You see how the spaghetti in the picture above stands neatly together compared to the pile above? This is what we’re doing when we’re building dough strength. We’re arranging the strands of gluten so we can achieve a nice, neat pile. The ultimate shape we form our dough into will be determined by shaping. But that’ll be discussed in Part 2. So, to be a bit more precise, when we’re doing our stretching and folding, we’re getting the gluten to align to be able to be shaped. Another effect of folding is ensuring that our yeast and bacteria are distributed evenly throughout the dough mass.
Now that we’ve had a high-level discussion behind the purpose of folding, let’s get into feeling the dough when you do your folds to ensure that you’re doing it to maximum effect.
Getting a Feel for Your Dough
We’ve all seen and have probably made loaves that look like this:
Or have created severely mishapen loaves like this:

I look at these and laugh! And even though the first loaf didn’t rise much and the second loaf kind of went haywire, they share one thing in common: They weren’t folded properly. The results may have been different, but these are classic examples of improperly worked dough. I made those loaves many years ago and took pictures for posterity to remind me of what NOT to do.
When we work our dough, whether we do coil folds or stretches and folds, it’s much like twisting a rubber band on a windup airplane. As you wind the rubber band more and more, it gets harder and harder to wind until you get to a point where it won’t wind anymore without breaking.

And it’s in the process of folding where so many folks new to baking bread get it wrong. Remember my discussion how videos don’t communicate everything one needs to know? Proper folding and what you need to feel for are often missed in those videos. You see a baker fold their dough. They’ll stretch it up, then flip it over the center. Looks simple and it is. But I can guarantee you that half the beautiful loaves you see on the Internet aren’t folded properly, especially the boules.
Why? Because they’re perfectly round and the bottom inch or so of those loaves are almost flat, which means the dough expanded all the way out to the edges of the Dutch oven and the only way for those loaves to expand is up. But if you take that same dough and put it on a stone, they won’t rise nearly as high, often resulting in a loaf similar to the flat loaf above.
If you’ve read this blog you will know that I often mention that you should fold the dough until it no longer wants to be folded; that is, like the windup airplane example I used above, you want to work your dough until it resists. Most people never fold their dough enough, especially if they’re doing stretches and folds. Here are a couple of tips, not matter what folding technique you’re using:
- Pick up the section of dough you’re stretching from the bottom of the dough mass, never from the top as you will only accomplish stretching the top portion of the dough.
- When you stretch, make sure you stretch the dough to the point where you feel some resistance. And note that high-hydration dough requires you to stretch several times during a session. But never stretch to the point where the dough will tear. This takes some repetition to gain the intuition as to where the tearing point is in your stretch. But even if you tear the dough, don’t worry, just let it rest that the gluten strands will come back together.
- Fold until the dough no longer wants to be stretched. A telltale is that when you pick up the dough from the bottom, most of the dough mass will come up. Most people see on videos that a baker may only do four folds in a session. What many don’t notice is just how far the baker stretches the dough. They may only require four total folds in one session.
The hints above apply mostly to standard artisan loaves like boules and batards. For bread made from super-slack dough like ciabatta or pan de cristal, you actually don’t want to work the dough too much because they’re so wet, plus you want to ensure that when you bake them you get a super-open crumb. But for other loaves, you need to make sure you’re stretching the dough sufficiently to get that rubber band effect.
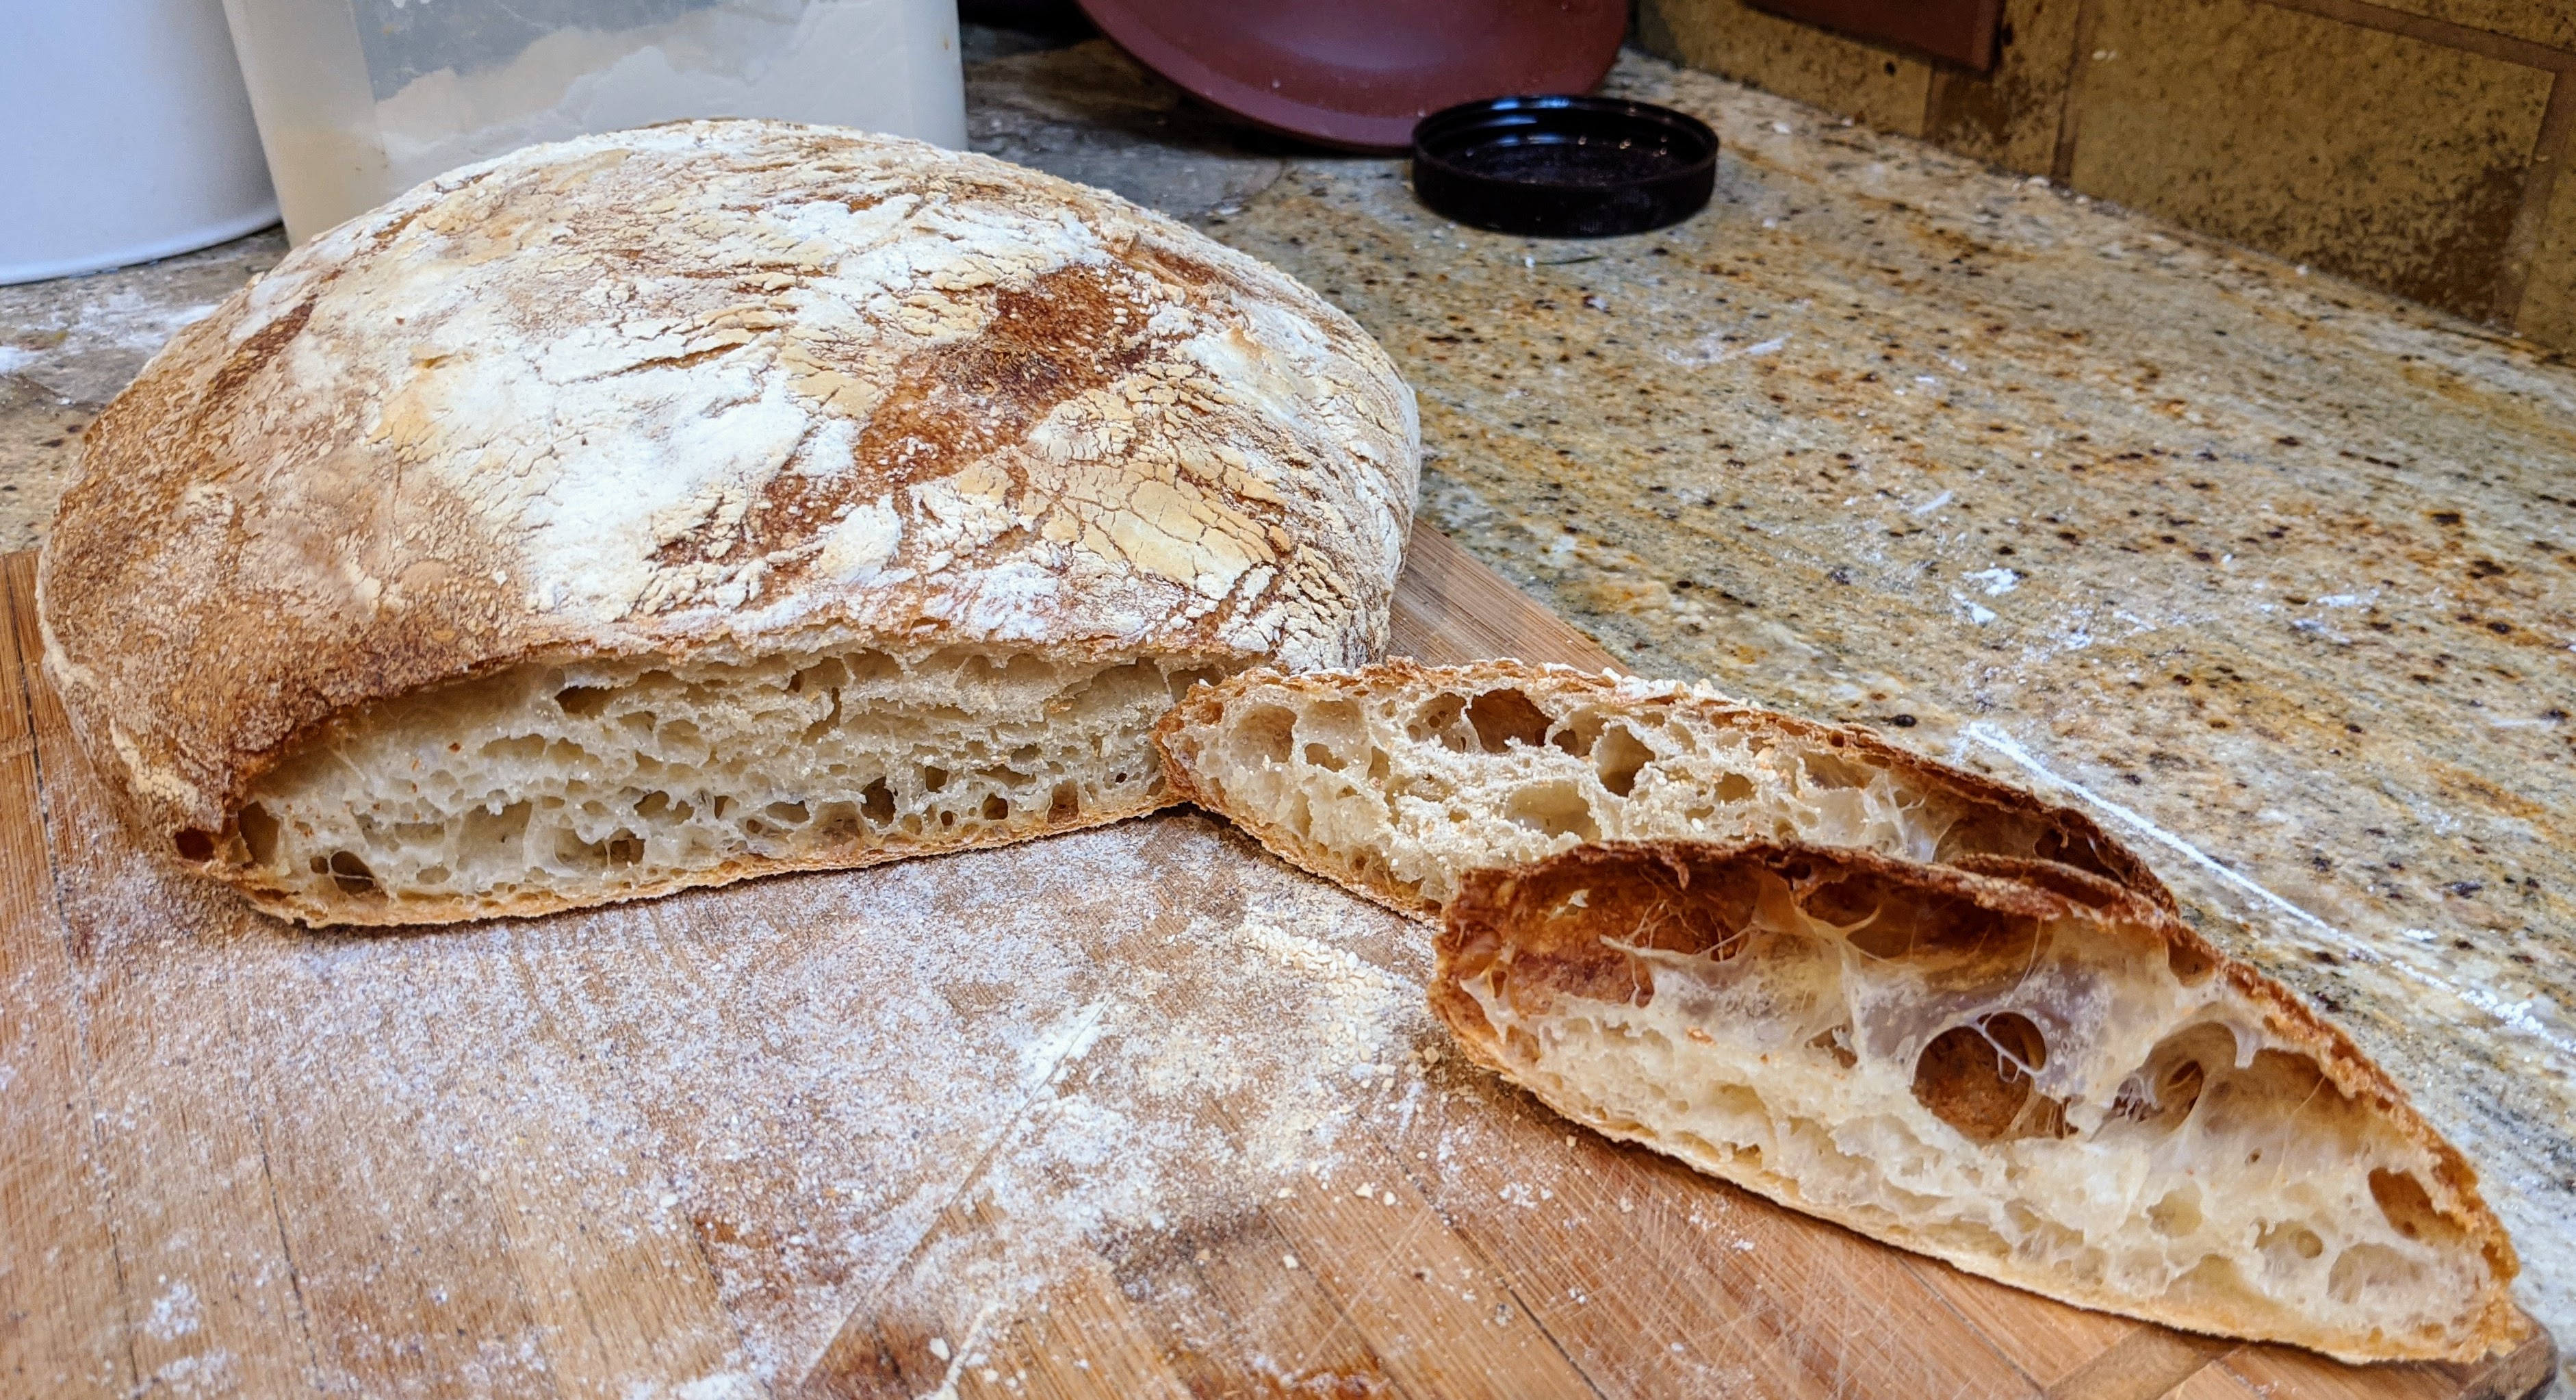
Obviously, I’ve glossed over a lot of nuance in this discussion. But the point to this is that if you develop a feel for the dough especially in the strength and structure development phase, it’ll go a long way to improving the quality of your loaves.
You’ll go from this:
to…
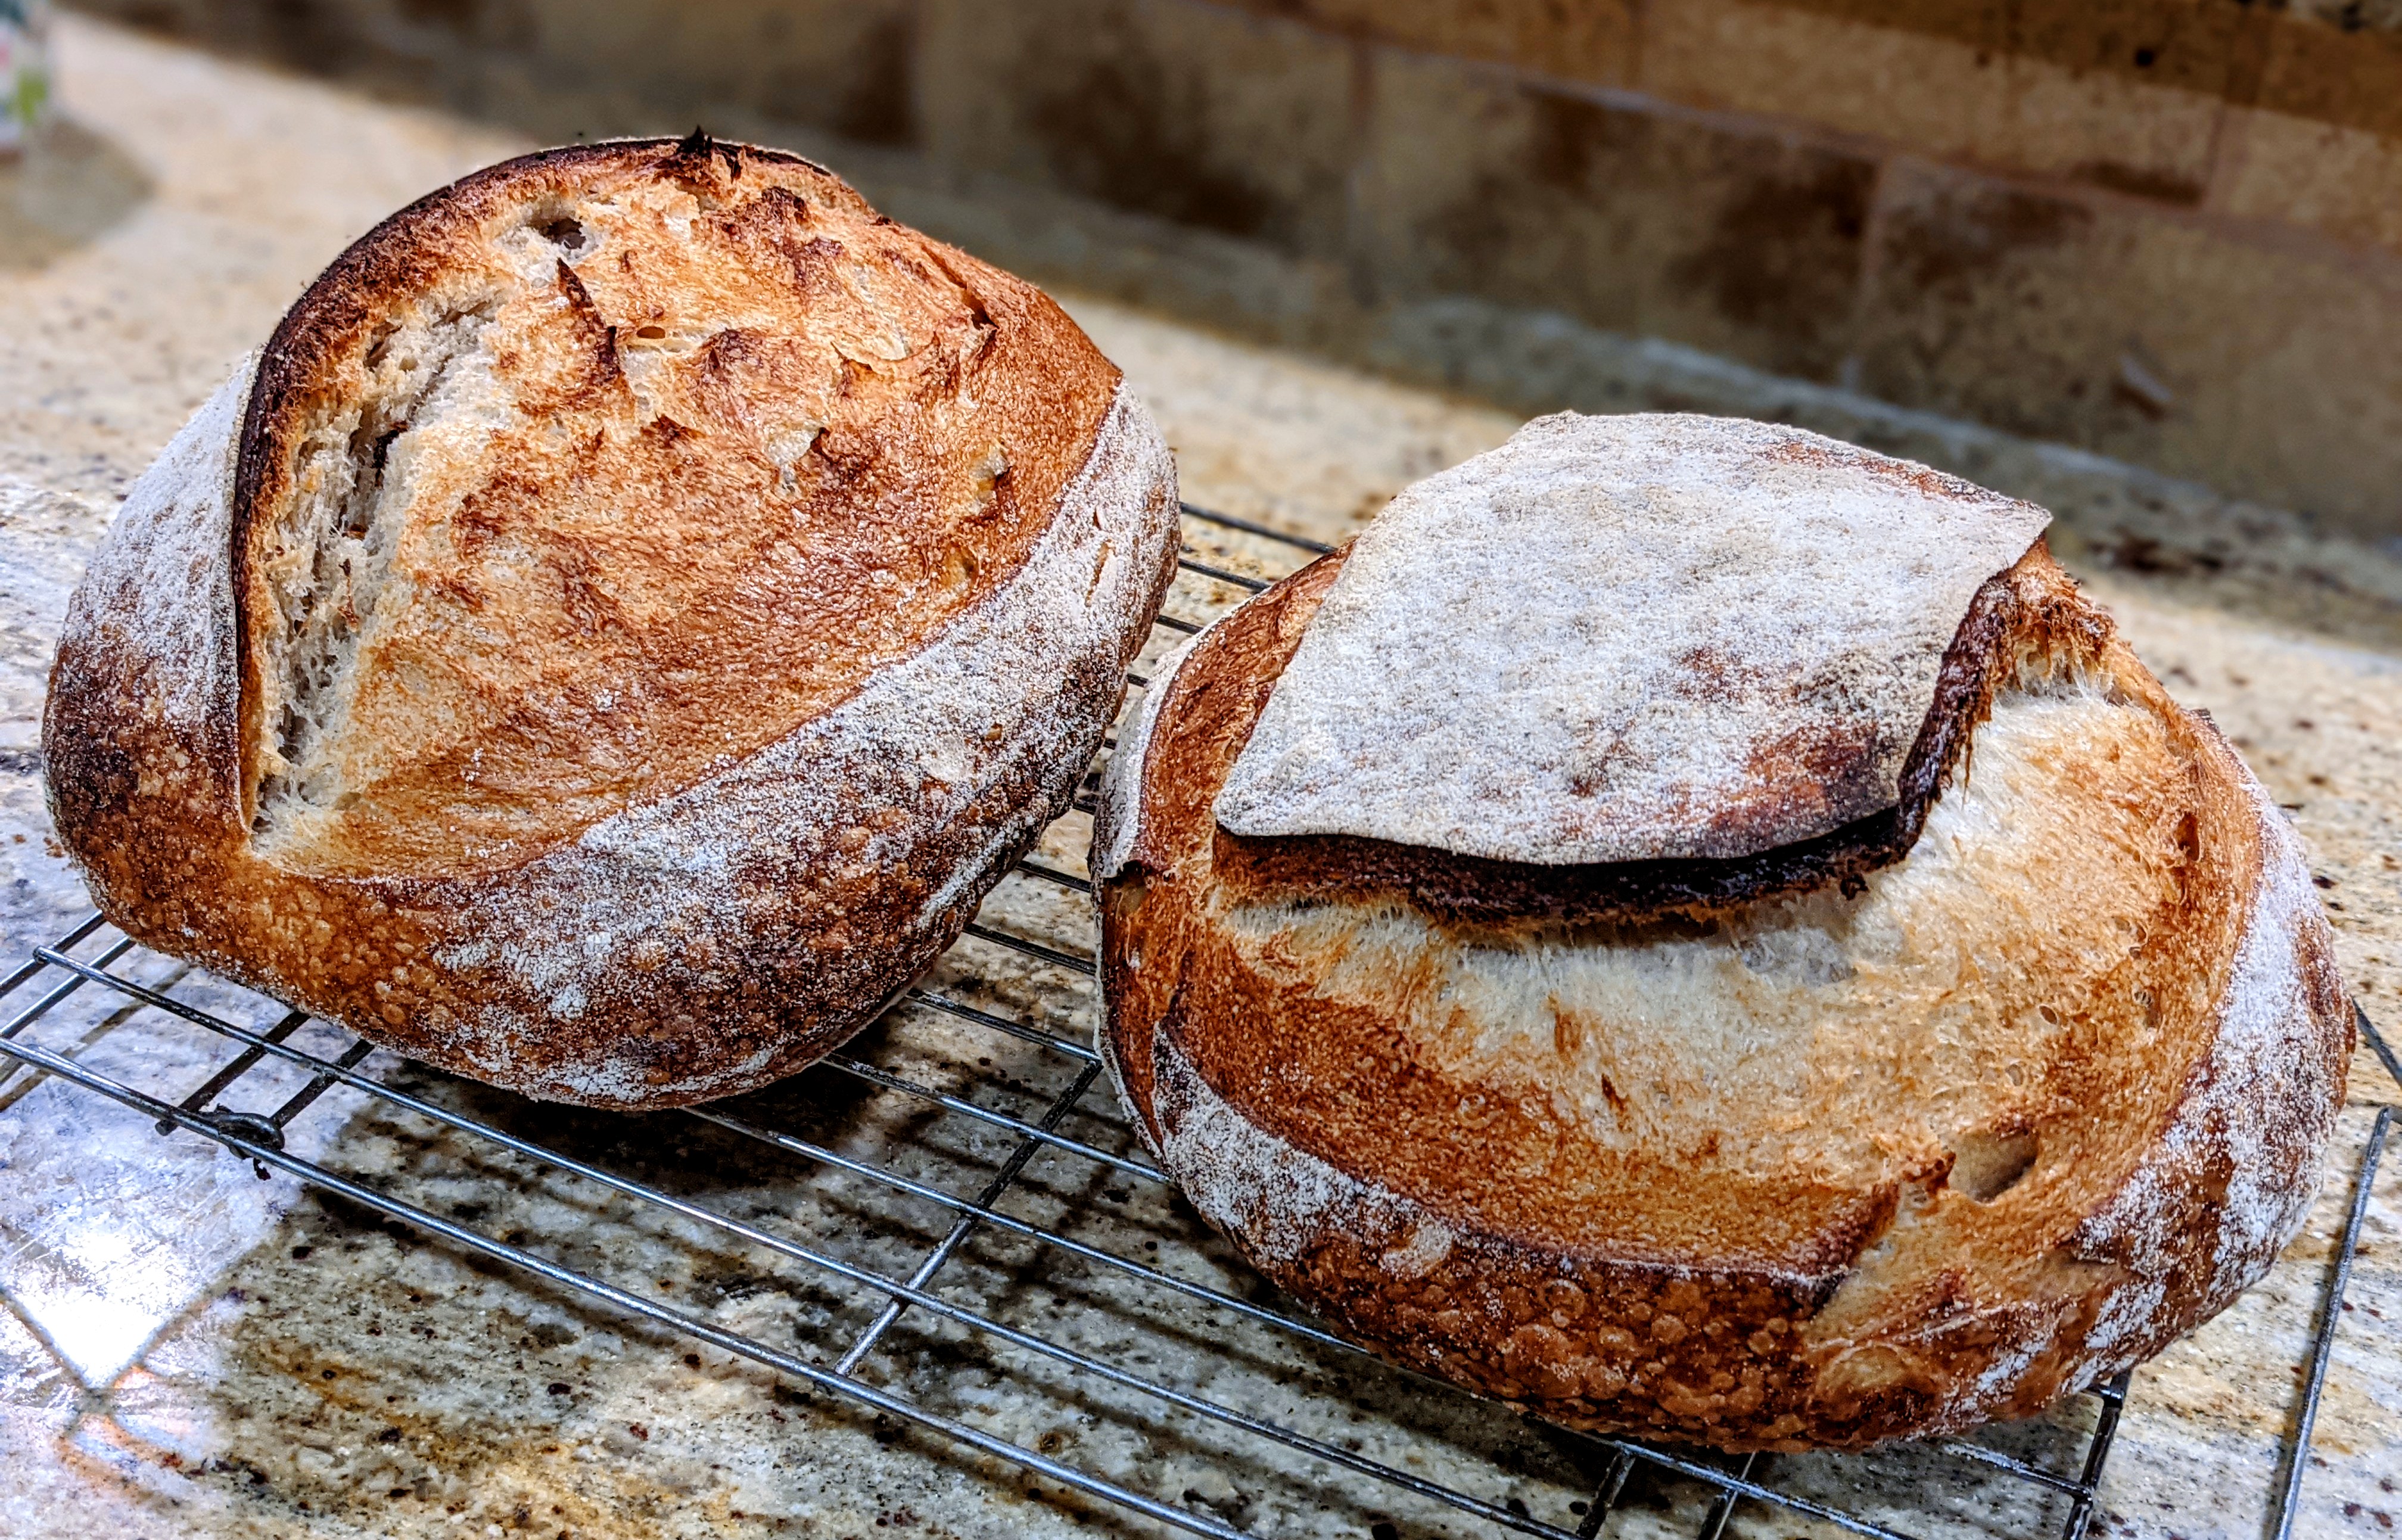
and…

HAPPY BAKING!

Happy New Year!
I just read your post about the new baking steel and I’m glad it works out for you! I do have one bit only use it for baking personal size pizza in my home oven. My oven has been acting weird lately as well so maybe I’ll give my baking steel and try for the breads….
I want to know and curious as to if you have ever tried making Vietnamese rolls/ baguettes? These breads are known as “banh mi” but im only talking about the bread, not the complete sandwich…The bread has some French traditional baguette influences, but they aren’t really baguettes, and I think they resemble more of the Mexican bolillos, although I haven’t tried those so I’m not sure if I should refer to the Vietnamese rolls as such. At any rate, what I like about these Vietnamese bread is that they have an incredible thin crust that fall into little shards when you take a bite, they have ultra soft, almost feather-like and very uniform small crumbs, they’re traditionally bake the day you make them. Hence, they don’t fall under the French traditional baguettes.
I followed several formulas I found over the internet from people who bake them enough to produce really nice looking rolls. I also sourced through a few library books I borrowed from the library. My bake this far is ok- I got the crumbs right, they are soft, light, almost melt in your mouth. I got the crust right, they are thin, crackly crust that would fall like little shards when you take a bite out of the roll. However, what I haven’t gotten is those defined, beautiful developed ears. I think my shaping is decent although im not sure anymore…. I’d love for you to bake them, and because you have so much experience with baguettes, I’d love to learn from you on what I may have missed, because honestly, I’ve baked many batches, threw away a decent amount of loaves…. And I really really would like to crack the code! Or in this case, ask you to please help crack the codes! Let me know and I’ll share with you the formula(s) I have been trying….Thank you, Dawg!
Happy New Year!
I wouldn’t sweat it gettting ears on banh mi rolls. The reason why is that traditionally, the dough is overmixed. They beat the crap out of the dough! The place I go to for banh mi doesn’t have ears on their rolls. The important thing is to get the crispy, crumbly crust and the light, airy crumb. If you’re achieving that, that’s really all that matters.
But that said, if you really want an ear, it comes down to the tension you produce on the skin when shaping AND baking them when they’re slightly underproofed (that’s a trick I learned from a French baker).
Finally, when you’re scoring, your slash should be shallow-to-deeper-shallow, in an arc as opposed to one long, straight slash. You still slash in the a straight line, but the depth should follow that pattern. The best way to achieve that is to slash away from you. Here’s a great video from the San Francisco Baking Institute on properly scoring baguettes: https://www.youtube.com/watch?v=1ebKpEG0tBM. You will hear him say that your slashes must be done in an arc!