Sorry, no picture for this one recipe, but I thought I’d share it anyway because it is super-easy to make! With sandwich loaves, I’ve found that the trick to them is adding fat. Many will use milk, but I prefer to use olive oil because the resultant crumb has a chewier texture than one made with milk, and you can cut thinner slices.
As I’ve shared in the recent past, I haven’t been baking bread much as of late, except to fill orders when my wife needs bread for a local shelter. But a couple of weeks ago, she brought home white sandwich bread from the grocery store with the intent that we would make sandwiches with it. Unfortunately, no one ate the loaf, and it went bad. When my daughter saw that the loaf had molded, she asked if I could make sandwich loaves. But she wanted to white sandwhich loaves, and not whole grain.
Ugh! I thought to myself… White bread is SO boring. But white or whole grain, a handmade loaf is one hundred times better than the processed crap that passes for bread at a grocery. So, digging into baking formulas, I pulled out a super-simple recipe that you can do in a day that I’ll share here.
For this recipe, I use half AP flour and half bread flour. If I used all bread flour, the crumb would be too chewy. The AP flour helps cut it. I’ve also made it with 100% AP flour, but at this hydration, it makes the dough a little difficult to use. Also, this is a straight dough, so all processing and baking can take place in a day.
Overall Formula
| Flour | 100.00% |
| Water | 75.00% |
| Salt | 2.00% |
| Yeast | 1.10% |
| Olive Oil | 5.00% |
Final Dough
| Bread Flour | 331g |
| AP Flour | 331g |
| Water | 496g |
| Salt | 13g |
| Yeast | 7.28g |
| Olive Oil | 33g |
Mix. Measure out and add all the dry ingredients to a large bowl and mix thoroughly. In a separate bowl, add warm water (~95℉-102℉) and the oil. They won’t mix, but that’s okay. Then add the liquid to the dry ingredients and combine well.
Knead. Once all the ingredients are incorporated together, knead the dough on your work surface until you attain a smooth consistency. If you do this by hand, it’ll take about 13-15 minutes. If you use a stand mixer, mix at medium-low speed with a hook for about 5-7 minutes or until the dough climbs the hook. Just make sure to regularly scrape the sides and bottom of the mixing bowl when using a stand mixer.
Bulk Fermentation. 2-3 hours. Transfer the dough to a lightly oiled bowl, cover with a tea cloth, then place in a warm place. I use my oven with the light on, cracking the door so it doesn’t get too hot. Ambient temperature should be between 78℉-82℉. After an hour, fold the dough either on your work surface, or just do stretches and folds in the bowl, then place the dough seam side down. Bulk fermentation will be complete when the dough has roughly doubled in volume.
Divide and Pre-Shape. Remove the dough from the bowl and place it on your work surface. Tug it into a rectangle, then use a bench scraper to bisect it. You should be close to about 600g per piece. Form the dough pieces into tight boules, then rest them on your surface seam side down for 15-20 minutes or until they have relaxed.
Shape and Final Fermentation. I like to use a batard or baguette shaping technique to shape the loaves so that they fit in a 9″ X 5″ loaf pan. You need to ensure that as you shape, you create good tension on the surface of the dough! Once shaped, seal the bottom seam then place each loaf, seam side down, into a lightly greased 9 X 5 loaf pan, cover the pans then place in a warm environment to complete fermentation. Final fermentation will be complete when you poke the dough, and the indentation is slow to recover and doesn’t entirely fill in. If it recovers quickly and the indentation fills in, it is not ready!
Bake. Slash the loaves down the middle, then bake in a 425℉ oven for 30-35 minutes (10 minutes with steam to promote oven rise).
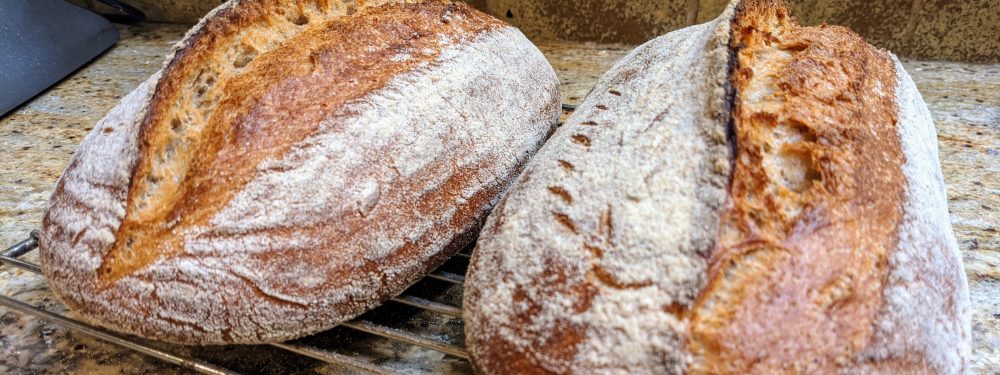
Cool. Allow the loaves to cool and cure on a wire rack for a few hours after baking. These loaves need time to evaporate any excess water and to set the crumb.
